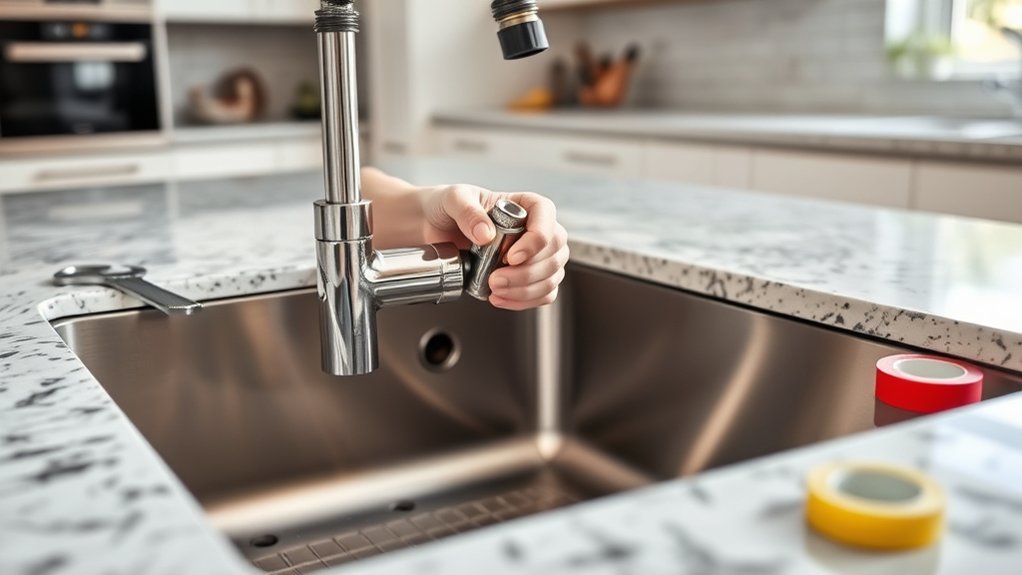
How to Replace a Kitchen Faucet in 3 Steps
Replacing a kitchen faucet can feel overwhelming, especially when you’re dealing with stubborn connections, confusing hardware, or a cramped cabinet. You’re not alone—many people struggle with this project, but the right faucet and a few simple steps can make it much easier.
To replace a kitchen faucet in three steps, first clear the cabinet, place a bucket underneath, and shut off both water valves. Open the faucet to release pressure.
Next, disconnect the supply lines, remove the mounting nuts, lift out the old faucet, and clean the sink surface.
Finally, install the gasket and new faucet, tighten the hardware, reconnect hot and cold lines, and turn the water on slowly. Check every connection for leaks, and find helpful tips ahead.
Key Takeaways
- Shut off hot and cold water valves, open the faucet to release pressure, and place a bucket beneath the supply lines.
- Disconnect the supply lines and mounting hardware, then lift out the old faucet and clean the sink surface.
- Apply the manufacturer-recommended gasket or plumber’s putty, then lower the new faucet into the sink openings.
- Secure the faucet underneath with the washer and mounting nut, then connect the hot and cold supply lines.
- Turn water on slowly, flush the faucet, and check every connection for leaks before replacing cabinet contents.
Prepare the Sink and Shut Off Water
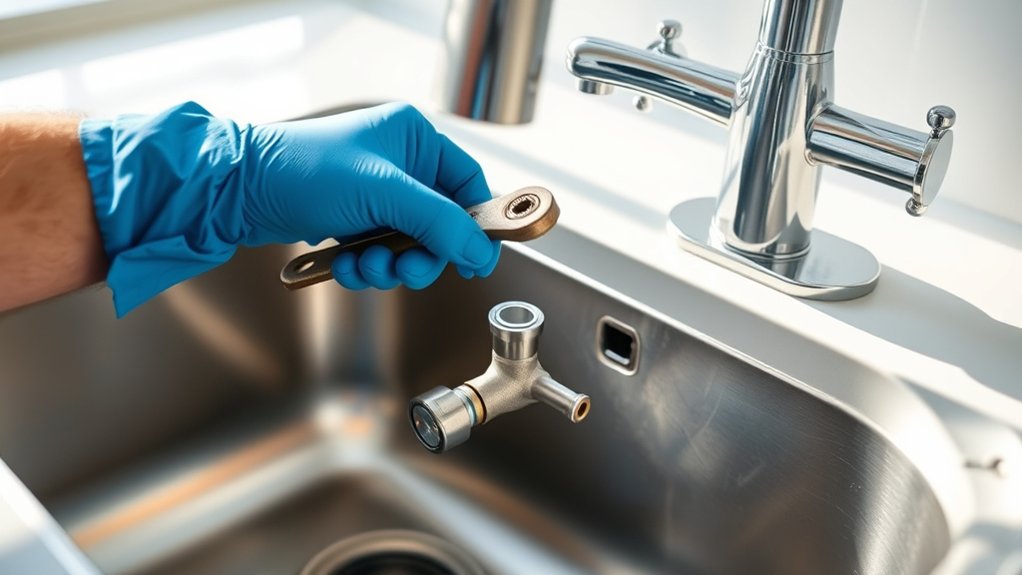
Before you remove the old faucet, clear everything from beneath the sink and place a bucket or towels under the supply lines to catch any water. You’ll need a flashlight, adjustable wrench, basin wrench, pliers, and a small container for loose parts.
Prepare your workspace with essential tools, clear the cabinet, and place towels or a bucket beneath the supply lines.
Careful Tool selection helps you work efficiently without damaging fittings or the cabinet.
Locate the hot- and cold-water shutoff valves beneath the sink. Turn each valve clockwise until it stops, but don’t force it.
Open the faucet handles to release pressure and confirm that water no longer flows. If either valve won’t close fully, shut off the home’s main water supply instead.
Follow essential Safety precautions by keeping electrical appliances away from the cabinet, wearing gloves, and maintaining a dry work area.
Check the surrounding pipes for leaks, corrosion, or strained connections before continuing. Keep a towel nearby, organize your tools within reach, and guarantee you have enough lighting to see every connection clearly.
Avoid removing any faucet components at this stage.
Remove the Old Kitchen Faucet
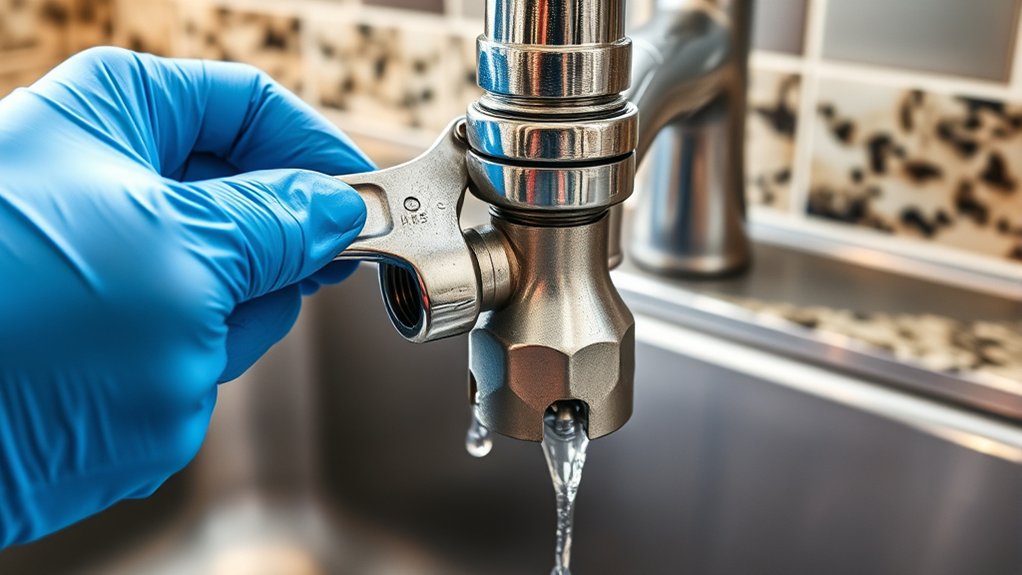
With the water shut off and the cabinet prepared, disconnect the old faucet’s supply lines using an adjustable wrench. Place a bucket beneath each connection to catch trapped water. Loosen the nuts slowly, then label hot and cold lines if you’ll reuse them elsewhere.
Reach behind the sink and locate the faucet mounting nuts or bracket. Hold the faucet from above while you turn each nut counterclockwise below. If corrosion has seized the hardware, apply penetrating oil and wait several minutes before trying again. Use a basin wrench when space is tight.
| Task | Helpful action |
|---|---|
| Supply lines | Catch residual water |
| Mounting hardware | Support faucet above |
| Stubborn nuts | Apply penetrating oil |
After removing the hardware, lift the faucet straight through the sink openings. Scrape away old plumber’s putty or sealant with a plastic scraper, then wipe the area clean.
Keep the removed parts together until disposal. You may need them to identify compatible replacements or explain the old setup. Don’t force connections. Damaged shutoff valves require professional attention.
Install the New Faucet and Check for Leaks
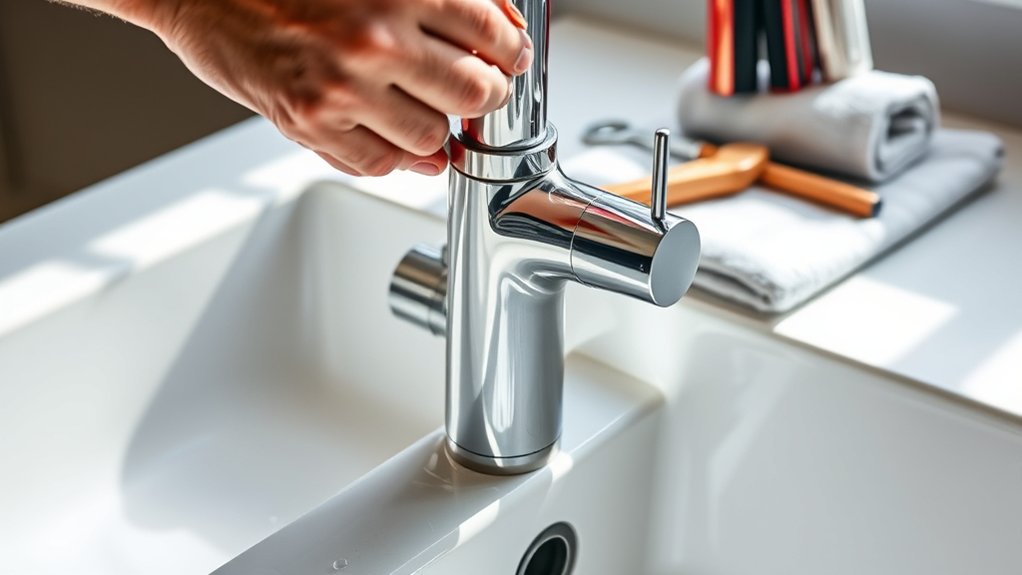
Set the new faucet’s gasket or plumber’s putty according to the manufacturer’s instructions, then lower the faucet through the sink openings.
Apply the gasket or plumber’s putty as directed, then carefully lower the faucet through the sink openings.
From beneath the sink, slide on the mounting washer and nut. Center the faucet before tightening the nut by hand, then secure it with a basin wrench or the tool specified in the instructions. Don’t overtighten, because you could damage the sink or faucet.
Connect the hot and cold supply lines to the matching faucet inlets. Tighten each connection with a wrench while holding the faucet fitting steady.
Attach the sprayer hose, if included, and make sure its weight moves freely without catching on plumbing.
Turn on the water supply valves slowly. Open the faucet and let water run for a minute to flush debris.
For leak detection, inspect every connection and the faucet mounting area with a dry paper towel. If you find moisture, shut off the water, tighten the fitting slightly, and test again.
Frequently Asked Questions
How Often Should a Kitchen Faucet Be Replaced?
You should typically replace a kitchen faucet every 10 to 15 years, although its lifespan depends on quality, water conditions, and daily use. Replace it sooner if you notice persistent leaks, corrosion, reduced water pressure, loose handles, or difficult repairs.
Don’t follow a fixed replacement schedule if problems appear earlier. You’ll save water, prevent cabinet damage, and improve convenience by upgrading when repairs no longer provide a reliable, cost-effective solution.
What Tools Are Needed to Replace a Kitchen Faucet?
You’ll need an adjustable wrench, basin wrench, screwdrivers, plumber’s tape, a bucket, towels, and a flashlight to replace your kitchen faucet. Keep a utility knife and penetrating oil nearby for stubborn connections.
For installation safety, shut off the hot and cold supply valves, open the faucet, and release water pressure before disconnecting lines. Check your faucet’s instructions, since some models require a hex key, silicone sealant, or specialized mounting tool for proper installation.
Can I Replace a Faucet Without Hiring a Plumber?
Yes, you can replace a faucet without hiring a plumber, especially if you’re comfortable with basic DIY plumbing. Picture giving your sink a fresh new handshake: you’ll shut off the water, disconnect the supply lines, remove the old faucet, and install the replacement.
Follow the manufacturer’s instructions, tighten connections gently, and check for leaks. Regular faucet maintenance afterward helps prevent drips, corrosion, and surprises beneath your cabinet.
How Do I Choose the Right Faucet for My Sink?
Choose a faucet that matches your sink’s mounting holes, countertop space, and water connections. Measure the hole spacing before you shop, then select a compatible one-hole, centerset, or widespread design.
Consider spout height, reach, swivel range, and whether you need a pull-down sprayer. Look for durable finishes, ceramic cartridges, and an aerator that supports water flow optimization.
Easy-access parts simplify faucet maintenance and future repairs.
What Types of Kitchen Faucets Are Available?
You can choose among pull-down, pull-out, single-handle, two-handle, bridge, bar, pot-filler, and wall-mount kitchen faucets. Pull out faucets suit compact sinks because their spray heads extend toward you, while pull-down models offer better reach for deep basins.
Touchless controls let you turn water on with a wave, improving convenience and cleanliness. According to the EPA, fixing household leaks can save nearly 10% on water bills annually for many homes.
Conclusion
With these three simple steps, you’ve transformed your sink from a plumbing puzzle into a kitchen showstopper. Shut off the water, remove the old faucet, and install the new one with care.
Then turn the water back on and check every connection for leaks. Even one tiny drip can become a full-blown indoor waterfall.
Once everything’s dry and secure, enjoy your upgraded faucet. You’ve just completed a surprisingly powerful kitchen makeover and learned how to replace a kitchen faucet with your own hands.