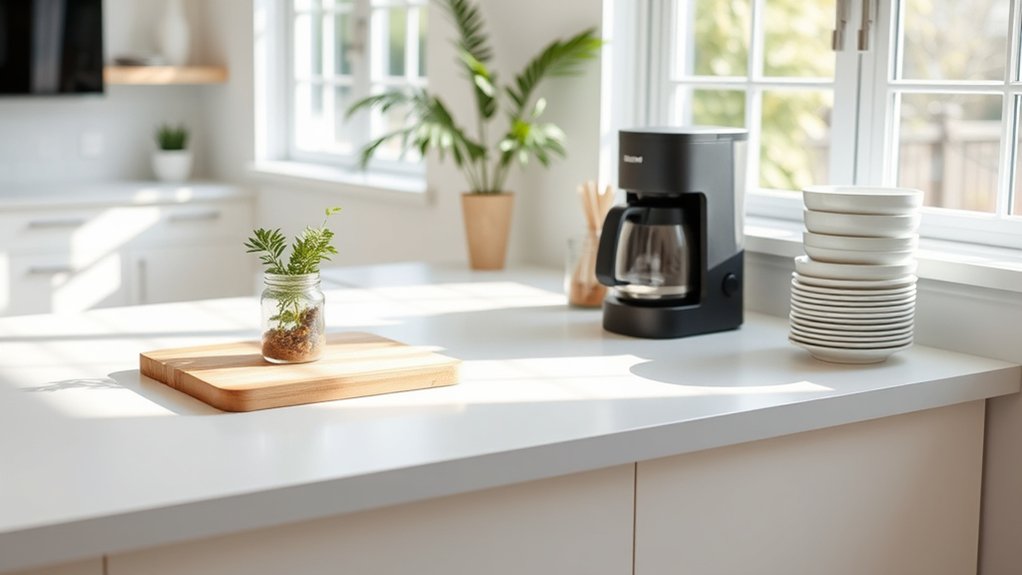
How to Style Kitchen Counters
Cluttered kitchen counters can make even a beautiful space feel stressful and hard to use. You’re not alone—many people struggle to balance stylish decor with enough room for everyday cooking. This roundup will help you discover simple ways to style kitchen counters without sacrificing function.
To style kitchen counters, clear away rarely used items and clean every surface. Create zones for prep, cooking, and cleanup, keeping daily essentials within reach. Group appliances and supplies on shallow trays, then layer cutting boards, canisters, and bowls for texture. Add a small plant or wooden accent, and coordinate colors, materials, and finishes with your kitchen.
Leave open workspace so counters stay functional and easy to wipe. Keep exploring for simple ways to refine the look.
Key Takeaways
- Clear clutter first, keeping only frequently used appliances, tools, and attractive essentials on the counter.
- Create functional prep, cooking, and cleanup zones so everyday items remain accessible without overcrowding surfaces.
- Group related items on trays, using cutting boards, canisters, and baskets to create organized, intentional arrangements.
- Add visual interest with varied heights, complementary materials, greenery, artwork, and restrained color or texture contrasts.
- Maintain the look through daily resets, immediate spill cleanup, and surface-appropriate cleaning products.
Clear the Clutter Before Styling Counters
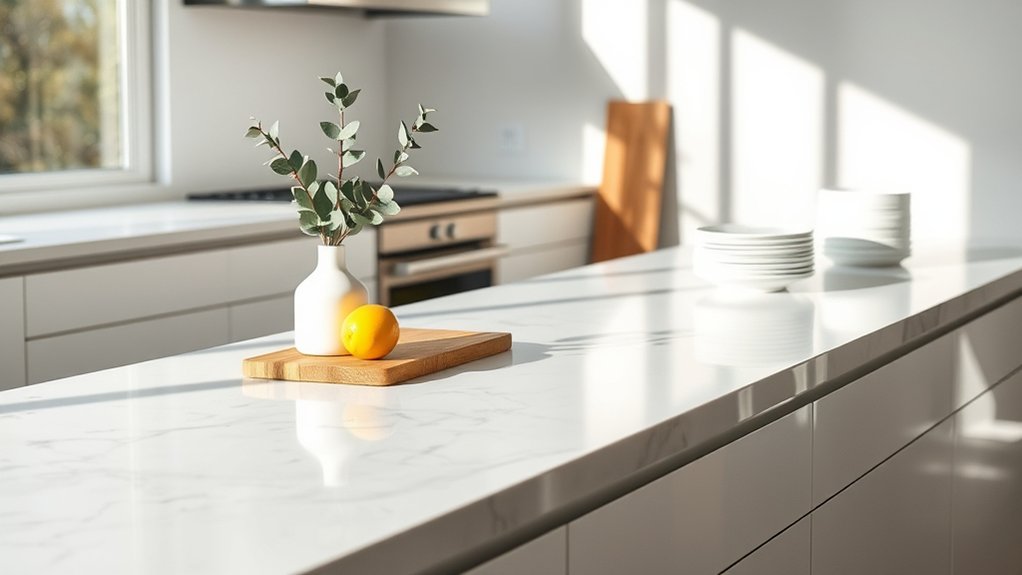
Before styling your kitchen counters, clear away appliances, papers, and unused items so you have a clean, open surface to work with. Start by removing everything from the countertop, including mail, dishes, grocery bags, and tools that belong elsewhere.
Clear your counters completely, sorting each item into keep, relocate, or discard piles before styling.
Sort each item into three groups: keep, relocate, or discard. Return only essentials you use frequently, such as a coffee maker or cutting board, and store occasional items inside cabinets or drawers.
Wipe the cleared surface to remove crumbs, grease, and dust. As you put things back, group similar items together and leave space between them.
This simple approach supports effective counter organization without making the area feel crowded. Use clutter control habits daily: process mail immediately, put away groceries after unloading, and reset the counter each evening.
If an appliance rarely serves you, consider storing or donating it. You’ll create a practical foundation for styling while keeping cleanup quick and manageable.
Choose a Counter Style That Fits Your Kitchen

Choose a counter style that complements your kitchen’s overall design, whether it’s modern, rustic, or traditional. Think about how its color and texture will work with your cabinets, backsplash, and flooring. By balancing visual appeal with practical function, you can create a kitchen that looks great and works well for everyday life.
Match Your Kitchen’s Style
Your kitchen counters should complement the room’s overall style, not compete with it. Start by identifying the features that define your kitchen, such as cabinet profiles, hardware shapes, lighting, and architectural details.
Then choose countertop materials that reinforce that character. In a traditional kitchen, a countertop with a refined, timeless profile can support raised-panel cabinetry and classic fixtures.
For a modern space, select a streamlined surface with simple edges and minimal visual fuss. Farmhouse kitchens pair well with practical, welcoming choices that suit open shelving and sturdy furniture.
If your room blends influences, choose a counter style that connects the strongest elements instead of forcing a perfect theme. Consider how you use the space, too.
Your counters should feel natural alongside your kitchen decor styles and support the room’s daily purpose.
Consider Color And Texture
Color and texture shape how your countertops look and feel within the kitchen. Start with your existing palette, then choose a surface that complements cabinets, walls, flooring, and appliances.
Color coordination doesn’t require an exact match. Subtle contrast can add definition, while related tones create a calm, cohesive appearance.
If your kitchen features bold cabinetry, consider a quieter counter color that lets it stand out. For neutral rooms, a surface with gentle veining or richer color can introduce visual interest.
Texture variety also influences the atmosphere. Smooth, polished finishes reflect light and feel sleek, while honed or leathered surfaces offer softer depth.
Compare samples in your kitchen’s natural and artificial light, since colors and patterns can shift throughout the day. Select a combination that feels intentional and visually balanced.
Balance Beauty And Function
A beautiful countertop should also support the way you use your kitchen each day. Choose countertop materials that match your cooking habits, cleaning routine, and maintenance preferences.
If you prepare meals often, durable quartz or sealed granite can handle spills, heat, and daily wear. For a warmer, more casual look, butcher block adds character but requires regular care.
Consider your kitchen’s layout, too. Keep generous work areas clear, and reserve smaller sections for appliances, serving, or quick breakfasts.
Use decorative accents sparingly so they improve the surface without stealing valuable space. A tray can group oils and utensils, while a bowl of fruit adds color and remains practical.
When style works with your routine, your counters will look polished, feel inviting, and serve you well. Reassess each item seasonally to maintain balance.
Create Kitchen Counter Zones by Task
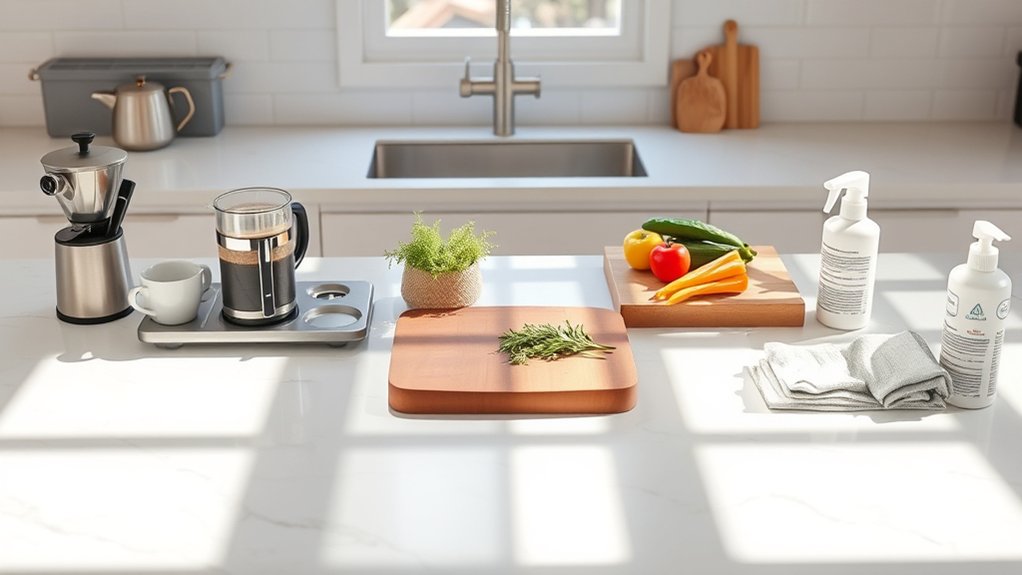
Create kitchen counter zones based on how you use them. Set up a prep zone for cutting, a cooking zone for heat-safe tools and ingredients, and a cleanup zone near the sink. This keeps tasks organized and makes your counters easier to use.
Prep Zone
Prep Zone
Set up your prep zone near the sink or cooktop so you can wash, chop, and season ingredients without crossing the kitchen. Keep a clear stretch of counter for cutting boards, mixing bowls, and ingredient containers.
Store knives in a block or drawer insert within easy reach, while a utensil crock can hold peelers, graters, and measuring tools. Use a tray to group oils, salt, and frequently used seasonings, keeping spills contained and your workspace tidy.
Choose countertop accessories that support preparation without crowding the surface. A washable runner or small cutting board can add texture while protecting the counter.
Limit decorative accents to one practical piece, such as a vase of herbs, so your prep zone stays attractive, accessible, and ready for your next meal.
Cooking Zone
After chopping and seasoning, keep the area around your cooktop focused on heating and serving food. Place frequently used oils, spices, and utensils within easy reach, but group them neatly on a heat-resistant tray.
Choose countertop accessories that support cooking, such as a utensil crock, spoon rest, and salt cellar. Keep handles turned away from burners, and leave enough clearance around hot pans to work safely.
Store bulky appliances elsewhere unless you use them daily; open counter space makes cooking easier. Add one or two decorative accents, such as a small herb pot or a streamlined vase, to soften the zone without crowding it.
Match these pieces to your kitchen’s finishes for a cohesive look. Check that every item can withstand nearby heat and won’t interfere with burners, controls, or ventilation.
Cleanup Zone
Keep the area beside your sink clear for rinsing, drying, and sorting dishes. Use a slim drying rack, absorbent mat, and divided bin to create an efficient cleanup zone without crowding your counter.
Store brushes, soap, and sponges in one attractive caddy, then wipe the surface nightly to prevent buildup. Thoughtful countertop organization keeps every tool within reach while preserving room for small decorative accents.
| Task | Essential item | Smart styling |
|---|---|---|
| Rinse | Colander | Choose a collapsible design |
| Wash | Soap dispenser | Match nearby hardware |
| Dry | Rack or mat | Fold it away afterward |
Limit countertop clutter by keeping only daily-use supplies visible. Hide extra cloths, cleaners, and rarely used gadgets in a nearby drawer or cabinet.
You’ll make cleanup faster when each item has a designated home. Finish the zone with one practical accent, such as a small plant in a washable pot, but leave landing space open for dishes.
Choose Functional Countertop Essentials
Choose countertop essentials that support your daily routines without crowding the workspace. Focus on items you’ll reach for often, then assign each a practical home near the activity it serves.
Choose countertop essentials that simplify daily routines, stay within easy reach, and keep your workspace organized without unnecessary clutter.
The right Countertop accessories can make cooking feel smoother while keeping useful tools visible.
- A utensil crock: Keep spatulas, spoons, and tongs within easy reach beside your main prep area.
- A cutting board: Choose a sturdy board that protects your surface and doubles as a serving piece.
- A soap dispenser: Place it near the sink for quick cleanup, and select a refillable design to reduce waste.
Consider Material durability before buying anything that stays out. Heat, moisture, stains, and daily handling can quickly damage poorly made pieces.
Choose finishes that clean easily and containers that won’t tip during busy moments. You’ll create a counter setup that saves time, supports comfortable routines, and feels reassuringly prepared without adding unnecessary clutter.
Rotate seasonal or rarely used items into storage so your essentials remain accessible.
Style Small Kitchen Counters Without Crowding
Keep only the items you use every day on the counter to preserve an open workspace. Free up more surface area with vertical storage, and group similar items together to create a tidy, efficient setup.
Prioritize Daily Essentials
Prioritize the items you use every day, such as a coffee maker, cutting board, or cooking utensil, and store everything else out of sight. This approach keeps your counter practical while preserving a calm, open feel.
Choose only essentials that support your routine, then give each one a deliberate spot. You’ll spend less time searching and feel less overwhelmed during busy mornings.
- Keep: Your coffee maker, kettle, or toaster if you use it daily.
- Rotate: Less-used appliances into a cabinet when you finish cooking.
- Refresh: Your display with seasonal accessories, not permanent clutter.
Let your essentials complement your kitchen’s style. Neutral containers, a tidy utensil crock, and thoughtful Minimalist decor can add warmth without consuming valuable workspace.
If an item doesn’t serve your daily habits or bring genuine joy, put it away. Your counter should help you cook, gather, and breathe easily.
Use Vertical Storage
When counter space is limited, look upward to organize items without crowding your work surface. Install a slim wall rail for utensils, measuring cups, or frequently used tools.
Choose a magnetic strip for knives, keeping blades safely out of reach of children while freeing a drawer. Mount a small shelf above the backsplash to hold oils, spices, or attractive canisters without spreading across the counter.
You can also use a tiered riser inside a corner or a narrow étagère beside your cooking area. These storage solutions create vertical organization while keeping essential surfaces clear for meal preparation.
Select sturdy materials, secure every fixture properly, and leave enough clearance for cabinets and appliances. Keep the look cohesive by matching finishes or repeating one color throughout your wall-mounted storage.
Group Similar Items
Group similar items into small trays, bowls, or containers so your counters look intentional rather than crowded. Corral oils beside the stove, gather coffee supplies near the machine, and place everyday utensils in one attractive holder. You’ll create clear zones while keeping essentials within reach.
- Make mornings calmer: Keep mugs, beans, and sweeteners together for an effortless coffee station.
- Create visual comfort: Arrange Decorative accents in one tray instead of scattering them across the counter.
- Show meaningful style: Display Personal collectibles together, giving them importance without consuming valuable workspace.
Choose containers that match your kitchen’s colors and scale. Leave a little breathing room around each group, and remove anything you rarely use.
When every item has a home, your small counter feels organized, welcoming, and surprisingly spacious. Rotate seasonal pieces occasionally to refresh the arrangement without adding clutter.
Add Height With Trays, Art, and Plants
Add height and visual interest to your kitchen counters with a tray, framed artwork, and a few plants. Choose a shallow tray to anchor a small arrangement without overwhelming your workspace.
Place it near a wall, then lean a framed print or piece of art behind it. This vertical backdrop draws the eye upward and gives your counter a finished look.
Next, add a compact plant, such as a pothos, herb, or succulent, to introduce color and texture. Use a raised planter or a small pedestal to create height variation, but keep the tallest piece toward the back.
Varying heights helps your arrangement feel balanced rather than flat. Create decorative vignettes with only a few intentional pieces, leaving enough open counter space for daily tasks.
Select finishes that complement your kitchen’s hardware and cabinets. If your counter sits beneath open shelves, keep the arrangement low enough to preserve an airy, uncluttered view.
Rotate artwork or plants seasonally to refresh the display.
Layer Cutting Boards, Trays, and Canisters
Layer cutting boards, trays, and canisters to create a practical display that also adds texture. Start with a large board leaning against the backsplash, then place a smaller board in front for depth.
Add a tray to contain everyday essentials, and finish with canisters that keep coffee, tea, or snacks within reach.
Use these steps to make the arrangement feel intentional:
Create balance with varied heights, grouped essentials, and enough breathing room to keep your counter practical and inviting.
- Choose varied heights so your display draws the eye upward and feels balanced.
- Group related items, such as baking tools or breakfast staples, to make the setup useful.
- Leave breathing room around each piece so your counter doesn’t look crowded.
Try Tray layering techniques by placing a shallow tray over a larger board or beneath a compact canister cluster.
For polished Decorative canister arrangements, repeat one color or material while mixing shapes. Keep labels facing forward, and rotate lesser-used items into cabinets.
This approach makes cooking easier while giving your kitchen a warm, collected look. Refresh the grouping whenever your routine changes or you need extra workspace.
Bring in Plants and Natural Textures
Bring in plants and natural textures to soften hard surfaces and make your kitchen feel more inviting. Choose indoor greenery that suits your light, such as a compact herb pot, trailing vine, or sturdy succulent. Keep plants in simple containers, and place them where they won’t crowd your prep area or sit beside heat.
| Element | Best spot | Benefit |
|---|---|---|
| Herb pot | Near a window | Adds fragrance |
| Trailing vine | Corner shelf | Creates movement |
| Wooden bowl | Beside canisters | Adds warmth |
| Woven basket | Under a tray | Stores produce |
Layer natural textures through small, useful accents. Set a wooden bowl near your cutting boards, display a woven basket for fruit, or add a linen cloth beneath a plant.
These choices introduce tactile interest without making the counter feel busy. Vary heights by pairing a low bowl with a taller plant, then leave open space around each piece.
Choose easy-care varieties if you’re often away, and wipe leaves regularly to keep them fresh. Rotate greenery occasionally so every side receives light and growth stays balanced.
Match Colors, Materials, and Finishes
Choose a simple palette that connects your counters with nearby cabinets, hardware, and appliances. Color coordination creates a calm, intentional look, while one unexpected shade adds personality without overwhelming the room.
Repeat a cabinet tone in a tray, vase, or cookbook spine to make the arrangement feel cohesive.
Use finishes to guide attention and create warmth:
- Pair matte counters with polished hardware for a balanced, quietly modern mood.
- Combine wood accents with stone surfaces to bring inviting, organic character.
- Echo one accent color in small decor pieces for a cheerful, unified effect.
Material contrast keeps your counters from looking flat. Try smooth ceramic beside textured wood, or sleek metal beside softly veined quartz.
Limit yourself to two or three dominant materials, then let their different tones and sheens provide interest. You’ll create depth without visual clutter.
Before adding anything, compare samples in your kitchen’s natural and artificial light. That quick check helps you choose finishes that complement one another throughout the day.
Make Your Styled Counters Easy to Clean
When you style your counters, leave enough open space to wipe them down quickly each day. Group attractive essentials on a tray, but avoid overcrowding, which traps crumbs and makes spills harder to reach.
Choose washable containers, sealed canisters, and smooth accessories that won’t collect grease. Keep your most-used tools near the work zone, while storing decorative items away from splash-prone areas.
| Zone | Easy-clean choice | Simple habit |
|---|---|---|
| Prep area | Empty tray | Wipe after cooking |
| Sink area | Soap caddy | Rinse weekly |
| Appliance area | Removable mat | Shake out crumbs |
For effective countertop maintenance, use a soft cloth and a cleaner suited to your surface. Don’t let vinegar, lemon juice, or harsh abrasives sit on stone, wood, or laminate.
Your best Cleaning hacks include wiping spills immediately, lifting appliances before cleaning, and washing trays separately. Schedule a quick evening reset: return stray items, disinfect high-touch spots, and dry the counter completely.
A thoughtful arrangement keeps your kitchen polished without creating extra chores.
Frequently Asked Questions
How Often Should Kitchen Counters Be Completely Restyled?
You should completely restyle your kitchen counters seasonally, or whenever your routine, storage needs, or décor changes. Refresh them sooner if clutter accumulates, appliances move, or surfaces feel impractical.
Consider your Countertop materials before choosing trays, canisters, or decorative pieces, since stone, wood, and laminate require different care. Follow simple Cleaning tips, remove everything, sanitize thoroughly, and return only useful items.
A small seasonal reset keeps counters attractive, functional, and easier to maintain.
What Counter Styling Trends Are Currently Popular?
You’ll see warm wood tones, earthy colors, and natural stone patterns leading current counter styling trends. Create clean counter organization with trays, canisters, and streamlined appliance storage, then add personality through layered decor accents.
Display a sculptural vase, wooden board, or small herb garden for texture and function. Curved shapes, handmade ceramics, and mixed materials also feel fresh, while open space keeps your counters looking intentional rather than crowded.
Can Renters Style Kitchen Counters Without Making Permanent Changes?
Yes, you can style your kitchen counters without permanent changes. Add temporary decor such as a small tray, cutting board, or countertop planter to create an intentional display.
Choose removable accessories, including peel-and-stick hooks, washable runners, and freestanding organizers, so you won’t damage surfaces. Keep items functional, limit clutter, and use color-coordinated containers to make your rental kitchen feel polished, personal, and easy to restore.
How Much Does Professional Kitchen Counter Styling Typically Cost?
You’ll typically pay $100–$500 for professional kitchen counter styling, depending on your location, project size, and stylist’s experience. A consultation may cost $50–$150, while full styling often includes sourcing, arranging, and photographing your space.
Your budget can rise if you need new countertop materials, custom organization, or premium design accessories. Ask for a detailed quote beforehand, and confirm whether shopping, delivery, rentals, and follow-up adjustments carry separate fees.
Where Can I Find Affordable Decor for Styling Kitchen Counters?
You can find affordable counter decor at discount home stores, thrift shops, dollar stores, and online marketplaces. Check clearance aisles for trays, vases, canisters, and small plants.
Choose versatile pieces you’ll reuse throughout your kitchen. For budget-friendly options, shop seasonal sales or buy secondhand items and refresh them with paint.
You can also create DIY decor using jars, cutting boards, cookbooks, and repurposed containers for a polished look without overspending.
Conclusion
Style your kitchen counters with intention, not with every attractive object you own. Clear clutter, define task-based zones, and choose essentials that work as beautifully as they look.
Add layered boards, trays, canisters, plants, and natural textures to create warmth without sacrificing space. When colors and finishes coordinate, cleaning becomes simpler, too.
After all, your counters should support cooking—not compete with it for attention. Keep the styling practical, and your kitchen’s “effortless” look will take effort.
With thoughtful choices, you can style kitchen counters that feel warm, organized, and functional.