How to Snake a Kitchen Drain in 7 Steps
A clogged kitchen sink can bring meal prep and cleanup to a frustrating halt. You’re not alone—many people struggle with slow or blocked drains and want a simple fix before calling a plumber.
In this guide, we’ll explain how to snake a kitchen drain in seven steps and help you choose the right tool for the job.
To snake a kitchen drain in seven steps, gather a hand-crank snake, bucket, gloves, and towels. Remove standing water, then place the bucket beneath and remove the P-trap.
Clean the trap and check its washers. Feed the snake into the drain, rotating it gently as you push. Pull out the clog and rinse the cable. Reconnect the trap, tighten fittings, and run water slowly to check for leaks.
If the blockage remains, you’ll find out when to call a plumber next.
Key Takeaways
- Gather a hand-crank drain snake, bucket, gloves, eye protection, and towels; avoid chemical drain cleaners.
- Remove standing water, then place a bucket beneath and carefully remove the P-trap.
- Clean and inspect the P-trap, washers, and threads before reconnecting or replacing damaged parts.
- Feed the snake slowly into the drain, rotating it gently and never forcing resistance.
- Reassemble the trap, run water gradually, check for leaks, and call a licensed plumber if blockage persists.
Gather a Drain Snake and Protect the Area

Before you begin, gather a hand-crank drain snake, a bucket, rubber gloves, and old towels. Choose a compact manual model suited to kitchen pipes, preferably with a flexible cable and a comfortable crank. Inspect the snake for bends, rust, or sharp damage before use. Read the manufacturer’s instructions so you know the cable’s reach and operating limits.
Clear the cabinet beneath the sink and remove cleaners, dishes, and stored items. Spread old towels across the cabinet floor and nearby flooring to catch drips and protect surfaces. Keep a bucket within reach for tools or leaking connections, but don’t remove the trap or address standing water yet. Good Drain maintenance starts with organized equipment and a clean workspace.
Follow basic Safety precautions: wear rubber gloves, protect your eyes if splashing is possible, and keep loose clothing and hair away from the crank. Avoid chemical drain cleaners, which can burn you or damage the cable. Make sure you have adequate lighting before starting.
Remove Standing Water and Choose the Right Snake
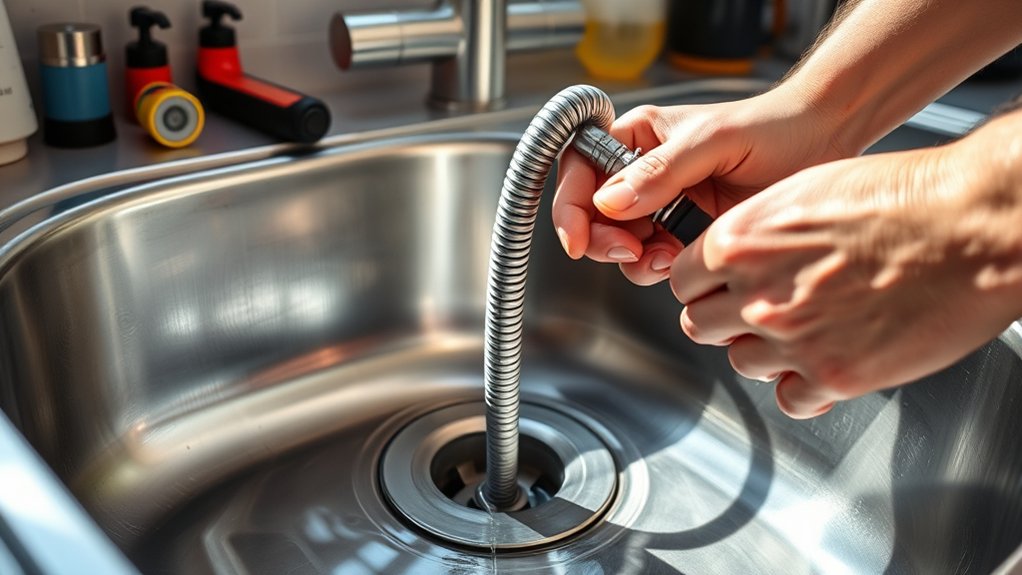
Start by scooping standing water from the sink into a bucket with a cup or small container, leaving only a shallow amount to prevent spills. Keep towels nearby to catch splashes, and wear gloves before handling any dirty water.
Scoop out standing water with a cup, leave a shallow layer, and wear gloves to manage splashes safely.
For effective Drain cleaning, match the snake to the blockage and pipe size:
- Choose a hand-crank auger for a typical kitchen clog and short, accessible lines.
- Select a small drum auger when you need more cable control or extra reach.
- Use a plastic zip tool only for hair or soft debris near the drain opening.
- Reserve a powered auger for stubborn blockages, and use it only if you’re comfortable controlling its torque.
Check the cable’s diameter and length before inserting it. A thin cable can navigate tight bends, while a thicker one handles tougher buildup.
Don’t force any Plumbing tools through resistance. Steady pressure protects the pipe and the snake. Keep the bucket ready until water drains freely.
Remove and Check the P-Trap
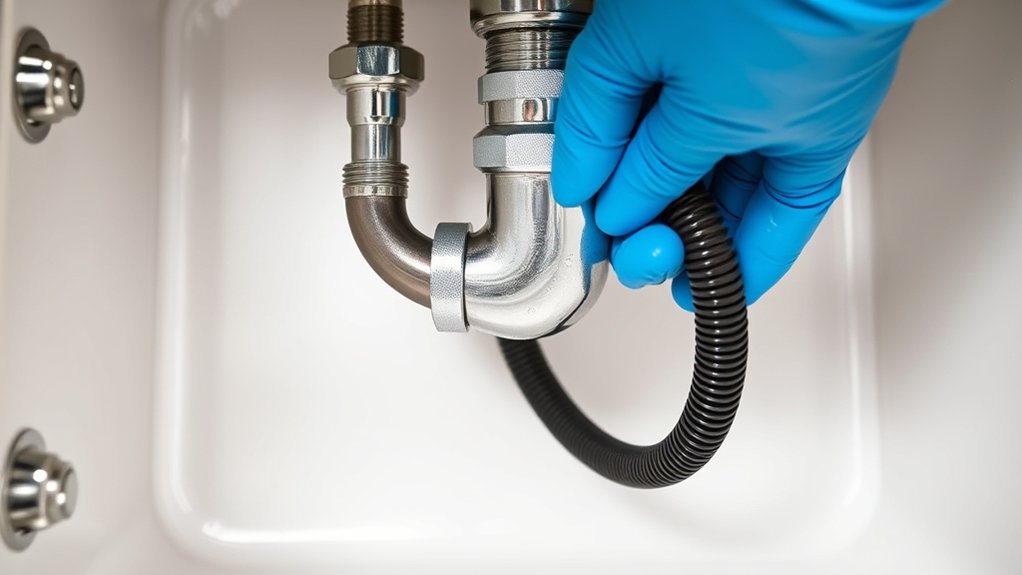
With the snake selected and the sink cleared, check the P-trap for an accessible clog. Place a bucket beneath the curved pipe to catch trapped water and debris.
Loosen each slip nut by hand, then use tongue-and-groove pliers if needed. Support the trap as you remove it, and keep washers in order for reassembly.
| Check | What to do | Why it matters |
|---|---|---|
| Water | Drain it into the bucket | Prevents spills |
| Nuts | Loosen gently | Protects fittings |
| Trap | Inspect and rinse | Finds buildup |
| Washers | Set aside carefully | Prevents leaks |
Look inside the trap and its openings for grease, food particles, or other obstructions. Rinse stubborn residue with warm water and scrub it with a bottle brush.
Inspect the washers and threads for cracks or wear. Replace damaged parts before reconnecting the trap.
This simple pipe maintenance step supports clog prevention and makes later drain work cleaner. Don’t move on until the trap sits clear and ready for reassembly.
Feed the Snake Into the Kitchen Drain
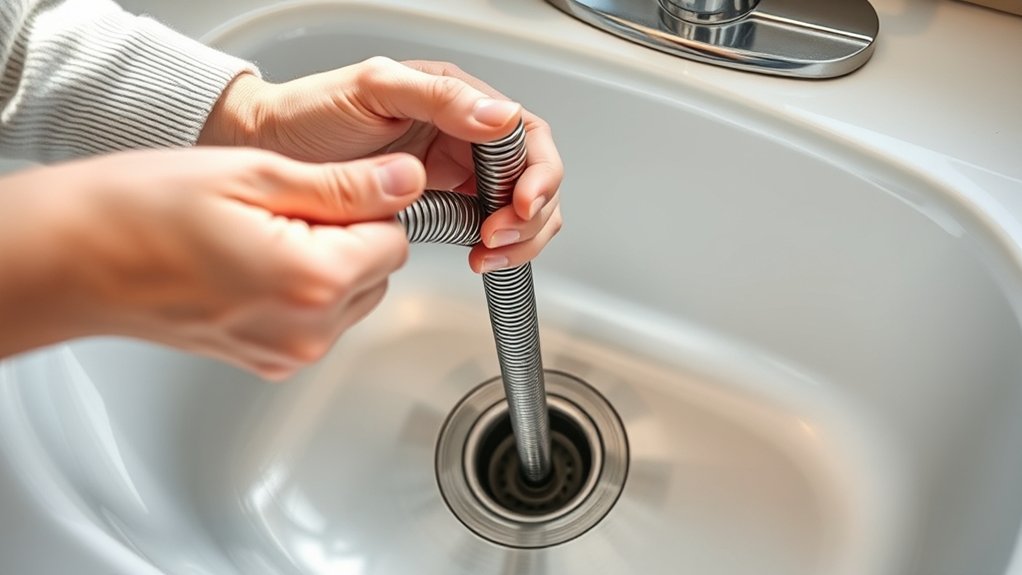
Once the P-trap is clear or removed, guide the snake’s cable into the exposed drain opening. Keep the cable aligned with the pipe, and feed it slowly by hand. Don’t force it if you meet resistance; steady pressure helps you avoid damaging fittings or bending the cable.
Guide the cable slowly into the drain, keeping it aligned and applying steady pressure without forcing resistance.
- Hold the drum or handle firmly so it won’t shift.
- Keep several inches of cable straight and supported as you feed it.
- Rotate the handle only as needed to help the cable follow the pipe.
- Pause occasionally to check that the cable remains centered and controlled.
Wear gloves and eye protection during drain cleaning, since dirty water may drain from the opening. Maintain a clear workspace, and place a bucket or towel beneath the connection to catch drips.
If the cable feels stuck immediately, withdraw it slightly and reposition it rather than forcing it. Good snake maintenance includes inspecting the cable for kinks, rust, or frayed sections before use, ensuring smoother, safer feeding.
Work the Snake and Remove the Clog
As the cable reaches the blockage, turn the handle steadily while applying light forward pressure. Don’t force it; let the auger head break through resistance gradually. When you feel the cable catch, rotate the handle several times to hook or loosen the debris.
Pull back slowly, bringing the clog toward the opening. Wipe the cable with a rag as you withdraw it, and remove any material you can see.
If water still drains slowly, feed the snake back in and repeat the process until the cable moves freely. For stubborn buildup, alternate short pushes with steady rotations rather than bending the cable.
Keep a bucket and towels nearby to manage dirty water and debris. Regular drain maintenance helps you spot slow drainage before it becomes a blockage.
Clog prevention, such as using a strainer and avoiding grease, reduces future problems. Dispose of the removed waste in the trash, not down another drain, and avoid using chemical cleaners while snaking.
Reconnect the Pipes and Test the Drain
After the clog is cleared, reconnect the trap and any loosened pipe sections, replacing worn washers and tightening each slip nut by hand. Keep every connection aligned, and don’t overtighten plastic threads, which can crack or distort washers. Place a bucket beneath the trap before testing.
Reconnect the trap carefully, replace worn washers, align each joint, and hand-tighten slip nuts without overtightening.
- Run cold water slowly for 30 seconds.
- Watch each joint for drips, then feel around fittings with a dry paper towel.
- Increase the flow gradually and fill the sink halfway.
- Release the water, checking that it drains smoothly without backing up.
If you find a leak, shut off the faucet, loosen the affected nut, reseat the washer, and tighten it again. Once the drain stays dry, remove the bucket and wipe away moisture.
During this Drain cleaning step, complete a careful Pipe inspection, checking for cracks, corrosion, or misaligned sections. Run water again briefly to confirm the repair, then clean your tools and cabinet area.
Recognize When the Clog Needs a Plumber
If the drain still backs up, leaks, or makes unusual noises after snaking and testing, stop troubleshooting and call a licensed plumber. These signs may indicate a deeper blockage, damaged pipe, or sewer-line problem that a household snake can’t reach. Don’t keep forcing the cable, because you could crack a fitting, damage the pipe, or push the obstruction farther inside.
Call a professional if multiple fixtures drain slowly, wastewater rises in another sink, or foul odors persist after cleaning. A plumber can use Professional tools, such as a motorized auger, inspection camera, or hydro-jetter, to locate and clear the obstruction safely. You’ll also get an accurate diagnosis instead of repeated temporary fixes.
Treat overflowing sewage, a burst pipe, or rapidly spreading water as an urgent hazard. Shut off the water supply if possible, protect nearby cabinets, and contact Emergency services or an emergency plumber. Avoid chemical drain cleaners, which can injure you and complicate repairs.
Frequently Asked Questions
Can Chemical Drain Cleaners Damage Kitchen Pipes?
Yes, chemical drain cleaners can damage kitchen pipes, especially if you use them repeatedly or leave them sitting too long. Their corrosive ingredients may weaken joints, seals, plastic, or older metal lines, reducing pipe longevity.
This chemical damage can also create dangerous fumes and splashes. You’re safer using a plunger, drain snake, or enzyme-based cleaner first.
If a clog persists, call a plumber before applying harsh chemicals to your kitchen plumbing system.
How Often Should Kitchen Drains Be Professionally Cleaned?
You should schedule professional kitchen drain cleaning every one to two years, or sooner if you notice slow drainage, recurring clogs, foul odors, or gurgling. Homes with heavy cooking, grease buildup, or older pipes may need more frequent service.
Regular drain maintenance helps prevent blockages and pipe damage, while plumbing inspections can identify developing problems early. Don’t wait for a complete backup. A plumber can recommend a schedule based on your household’s usage and pipe condition.
Can a Garbage Disposal Cause Recurring Kitchen Drain Clogs?
Yes, a garbage disposal can cause recurring clogs when you overload it, flush grease, or fail to run enough water. Food particles may accumulate in the disposal, drainpipe, or trap, restricting flow over time.
You can reduce recurring clogs by cutting waste into small pieces, using cold water, and avoiding fibrous foods, coffee grounds, and fats. If problems persist, have a plumber inspect the disposal, trap, and connected pipes for damage or buildup.
What Are Signs of a Collapsed or Damaged Drainpipe?
You may have a collapsed or damaged drainpipe if clogs return quickly despite thorough snaking, water drains slowly, or multiple fixtures back up together. Watch for gurgling sounds, foul odors, wet spots, sinkholes, or unusually green, lush patches outdoors.
Visible pipe corrosion and joint leaks can also signal failure. If you notice sewage odors or contaminated water, stop using affected fixtures and call a licensed plumber for camera inspection and repairs promptly.
Are Enzyme-Based Drain Cleaners Safe for Septic Systems?
Yes, enzyme-based drain cleaners are generally safe for septic systems because beneficial bacteria break down organic buildup without harsh chemicals. Choose biodegradable formulas labeled septic-safe, and avoid products containing bleach, acids, solvents, or antibacterial agents that can disrupt your tank’s microbial balance.
Eco friendly options work gradually, so don’t expect instant results. Follow the label, use only the recommended amount, and contact a professional if persistent clogs or backups continue.
Conclusion
With the clog cleared, your kitchen drain should flow like a small river again. Reconnect the P-trap, tighten each fitting by hand, and run water slowly while checking for leaks.
If the drain still gurgles, backs up, or resists your snake, don’t force the issue. Hidden roots, damaged pipes, or a stubborn blockage may be waiting below.
Call a plumber before a trickle becomes a flood. A little care now keeps your kitchen’s plumbing humming smoothly after you snake a kitchen drain.