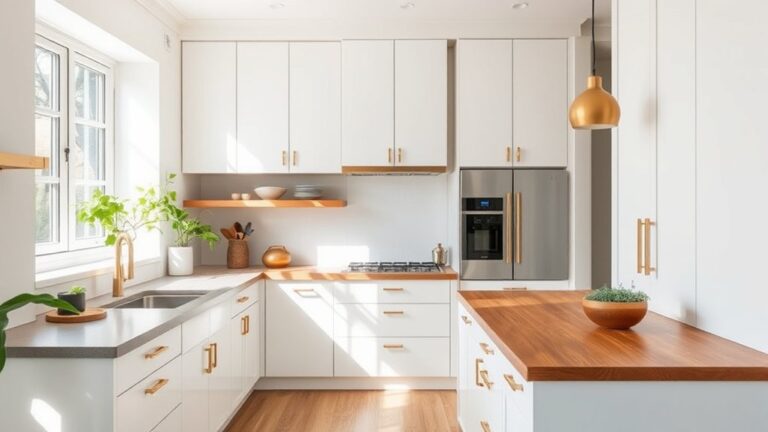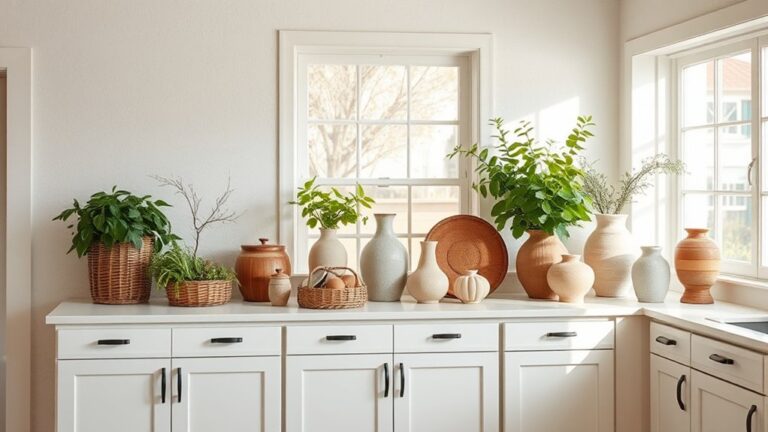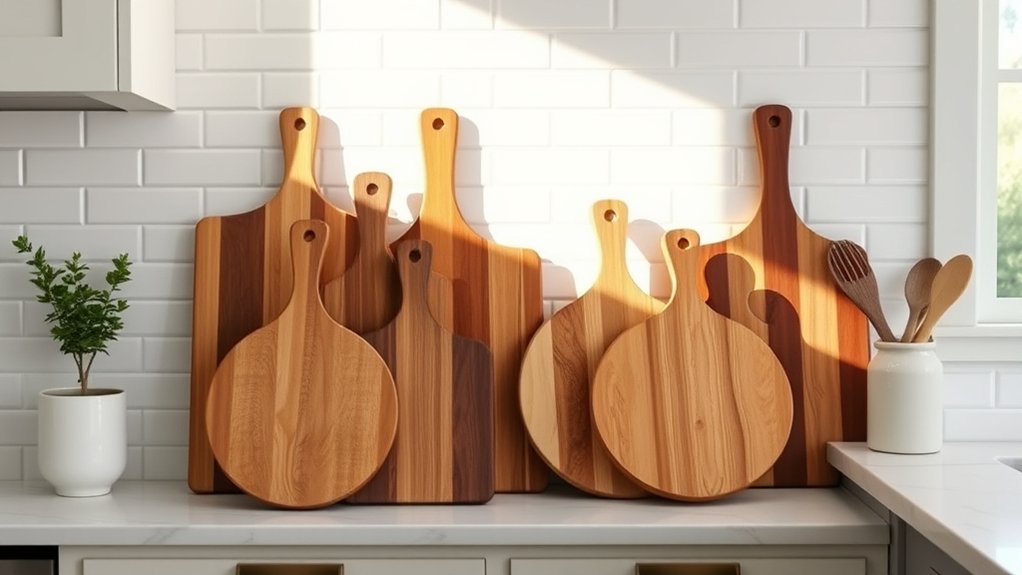
How to Display Cutting Boards on a Kitchen Counter
Keeping cutting boards organized and attractive can be tricky, especially when you want your kitchen counter to look stylish without creating clutter. You’re not alone—many people struggle to display their boards neatly while keeping them clean, accessible, and protected.
The right arrangement can turn everyday kitchen tools into a useful decorative feature.
Display cutting boards on your kitchen counter by first cleaning and drying them completely. Choose a level spot away from sinks, stoves, dishwashers, and counter edges.
Stand boards upright in a stable rack, or lean larger boards against the backsplash with smaller ones layered in front. Group similar shapes and coordinate wood tones with your décor.
Leave enough space for easy removal and airflow. For more arrangement ideas, investigate the tips below.
Key Takeaways
- Clean and dry cutting boards thoroughly before displaying them to prevent moisture damage and maintain hygiene.
- Choose a safe, level counter location away from sinks, stoves, edges, and busy preparation areas.
- Store boards upright in a stable stand, or lean them securely against the backsplash with larger boards behind smaller ones.
- Group boards by size, shape, or material, leaving enough space for visibility and easy removal.
- Coordinate colors and textures with your kitchen décor, using a tray, towel, or seasonal accents for visual appeal.
Choose a Safe Countertop Spot
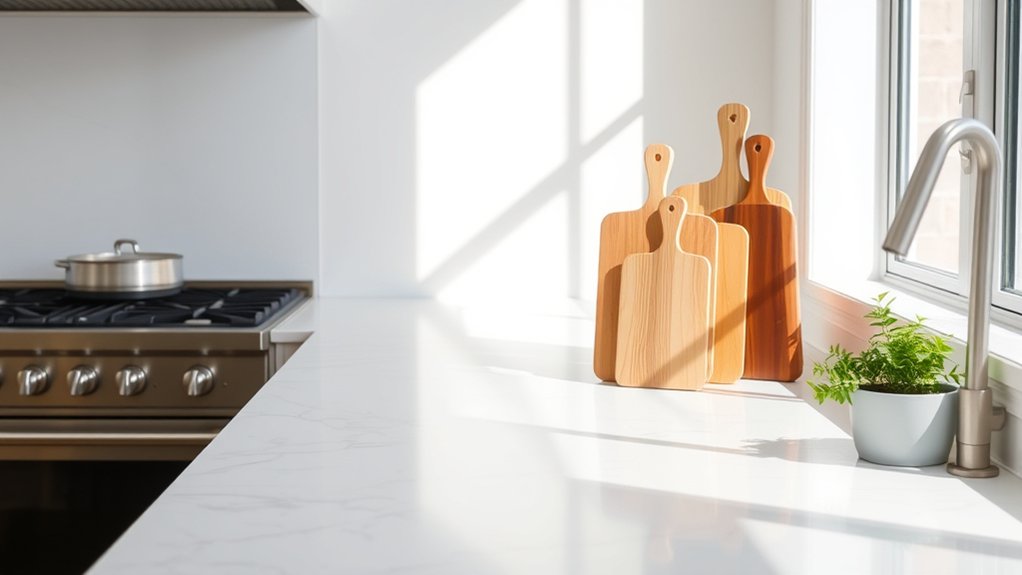
Choose a spot away from the sink, stove, and countertop edges to keep your cutting boards dry, cool, and secure. Position your display where you can reach each board without stretching across appliances or moving other items.
Place your cutting board display in a dry, cool, accessible spot away from sinks, stoves, and countertop edges.
Leave enough clearance around the stack or rack so you can lift one board smoothly. Keep handles, grooves, and decorative details visible.
Countertop safety starts with stability. Set the boards on a level surface, then check that they don’t wobble, slide, or lean against fragile containers.
A compact rack, stand, or non-slip base can keep the display upright while preserving workspace. Choose an arrangement that won’t interfere with food preparation, cabinet doors, drawers, or walkways.
Material considerations also shape your placement. Heavy wood boards need firm support, while lightweight bamboo or composite boards may require extra grip.
If you display several sizes, place larger boards behind smaller ones. This keeps the collection balanced, accessible, and visually organized without crowding your counter.
Keep Boards Away From Heat and Moisture
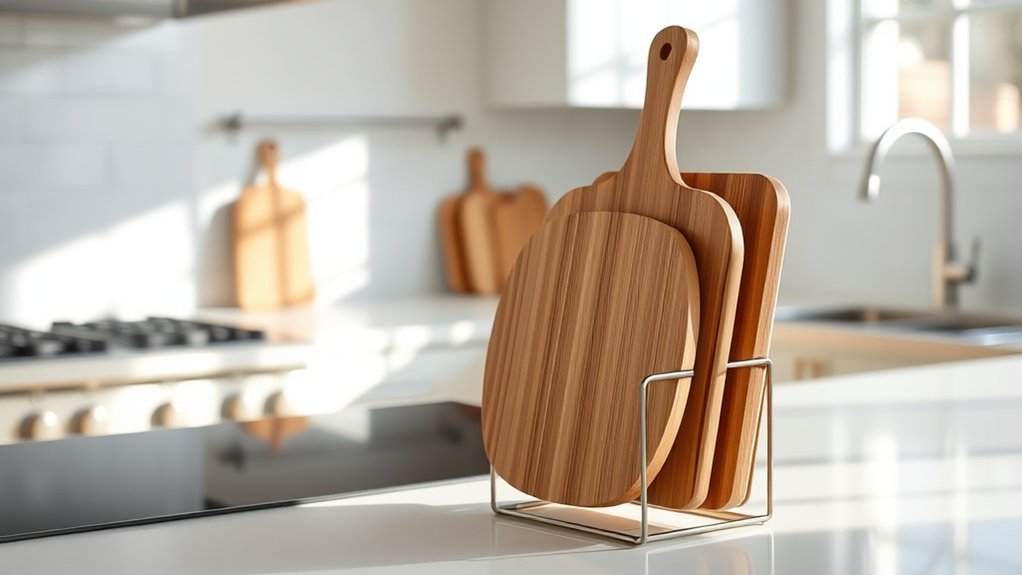
Keep your cutting board display away from direct heat and lingering moisture to prevent warping, cracking, stains, and mold. Don’t lean boards against a toaster, range, oven, or dishwasher, where heat damage can build gradually.
Leave several inches between boards and hot appliances, and move them before cooking if nearby surfaces become warm.
For moisture control, dry each board completely before displaying it. Wipe spills from the counter, avoid resting boards beside the sink, and check the bottom edges regularly.
Good airflow helps wood release hidden dampness, so don’t press boards tightly against wet walls or crowded surfaces.
| Risk | Warning sign | Quick action |
|---|---|---|
| Heat | Warm, dry board | Relocate it |
| Moisture | Damp edges | Dry thoroughly |
| Mold | Dark spots, odor | Clean and inspect |
If a board feels warped, smells musty, or shows splitting, remove it from display. Clean it according to its material, let it air-dry fully, and condition wooden boards when needed.
These habits keep your collection attractive and usable.
Pick a Display Method That Fits Your Space
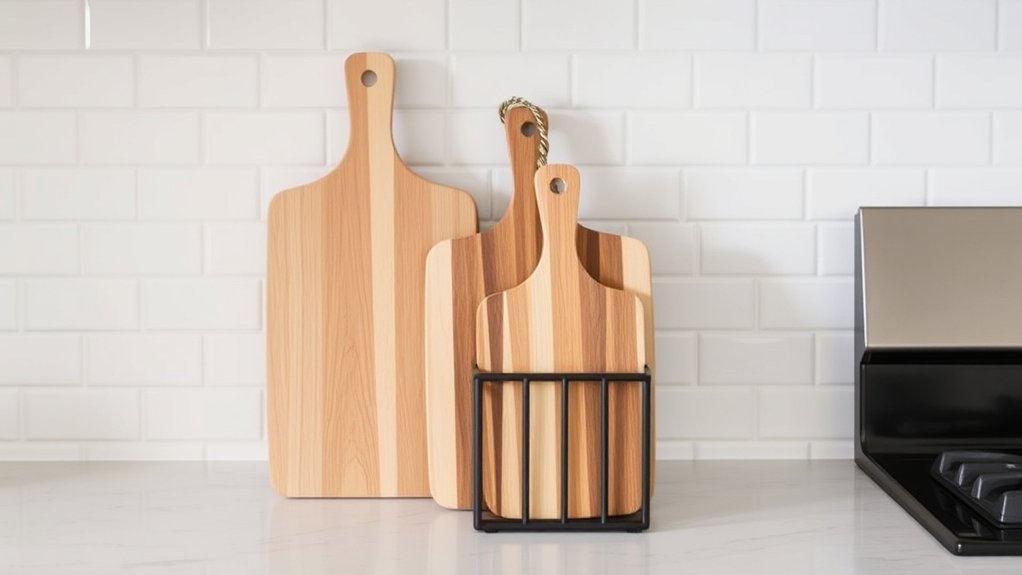
Your counter’s layout should guide the display method, whether you lean one board against a backsplash, stack several on a stand, or hang them on a nearby wall. Choose an arrangement that keeps preparation areas accessible and leaves enough room for daily tasks.
Let your counter’s layout guide your cutting board display, keeping preparation space clear while adding practical visual interest.
If you have a narrow counter, display one distinctive board where it won’t crowd appliances or supplies. On a spacious island, group boards by size to create a balanced focal point without overwhelming the surface.
Consider your kitchen’s style when selecting material options. Warm wood suits traditional rooms, while bamboo, marble, or food-safe composite boards can complement modern finishes.
Use texture and color as decorative accents, but keep the overall arrangement intentional. You can coordinate a board with cabinet tones, hardware, or nearby textiles for a unified look.
Before settling on a method, test sightlines from the room’s main entrances. Your display should feel inviting, not obstructive, and remain easy to move when you need the counter.
Store Cutting Boards Upright in a Stand
Choose a stand that fits your counter and keeps your boards secure. Place each board upright so it’s easy to grab and the display stays neat. A properly sized stand saves space while adding a practical touch to your kitchen.
Choose the Right Stand
A sturdy stand lets you store cutting boards upright, keeping them accessible while adding a tidy, intentional look to your counter.
Choose a design with a stable, broad base that won’t wobble when you remove a board. Measure your boards first, then select slots wide enough for their thickness without allowing excessive movement.
Consider wood, bamboo, stainless steel, or coated metal, and match the finish to your kitchen’s style. These material considerations also affect durability, moisture resistance, and maintenance.
Look for smooth edges and removable dividers so you can clean every surface easily. Your stand should support the boards without scratching them, so avoid rough welds or unfinished interiors.
Before buying, check its height and footprint to ensure it fits comfortably beside your prep area without crowding nearby essentials.
Arrange Boards Vertically
Store cutting boards vertically in the stand so each one remains visible, accessible, and separated for airflow. Place the largest board at the back and the smaller boards toward the front, creating a balanced, layered display.
Leave enough space between boards to prevent trapped moisture, scratches, and lingering odors. Choose slots that hold each board securely without forcing it into place.
Keep handles, grooves, or decorative edges facing outward when you want to highlight their wooden aesthetics. Position the stand near your prep area, but keep it away from the sink and stovetop to limit splashes and heat exposure.
With thoughtful vertical storage, you’ll save counter space while turning practical kitchen tools into an organized focal point. Rotate boards occasionally so every surface dries fully and receives equal use.
Lean Boards Against the Backsplash
Lean your cutting boards against the backsplash at a stable angle so they won’t slip. Layer boards of different sizes to create a balanced display, while still keeping each one within easy reach. To protect the backsplash from scratches, add a barrier or place padded supports between the boards and the wall.
Choose a Stable Angle
Place your cutting boards at a slight angle against the backsplash, with their lower edges resting flat on the counter. This position keeps each board secure while making the arrangement easy to maintain.
Check the angle stability before you step away, especially if the counter has a polished or uneven surface. For reliable support:
- Keep the bottom edge fully grounded.
- Let the board touch the backsplash evenly.
- Adjust it until it resists sliding or tipping.
You’ll create better display balance when the board leans naturally rather than standing nearly upright. Leave enough space behind it for cleaning, but don’t push it so far forward that the board can slip.
Test the setup with a gentle touch. If it shifts, reduce the angle slightly, wipe the counter dry, or add a discreet nonslip pad beneath the lower edge for extra grip and confidence.
Layer Different Sizes
Vary the heights of your cutting boards to create a layered display against the backsplash. Place the tallest board at the back, then overlap medium and small boards slightly in front.
Keep each board’s grain, handle, or edge visible so the arrangement looks intentional. Choose complementary materials, such as warm wood, cool marble, or durable bamboo, for texture and contrast.
Use this guide:
| Board size | Best position |
|---|---|
| Extra-large | Back |
| Large | Behind center |
| Medium | Middle |
| Small | Front |
Leave enough space between boards for easy lifting. Before arranging them, apply suitable cleaning techniques for each surface and let every board dry completely.
Rotate sizes occasionally to refresh the display, and check that each piece remains stable during daily kitchen use. Keep the composition balanced by matching darker boards with lighter ones.
Protect the Backsplash
To protect the backsplash, position a slim support or cushioned rail behind the boards before leaning them upright. This barrier prevents scratches, chips, and greasy marks while keeping your display neat.
Leave a small gap for airflow, since trapped moisture encourages Bacterial growth and can stain painted walls. Keep the arrangement practical:
- Place the largest board at the back, then angle smaller boards in front.
- Separate raw-meat and produce boards, and don’t let used surfaces touch clean ones.
- Wipe each board completely dry before returning it to the counter.
This setup reduces Cross contamination and helps your backsplash stay cleaner. Choose a washable silicone rail or removable bumper, and clean it regularly.
If the boards slide, add nonslip pads beneath their lower edges. You’ll create a stable display without sacrificing hygiene or easy access.
Group Boards by Size and Shape
Group cutting boards by size and shape to create a tidy, intentional display. Start by choosing one location on your counter, then arrange akin-shaped boards together.
Keep rectangular boards in one group and reserve a separate spot for round, oval, or specialty designs. Within each group, consider size: place large boards where they’re easy to access, and keep smaller boards nearby for quick tasks.
This system makes your collection look organized while helping you select the right surface efficiently.
Leave enough room between groups so each board remains visible and easy to remove. You don’t need to display every piece; store extras elsewhere to prevent a crowded counter.
Match the arrangement to your kitchen’s style, whether you prefer a precise layout or a relaxed grouping. Consider how Material options, such as wood, bamboo, or composite, affect the overall look.
Apply practical Maintenance tips, including keeping boards dry and away from standing water, to preserve their appearance.
Layer Cutting Boards for Visual Depth
Layer cutting boards in different sizes to add visual depth to your counter. Mix wood grains, colors, and textures to create more interest. Overlap the edges strategically so each board stays visible and easy to grab.
Vary Board Sizes
Mix two or three cutting boards in different sizes to create visual depth without crowding the counter. Choose one generously sized board as your anchor, then lean smaller boards in front of it. This arrangement gives each piece a visible edge while keeping the display practical.
- Place the largest board at the back, slightly angled against the backsplash.
- Add a medium board in front, shifting it to one side.
- Finish with a slim, small board near the base for balance.
Let the sizes create a gentle staircase rather than a rigid stack. Align their lower edges loosely, and leave enough space to lift each board easily.
Wood grains can guide your arrangement. Position longer patterns vertically or horizontally to complement the counter. Consider material differences, too, using size to separate each board visually without adding clutter.
Mix Textures
Use contrasting textures to give your cutting board display depth and character. Pair a smooth, polished wood board with a rougher, hand-hewn piece to create appealing texture contrast.
You can also add a marble or slate board for a cool, refined surface beside warm wood. This material mix keeps your arrangement from looking flat or overly coordinated.
Choose finishes that complement your kitchen’s style, such as pale maple with white marble for an airy look or dark walnut with soapstone for richer drama. Keep the palette restrained so the varied surfaces feel intentional rather than chaotic.
Let each board show its unique grain, edge, or patina. A woven basket, ceramic crock, or linen towel nearby can reinforce the tactile theme without competing with the boards’ natural textures.
Overlap Strategic Edges
Once you’ve combined varied textures, overlap the boards slightly to create depth and keep the display from looking flat. Place the largest board behind the others, then stagger smaller boards in front so each shape remains visible. Use these steps:
- Match the boards’ lower edges or lean them at complementary angles for intentional edge alignment.
- Let one rounded corner peek beyond another board, creating layers without hiding useful character.
- Check the arrangement from several viewpoints, adjusting spacing until you achieve display symmetry without making the grouping look rigid.
Keep overlaps modest, especially near the counter’s working area, so you can grab a board easily. Rest the stack against a backsplash, stand, or small riser for stability.
Vary the visible wood grain, handles, and silhouettes to guide the eye naturally through the layered arrangement.
Add Color With Coordinated Boards
Coordinated cutting boards can bring color and personality to your kitchen counter without making it look cluttered. Start with a simple palette that complements your cabinets, backsplash, or nearby textiles. Color coordination helps you create a polished display while still letting each board contribute its own character.
Choose two or three shades, such as warm wood, creamy white, and muted green. You can also select boards in one color family, then vary their shapes and sizes for visual interest.
Board pairing works especially well when you combine a large rectangular board with a smaller round or oval design. Let the brightest piece act as an accent, while neutral boards keep the arrangement balanced.
Consider your kitchen’s lighting and finishes before you buy. Bold colors may energize a pale room, while earthy tones can soften sleek surfaces.
Rotate seasonal colors occasionally, and keep the overall palette consistent so your counter looks intentional rather than busy. Arrange boards upright or slightly angled to show their colors clearly.
Contain Cutting Boards in a Decorative Tray
A decorative tray keeps cutting boards contained while giving your counter display a finished look. Choose a tray that’s slightly wider than your largest board, so everything sits securely without looking crowded. Wood, metal, or woven designs can complement your kitchen’s finishes while adding useful texture.
Arrange your boards from tallest to shortest, leaning them against the backsplash or a wall. Keep handles, grooves, and attractive edges visible, but leave enough space to lift each board easily.
For effective counter organization:
- Place the largest board at the back for stable support.
- Add smaller boards in front, slightly overlapping them.
- Reserve a corner for a knife-free accessory, such as a folded towel.
Use the tray to define the display’s footprint and protect your counter from scratches or crumbs. Choose one with raised edges if your boards slide easily.
You’ll create a tidy, portable arrangement that stays accessible for prep while making the entire counter feel intentional and orderly.
Refresh Your Cutting Board Display Seasonally
Seasonal updates keep your cutting board display feeling fresh without requiring a full kitchen makeover. Rotate boards according to the season, choosing lighter woods and bright accents for spring and summer, then richer tones and textured materials for fall and winter.
Add Seasonal decor sparingly, such as a small vase, folded tea towel, or bowl of produce, so your arrangement stays useful rather than crowded.
Before changing your display, wipe each board with a damp cloth and mild soap, then dry it completely. Follow practical Cleaning tips by applying food-safe mineral oil when the wood looks dull or feels dry.
Don’t soak wooden boards, place them in the dishwasher, or return them to the counter while damp. Check your tray and surrounding counter, too, removing crumbs and moisture that could encourage odors or mold.
Keep your tallest board at the back, layer smaller boards in front, and leave enough space to lift each one easily.ennial
Frequently Asked Questions
How Often Should Displayed Cutting Boards Be Cleaned and Sanitized?
Clean displayed cutting boards after every use, especially after cutting raw meat, poultry, seafood, or eggs. Your cleaning frequency should also include a daily wipe-down if you leave boards exposed, since dust and kitchen splashes can accumulate.
Use these sanitizing tips: wash with hot, soapy water, rinse, then apply a food-safe sanitizer according to its label. Let boards air-dry completely before displaying them again. Replace boards when deep grooves remain.
Can Decorative Cutting Boards Safely Be Used for Food Preparation?
Yes, you can use decorative cutting boards for food preparation, but check their materials and condition first. Choose boards labeled food-safe, non-toxic, and suitable for cutting.
Avoid painted, varnished, cracked, or heavily textured surfaces unless the manufacturer confirms they’re safe. Keep decorative accents separate from raw-meat preparation when possible.
Wash and sanitize each board thoroughly. Your safety considerations should include cross-contamination, deep grooves, and proper drying after every use.
What Materials Are Best for Attractive, Durable Cutting Boards?
Material options matter when you want attractive, durable cutting boards. Choose hard maple, walnut, or teak for warm grain, reliable strength, and gentle knife performance.
Bamboo offers affordable durability, though it can feel harder on blades. For a sleek statement, consider food-safe composite or tempered glass, but glass dulls knives quickly.
Your aesthetic considerations should include color, edge detail, and finish. You’ll get lasting beauty by choosing boards with tight grain and applying mineral oil regularly.
How Should Engraved or Personalized Cutting Boards Be Maintained?
Wash your engraved or personalized cutting board by hand with warm water and mild soap, then dry it immediately. Don’t submerge it, use a dishwasher, or apply harsh cleaners, which can damage the wood and fade details.
For engraving preservation, rub on food-safe mineral oil or board wax monthly, focusing on carved areas. Your personalization care routine should also include gentle sanding when fibers rise and storing the board upright, away from heat and direct sunlight.
When Should a Cutting Board Be Replaced Due to Wear or Damage?
Replace your cutting board when deep grooves, cracks, splits, or warping develop, especially if you can’t clean and sanitize those areas effectively. Discard it immediately if it shows mold, a persistent odor, or damage from excessive moisture.
These damage indicators compromise food safety and shorten board longevity. Light surface scratches usually aren’t a concern, but you should sand and refinish wooden boards periodically.
If sanding no longer restores a smooth surface, replace the board.
Conclusion
With the right spot and a little creativity, you can turn cutting boards into useful kitchen décor. Keep them away from heat and moisture, then choose a stand, tray, or backsplash arrangement that suits your counter.
Layer different sizes, coordinate colors, and refresh the display with the seasons. Think of your boards as a small stage: each one adds shape, warmth, and personality while staying ready for your next meal. These ideas make displaying cutting boards on a kitchen counter both practical and stylish.