How to Organize Your Kitchen Pantry in 3 Steps
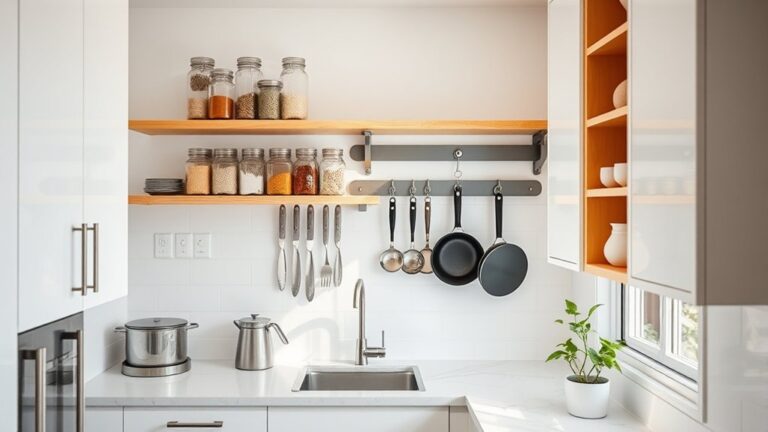
Keeping your kitchen pantry organized can feel like a constant battle, especially when expired foods, cluttered shelves, and hard-to-find staples pile up. You’re not alone—many people struggle to maintain an efficient pantry. The right products can make kitchen pantry organization simpler and more sustainable.
Organize your kitchen pantry in three steps: declutter, sort, and maintain. First, remove expired, spoiled, or unused foods, then wipe shelves and note replacements. Next, group items by type and frequency, keeping daily staples within easy reach and heavy goods low. Use clear, airtight containers, label them, and place older products in front.
Finally, clean spills promptly, check dates weekly, and review your system monthly. Keep going for practical details that make pantry organization easier.
Key Takeaways
- Declutter first by discarding expired, spoiled, damaged, or unused food and wiping shelves clean.
- Group foods by type, such as grains, canned goods, baking supplies, snacks, and spices.
- Place frequently used items at eye level and heavy or occasional-use products on lower or higher shelves.
- Transfer staples into suitable airtight containers, then label containers with contents and expiration dates.
- Maintain order by rotating older items forward, cleaning spills promptly, and reviewing pantry contents regularly.
Declutter Expired and Unused Pantry Foods
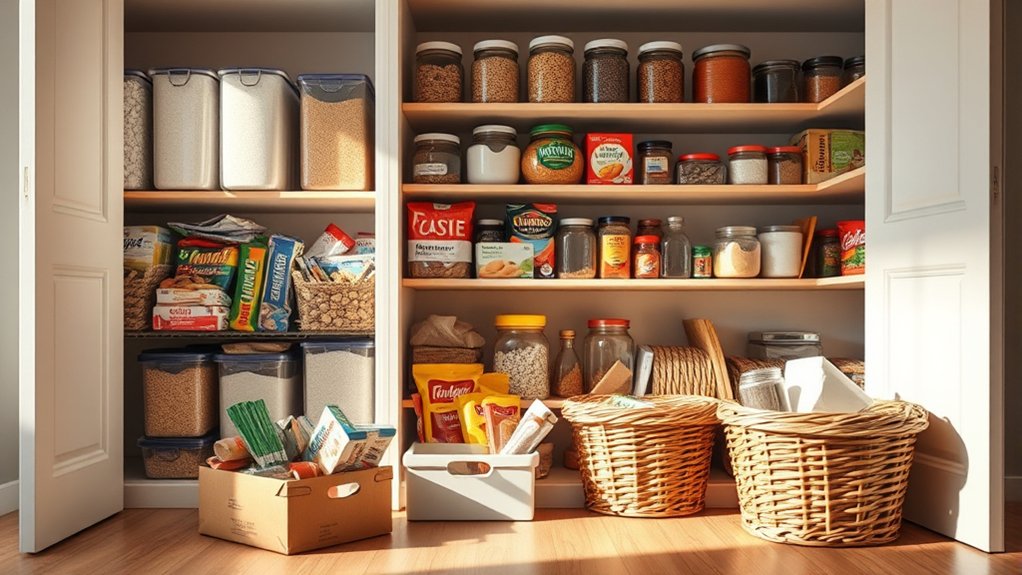
Before you organize anything, remove expired, spoiled, and unused pantry foods. Empty one shelf or section at a time, checking dates, seals, odors, and visible signs of pests or moisture. If you can’t remember when you opened an item and won’t use it soon, set it aside.
> Clear expired, spoiled, and unused foods first, checking each item’s freshness, condition, and likelihood of being used soon.
Discard unsafe food, then donate unopened, unexpired products you realistically won’t eat. Don’t keep duplicates simply because you might need them someday; reducing excess creates useful space.
Wipe crumbs and spills from cleared surfaces, and inspect corners for leaks or insects. Keep a small trash bag nearby so you can work efficiently.
As you decide what stays, consider shelf organization without arranging foods by type or frequency yet. Measure available space and note whether current container choices waste room, hide contents, or make packages difficult to remove.
You can replace unsuitable containers later, but first focus on removing clutter. Finish by recording items that need replacing, then leave the shelves clear for the next step.
Sort Pantry Items by Type and Frequency

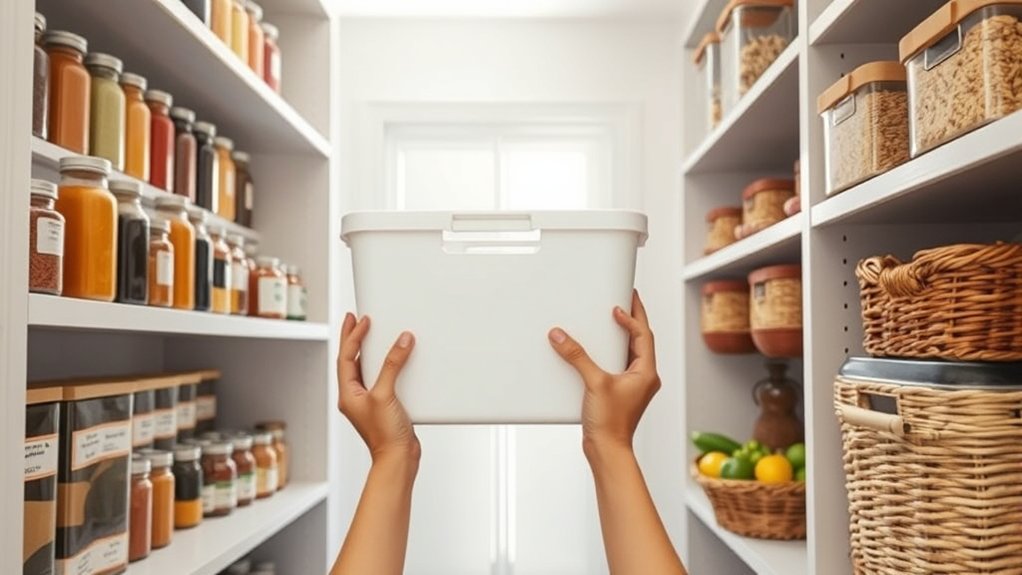
Once the pantry is clear, group the items you’re keeping by type, such as grains, canned goods, baking supplies, snacks, and spices. Keep similar products together so you can find what you need quickly and see when a category is running low.
Next, sort each group by frequency of use. Place everyday staples, such as cereal, rice, and coffee, at eye level or within easy reach. Move occasional-use ingredients, including specialty flours and holiday baking supplies, to higher or less accessible shelves.
Reserve lower shelves for heavier items, such as large cans or bottles, to make lifting safer. Plan your shelf arrangement around your cooking habits, keeping frequently used categories near the pantry entrance.
Consider different container types when grouping items by shape and size, but focus on practical access rather than appearance. Leave enough room between categories to remove one item without disturbing the others, and avoid cramming shelves so you can scan contents at a glance.
Store, Label, and Maintain Your Kitchen Pantry
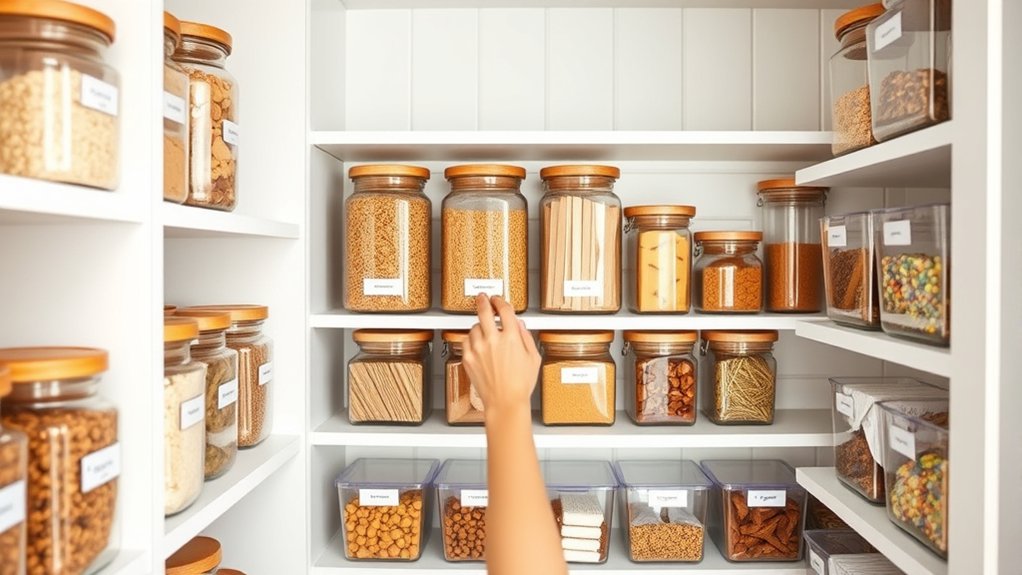
Store pantry items in containers that match how often and how quickly you use them. Keep daily staples in clear Storage containers at eye level, while reserve supplies can go on higher or deeper shelves. Choose airtight jars for flour, rice, and cereal to preserve freshness and deter pests.
Use bins to group snacks, baking ingredients, or small packets, and leave enough space to remove each container easily.
Create simple Labeling systems that show each item’s name and expiration date. Add labels to both containers and shelves so you can return supplies to the correct spot.
Arrange older products in front and newer ones behind them, then check dates during your weekly grocery routine.
Wipe shelves and containers as needed, and immediately clean spills to prevent odors or pests. Review your pantry monthly, discard stale food, and adjust storage as your shopping habits change.
A consistent system keeps your pantry tidy, visible, and efficient.
Frequently Asked Questions
How Often Should I Completely Reorganize My Kitchen Pantry?
You should completely reorganize your kitchen pantry every three to six months, or sooner if items become difficult to find. During each reset, remove expired food, wipe shelves, group similar products, and review your shelf labeling.
Check storage containers for cracks, missing lids, and stale contents, replacing them as needed. Between major reorganizations, spend five minutes weekly returning items to their places and addressing spills, so your pantry stays functional.
What Pantry Design Works Best for Small Kitchens?
A medieval apothecary’s shelves inspire the best small-kitchen pantry design: choose tall, narrow shelving with adjustable tiers and pull-out baskets. Use clear containers, door-mounted racks, and labeled bins to keep every ingredient visible.
These storage solutions support space optimization by using vertical walls, cabinet corners, and unused door surfaces. Select slim rolling carts for gaps beside appliances, and install lazy Susans in deep corners. You’ll gain access, reduce clutter, and maximize capacity.
How Can I Childproof Pantry Shelves and Storage Areas?
Secure tall shelving to wall studs, and install childproof latches on pantry doors, drawers, and bins. Keep heavy cans, glass jars, cleaning products, and sharp tools below adult-accessible locks or in a separate cabinet. Store small choking hazards out of reach, and avoid overloading shelves.
Check Shelf stability regularly for loose brackets, warping, or tipping risks. For stronger Child safety, add door alarms and supervise young children whenever they enter the pantry.
Which Pantry Materials Help Prevent Pest Infestations?
Pest proof containers work better than loose bags because airtight seals block insects and preserve freshness. Choose sturdy glass, metal, or thick, sealed plastic containers; inspect seams and lids regularly, since even small gaps invite pests.
Natural deterrents, such as bay leaves, can add a mild repellent effect, but they won’t replace sanitation. You’ll prevent infestations most effectively by cleaning spills promptly, rotating stock, discarding damaged packages, and storing food off the floor.
How Much Should I Budget for Pantry Organization Upgrades?
You should budget $50–$300 for pantry organization upgrades, depending on your pantry’s size and the products you choose. For budget planning, start with essential containers, shelf risers, labels, and airtight bins, then add specialty items later.
Cost-effective upgrades include repurposing jars, installing tension rods, and using stackable baskets. Measure your shelves before shopping, compare prices, and reserve 10–15% for unexpected needs or replacements. This approach keeps your spending practical.
Conclusion
With these three steps, you’ll turn your pantry into a cleaner, calmer space. Toss expired or unused foods, then group remaining items by type and how often you use them.
Store everyday staples within easy reach, label containers clearly, and check your shelves regularly. Remember, “a place for everything and everything in its place.”
Spend a few minutes maintaining your system each week. By following these kitchen pantry organization steps, you’ll save space and time while reducing food waste.