How to Install a Kitchen Sink in 3 Steps
Replacing a kitchen sink can feel overwhelming, especially when you’re worried about leaks, loose fittings, or damaging the countertop. You’re not alone—many homeowners struggle to know where to start. The good news is that learning how to install a kitchen sink can make the process much easier.
To install a kitchen sink in three steps, first turn off the water, disconnect the plumbing, remove the old sink, and clean the countertop opening.
Next, apply silicone beneath the new sink’s rim, lower it into place, and tighten mounting clips evenly.
Finally, attach the drain, P-trap, faucet, and hot and cold supply lines. Open the valves slowly, run water, and check every connection for leaks.
Follow the detailed steps below for a secure, watertight installation.
Key Takeaways
- Shut off water, disconnect the plumbing, remove the old sink, and clean the countertop opening thoroughly.
- Apply silicone beneath the new sink rim, position it evenly, and secure it with mounting clips.
- Let the silicone cure according to the manufacturer’s instructions before connecting plumbing.
- Install the drain, tailpiece, and P-trap with gaskets or plumber’s putty, tightening connections carefully.
- Reconnect hot and cold supply lines, open valves slowly, and check every joint for leaks.
Prepare to Install Your Kitchen Sink
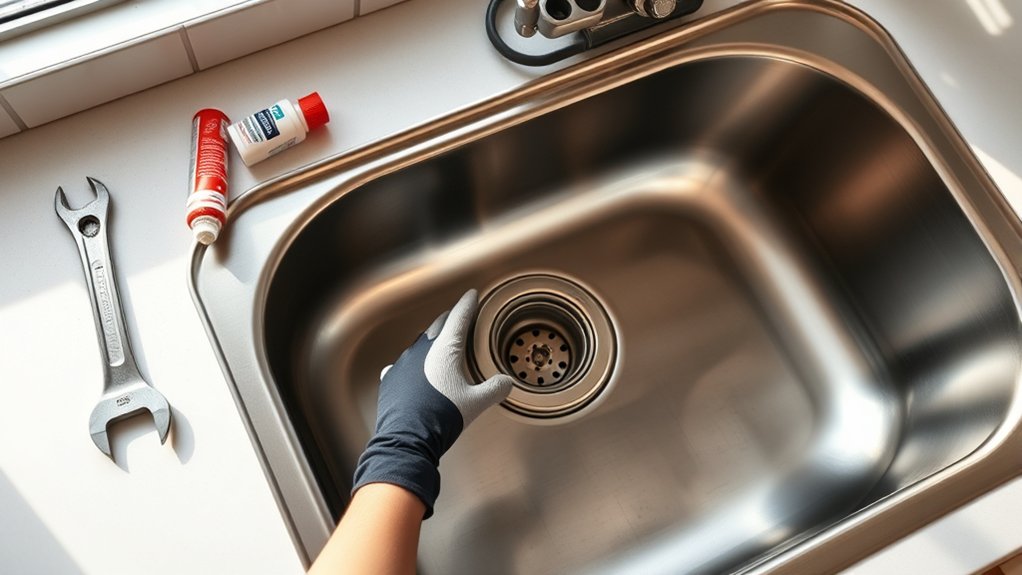
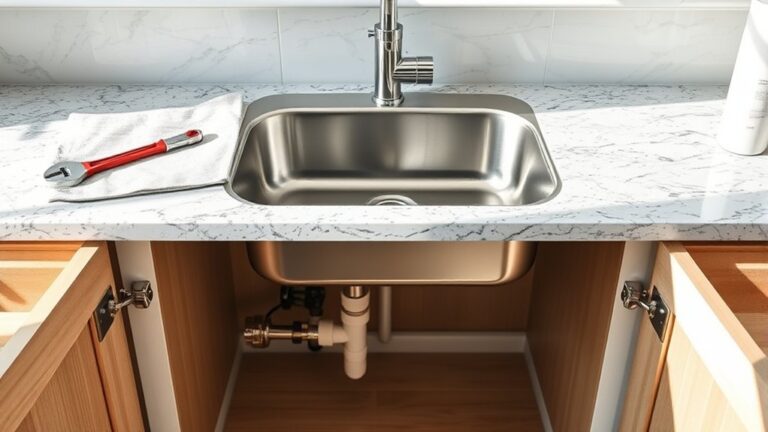
Before installing your kitchen sink, gather the sink, faucet, drain assembly, plumber’s putty, silicone caulk, a basin wrench, adjustable wrench, screwdriver, tape measure, and bucket. Turn off the water supply valves beneath the cabinet, then open the faucet to release pressure.
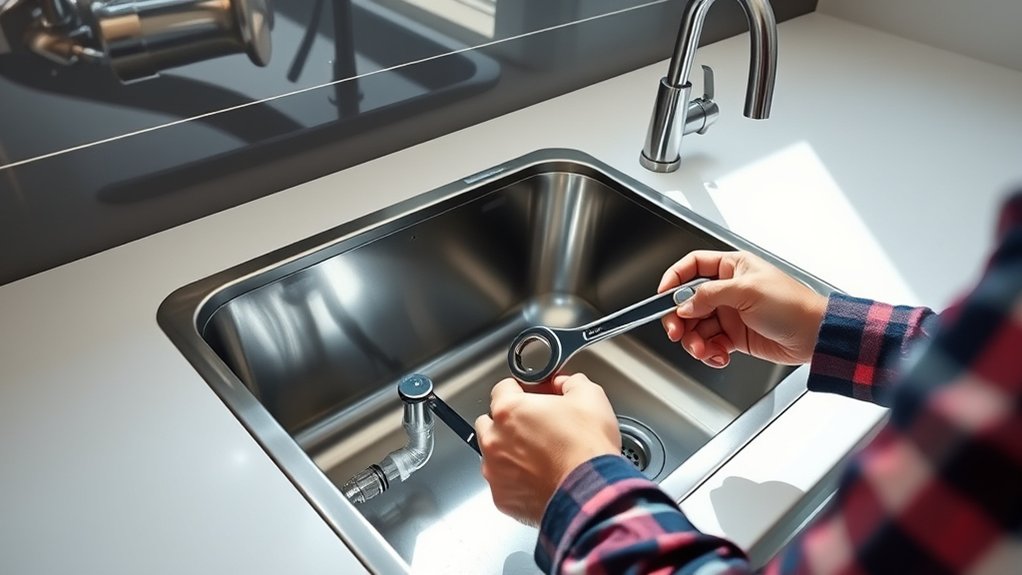
Place the bucket under the existing connections to catch residual water. Disconnect the supply lines and drain trap with your wrench, and label each line if necessary.
Catch residual water in a bucket, then disconnect and label supply lines and the drain trap for organized installation.
Remove clips or fasteners holding the old sink, then lift it out carefully. Scrape away old sealant and clean the countertop opening thoroughly.
Measure the opening and compare it with your new sink’s dimensions to confirm a proper fit. Inspect the cabinet for water damage, and repair weak areas before continuing.
Read the manufacturer’s instructions, check every component, and plan your faucet maintenance access. Keep the work area dry and organized; thorough sink cleaning now helps prevent debris from entering the plumbing later.
Set and Secure the Sink in Place

With the countertop opening clean and the fit confirmed, apply a continuous bead of silicone caulk around the sink’s underside rim. Lower the sink straight into position, avoiding shifts that could smear the sealant. Press evenly along the rim so the caulk spreads beneath the flange.
| Task | What you’ll do | Check |
|---|---|---|
| Position | Center the basin | Even reveal |
| Secure | Tighten clips gradually | Firm contact |
| Seal | Wipe away squeeze-out | Clean edge |
Install the mounting clips beneath the countertop, spacing them according to the manufacturer’s instructions. Tighten each clip in small, alternating increments; excessive force can crack the counter or distort the sink.
Recheck the countertop fitting from above, ensuring the rim sits flush without rocking. Complete faucet installation before access beneath the sink becomes difficult, if your sink design permits it.
Don’t disturb the sink while the silicone cures. Follow the caulk manufacturer’s curing time before using the basin or placing weight on its rim.
Remove painter’s tape and inspect the finished seal for gaps. A smooth, continuous bead helps prevent moisture from reaching the cabinet below.
Connect the Drain and Supply Lines
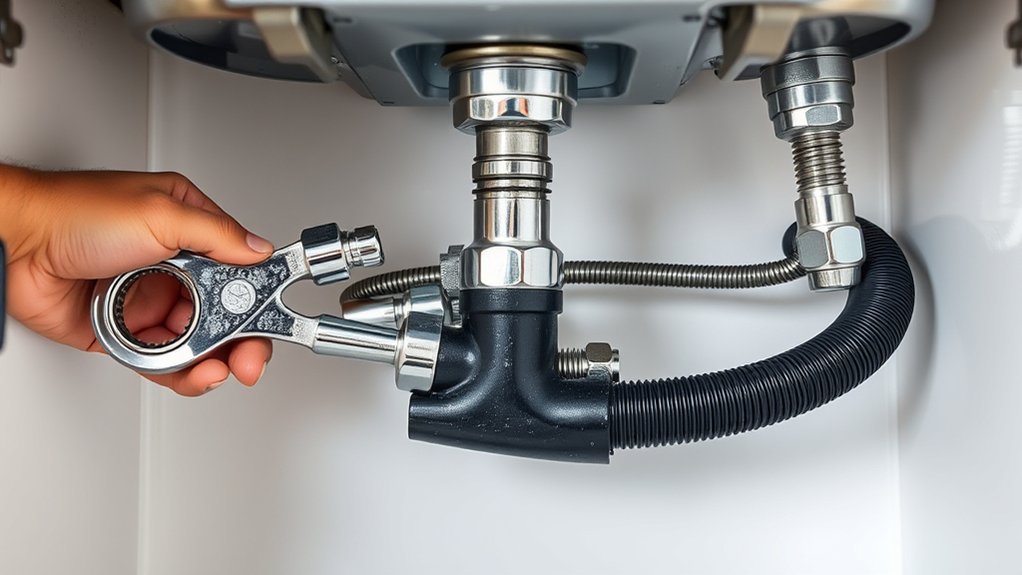
Once the silicone has cured, connect the drain assembly to the sink’s drain opening, using the included gasket and flange to create a watertight seal. Tighten the locknut beneath the basin, but don’t overtighten it, or you could crack the sink.
Once the silicone cures, install the drain with its gasket and flange, tightening the locknut carefully to avoid cracking the sink.
Apply plumber’s putty or approved sealant around threaded connections as directed; careful sealant application prevents leaks without obstructing the drain.
Attach the tailpiece to the drain, then connect the P-trap. Check pipe alignment before tightening slip nuts so the trap sits level and connects smoothly to the wall pipe.
Hand-tighten each nut, then give it a small additional turn with pliers.
Next, connect the hot and cold supply lines to the faucet’s shutoff valves. Match hot to hot and cold to cold, and avoid crossing or sharply bending the lines.
Open both valves slowly, then run water through the faucet. Inspect every joint for drips, tightening fittings slightly if necessary.
Finally, fill the basin and drain it to test the complete system.
Frequently Asked Questions
How Much Does Professional Kitchen Sink Installation Typically Cost?
You’ll typically pay $250–$800 for professional kitchen sink installation, including labor, with costs rising to $1,000 or more if you need new plumbing, countertop modifications, or garbage-disposal work.
Pricing estimates vary by sink type, location, and local labor rates. Ask for a detailed quote before scheduling service.
DIY installation can reduce expenses, but you’ll need suitable tools and plumbing skills. Hiring a professional helps prevent leaks, damage, and costly corrections later.
What Sink Materials Are Easiest to Clean and Maintain?
Stainless steel and porcelain-enamel sinks are generally easiest to clean and maintain. Stainless steel resists stains, heat, and impact, while porcelain offers a smooth, nonporous surface that wipes clean easily.
Cleaning tips: use mild dish soap, a soft sponge, and warm water. Avoid abrasive pads and harsh chemicals.
Maintenance routines should include rinsing after use, drying the basin, and promptly removing food debris or standing water.
How Often Should a Kitchen Sink Be Replaced?
You should typically replace your kitchen sink every 15–30 years, depending on its material, condition, and daily use. Replace it sooner if you notice persistent leaks, deep rust, cracks, stains, or damage you can’t repair.
When choosing a replacement, consider durable materials and compatible Faucet types. Consider nearby Bathroom fixtures only if your remodeling project includes them.
Don’t wait for serious water damage. Inspect seals and plumbing regularly to extend your sink’s lifespan.
Can I Install a Garbage Disposal With Any Kitchen Sink?
You can’t install a garbage disposal with every kitchen sink. Check sink compatibility first: most standard sinks include a removable drain flange designed for disposal mounting, but some farmhouse, extra-thin, integrated, or specialty sinks may require an adapter or won’t support the unit’s weight.
Confirm the drain opening size, mounting hardware, cabinet space, electrical requirements, and plumbing layout. Always follow the manufacturer’s specifications, and consult a professional if anything doesn’t match.
What Are the Best Ways to Prevent Kitchen Sink Clogs?
Preventing kitchen sink clogs isn’t mainly about luck; your daily habits determine whether buildup forms. Keep grease, oil, coffee grounds, eggshells, rice, and fibrous scraps out of the drain.
Use a sink strainer, scrape plates thoroughly, and run cold water while operating your garbage disposal. Flush the drain with hot water regularly, but don’t rely on harsh chemicals.
Schedule professional Drain cleaning and consistent Pipe maintenance when slow drainage appears.
Conclusion
With these three steps, you can install your kitchen sink confidently: prepare the opening, secure the basin, and connect the drain and supply lines.
Take your time checking each seal, and test for leaks before using the sink. You’ll also appreciate this fact: the average person spends nearly three hours a day in the kitchen, so a properly installed kitchen sink can make countless daily tasks easier.
If anything feels uncertain, call a licensed plumber.