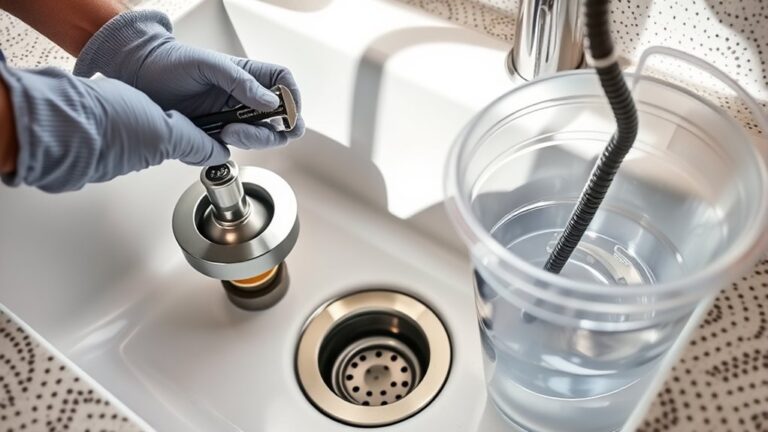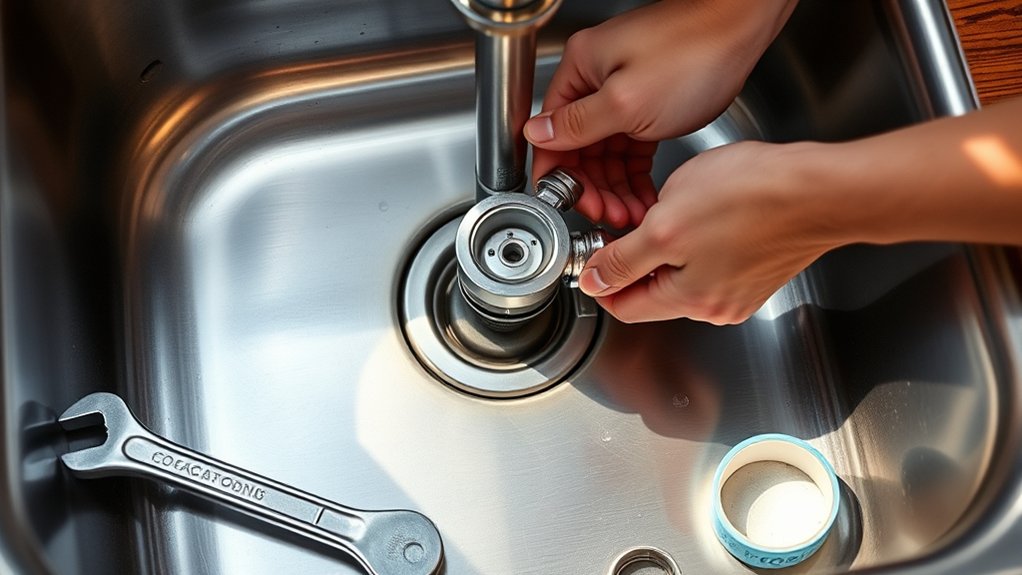
How to Install a Kitchen Sink Drain in 7 Steps
A leaking or poorly fitted kitchen sink drain can quickly turn into a frustrating mess, especially when you’re unsure where to start. You’re not alone—many people struggle with this repair, but learning how to install a kitchen sink drain can make the job much easier.
Install a kitchen sink drain in seven steps: gather a basket strainer, putty, pliers, a bucket, and rags; remove the old drain; and clean and dry the opening.
Roll plumber’s putty around the new flange, set it in place, and secure it underneath with the gasket, ring, and locknut.
Connect the drainpipe and P-trap, then hand-tighten and snug each joint.
Run water, inspect for leaks, and investigate the detailed steps below for extra guidance.
Key Takeaways
- Gather the new basket strainer, plumber’s putty, wrench, pliers, bucket, screwdriver, rags, and compatible washers and fittings.
- Place a bucket underneath, disconnect the drainpipe and P-trap, remove the old strainer, and clean the sink opening thoroughly.
- Apply plumber’s putty beneath the new flange, center it in the opening, and install the gasket, friction ring, and locknut underneath.
- Reconnect the tailpiece and P-trap using properly positioned washers and slip nuts, tightening connections without overtightening.
- Run water, inspect every joint for leaks, tighten slightly if necessary, and retest until all connections remain completely dry.
Gather Tools and Drain Supplies
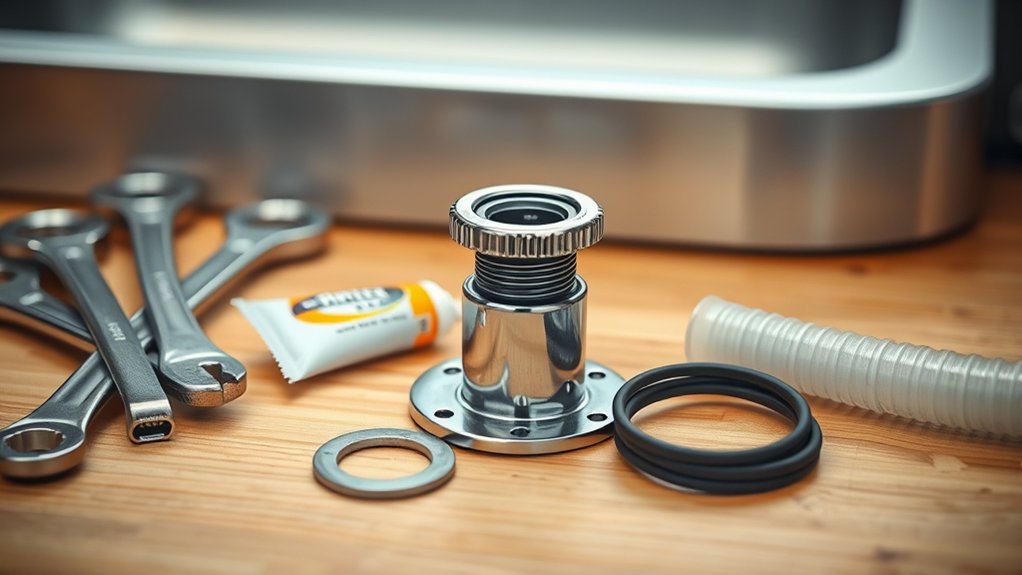
Before you begin, gather a basket strainer, plumber’s putty or silicone sealant, a drain wrench or adjustable pliers, a bucket, a screwdriver, and clean rags. Choose a strainer that matches your sink opening and confirm that its flange, gasket, and locknut fit together correctly.
Gather the right tools and confirm your basket strainer’s components fit properly before beginning installation.
Check your Drain materials for cracks, corrosion, or missing washers before starting. You may also need a flashlight, a small wire brush, and a shallow pan to catch moisture during preparation.
Review the manufacturer’s instructions if your strainer includes specialized parts or requires silicone instead of putty. Practice Tool safety by wearing gloves, keeping sharp edges covered, and using properly sized pliers or wrenches.
Protect the cabinet floor with a towel, and keep supplies organized within reach. Don’t force threaded components; damaged threads can cause leaks later.
Finally, verify you’ve got adequate lighting and enough workspace to handle each component comfortably and accurately.
Remove the Old Kitchen Sink Drain
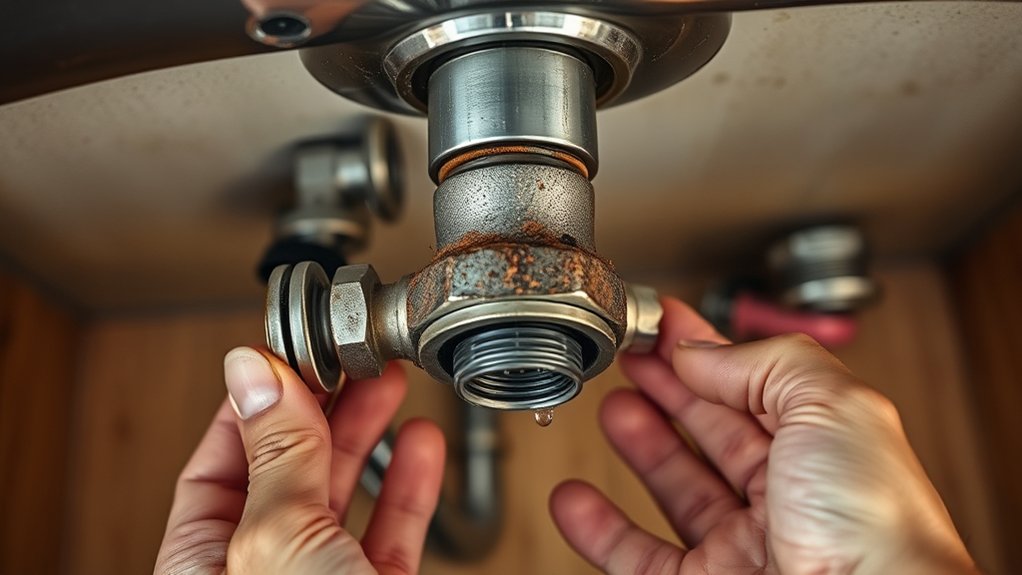
Start by placing a bucket beneath the drain assembly to catch standing water, then loosen the slip nuts connecting the drainpipe to the basket strainer. Use adjustable pliers if the nuts resist turning, and keep a towel nearby for spills. Remove the washers and carefully lower the drainpipe from the sink basin.
Next, loosen the large retaining nut beneath the sink that holds the basket strainer in place. Support the strainer from above with one hand while turning the nut with pliers or a basin wrench.
Once you’ve removed the nut, take off the rubber gasket, friction ring, and any remaining drain accessories.
Push the old basket strainer upward through the sink opening. If plumber’s putty or corrosion holds it tightly, work a flat screwdriver gently around the edge without scratching the surface.
Place the removed parts in a container, and discard damaged components. Don’t force corroded fittings, since excessive pressure can damage the sink or connected plumbing.
Clean the Sink Drain Opening
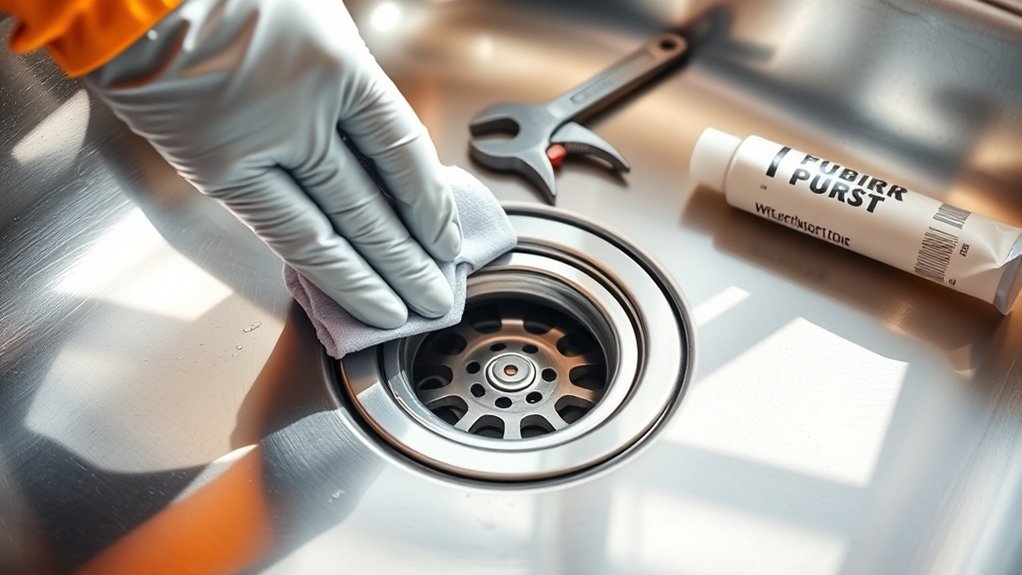
Remove the old putty from the sink drain opening with a putty knife. Then, scrub away any residue and grime using a sponge or brush. Make sure the opening is clean, smooth, and dry before installing the new drain.
Remove Old Putty
Once the old drain assembly is out, scrape away all putty from the sink’s drain opening with a plastic scraper or putty knife. Work carefully around the rim so you don’t chip the sink or gouge its surface.
Remove large pieces first, then lift remaining strips with the tool’s edge. If hardened putty resists, soften it slightly with a manufacturer-approved cleaner, following the product label.
Don’t use metal blades on delicate sink materials, and avoid forcing debris into the drain opening. Check the old drain flange and surrounding area for stuck sealant, since leftover material can prevent the replacement from sitting evenly.
Keep plumber’s tape and new sealing materials nearby, but don’t apply them yet. Once you’ve removed the visible putty, set the old pieces aside for disposal and prepare for the next cleaning step.
Scrub the Opening
With the old putty cleared away, scrub the drain opening with a damp nylon brush or nonabrasive sponge to remove fine residue and grime. Work around the entire rim, including the underside edge, where old sealant often hides.
Use gentle pressure so you don’t scratch the sink’s finish, especially on stainless steel, porcelain, or composite surfaces. For stubborn buildup, apply a small amount of mild dish soap and warm water, then wipe it away with a clean cloth.
Avoid steel wool, harsh powders, and abrasive cleaners, which can leave scratches or interfere with the new seal. These cleaning techniques support proper surface preparation.
Rinse the area thoroughly, then dry it completely with a lint-free towel. Run your fingertip around the opening; it should feel smooth, clean, and free of residue.
Apply Plumber’s Putty to the Flange
Roll a rope of plumber’s putty between your palms until it’s about 1/4 inch thick, then press it evenly into the groove beneath the drain flange. Join the ends smoothly so the ring forms a continuous seal without gaps, twists, or thick spots.
Keep the putty pliable as you work. If it crumbles, warm it briefly between your hands and reshape it.
For effective sealant application, wipe away crumbs, dust, or moisture from the flange’s underside before pressing in the putty. Check that the ring follows the entire circular channel and doesn’t hang over the edge.
You’ll want enough material to fill the groove, but avoid adding excess that could squeeze deeply into the drain opening.
Before setting the flange, confirm your flange positioning against the sink opening. Center it carefully, and make sure the putty contacts the rim all around.
Don’t use silicone or another sealant unless your drain manufacturer specifically requires it. Keep the prepared flange clean until you’re ready for the next step.
Install and Secure the Drain Assembly
Lower the drain flange through the sink opening, keeping it centered so the plumber’s putty contacts the rim evenly. From beneath the sink, slide the rubber gasket and friction ring onto the flange, then thread on the locknut by hand.
Check that the flange remains centered before tightening.
- Hold the flange steady from above.
- Tighten the locknut gradually with slip-joint pliers.
- Stop when the gasket compresses and the flange sits firmly.
- Wipe away squeezed-out putty around the rim.
Choose a drain material that matches your sink and local requirements, such as stainless steel, brass, or durable plastic.
If the manufacturer specifies sealant instead of, or in addition to, putty, apply the approved sealant in a thin, continuous bead beneath the flange.
Don’t overtighten the locknut. Excessive force can distort the flange, damage the sink, or split the gasket.
Inspect the assembly from above and below, confirming that it’s level, secure, and free of visible gaps. Clean the surrounding surfaces before proceeding.
Connect the Drainpipe and P-Trap
Next, attach the drainpipe to the sink strainer and tighten the connection by hand. Then install the P-trap and align it with both the drainpipe and the wall outlet. Make sure each fitting sits straight and snug to create a secure, leak-free path.
Attach Drainpipe to Strainer
With the drain strainer secured, connect the drainpipe to its outlet using a slip-joint nut and washer. Slide the nut onto the pipe, followed by the tapered washer, positioning the washer’s beveled edge toward the strainer. Check the drain gasket for damage before tightening.
- Hold the drainpipe beneath the strainer outlet.
- Confirm the pipe alignment stays straight and level.
- Push the pipe upward until it meets the outlet.
- Hand-tighten the slip-joint nut, then add a slight wrench turn.
Don’t overtighten the connection, or you could distort the washer and cause a leak. Place a bucket underneath, then run water through the drain.
Inspect both sides of the joint for drips. If you see moisture, loosen the nut, reseat the washer, and tighten it evenly. Keep the connection accessible for final leak testing.
Install and Align P-Trap
Once the drainpipe joint is dry, connect the P-trap to the pipe. Slide the trap’s slip nut and washer onto the drainpipe, then push the trap opening over the pipe. Hand-tighten the nut while keeping the trap level.
For proper P-trap alignment, position the curved section directly beneath the sink drain, with its outlet aimed toward the wall stub-out. Measure and cut the trap arm if necessary, ensuring it enters the wall fitting slightly without bottoming out.
Complete the drainpipe connection by adding the washer and nut, then tighten both joints with slip-joint pliers. Don’t overtighten, or you could damage the threads.
Place a bucket underneath, run water through the sink, and check every connection for leaks. If you find moisture, tighten the affected nut slightly and retest.
Test the Drain for Leaks
Turn on the faucet and let the water run into the sink while you inspect every connection beneath it. Watch the strainer, drain flange, tailpiece, and P-trap for drops.
This water testing confirms that each joint stays dry under normal flow. For reliable leak detection, use a flashlight and wipe each connection with a dry paper towel. Even a small damp spot signals a problem.
- Fill the sink halfway, then release the stopper to test the drain under a heavier flow.
- Check the connections again as water drains, paying attention to threaded nuts and slip-joint washers.
- Run your fingers around each joint, then inspect the cabinet floor for hidden moisture.
- If you find a leak, tighten the nut gently with slip-joint pliers. Don’t overtighten, or you could damage the washer.
Repeat the test after every adjustment. Once everything remains dry, wipe away residual water and keep the cabinet open for several minutes.
You can now use the sink confidently.
Frequently Asked Questions
Can I Install a Kitchen Sink Drain Without Removing the Sink?
Yes, you can usually install a kitchen sink drain without removing the sink. You’ll need access beneath the basin, enough clearance to loosen the existing strainer, and room to tighten the new fittings.
Turn off the water, place a bucket underneath, and disconnect the trap. Although sink removal isn’t normally necessary, stubborn, corroded parts may require it.
Take the opportunity for drain cleaning, then install fresh plumber’s putty and test carefully for leaks.
How Often Should a Kitchen Sink Drain Be Replaced?
You should replace your kitchen sink drain when it shows leaks, cracks, severe stains, or persistent odors—not on a fixed schedule. At first, it may seem fine, but hidden Pipe corrosion can suddenly cause water damage.
With regular Drain cleaning, a quality drain assembly often lasts 10–20 years. Inspect it annually, tighten loose connections, and replace worn seals promptly.
If corrosion spreads or repairs keep failing, don’t wait; install a new drain.
What Causes Unpleasant Odors From a Kitchen Sink Drain?
Food particles, grease, soap residue, and bacteria can build up inside your kitchen sink drain, creating unpleasant odors. A dry or dirty P-trap may also allow sewer gases to enter your home.
You can improve odor prevention by flushing the drain with hot water, removing debris, and keeping the strainer clean. Regular drain cleaning helps control buildup, while avoiding grease, coffee grounds, and fibrous scraps reduces recurring smells.
If odors persist, check for leaks or plumbing problems.
Can I Use Silicone Instead of Plumber’s Putty?
Yes, you can use silicone instead of plumber’s putty, but check your drain manufacturer’s instructions first. About 70% of household leaks start at connections or seals, so proper preparation matters.
Clean and dry the surfaces, then apply a thin, continuous bead of 100% silicone beneath the drain flange. Silicone sealing creates a durable, waterproof bond, while plumber’s putty alternatives may suit some materials better.
Let silicone cure fully before testing.
When Should I Call a Professional Plumber for Drain Installation?
Call a professional plumber when you can’t stop leaks, align the drain correctly, or access damaged, corroded, or hard-to-reach pipes. You should also get help if wastewater backs up, odors persist after Drain cleaning, or connections require specialized tools.
A plumber can prevent hidden water damage and verify a watertight installation. Include this service in your Plumbing maintenance plan, especially after replacing an old sink, modifying cabinetry, or noticing recurring drainage problems.
Conclusion
With your new kitchen sink drain installed, you’re ready to put everything back to work. You’ve removed the old assembly, sealed the flange, tightened the drain, and connected the P-trap.
Run water through the sink and check every joint for leaks, tightening connections if needed. Once everything stays dry, clean up your tools and enjoy the result.
Your kitchen sink drain should work smoothly, making everyday kitchen tasks easier and more reliable.