How Tall Should a Kitchen Counter Be?
Choosing the right kitchen counter height can be frustrating, especially when standard dimensions don’t suit your cooking style, seating needs, or comfort. You’re not alone—many people struggle to find the ideal balance between usability, accessibility, and style.
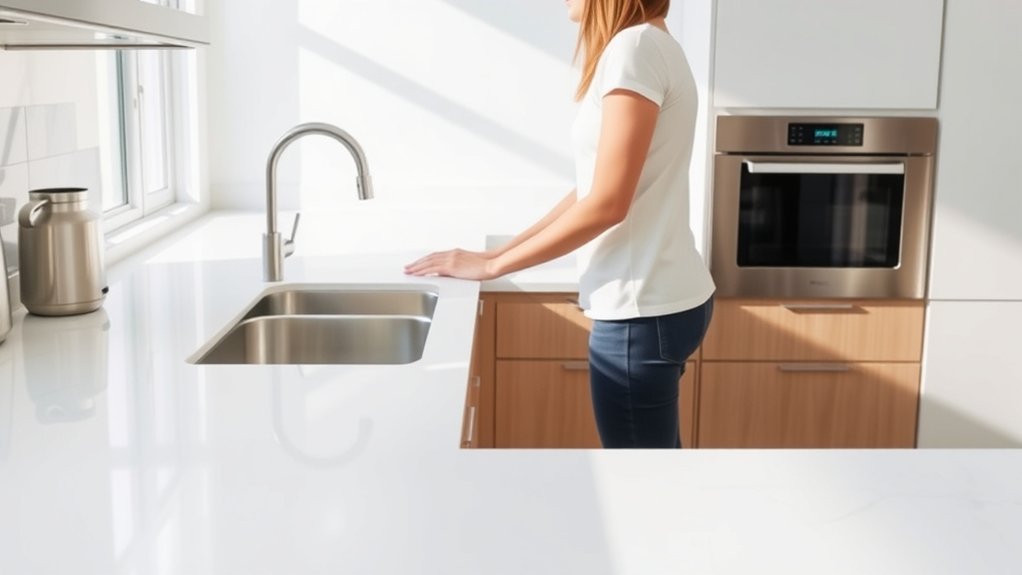
So, how tall should a kitchen counter be? A kitchen counter should usually be about 36 inches high, measured from the finished floor to the countertop surface. You can adjust it based on your elbow height, preferred tasks, and accessibility needs.
Choose a 40–42-inch raised counter for bar-style seating, or lower sections for kneading and detailed prep. Pair 36-inch counters with 24–26-inch stools, leaving 9–12 inches of legroom.
Account for flooring and countertop thickness, then examine the planning details below.
Key Takeaways
- Standard kitchen counters are approximately 36 inches high, including base cabinets, countertop, and toe-kick.
- Choose counter height based on your elbow height, subtracting roughly 4–6 inches for comfortable food preparation.
- Raised counters typically measure 40–42 inches and require taller, bar-height stools.
- Allow a 9–12-inch gap between the countertop and seat for comfortable legroom.
- Account for flooring, underlayment, countertop thickness, and appliances when determining the finished height.
What Is the Standard Kitchen Counter Height?
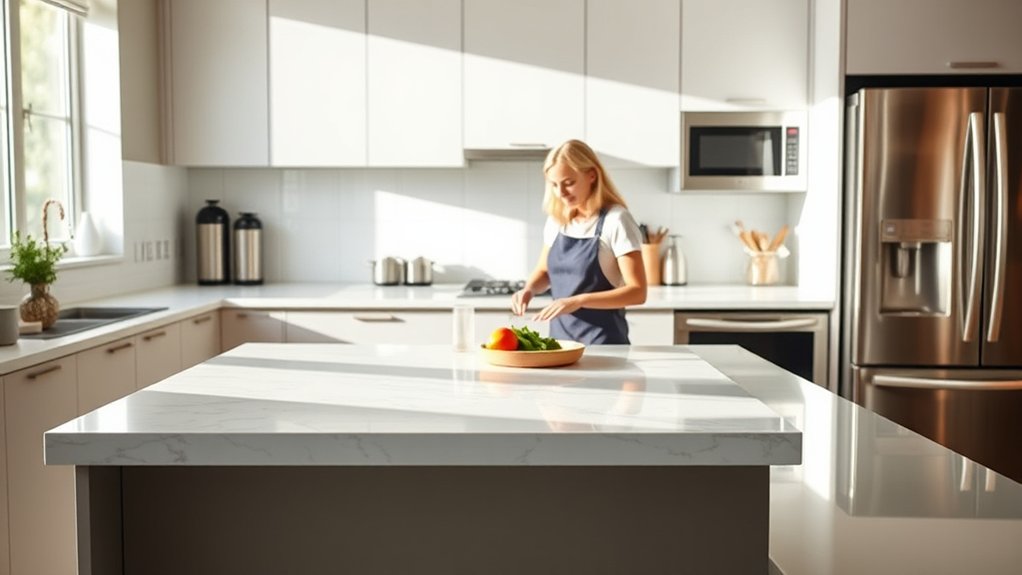
The standard kitchen counter height is about 36 inches from the floor to the countertop surface. This measurement includes the cabinet base, countertop, and a typical toe-kick area.
It gives you a comfortable working level for common tasks, such as chopping vegetables, mixing ingredients, and washing dishes.
Manufacturers generally build base cabinets around 34½ inches tall, then add a countertop that’s approximately 1½ inches thick.
Base cabinets typically stand 34½ inches tall, with a 1½-inch countertop bringing the finished height to approximately 36 inches.
Actual finished height can vary slightly because countertop materials differ in thickness. Stone, quartz, laminate, and solid-surface slabs may create small changes above or below the standard.
When you measure your kitchen, check the floor’s level and measure from the finished flooring to the counter’s highest surface.
Include any flooring, underlayment, or countertop thickness that will affect the final result. For accurate installation, confirm cabinet dimensions and follow the manufacturer’s specifications.
Basic maintenance tips include wiping spills promptly, using suitable cleaners, and protecting the surface from excessive heat or impact.
How Do You Choose Your Ideal Counter Height?
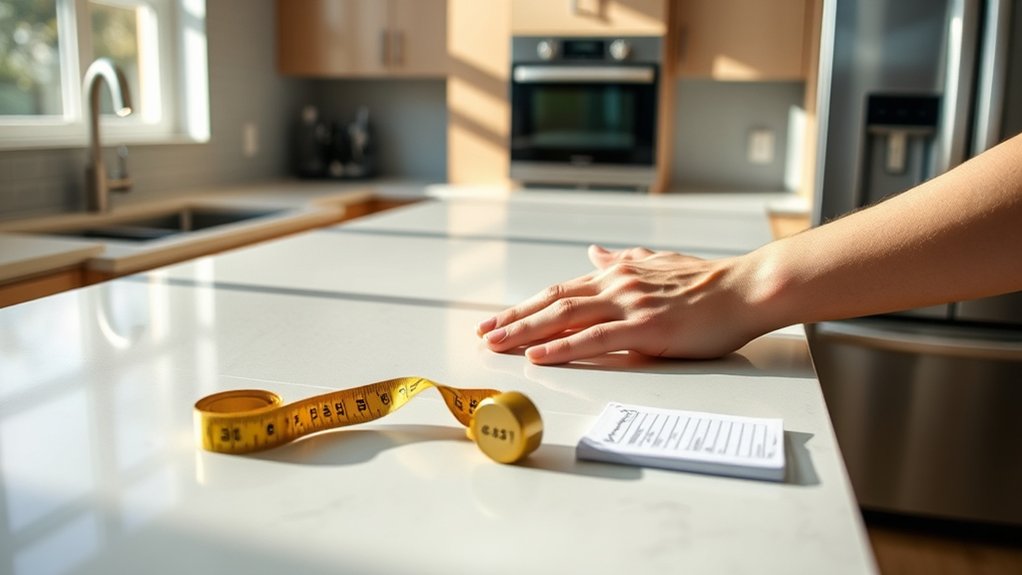
To choose your ideal counter height, start by considering your own working height and how comfortable you feel while standing at the counter. Think about the tasks you’ll do most often, whether you’ll be chopping, kneading, cooking, or sitting while you work. Matching the counter to your body and routine can make your kitchen much more comfortable.
Measure Your Working Height
Your ideal counter height starts with your working height, the distance from the floor to your bent elbow while you’re standing comfortably. Stand barefoot on a firm floor, relax your shoulders, and bend your elbow to roughly 90 degrees.
Ask someone to measure from the floor to your elbow crease. Subtract about 4–6 inches to estimate a comfortable work surface, then test that height with a temporary board.
| Measurement | What to do |
|---|---|
| Elbow height | Measure while relaxed |
| Trial surface | Test posture and reach |
Notice whether your wrists stay straight and your shoulders remain relaxed during ordinary preparation. Record the measurement before discussing cabinetry with your installer.
Decorative accents and color coordination can refine your kitchen’s appearance later, but your working height should guide the initial counter-height decision. Small adjustments can improve comfort considerably.
Consider Task-Specific Needs
Choose a height that suits the tasks you do most often, since chopping, kneading, rolling, and washing require different working positions.
If you bake frequently, a slightly lower surface can give you better advantage for dough. A taller counter may reduce back strain while you prep vegetables or assemble meals.
Consider these factors:
- Lower surfaces support kneading, rolling, and detailed food preparation.
- Standard-height counters work well for general chopping and mixing.
- Raised sections can make serving, dining, or entertaining more comfortable.
- Sink areas may benefit from extra height, especially for taller users.
Think about your appliances, storage, and countertop materials, too. Thick stone or butcher-block surfaces can change the finished height, while maintenance considerations may influence your material choice.
Test sample heights by mimicking your routine before committing. Your ideal counter should keep your shoulders relaxed, elbows comfortable, and movements natural.
How Do Standard and Raised Counters Compare?
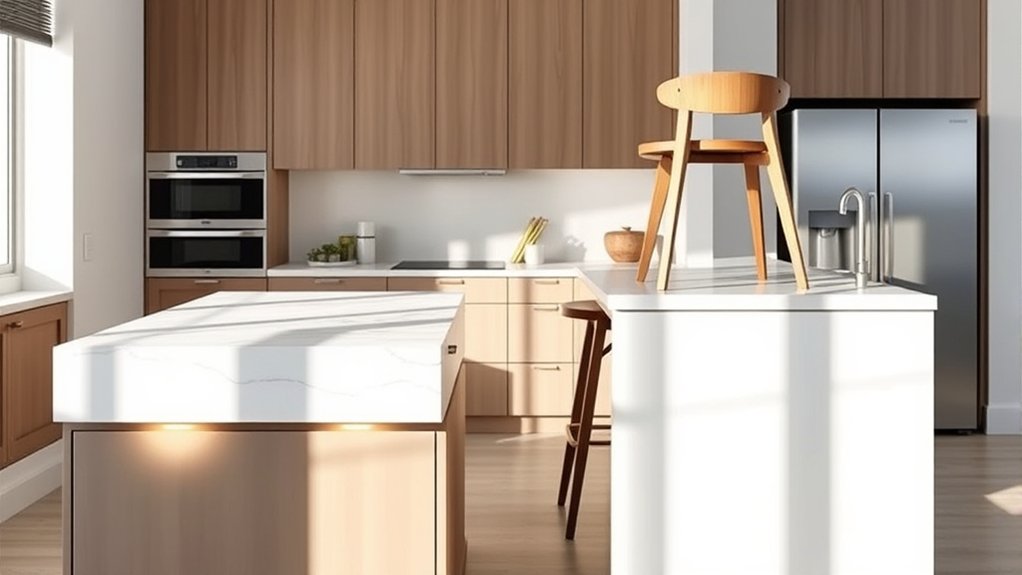
Standard kitchen counters are typically about 36 inches high, making them comfortable for most food preparation and cleanup. You’ll find this height supports balanced posture and broad compatibility with appliances, cabinets, and common countertop materials.
Raised counters, often 40 to 42 inches high, create a casual bar-style surface that can separate your kitchen from nearby living areas.
| Counter type | Best advantages |
|---|---|
| Standard, 36 inches | Easier chopping, washing, and seated access |
| Raised, 40–42 inches | Better sightlines, dining, and visual separation |
With a raised counter, you’ll likely stand more upright for quick meals, but prolonged prep may strain your shoulders if the surface sits too high.
Standard counters generally offer stronger Kitchen ergonomics for everyday cooking, while raised surfaces suit entertaining and snacks. Your choice also affects stool height, accessibility, and how easily you can move dishes between zones.
Consider combining both: keep your main work area standard and use a raised section for seating or serving. This arrangement gives you flexibility without sacrificing comfort during routine tasks.
Think about who uses the kitchen most, including children or anyone with mobility concerns.
How Do You Measure Kitchen Counter Height?
To measure kitchen counter height, place the end of a tape measure on the finished floor and extend it vertically to the countertop’s highest surface. Keep the tape straight and record the measurement where it meets the surface. Measure in several locations because floors, cabinets, and installations may vary slightly.
Measure from the finished floor to the countertop’s highest surface, keeping the tape straight and checking multiple locations for accuracy.
Before measuring, remove items that could distort the reading, such as cutting boards or appliances. If you’re comparing options, note these details:
- Measure from the completed floor, not the subfloor.
- Include the countertop’s thickness in the total height.
- Check both standard and raised sections separately.
- Record measurements in inches or centimeters consistently.
For accurate planning, measure after installing the cabinets and Countertop materials. Also account for flooring that’s still pending, since new tile or wood can change the final height.
Kitchen lighting won’t affect the measurement, but good illumination helps you read the tape clearly and spot uneven surfaces. Keep your notes handy when discussing modifications with your installer.
What Counter Height Works Best for Food Prep?
For most food prep, a counter height of about 36 inches works well because it supports comfortable chopping, mixing, and rolling without excessive bending. At this height, you can keep your elbows slightly bent and maintain better control over knives, bowls, and appliances.
You’ll also reduce strain on your shoulders and lower back during longer cooking sessions.
Your ideal height may vary. If you’re shorter, a counter a few inches lower can make kneading and chopping easier. If you’re taller, raising the work surface may prevent hunching.
Test a sample height by placing a cutting board on a temporary platform, then practice common tasks.
Consider how countertop thickness, flooring, and appliance placement affect the finished height. Choose a durable, easy-to-clean surface that supports your routine.
Reserve decorative accents for areas that won’t interfere with preparation. Thoughtful lighting options should illuminate the workspace evenly and minimize shadows, helping you work safely and comfortably.
What Are the Best Island and Bar Heights?
Kitchen islands typically work best at about 36 inches high for food prep, while raised bar sections usually measure 42 inches. This two-level design separates cooking space from serving space and can give your kitchen a more polished, purposeful layout.
Before choosing dimensions, consider how you’ll use the island, who will use it, and how much room your kitchen allows. A single-height island offers a clean profile and a larger continuous work surface.
A raised section can hide countertop clutter and create a visual boundary without adding a wall.
- Choose durable surfaces that withstand chopping, spills, and heat.
- Coordinate Decor material choices with cabinets, flooring, and lighting.
- Include Storage solutions such as deep drawers, pullouts, or open shelving.
- Leave comfortable clearance around the island for doors and walkways.
Your island’s thickness, overhang, and support structure also affect its finished height. Check appliance dimensions and confirm the layout with a professional before installation.
Careful planning helps you create an island that looks balanced, functions efficiently, and remains comfortable for everyday kitchen tasks.
How Should Counter Height Match Seating?
Match your stool height to the counter so you can sit comfortably while eating or working. Make sure there’s enough legroom underneath, and check that supports won’t bump or restrict your knees. If your kitchen has counters at different heights, choose seating that fits each surface.
Match Stool Height
Choose seating that leaves about 9–12 inches between the counter surface and the top of the stool seat, so you can sit comfortably without bumping your knees or hunching over. This gap supports stool comfort and helps you maintain an upright posture during meals, work, or conversation.
Match your stool type to the counter’s height:
- Use 24–26-inch stools for a 36-inch counter.
- Choose 28–30-inch stools for a 40–42-inch counter.
- Select adjustable stools when multiple people use the space.
- Test the seat before buying to confirm comfort.
A supportive footrest also improves your experience, especially during longer sitting periods. Look for a seat width and backrest that suit your body, then consider an ergonomic design that encourages relaxed shoulders and balanced posture.
Measure both pieces before purchasing to guarantee the seating feels natural and functions well daily.
Allow Legroom Clearance
Proper legroom matters just as much as matching stool height. As you plan counter seating, leave enough open space beneath the surface for your knees, feet, and thighs.
A deep overhang usually provides better Legroom comfort, letting you sit close without bumping the cabinet or stretching forward. Aim for roughly 9 to 12 inches of knee clearance from the counter’s edge.
Verify that supports, drawers, and appliances don’t intrude. You’ll also need sufficient vertical space between the seat and underside of the counter so your legs can rest naturally.
Check Safety clearance around nearby walkways, doors, and fixtures. Seated guests shouldn’t block traffic or strike sharp corners.
Before installation, sit on the chosen stool and test the posture, reach, and movement. Adjust the overhang or layout if anything feels cramped.
Coordinate Multiple Heights
When your kitchen includes standard counters, a raised bar, or a lowered prep area, coordinate each surface with its seating height. Choose stools that let you sit comfortably without lifting your shoulders or crowding your knees. Allow roughly 9–12 inches between a counter and the seat, adjusting for cushion thickness and apron design.
- Pair 36-inch counters with counter-height stools.
- Match 42-inch bars with taller bar stools.
- Use lowered surfaces with standard dining chairs.
- Test seat height before ordering multiple stools.
Check how each level affects sightlines, conversation, and traffic. Keep backs and arms from blocking work areas, especially near an island.
Decorative accents can distinguish zones, while lighting placement should illuminate both worktops and diners without glare. If heights vary dramatically, repeat materials or colors so the kitchen still feels coordinated.
Your seating should support the design, not fight it.
How Do You Design for Wheelchair Access?
Design wheelchair access by setting the counter at a comfortable seated height—typically 28 to 34 inches—and providing at least 30 inches of knee clearance beneath a work surface.
You’ll create safer, more usable stations by keeping controls, outlets, and frequently used items within easy reach. Choose rounded edges, stable surfaces, and sufficient turning space so you can work without twisting or stretching.
| Accessibility feature | Recommended approach | Benefit |
|---|---|---|
| Counter height | 28–34 inches | Comfortable seated reach |
| Knee clearance | At least 30 inches | Allows chair approach |
| Work zone | Clear, continuous surface | Supports meal preparation |
| Reach range | Place essentials nearby | Reduces stretching |
Use ergonomic design to match the counter’s height to your chair and posture. A lowered section can support varied users, while a shallow depth improves reach.
Confirm clearances with your wheelchair before installation, because seat height, footrests, and turning ability vary.
Plan accessible work areas first, then test them with everyday tasks to ensure the layout feels natural and practical.
How Do Cabinets, Appliances, and Flooring Affect Height?
Your cabinet base height sets the starting point for your countertop’s overall elevation. You’ll also need to leave enough room for your appliances and consider the thickness of your flooring, since both can affect the final countertop height.
Cabinet Base Height
Standard kitchen base cabinets are typically 34½ inches tall before the countertop is installed, which brings the finished work surface to about 36 inches. This standard cabinet height suits many users, but you can adjust it for comfort, accessibility, or a taller household.
Account for the countertop’s thickness when calculating the finished measurement. Your countertop depth also affects reach: deeper surfaces may make wall-side tasks less comfortable, especially if you’re shorter.
- Choose adjustable legs to fine-tune cabinet height.
- Measure flooring thickness before installation.
- Include the countertop material in your total.
- Test a mock-up before ordering cabinets.
If you’re replacing flooring, install it first or account for its added thickness beneath the cabinets. Uneven floors can also change the final height, so use levelers rather than forcing cabinets into place.
Compare your preferred working position with the standard before committing. Even a small adjustment can improve daily comfort.
Appliance Clearance Needs
Appliance openings and flooring thickness can change your finished counter height, so plan them together before installation. Measure your dishwasher, range, refrigerator, and other built-ins, then compare those dimensions with your cabinet layout.
Leave the manufacturer’s required clearance around heat-producing appliances, doors, vents, and controls. Your countertop should finish high enough to clear appliance tops without preventing removal or service.
Check the installation instructions before you order Countertop materials, since thick stone, layered surfaces, or a thin laminate can alter the final fit. Confirm that cabinet rails won’t block dishwasher hinges or drawer movement.
Coordinate Lighting placement with appliance doors, tall backsplashes, and range hoods so fixtures remain accessible and effective. Ask your installer to verify every opening, support, and connection before securing cabinets or countertops in place.
Flooring Thickness Effects
Flooring thickness changes the finished counter height because cabinets sit on top of the completed floor. If you replace thin vinyl with tile, hardwood, or thick stone, your counter may rise enough to affect comfort, appliance alignment, and backsplash measurements. Plan flooring before cabinet installation whenever possible.
- Measure the flooring, underlayment, and adhesive together.
- Confirm dishwasher clearance beneath the countertop.
- Check refrigerator and range heights against the new floor.
- Adjust cabinet legs or countertop specifications as needed.
Your installation techniques also influence the final height. Floating floors may require expansion gaps, while tile can add mortar and backer-board thickness.
Install flooring under removable appliances, but avoid trapping a dishwasher. Consider flooring durability, moisture resistance, and future replacements before choosing materials.
If you’re renovating an existing kitchen, measure the current counter height and calculate the added thickness. Discuss adjustments with your installer before ordering cabinets or countertops.
What Kitchen Counter Height Mistakes Should You Avoid?
Avoid choosing a counter height based solely on standard measurements without considering your own height, posture, and daily tasks. A counter that suits someone else may strain your back, shoulders, or wrists.
Test several heights before ordering cabinets, and mimic chopping, mixing, and washing to find a comfortable working position.
Don’t forget flooring thickness, countertop material, or underlayment when calculating the finished height. Even small changes can affect appliance clearances, outlet placement, and seating comfort.
You’ll also want to avoid designing around an unusually thick countertop without checking how it aligns with nearby surfaces.
Plan storage and work zones before fixing the height. A raised section might look attractive but could limit usable workspace.
Don’t let a decorative backsplash dictate counter height, either. Coordinate it with the cabinets and outlets instead.
Finally, review lighting placement early. Poorly positioned fixtures can cast shadows across a counter, making comfortable height irrelevant.
Confirm every measurement with your installer before fabrication, and account for accessibility needs, too.
Frequently Asked Questions
Can Countertop Height Be Adjusted After Installation?
Yes, you can adjust countertop height after installation, but the method depends on your cabinets, materials, and plumbing. You might raise the surface with new cabinet legs, a built-up platform, or replacement cabinets.
Lowering it usually requires shortening cabinet boxes and modifying appliances or connections. For better countertop ergonomics, measure your working posture first.
Adjustable counter options, including lift mechanisms, offer flexibility, though they cost more and may require professional installation.
How Much Does Custom Kitchen Counter Height Typically Cost?
Custom kitchen counter height typically costs $2,000–$6,000 for a standard kitchen, though your price may range from $1,000 to $10,000 or more. Like tailoring a suit, customization requires precise measurements, cabinet modifications, and specialized installation.
You’ll often pay extra for altered cabinetry, unusual materials, plumbing changes, or accessibility features. Counter height standards may limit adjustments, while ergonomic kitchen design can justify the investment by improving comfort, posture, and everyday usability.
Do Different Countertop Materials Affect Recommended Counter Height?
Different countertop materials rarely change the recommended counter height, so you’ll typically choose around 36 inches for comfortable food preparation. However, thickness can affect the finished height, so account for thicker stone, butcher block, or layered surfaces during installation.
Countertop durability and material maintenance may influence your material choice, but they don’t usually require a different base height. If you need accessibility, adjust the height to your body, mobility needs, and kitchen tasks.
Can Children Safely Use Counters at Standard Kitchen Heights?
Yes, children can safely use standard-height counters with close supervision and age-appropriate tasks. Child safety improves when you keep stools stable, provide nonslip footing, and position handles away from edges.
Counter height adaptations, such as a sturdy learning tower or a lowered prep surface, can improve reach without requiring children to stretch. Never let children handle hot cookware, sharp knives, or appliances unattended, and teach them to keep both hands free while climbing.
How Often Should Kitchen Countertops Be Replaced or Refinished?
You might refinish a lightly worn butcher-block countertop after five to seven years, while replacing it only when damage becomes structural. In general, refinish wood, laminate, or solid-surface counters when scratches, stains, or dullness persist despite cleaning.
Replace countertops when they warp, crack, swell, or no longer suit your needs, often after 10–20 years, depending on countertop durability and material maintenance. Inspect annually, follow manufacturer guidance, and address water damage promptly to extend their lifespan.
Conclusion
Choosing the right kitchen counter height isn’t about following a rule. It’s about making your kitchen fit you. Standard 36-inch counters suit many cooks, while raised, lowered, or adjustable surfaces can improve comfort and access.
Measure after the flooring and appliances are in place, then test your posture before committing. Think of your counter like a well-fitted pair of shoes: the wrong height causes friction, but the right one supports every step.
Design for how you’ll actually live. The best kitchen counter height is the one that makes cooking, prepping, and cleaning feel comfortable every day.