How to Organize Kitchen Cabinets Efficiently
Struggling to keep your kitchen cabinets tidy and easy to use? You’re not alone—many people deal with cluttered shelves, misplaced cookware, and limited storage space. The right organization tools can make everyday cooking feel simpler and help you create a system that lasts.
To organize kitchen cabinets efficiently, empty and clean each space before decluttering broken, expired, duplicate, or unused items. Group supplies by task, keeping prep tools near work areas, cookware beside the stove, dishes near the dishwasher, and cleaning products under the sink.
Measure cabinets before adding dividers, risers, bins, or pullouts. Store lids vertically and stack dishes safely. Finish by labeling zones and resetting cabinets weekly. The steps below will help you maintain that order.
Key Takeaways
- Declutter first by removing broken, expired, duplicate, and unused items, then donate, recycle, or dispose of them responsibly.
- Group items by kitchen zones, keeping prep, cooking, baking, cleaning, dining, and beverage essentials near their work areas.
- Measure cabinet dimensions, including hinges and plumbing, before choosing dividers, risers, pullouts, bins, or adjustable shelves.
- Store frequently used cookware, dishes, glasses, and utensils at accessible heights, while placing seasonal items higher or lower.
- Maintain organization through weekly resets, labeled containers, surface liners, spill cleanup, and regular reviews of cabinet contents.
Empty and Clean Your Kitchen Cabinets
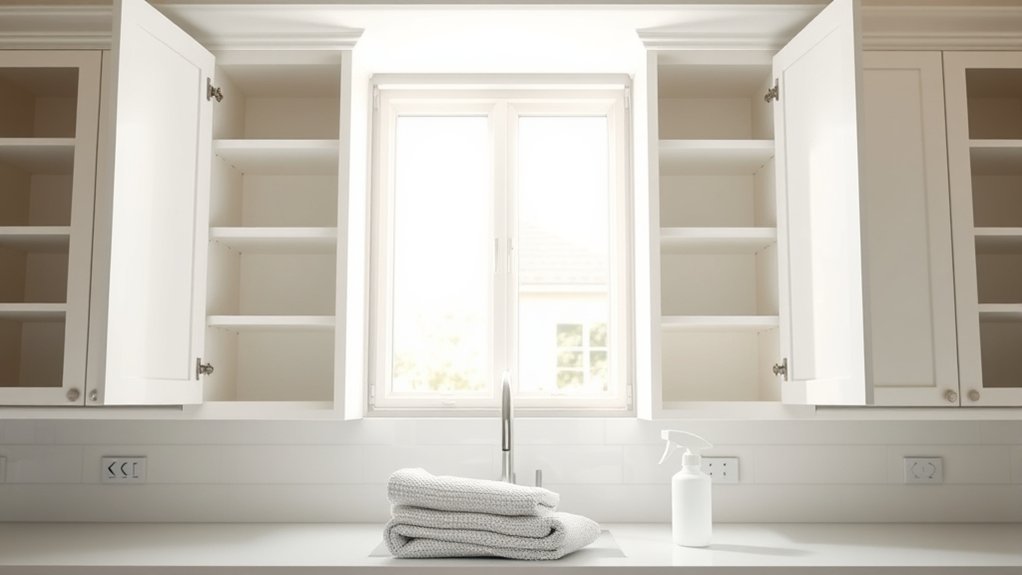
Before reorganizing, empty each cabinet completely so you can see what you have and work with a clean space. Place everything on a nearby counter or table, keeping items grouped by cabinet for easier replacement. Remove shelves, shelf liners, and detachable hardware if possible.
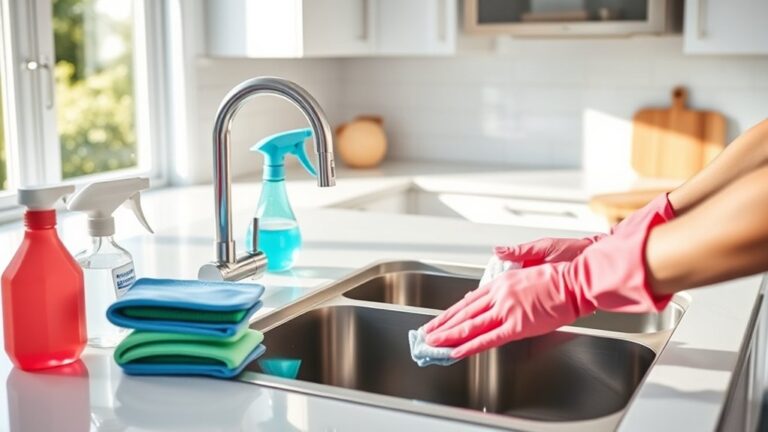
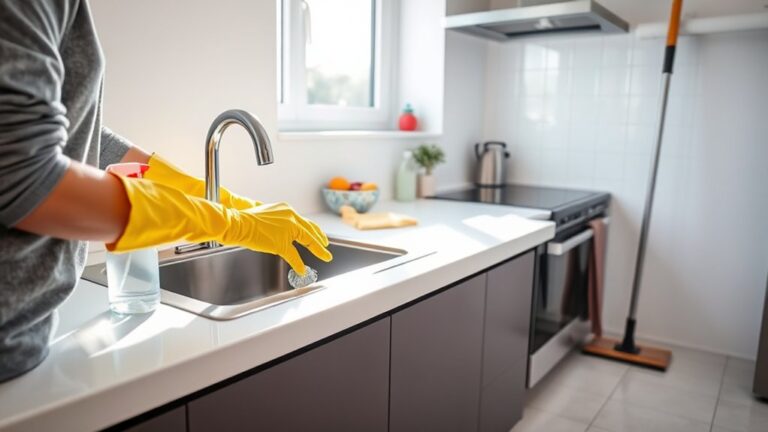
Wipe cabinet interiors with a soft cloth and a mild cleaner suited to the material. Clean corners, shelf supports, and cabinet frames, then dry every surface thoroughly to prevent moisture damage.
Wash removable shelves separately and let them dry before returning them.
Inspect hinges, handles, and cabinet door accessories for loose screws or grime. Tighten or clean them as needed, but don’t overload doors while you work.
Check Kitchen cabinet lighting, including batteries, wiring, and fixtures, and wipe bulbs or covers carefully. Use this empty-cabinet stage to measure shelf space and identify areas needing better visibility.
Keep your workspace clear, and return only clean, dry items once the cabinet interiors are ready.
Declutter Items You No Longer Use
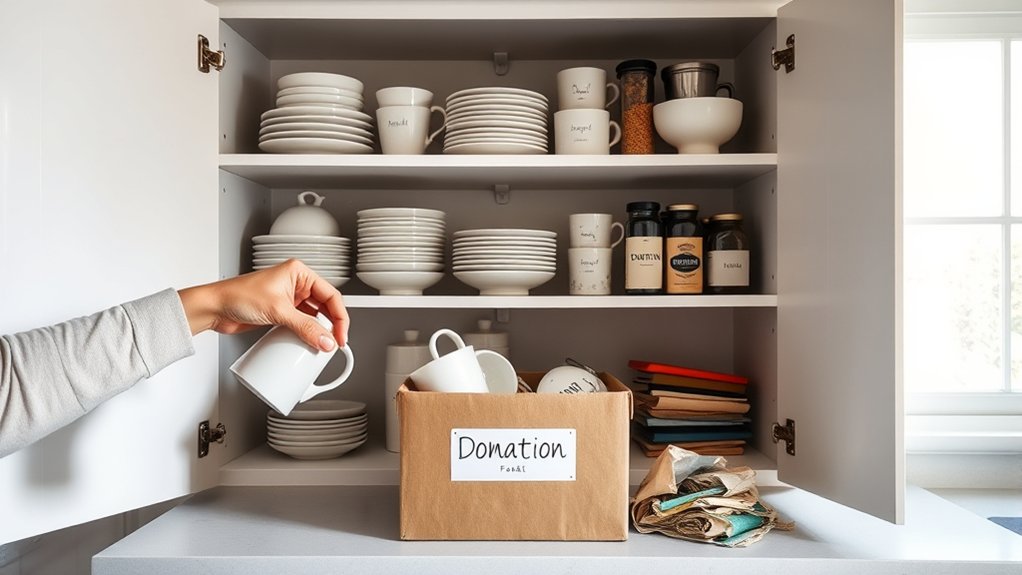
Now that your cabinets are empty, sort each item and set aside anything you no longer use, duplicate, or no longer need. Be honest about what earns space in your kitchen.
> Sort through every item honestly, keeping only what you use, need, and value in your kitchen.
If you haven’t used something in a year, you probably won’t miss it. Check expiration dates on food, inspect containers for stains or damage, and match lids with their containers.
Use this quick decision guide:
- Keep reliable items you use regularly.
- Donate unused items that remain clean and useful.
- Recycle suitable packaging and materials.
- Discard broken tools, chipped dishes, and unsafe cookware.
Avoid keeping items solely because they were gifts or cost a lot. Someone else may benefit from appliances, serving pieces, or gadgets you’ve abandoned.
Follow local rules when disposing of electronics, batteries, or nonstick cookware. Create separate bags or boxes for donations, recycling, and trash, then remove them promptly.
A clean break now prevents clutter from returning and makes future cabinet maintenance easier.
Group Supplies by Kitchen Zone

Group supplies by where you use them most to make every task more efficient. Keep prep tools together and store cooking essentials near the stove. Place cleaning products in a separate zone, too. This setup saves time and keeps your cabinets organized.
Prep Zone Essentials
Keep the prep zone focused by storing cutting boards, knives, measuring tools, mixing bowls, and frequently used ingredients together near your main work surface.
You’ll save steps and keep preparation orderly when each item has a designated home. Use shallow drawers or shelf risers so tools remain visible, and place heavier bowls within easy reach.
Group pantry staples in labeled bins, checking dates as you restock. For a streamlined setup, keep these essentials together:
- Cutting boards and knives
- Measuring cups and spoons
- Mixing bowls and colanders
- Oils, spices, and common ingredients
Leave enough counter space for chopping and mixing. Store rarely used specialty tools elsewhere, so they don’t crowd your daily supplies.
When you’re testing recipe ideas or reviewing Cooking tips, you’ll find what you need quickly and return everything without disrupting the zone.
Cooking Zone Supplies
Arrange pots, pans, lids, utensils, and everyday seasonings near the cooktop so you can move smoothly from prep to heat.
Store frequently used cookware in the cabinet or drawer closest to your stove, placing heavier pieces on lower shelves for safer access.
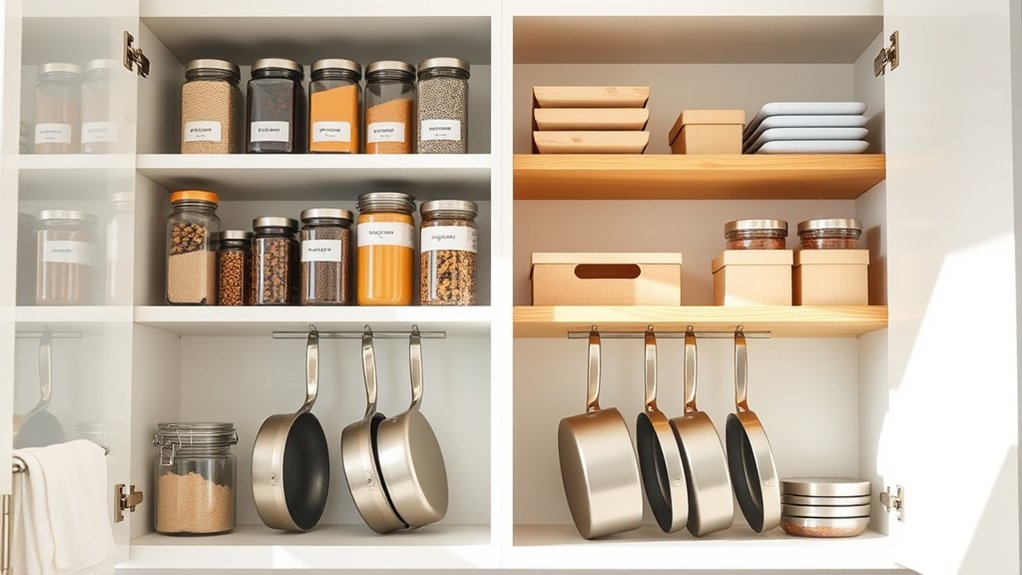
Use a vertical divider to keep baking sheets, cutting boards, and pan lids upright and easy to grab.
Group cooking utensils, such as spatulas, tongs, ladles, and wooden spoons, in a heat-resistant crock beside the cooktop or in a shallow drawer.
Keep spice jars together in a labeled rack or drawer at eye level, arranging them alphabetically or by frequency of use.
Reserve nearby space for oils, salt, pepper, and other finishing ingredients. Leave a little clearance so you can remove each item without shifting others.
Cleaning Zone Storage
A dedicated cleaning zone keeps sponges, dish soap, brushes, and towels within easy reach of the sink. Assign one cabinet or drawer for these supplies, placing frequently used items at the front.
Use a small bin to contain bottles, and add a tray beneath products that might leak. Group backups together so you’ll know when to restock.
- Store sponges and brushes in a ventilated caddy to promote drying.
- Keep dish soap and dishwasher pods in separate, labeled containers.
- Use shelf dividers to separate towels, cloths, and reusable gloves.
- Apply pantry labeling principles, marking each bin by purpose and refill needs.
Reserve a higher shelf for less-used cleaners, keeping hazardous products away from children and food. Wipe the cabinet regularly, discard worn tools, and return every item after use.
This simple setup keeps cleanup efficient and your kitchen orderly.
Organize Kitchen Cabinets by Zone
Group your cabinets by the tasks you perform most often, such as food preparation, cooking, baking, and cleanup. Store knives, cutting boards, mixing bowls, and measuring tools near your main preparation area.
Organize cabinets by task, keeping preparation tools together for efficient, convenient meal prep.
Keep pots, pans, lids, and cooking utensils beside the cooktop so you won’t cross the kitchen unnecessarily. Place baking sheets, ingredients, and decorating supplies together in a dedicated baking zone.
Arrange plates, glasses, and serving pieces near the dishwasher or dining area to simplify unloading and setting the table. Create a beverage station with mugs, tea, coffee, and sweeteners near your kettle or coffee maker.
Use drawers for frequently handled tools and shelves for lighter, less-used items. Kitchen cabinet lighting can make each zone easier to use, especially under upper cabinets or inside deep storage.
When choosing upgrades, consider Cabinet material options that withstand heat, moisture, and daily wear. Label shelves or containers if multiple people share the kitchen, and return every item to its assigned zone after use.
Measure Cabinets and Plan Storage Zones
Before buying organizers, measure each cabinet’s width, height, depth, and opening clearance so you can choose storage that fits. Record the measurements in a simple chart, noting shelves, hinges, pipes, and awkward corners.
Measure interior spaces, not just the doors or exterior frames. Check whether shelves are adjustable, removable, or fixed, and mark each cabinet’s usable vertical space.
Next, use storage planning to assign every cabinet a clear job based on how you work in the kitchen. Keep frequently used items within easy reach, and place occasional items higher or farther away.
Group supplies by task and location:
- Store plates and glasses near the dishwasher or dining area.
- Keep pots, pans, and cooking tools beside the range.
- Place food containers near your main preparation counter.
- Reserve less accessible shelves for seasonal or backup supplies.
Sketch each zone before rearranging anything. This plan helps you spot gaps, avoid crowding, and create an efficient flow without wasting cabinet space.
Choose Organizers That Fit Your Cabinets
Once you’ve measured each space, choose organizers that match its dimensions and purpose. Select bins, trays, and racks that use available depth without blocking doors or wasting vertical room.
Choose organizers that fit your space, maximize available room, and keep doors, drawers, and vertical areas functioning smoothly.
Before buying, compare each product’s measurements with your cabinet’s interior dimensions, including hinges and plumbing.
For drawers, use drawer dividers to separate utensils, tools, or small essentials. Choose models with nonslip grips and adjustable sections, so you can change the layout as your needs evolve.
In tall cabinets, add adjustable shelving to create practical levels for items of different heights. Look for sturdy shelves that support everyday weight and install securely.
Use clear bins when you want to identify contents quickly, or opaque containers when you prefer a cleaner appearance. Label each container’s front for easy access.
Avoid organizers that fit too tightly. You’ll need room to remove them comfortably. Prioritize washable materials, smooth edges, and modular designs that let you expand your system later.
Store Pots, Pans, and Lids Efficiently
Store pots and pans near the cooktop so you can reach them quickly during meal preparation. Use a deep cabinet or wide drawer, and keep your most-used pieces at the front. Before arranging everything, remove damaged cookware and items you rarely use.
Follow these steps for an efficient setup:
- Place larger pots below smaller ones to save vertical space.
- Use a sturdy rack for stacking cookware without scratching surfaces.
- Store matching pot lids in a vertical divider, arranged by size.
- Hang frequently used pans from a mounted rail or cabinet door rack.
Add shelf risers when stacked pieces become difficult to lift. Nest saucepans with a soft cloth or silicone protector between them, and keep heavy cast-iron cookware on a low shelf to prevent strain.
Leave enough clearance for handles, so doors close smoothly. Label lid sections if multiple sizes look alike. Review the cabinet every few months, returning each item to its designated spot after washing and drying.
Arrange Plates, Bowls, and Glasses
Group plates, bowls, and glasses by type so you can find what you need quickly. Keep everyday dishes within easy reach, and save higher or harder-to-reach shelves for pieces you use occasionally. Stack plates and bowls securely, and use shelf risers when needed to make the most of your space.
Group By Item Type
Arrange plates, bowls, and glasses by type so each item has a clear, easy-to-reach home. Keep dinner plates together, stack bowls separately, and line glasses in one section.
Grouping similar pieces prevents mismatched sets and makes cabinet shelves easier to maintain. Before arranging, sort items by shape, size, and purpose, then remove duplicates or rarely used pieces from these groups.
Use simple visual cues to keep categories consistent:
- Stack plates from largest to smallest.
- Nest bowls by matching shape and depth.
- Place glasses upright in a stable row.
- Separate delicate, oversized, or specialty items.
Color coding can distinguish shelves or shelf liners without overwhelming the cabinet. Discreet shelf tags can also remind everyone where each type belongs.
Leave enough room to lift stacks safely, and keep matching sets together within their designated categories.
Store Everyday Items Accessibly
Keep plates, bowls, and glasses within easy reach by placing the items you use most often on the cabinet’s middle shelves. You’ll grab them quickly during breakfast, dinner, or meal prep without stretching or bending.
Reserve lower shelves for heavier serving pieces and occasional dishware, while upper shelves can hold items you rarely use.
Position glasses near the refrigerator or sink so you can pour and refill drinks efficiently. Leave enough clearance around each item to prevent chipped edges and awkward handling.
Consider your kitchen’s traffic flow, too. Store frequently used dishes away from crowded corners and appliance storage areas.
If children use the kitchen, place sturdy bowls and cups at their height. Keep delicate glassware elsewhere, where you can handle it carefully and safely.
Rotate seasonal pieces only when needed, not daily.
Stack Plates And Bowls
Stack plates and bowls by size, placing the largest pieces on the bottom and the ones you use most often on top. Keep each stack stable by limiting its height, and use shelf risers to create a second level without cramming.
Your stacking plates setup should leave enough space to remove one item easily. For bowl stacking, nest similar shapes together, but separate delicate pieces with thin liners.
- Store dinner plates near the dishwasher or prep area.
- Place bowls beside plates for quick meal assembly.
- Keep glasses upright on a separate shelf to prevent chips.
- Reserve lower shelves for heavy or rarely used serving pieces.
Group everyday dishes within easy reach, and move seasonal dishes higher. Check that cabinet doors close freely, then adjust stacks as your collection changes. You’ll save time and protect your dishes.
Make the Most of Under-Sink Storage
Make the space beneath your sink work harder by grouping cleaning supplies in compact bins or pullout organizers. Choose containers with handles so you can lift products out without reaching around pipes.
First, measure the cabinet’s width, depth, and height, accounting for under-sink plumbing before buying storage. A two-tier shelf can use vertical space while leaving room for taller bottles below.
Keep frequently used sprays and sponges near the front, and place backup products toward the back. Add a small caddy for dishwasher tablets, gloves, or brushes, but don’t overload it.
Use a leak-resistant tray beneath supplies to protect the cabinet floor and simplify cleanup. For moisture control, fix drips promptly, allow wet cloths to dry elsewhere, and choose bins that won’t absorb water.
Keep hazardous cleaners in their original containers, away from food-related items, and avoid storing incompatible chemicals together. A stick-on light can also help you see corners without rummaging.
Maintain Organized Kitchen Cabinets
Once your cabinets have designated homes, maintain order with a quick weekly reset. Return misplaced items, wipe spills, and check expiration dates before clutter builds. A consistent routine keeps your kitchen functional and makes daily cooking easier.
A quick weekly reset keeps cabinets orderly, kitchens functional, and daily cooking easier.
- Group by use: Keep everyday dishes, glasses, and cooking tools within easy reach.
- Edit regularly: Donate duplicates, discard damaged pieces, and remove gadgets you never use.
- Protect surfaces: Use shelf liners, clean crumbs promptly, and dry damp areas to prevent stains or odors.
- Review placement: Move items when your cooking habits change, ensuring each cabinet still supports your routine.
Include attractive, practical pieces that complement your Kitchen decor without sacrificing accessibility. Store seasonal servingware higher up, and reserve lower cabinets for heavier cookware.
During your reset, inspect cords, filters, and removable parts as part of appliance maintenance. Label bins if multiple household members share storage, so everyone can restore items correctly.
Finally, close each session by clearing the counter and checking cabinet doors. Small, repeated actions prevent overwhelming reorganizing projects and preserve your efficient system.
Frequently Asked Questions
How Often Should Kitchen Cabinets Undergo a Complete Reorganization?
You should completely reorganize your kitchen cabinets every six to twelve months, or whenever clutter makes items difficult to find. Review each cabinet seasonally, remove expired products, and relocate rarely used cookware.
Add shelf labels and cabinet dividers to keep categories visible and accessible. You’ll also benefit from a quick monthly check, especially after holidays or major grocery trips.
Adjust your system whenever your household’s cooking habits, storage needs, or inventory change markedly.
What Cabinet Materials Are Easiest to Clean and Maintain?
You’ll find laminate, thermofoil, and finished metal cabinets easiest to clean and maintain. Their smooth, nonporous surfaces resist stains and wipe clean with mild soap and water.
For effective Cabinet cleaning, avoid abrasive scrubbers, harsh chemicals, and excessive moisture, which can damage finishes or seams. Your Maintenance tips should include drying surfaces promptly, cleaning spills immediately, and checking hardware regularly.
Painted wood requires more care, while unfinished wood absorbs moisture and stains quickly.
How Can Renters Organize Cabinets Without Drilling or Permanent Modifications?
How can you organize cabinets without drilling or permanent changes? Use removable shelf organizers to create tiers, separate dishes, and maximize vertical space.
Add adhesive cabinet hooks inside doors for measuring cups, utensils, or lightweight towels. Choose tension rods to divide baking sheets, and use freestanding bins for pantry items.
Label containers so you’ll find essentials quickly. Before applying adhesives, clean and dry surfaces, and check weight limits to prevent damage or falling items.
Which Lighting Options Improve Visibility Inside Dark Kitchen Cabinets?
Choose battery-powered LED strips or puck lights with motion sensors to brighten dark cabinet interiors without drilling or permanent modifications. Rechargeable lights let you avoid replacing batteries frequently, while adhesive-backed models mount securely and remove cleanly.
For nearby counters, install plug-in under cabinet lighting to illuminate workspaces and cabinet fronts. Select warm or neutral white bulbs for comfortable visibility, and add a dimmer so you can adjust brightness for different tasks easily.
When Should Damaged Cabinet Hardware or Shelves Be Replaced?
Replace damaged cabinet hardware when knobs, pulls, hinges, or slides loosen repeatedly, rust, bend, or prevent doors and drawers from opening safely. Choose replacement hardware when repairs no longer hold or components create sharp edges.
Consider shelf replacement when shelves sag, crack, swell from moisture, or can’t support your stored items. You’ll protect your cabinets and belongings by addressing damage promptly, rather than waiting for a failure to cause injury.
Conclusion
An organized kitchen cabinet won’t cook dinner, but it’ll stop making you search for the right pan like it’s hiding from you. After you’ve emptied, cleaned, decluttered, and grouped supplies by zone, give every item a sensible home.
Use dividers for lids, risers for dishes, and bins under the sink. Measure before adding storage, then return items where they belong.
With a quick weekly reset, your kitchen cabinets will stay orderly, making kitchen cabinet organization easier and helping your future self stay thankful.