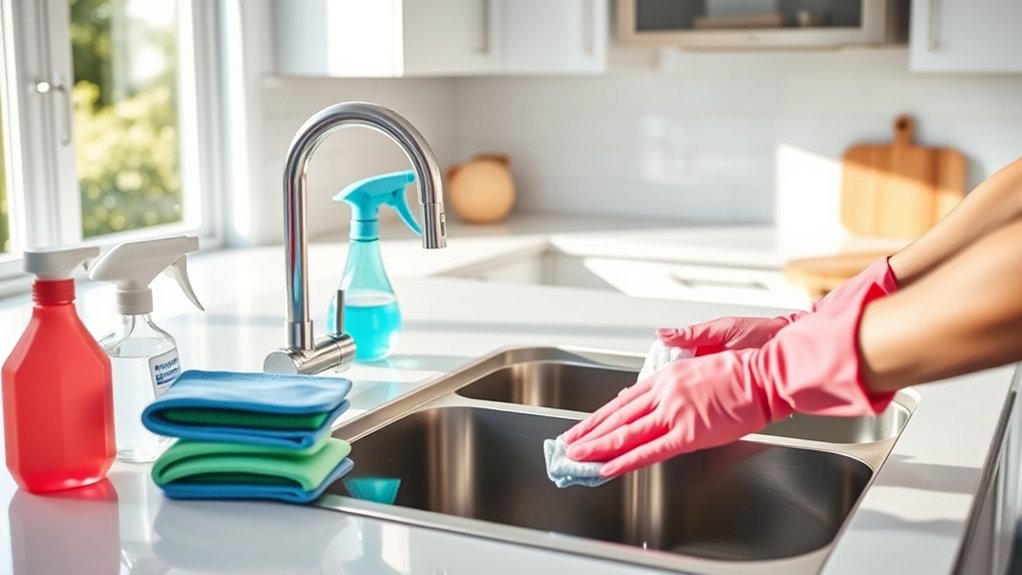
How to Clean Your Kitchen in 7 Steps
A messy kitchen can make even simple meals feel overwhelming, and you’re not alone—many people struggle to keep counters, dishes, and high-touch areas under control. The right cleaning products can make the routine faster and easier. Use these seven steps to clean your kitchen efficiently and keep it feeling fresh.
Clean your kitchen in seven steps: Clear clutter and gather supplies. Wash dishes, empty the sink, and put everything away.
Wipe appliance exteriors and removable parts, keeping liquid away from controls.
Clean counters and high-use surfaces, then scrub and rinse the sink.
Sweep floors, spot-clean sticky areas, and mop from the farthest corner to the door.
Finally, disinfect handles, knobs, and switches, allowing proper contact time.
Keep going for practical tips that make each step easier.
Key Takeaways
- Declutter countertops, tables, and floors, returning items to their proper places and discarding trash or expired products.
- Wash dishes, load the dishwasher correctly, then scrub, rinse, and dry the sink and faucet.
- Clean appliance exteriors, removable parts, countertops, and high-touch surfaces using suitable cleaners and disinfectants.
- Sweep floors thoroughly, then mop from the farthest corner toward the doorway with properly diluted cleaner.
- Inspect surfaces, dry everything completely, store cleaning tools, and keep children and pets away until areas are dry.
Clear Kitchen Clutter and Gather Supplies
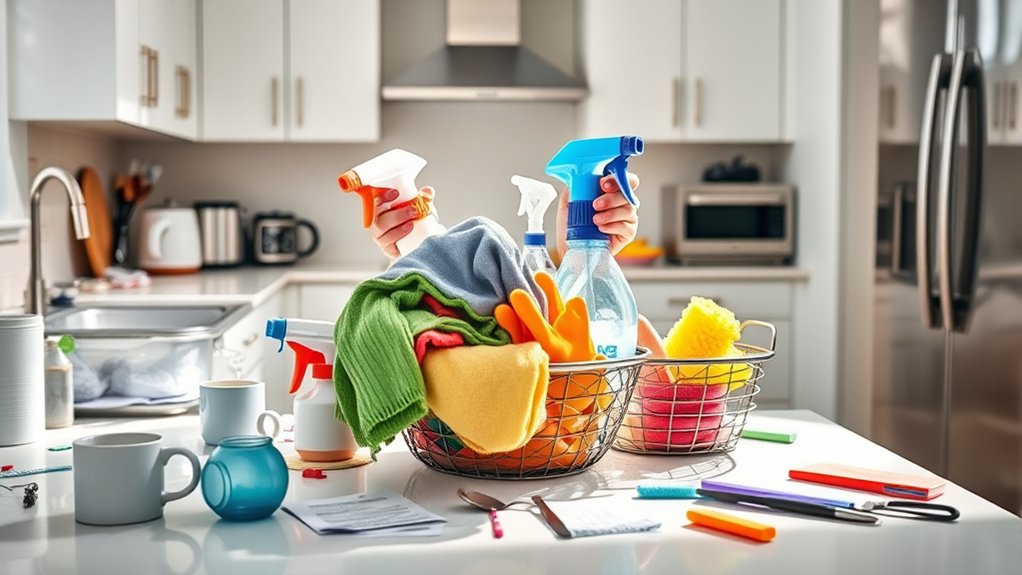
Start by clearing countertops, tables, and the floor of dishes, appliances, trash, and other misplaced items. Return each item to its proper place, and discard wrappers, expired products, and obvious rubbish. Don’t sort every drawer yet; focus on creating open, workable surfaces.
Clear clutter, return misplaced items, and create open, workable surfaces before tackling detailed organization or cleaning.
Next, gather the supplies you’ll need before cleaning. Collect microfiber cloths, an all-purpose cleaner, a degreaser, a broom, a dustpan, a mop, and fresh trash bags. Keep these items together in a caddy or bucket so you won’t waste time searching for them.
As you declutter, group similar items to make organizing pantry shelves easier later. Check counters and cabinets for stray food, then place unopened products where you can review them.
Begin arranging utensils by returning spatulas, tongs, and measuring tools to their designated holders. Move rarely used appliances into cabinets or storage areas, leaving frequently used equipment accessible.
Once clutter is contained and supplies are ready, you can clean efficiently without interruptions.
Wash Dishes and Empty the Sink
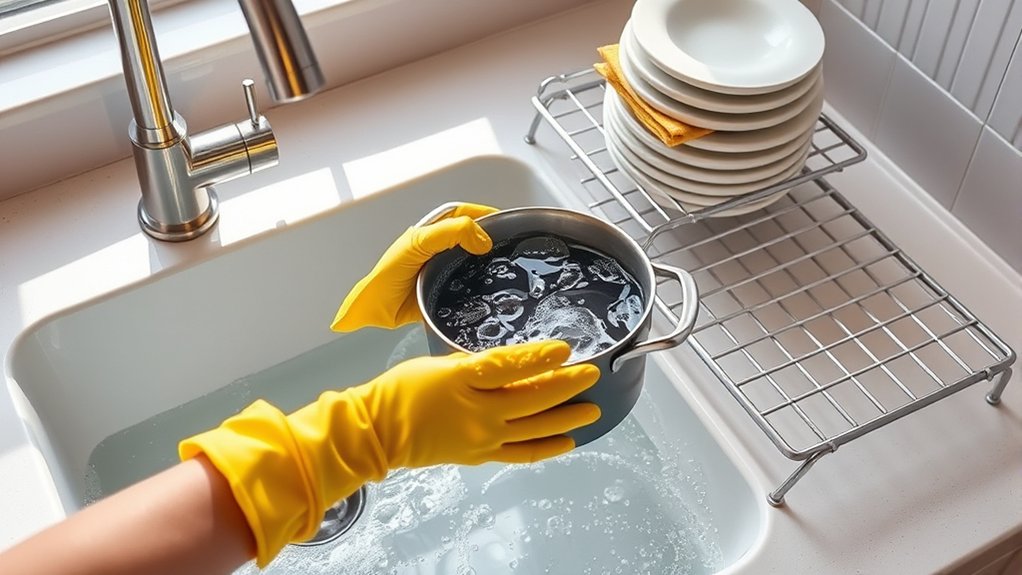
With the counters clear and supplies gathered, wash the dishes and empty the sink. Scrape plates into the trash or compost, then rinse them.
Load the dishwasher according to its guide, placing glasses securely and leaving spray arms clear. Wash delicate items and sharp knives by hand.
Use hot, soapy water, scrub from cleanest to dirtiest, and change cloudy water. Rinse each item thoroughly, then apply these drying techniques to prevent spots and odors.
| Task | Best practice |
|---|---|
| Plates | Scrape, rinse, and load |
| Glasses | Place securely on the top rack |
| Knives | Hand-wash with blades facing away |
| Pots | Soak stuck-on food before scrubbing |
| Sink | Rinse, scrub, drain, and dry |
For dishwasher maintenance, check the filter regularly, remove trapped debris, and run an occasional cleaning cycle.
After washing, drain the sink, remove crumbs, and rinse the basin and strainer. Wipe the faucet area dry, then return clean dishes to their storage spaces.
Leave the sink empty so you can spot new messes quickly and keep your kitchen routine manageable.
Wipe Appliance Exteriors and Interiors
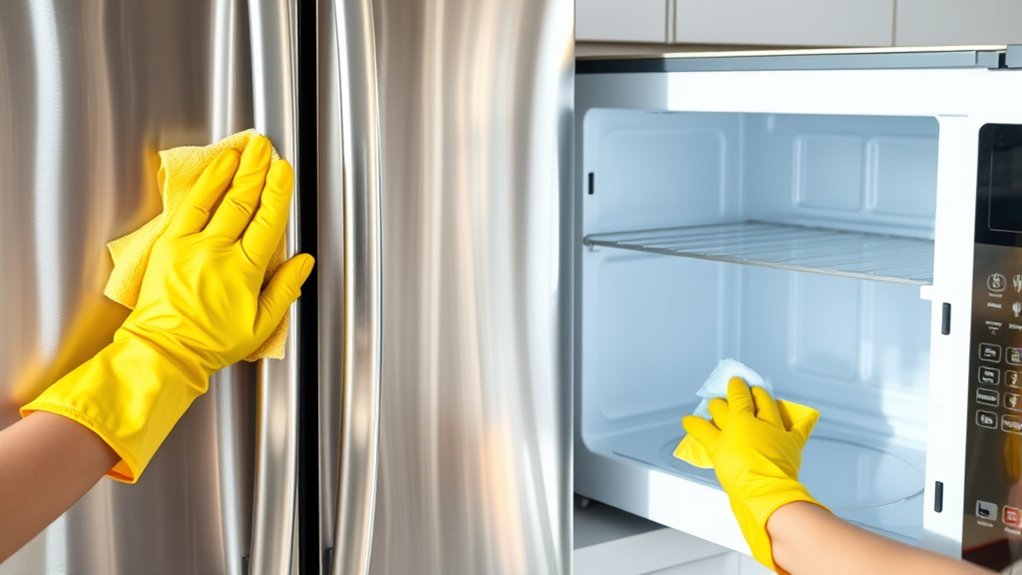
Once the dishes are done, wipe appliance exteriors and interiors to remove grease, crumbs, and fingerprints. Unplug small appliances before cleaning, and follow each manufacturer’s instructions.
Use a damp microfiber cloth with mild dish soap on refrigerator doors, oven panels, microwaves, and handles. Dry surfaces immediately to prevent streaks and moisture damage.
Wipe appliance surfaces with mild soapy water, then dry promptly to prevent streaks, residue, and moisture damage.
For safe interior cleaning, remove racks, trays, and turntables. Wash removable parts separately, then wipe spills before they harden.
Don’t spray liquid directly into controls, vents, heating elements, or door seals. Deodorize the refrigerator with a baking-soda solution, and clean the microwave with steam from a water-filled bowl.
Focus on these appliance maintenance tasks:
- Wipe handles and control panels daily to limit buildup.
- Clean refrigerator shelves and drawers weekly.
- Check seals and vents monthly for crumbs or residue.
Pay special attention to interior ventilation openings, since blocked airflow can reduce performance and create odors.
Reassemble every part only after it’s completely dry. Your appliances will work efficiently and stay cleaner between deep-cleaning sessions.
Clean Kitchen Counters and Surfaces
Clear away countertop clutter so you can clean every area easily. Then disinfect high-touch spots, like handles and switches, to remove germs. Finally, polish each surface thoroughly for a clean, streak-free finish.
Clear Countertop Clutter
Start by removing everything that doesn’t belong on the counters, including appliances you rarely use, mail, and stray dishes. Return each item to its proper home, recycle papers, and place dirty dishes by the sink.
As you sort, group frequently used tools together and store occasional appliances in cabinets or a pantry. These organizational strategies make clutter management easier and keep your work space functional.
- Keep only daily essentials, such as your coffee maker, knife block, or toaster.
- Use a tray to contain oils, spices, or cooking utensils.
- Assign a specific place for incoming mail and household items.
Wipe the cleared surfaces with a suitable cleaner, then replace only what you use regularly. Check the counters each evening and reset them before bedtime.
A quick daily sweep prevents clutter from accumulating and makes meal preparation feel simpler.
Disinfect High-Touch Areas
After clearing the counters, spray or apply an appropriate cleaner to high-touch surfaces, including handles, switches, faucet fixtures, and cabinet pulls. Choose a disinfectant labeled for kitchen use, and read its directions carefully.
Keep surfaces visibly wet for the stated contact time so the product can work effectively. Don’t mix disinfectants with bleach, ammonia, vinegar, or other cleaners, because dangerous fumes can result.
Wipe food-contact areas with clean water afterward if the label requires it, and let them air-dry. Pay special attention to refrigerator handles, appliance buttons, drawer pulls, and trash-can lids.
Disinfecting these spots regularly supports disease prevention and strengthens your hygiene practices. Wash your hands after cleaning, especially before preparing food.
Store products safely away from children, pets, and ingredients.
Polish Surfaces Thoroughly
With the counters disinfected, polish surfaces thoroughly to remove streaks and restore their shine. Choose a cleaner suited to each material, since stone, laminate, wood, and stainless steel need different care.
Spray the product onto a microfiber cloth rather than directly onto the counter to prevent drips and residue. Work in small sections, using overlapping strokes, then buff each area with a dry cloth.
Remember these finishing tips:
- Follow the manufacturer’s directions, especially for natural stone and sealed wood.
- Wipe with the grain on stainless steel to minimize visible marks.
- Turn your cloth frequently so you don’t spread grease or cleaner.
Don’t use abrasive pads or harsh powders, which can scratch finishes. After polishing, inspect the surface from several angles and touch up cloudy spots.
This final step helps *boost* shine and leaves your kitchen looking freshly cleaned.
Scrub and Rinse the Kitchen Sink
Gently scrub the sink, paying extra attention to stains and buildup. Then rinse it thoroughly to remove any residue and leave the surface fresh.
Apply Gentle Scrub
How can you remove stubborn residue without scratching the sink? Use a gentle scrub made from baking soda and a little dish soap. Spread the paste over stained areas with a damp, soft sponge, then work in small circles.
Apply light pressure, especially around the drain, faucet, and corners where grime collects. This delicate cleaning method loosens buildup while protecting stainless steel, porcelain, or composite surfaces.
Focus on these habits:
- Choose a nonabrasive sponge or microfiber cloth.
- Test your scrub on an inconspicuous spot first.
- Avoid steel wool, scouring powders, and harsh brushes.
For stuck-on spots, let the paste sit briefly before scrubbing again. Keep your strokes controlled, and follow the sink’s grain if it has a brushed-metal finish.
Don’t mix baking soda with bleach or other cleaners. Work methodically until every visible mark has received gentle attention.
Rinse Away Residue
Once the gentle scrub has loosened the grime, rinse the sink thoroughly with warm water to wash away the paste and lifted residue. Direct water into the corners, around the drain, and beneath the faucet, where residue buildup often hides.
Use a clean microfiber cloth to wipe the basin as you rinse, preventing cloudy streaks. Don’t mix cleaning solutions; lingering chemicals can create harsh fumes or damage the finish.
| Area | Action | Result |
|---|---|---|
| Basin | Rinse and wipe | Fresh shine |
| Drain | Flush with water | Cleaner flow |
| Faucet base | Wipe carefully | No hidden grime |
Run water through the drain for several seconds, then inspect the sink under bright light. If you spot film, rinse again instead of scrubbing harder.
Finally, dry every surface with a towel. You’ll reveal a cleaner sink, remove lingering odors, and feel satisfaction each time you use it.
Sweep and Mop the Kitchen Floor
Start by sweeping the floor to remove crumbs, dust, and loose debris from every corner. Use a broom or vacuum attachment to reach beneath cabinets, appliances, and the table.
Gather the debris and discard it before mopping, so grit won’t spread across the surface.
For effective floor cleaning, choose a cleaner suited to your flooring and follow its dilution instructions. Fill a bucket with warm water, then wring out your mop until it’s damp, not dripping.
Excess water can damage wood, loosen seams, or leave slippery patches.
Use these mop techniques for a cleaner, faster result:
- Work from the farthest corner toward the doorway.
- Mop in small sections, overlapping each pass.
- Rinse and wring the mop regularly.
Change cloudy water promptly, and spot-clean sticky areas with a cloth. Let the floor air-dry completely before walking on it.
Keep pets and children away until the surface is dry, and store your broom, mop, and bucket cleanly.
Disinfect Handles, Knobs, and Switches
Disinfect frequently touched handles, knobs, and switches to remove germs from the surfaces you use most. Start by washing your hands and gathering a clean microfiber cloth, mild detergent, and an appropriate disinfectant. Read the product label carefully, because some cleaners can damage metal, wood, or painted finishes.
Wipe away grease and crumbs first so the disinfectant can work effectively. Spray the product onto your cloth rather than directly onto electrical switches, then wipe cabinet pulls, refrigerator handles, drawer knobs, faucet levers, and appliance controls.
For sanitizing switches, use a lightly dampened cloth and keep liquid away from openings. When disinfecting handles, clean both the front and underside, where grime often collects.
Allow surfaces to remain visibly wet for the label’s recommended contact time, then let them air-dry unless the instructions require rinsing. Don’t mix bleach with vinegar, ammonia, or other cleaners.
Finish by washing your hands and laundering reusable cloths before your next cleaning task.
Frequently Asked Questions
How Often Should I Deep-Clean My Kitchen?
Deep-clean your kitchen about once a month, but adjust that frequency for your household’s needs. If you cook daily, have pets, or notice grease and grime building up, clean more often.
Follow a weekly cleaning schedule for appliances, cabinets, floors, and sinks, then tackle overlooked areas monthly, such as vents, walls, and behind appliances.
Good kitchen organization makes deep-cleaning faster because you’ll find, sort, and maintain everything efficiently.
Which Natural Cleaners Are Safe for Kitchen Surfaces?
You can safely use diluted white vinegar on glass, stainless steel, and laminate, but avoid marble, granite, and other natural stone. Baking soda gently scrubs sinks and stovetops, while unscented castile soap cleans many surfaces.
These homemade solutions offer effective, eco-friendly options when you label and store them carefully. Never mix vinegar with bleach, and test any cleaner on a hidden spot first. Follow each surface manufacturer’s care instructions, too.
How Can I Remove Stubborn Grease Buildup From Kitchen Walls?
For stubborn grease removal, spray warm water mixed with dish soap onto the wall, then let it sit for five minutes. Wipe gently with a microfiber cloth, working from top to bottom.
For thicker buildup, apply a paste of baking soda and water, scrub lightly, and rinse with a clean, damp cloth. Dry the surface afterward.
During wall cleaning, test any solution in a hidden spot first to prevent discoloration or damage.
What Safety Precautions Should I Take When Mixing Cleaning Products?
Treat cleaning products like fire: a small mistake can spark serious harm. Never mix bleach with ammonia, vinegar, acids, alcohol, or other cleaners, because toxic gases may form.
Read every label first, and use one product at a time. Make certain proper ventilation by opening windows and doors, and never work in an enclosed space.
Wear protective gear, including gloves and eye protection. Keep products labeled, avoid splashing, and store them safely away from children.
How Should I Clean and Maintain My Kitchen Ventilation Hood?
Turn off and unplug your hood before cleaning. Remove grease filters and wash them with hot water and degreasing dish soap; replace disposable filters as needed. This Hood filter cleaning prevents buildup and improves airflow.
Wipe the hood, fan housing, and surrounding surfaces with a damp, nonabrasive cloth, avoiding electrical parts. Check the duct and exterior vent for obstructions.
Schedule professional Ventilation maintenance annually, and replace damaged filters or noisy fans promptly.
Conclusion
A clean kitchen can make daily cooking feel easier and more enjoyable. In fact, research suggests people who keep their kitchens tidy are more likely to prepare meals at home.
After you clear clutter, wash dishes, wipe appliances, clean counters, scrub the sink, sweep and mop, and disinfect high-touch spots, you’ll have a fresher space in less time.
Keep your routine simple: clean as you go, tackle spills quickly, and give your kitchen a brief reset each evening. These habits make how to clean your kitchen in 7 steps easier to manage.