How to Paint Kitchen Cabinets in 7 Steps
Worn, outdated cabinets can make your whole kitchen feel tired, and choosing the right products can be overwhelming. You’re not alone—many people struggle to find the best supplies for a smooth, durable finish. This guide to how to paint kitchen cabinets breaks the process into seven manageable steps.
To paint kitchen cabinets in seven steps, choose durable paint, bonding primer, and quality supplies. Remove and label doors, drawers, and hardware. Clean every surface with degreaser, rinse, and dry thoroughly. Repair dents and sand away gloss. Apply thin, even primer coats, then sand lightly when fully dry.
Paint with smooth brush or roller coats, allowing proper drying time. Let the finish cure before reinstalling hardware and using harsh cleaners. The detailed process below will help you achieve lasting results.
Key Takeaways
- Choose durable cabinet paint, gather supplies, and label every door, drawer, and hardware piece before removal.
- Clean cabinets thoroughly, repair damage, and sand surfaces to remove grease, gloss, and imperfections.
- Apply a high-adhesion primer in thin, even coats, allowing complete drying between applications.
- Paint cabinets with thin, smooth coats, using brushes for edges and rollers for flat panels.
- Let the finish cure fully before reinstalling hardware, heavy use, or harsh cleaning.
Choose Paint, Primer, and Cabinet Supplies

Choose a durable, easy-to-clean cabinet paint in a satin or semi-gloss finish, such as acrylic latex or a specialty cabinet enamel. Consider your kitchen’s lighting, counters, flooring, and wall color during color selection.
Choose a durable cabinet paint and consider how its finish and color will complement your kitchen’s lighting, counters, flooring, and walls.
Test sample shades on poster board, then view them throughout the day before committing. Compare finish options carefully: satin hides minor imperfections, while semi-gloss provides greater sheen and easier cleaning.
Select a bonding primer designed for wood, laminate, or previously painted surfaces, depending on your cabinet material. A stain-blocking formula helps prevent discoloration from knots, grease, or water marks.
Gather fine-grit sandpaper, a sanding sponge, degreasing cleaner, lint-free cloths, high-quality angled brushes, and a small microfiber or foam roller.
Add painter’s tape, drop cloths, stir sticks, paint trays, and disposable gloves to your supply list. Choose tools that minimize brush marks and shed-resistant covers for smooth results.
Buy enough primer and paint to complete every surface, preferably from the same product line. Keep extra paint for future touch-ups.
Remove Doors, Drawers, and Hardware
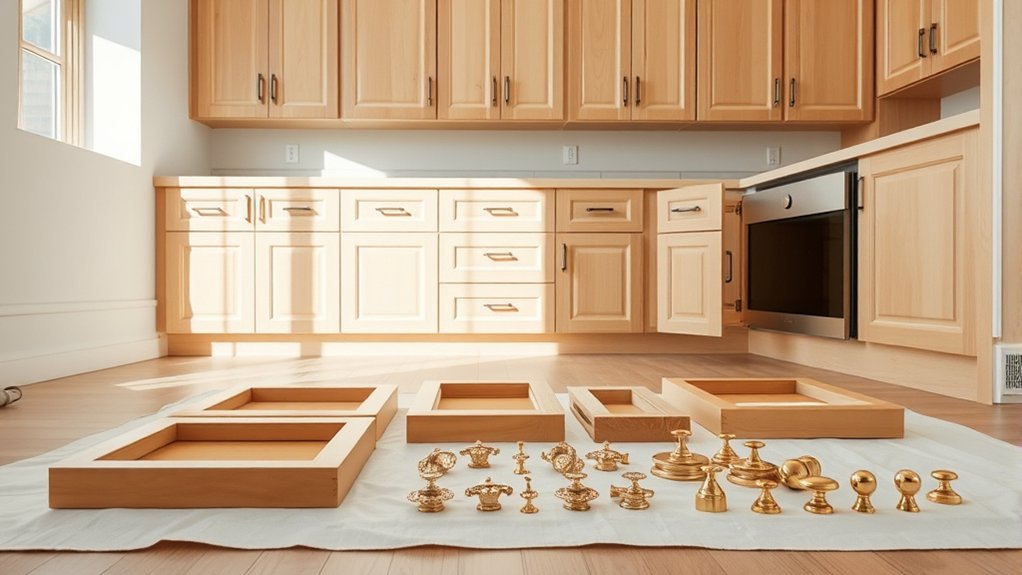
Once you’ve gathered your supplies, remove the cabinet doors, drawers, and hardware before painting. Label each door, drawer, and matching opening with painter’s tape and a number.
This simple step keeps reassembly quick and prevents misplaced pieces.
For safe door removal, support each door while you unscrew its hinges. Store screws and hinge plates in labeled bags, and keep them with the corresponding cabinet.
| Task | What you need | Where it goes |
|---|---|---|
| Label doors | Tape, marker | Door edge |
| Remove hinges | Screwdriver, cup | Labeled bag |
| Pull drawers | Both hands | Protected area |
| Detach knobs | Screwdriver | Hardware bag |
Complete hardware disassembly carefully, noting how each handle, knob, and hinge fits. Don’t force stuck screws; apply steady pressure and use the correct driver.
Place removed parts in a tray or sealed bag so they won’t disappear. Set doors and drawers on a padded, level surface to prevent dents, scratches, or warping.
Keep your labels visible throughout the project, and photograph unusual hinge arrangements before taking them apart.
Clean and Degrease Every Cabinet Surface
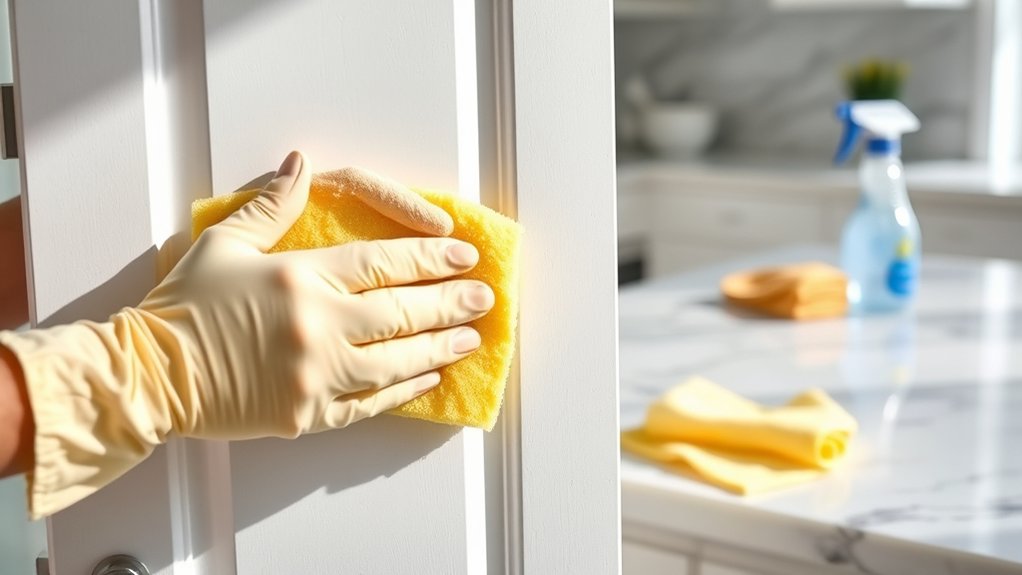
Before painting, remove grease buildup from every cabinet surface with a suitable degreaser. Wipe away the residue, then rinse each surface with clean water. Let the cabinets dry completely before you begin sanding or priming.
Remove Grease Buildup
Grease buildup can keep paint from bonding, so clean every cabinet surface thoroughly before you sand or prime. Remove knobs, handles, and hinges to expose hidden edges and corners.
Wipe loose crumbs and dust away, then apply a kitchen-safe degreaser to doors, drawer fronts, frames, and cabinet boxes. Follow the product’s directions, and give stubborn areas extra attention.
For effective grease removal, use a nonabrasive sponge or microfiber cloth rather than steel wool, which can scratch the finish. Work from the least soiled surfaces toward heavily coated areas, replacing dirty water or cloths often.
Try a small, hidden spot first to confirm the cleaner won’t damage the existing finish. Pay special attention to surfaces near the range, where airborne oil accumulates.
Consistent cleaning techniques help create a smooth, paint-ready foundation.
Rinse And Dry
Rinse each cabinet surface with a clean, damp microfiber cloth to remove degreaser residue, then dry it thoroughly with a lint-free towel. Work in small sections, changing the water when it looks cloudy. Effective rinsing techniques prevent leftover cleaner from interfering with primer adhesion.
- Wipe corners, edges, handles, and grooves carefully, since residue often hides in these areas.
- Use a second clean cloth for a final pass, and don’t soak wood or particleboard.
- Follow reliable drying methods: towel-dry immediately, then let each door and cabinet frame air-dry completely.
Check every surface by touch. It should feel clean, smooth, and free of slipperiness. If you notice a sticky spot, rinse and dry it again.
Allowing thorough drying before sanding or priming helps prevent peeling, bubbling, and uneven coverage. Keep doors supported flat until moisture disappears.
Repair and Sand the Cabinet Doors
Inspect each cabinet door for dents, cracks, loose joints, and chipped finish, then fill minor damage with wood filler and let it dry completely. Check the edges and corners closely, since small defects often show after painting. Tighten loose fasteners, reglue separating joints, and replace badly damaged pieces when repairs won’t hold.
Inspect cabinet doors carefully, repair minor damage, and ensure every surface is smooth and sound before painting.
Remove the Cabinet hinges and label each door and hardware location to simplify reassembly. Set the doors on a protected, stable surface, then scrape away peeling finish with a putty knife.
Sand repaired areas with medium-grit sandpaper until they’re smooth and level with the surrounding wood. Follow with fine-grit paper, working in the direction of the grain.
Lightly sand the entire door to remove gloss and create an even surface, but don’t gouge the wood or round its edges. Wipe away dust with a clean, slightly damp cloth, then let every surface dry.
Complete repairs and sanding before making your Paint color selection, so you can judge the finish on a properly prepared surface.
Prime the Cabinets So Paint Sticks
Choose a primer made for cabinets and suited to your surface. Apply thin, even coats to avoid drips and brush marks. Let each coat dry completely before applying the paint.
Choose the Right Primer
Once the cabinets are clean, apply a high-adhesion bonding primer designed for glossy, stained, or previously painted surfaces. Choosing the right formula gives your finish a durable foundation and helps prevent stains from bleeding through.
- Match the surface: Use an oil-based primer for heavy stains, tannin-rich wood, or stubborn odors. Choose a water-based bonding primer for easier cleanup and lower fumes.
- Check compatibility: Read the label to confirm the primer works with your cabinet material and intended topcoat. Some products specifically suit laminate, MDF, or bare wood.
- Consider color coordination: A tinted primer can support your cabinet color, especially under deep shades. White or gray primer usually works well beneath light or medium colors.
Don’t rely on ordinary wall primer; it may not grip cabinet surfaces. Let your chosen product dry according to its label before evaluating coverage or preparing for the next painting step.
Apply Thin, Even Coats
With the right primer selected, apply it in thin, even coats so the paint bonds smoothly and resists peeling. Stir the primer thoroughly, then check its paint consistency; it should flow easily without looking watery or lumpy.
Load your brush lightly, tapping off excess against the can’s rim. Use a controlled brush technique, moving in long, straight strokes that follow the cabinet’s grain.
Work across one section at a time, blending edges while the primer remains workable. Don’t press hard, since heavy pressure can create ridges and uneven coverage.
Keep each coat light enough to preserve the cabinet’s details, especially around profiles, corners, and raised panels. Inspect your work from different angles, and smooth visible drips or brush marks immediately.
Cover exposed wood completely, but avoid pooling primer in seams or hardware holes.
Allow Proper Drying Time
Let the primer dry for the time specified on the label before handling or recoating the cabinet doors. Even if the surface feels dry, the primer may still be soft underneath. Give it enough time to bond and harden so your paint won’t peel or scratch.
- Keep doors and drawers in a clean, dust-free drying environment with steady airflow. Avoid direct sunlight, high humidity, and extreme temperatures, which can slow drying or cause uneven results.
- Check the label for recoat times, and don’t rush between primer and paint coats. Lightly sand only after the primer has dried fully.
- Protect drying pieces from fingerprints, pets, and stacked contact. During the curing process, handle them gently and wait as directed before reinstalling hardware or using the cabinets.
Patience now helps create a smoother, longer-lasting finish.
Apply Thin, Even Coats of Cabinet Paint
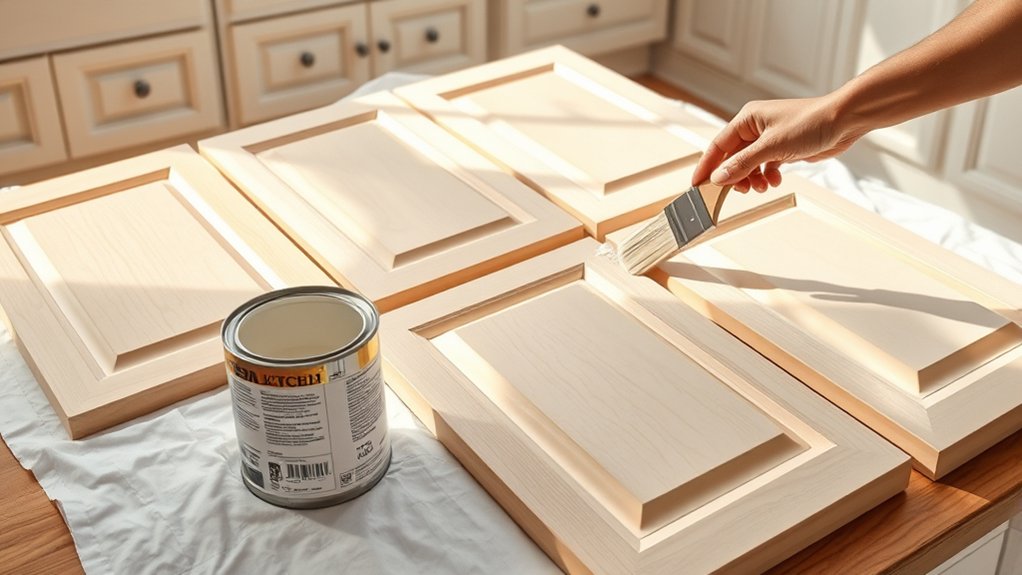
Apply the cabinet paint in thin, even coats to prevent drips, brush marks, and uneven coverage. Load your brush lightly, then spread paint with long, smooth strokes that follow the wood grain.
Apply thin coats with light, smooth strokes that follow the wood grain for even coverage and a professional finish.
Don’t press hard. Excessive pressure can create ridges and pull paint from the surface. Use careful brush techniques around corners, profiles, and edges, but avoid repeatedly brushing areas as they begin to set.
For flat panels, a high-quality mini roller can produce consistent coverage, while a brush helps smooth the rolled surface.
Let each coat dry according to the paint manufacturer’s instructions before adding another. Lightly inspect the surface between coats, and gently smooth isolated imperfections with fine-grit sandpaper if needed.
Remove dust completely before continuing. Two or three thin coats usually provide better durability and a more uniform paint finish than one heavy coat.
Keep your workspace clean, and maintain consistent strokes and paint amounts across doors, drawers, and cabinet frames for a professional-looking result.
Let Cabinets Cure Before Reinstalling Hardware
Once the final coat feels dry, give the cabinets enough time to cure before reinstalling the hardware. Dry paint may feel firm, but the curing process continues as the finish hardens and becomes more resistant to scratches, fingerprints, and pressure.
Follow the paint manufacturer’s recommended wait time, and allow extra time in cool or humid conditions.
- Keep doors and drawers in a clean, dry area while they cure. Avoid stacking them, since contact can leave marks or cause sticking.
- Test an inconspicuous spot gently with your fingernail. If the finish feels soft, tacky, or easily marked, wait longer.
- Plan hardware installation carefully. Use clean hands, align each piece with your original markings, and tighten screws only until snug. Excessive force can dent fresh paint or strip the finish.
After reinstalling everything, open and close each door slowly. Give the cabinets several more days of gentle use, and avoid harsh cleaners until the finish has fully hardened.
This patience helps your work stay smooth and durable.
Frequently Asked Questions
How Long Does It Typically Take to Paint Kitchen Cabinets?
You’ll typically need three to seven days to paint kitchen cabinets properly. Plan time for removing doors, cleaning, sanding, priming, painting, drying, and reinstalling everything.
Your timeline may increase if you’re tackling many cabinets, repairing damage, or waiting between coats. Careful painting techniques, including smooth brushwork and adequate drying, improve results.
Allow extra time for color selection, since testing shades beforehand helps you avoid repainting and guarantees your finished cabinets complement the kitchen.
Can I Paint Laminate or Thermofoil Kitchen Cabinets Successfully?
Yes, you can paint laminate or thermofoil cabinets successfully, but the theory that any paint will stick is false. You’ll need thorough laminate prep: clean away grease, lightly scuff the surface, and apply a bonding primer.
Thermofoil adhesion requires extra care because peeling edges may need repair or removal before painting. Use a durable cabinet enamel in thin coats, allow proper drying time, and handle doors gently until the finish fully cures.
Should I Paint the Cabinet Interiors and Undersides?
Yes, you should paint cabinet interiors and undersides when you want a fully finished look, but you don’t have to. Paint interiors if they’re visible, stained, or worn; leave hidden undersides alone unless they’re damaged or dirty.
Start with thorough cabinet cleaning, then sand and prime for adhesion. During paint color selection, use the same shade inside and outside, or choose white inside to brighten shelves. Let every surface cure.
How Much Does Professional Kitchen Cabinet Painting Usually Cost?
You’ll usually pay $2,000–$6,000 for professional kitchen cabinet painting, though large or intricate kitchens can exceed $8,000. Your cost breakdown typically includes labor, cleaning, sanding, priming, paint, hardware removal, and finishing.
Cabinet condition, door count, paint quality, and location also affect the total. For a useful price comparison, request at least three itemized quotes.
Confirm whether contractors include interiors, undersides, repairs, and a warranty before choosing the lowest bid.
How Can I Prevent Painted Cabinets From Chipping Over Time?
Like armor, durable cabinets need strong preparation. Improve Paint adhesion by cleaning away grease, sanding glossy surfaces, and applying a quality bonding primer before painting.
Choose a hard-wearing cabinet enamel, and apply several thin, even coats rather than one thick layer. Let each coat cure fully, not merely dry.
Protect Cabinet durability by using gentle cleaners, avoiding slamming doors, and adding felt pads or bumpers where hardware strikes surfaces.
Conclusion
Once you’ve chosen quality supplies, removed the hardware, cleaned away grease, repaired imperfections, sanded, and primed, apply thin, even coats of cabinet paint. Let every surface dry and cure fully before reinstalling the doors, drawers, and hardware.
Don’t rush the final step. Patience is the secret ingredient that helps your finish stand up to daily cooking, spills, and fingerprints. With careful preparation and a steady hand, you’ll transform your kitchen cabinets and give your space a fresh new look. Painting kitchen cabinets can make a noticeable difference in your kitchen.