How to Fit a Kitchen in 7 Steps
Fitting a kitchen can feel overwhelming, especially when you’re unsure where to start or worried about costly mistakes. You’re not alone—many people struggle to organise the space, choose the right fittings, and connect everything safely.
This guide to how to fit a kitchen breaks the process into seven manageable steps.
Measure your kitchen and plan zones, clear and prepare the room, then install and level base cabinets.
Secure wall cabinets using suitable fixings, cut and fit worktops, and seal the joints.
Install the sink and appliances, connecting water, waste, gas, and electricity safely according to regulations.
Finally, test everything for leaks and proper operation, fit trims and handles, clean up, and check clearances.
Follow the detailed steps below to complete your kitchen confidently and safely.
Key Takeaways
- Measure the room, plan kitchen zones, confirm appliance clearances, and mark utilities, lighting, and ventilation before installation.
- Prepare the room by removing obstacles, protecting floors, isolating services, and repairing damp, cracks, or uneven walls.
- Install and level base cabinets first, secure them to walls and each other, then fit wall cabinets using suitable fixings.
- Measure, cut, and secure worktops, then install the sink and connect appliances according to manufacturer instructions.
- Test plumbing, electrical, gas, and appliances for leaks, safety, alignment, sealing, smooth operation, and a clean finished installation.
Measure Your Kitchen and Plan the Layout
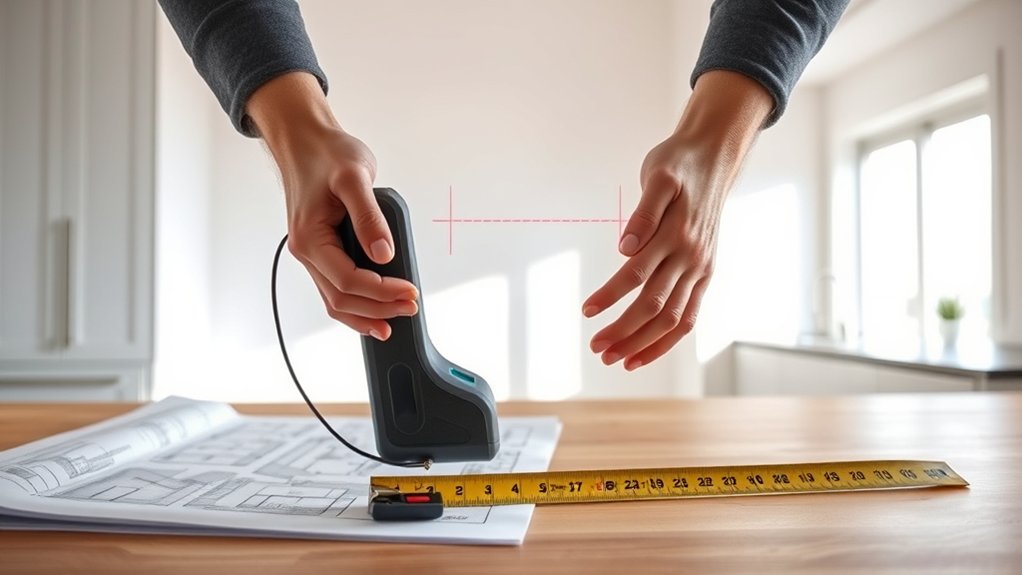
Start by measuring your kitchen’s length, width, ceiling height, doorways, windows, and fixed features such as plumbing points and radiators. Record every dimension clearly, noting awkward corners, alcoves, and changes in wall depth. Mark where services enter the room, but don’t assume you can relocate them without professional advice.
Accurate measurements and careful notes on services, corners, and fixed features create a reliable foundation for kitchen planning.
Next, sketch the room on graph paper or use kitchen-planning software. Place essential zones first: cooking, washing, refrigeration, and preparation. Keep useful worktop space between appliances, and check that doors, drawers, and the oven can open without collisions.
Maintain comfortable walking routes and leave enough clearance around seating areas. Consider how natural light affects your layout, then plan task lighting and decorative accents to support the room’s style.
Review ventilation options for cooking appliances, especially if you’re choosing a hob beneath a cabinet. Compare several arrangements before ordering units, and create a scaled plan showing cabinets, appliances, handles, and worktops.
This preparation helps you avoid costly ordering mistakes.
Prepare the Room for Kitchen Fitting
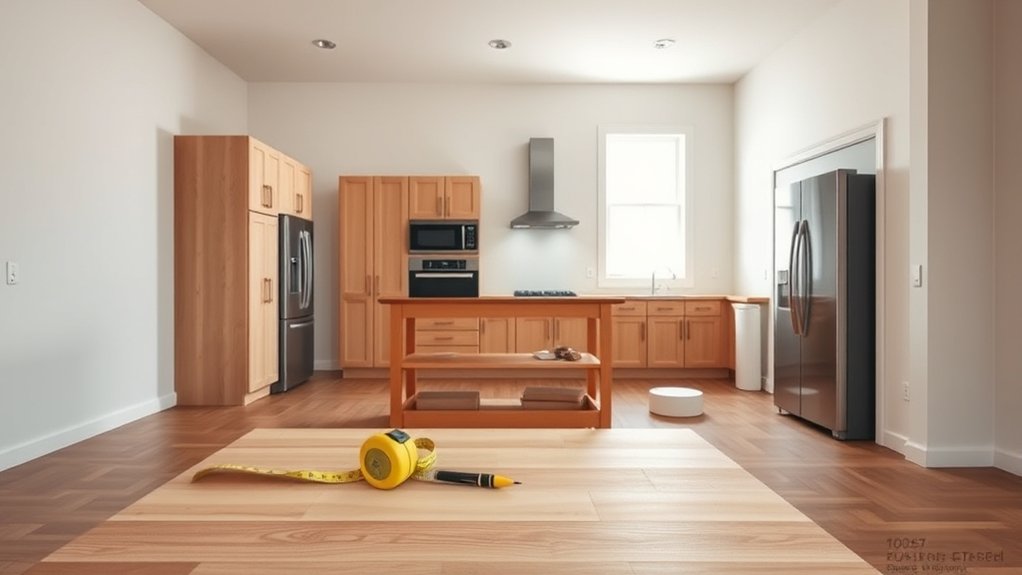
Once your measurements and layout are confirmed, prepare the room before any units arrive. Remove furniture, appliances, curtains, and wall coverings that could obstruct the work. Protect floors and nearby rooms with sturdy dust sheets, and seal doorways to limit dust.
Turn off electricity, gas, and water supplies before removing anything connected to them. If you’re unsure about a service, ask a qualified professional rather than taking risks.
Check walls, floors, and ceilings for damp, cracks, loose plaster, or uneven surfaces, then arrange repairs. Clear rubbish and make sure you have a safe route for carrying materials indoors.
Confirm your chosen Color schemes, paint colours, tiles, and finishes before installation begins. Complete decorating tasks that are easier while the room is empty, but allow surfaces to dry fully.
Review your lighting options, including task and ambient fixtures, and mark planned positions. Keep the room clean, dry, accessible, and ready for fitting.
Install and Level the Base Cabinets
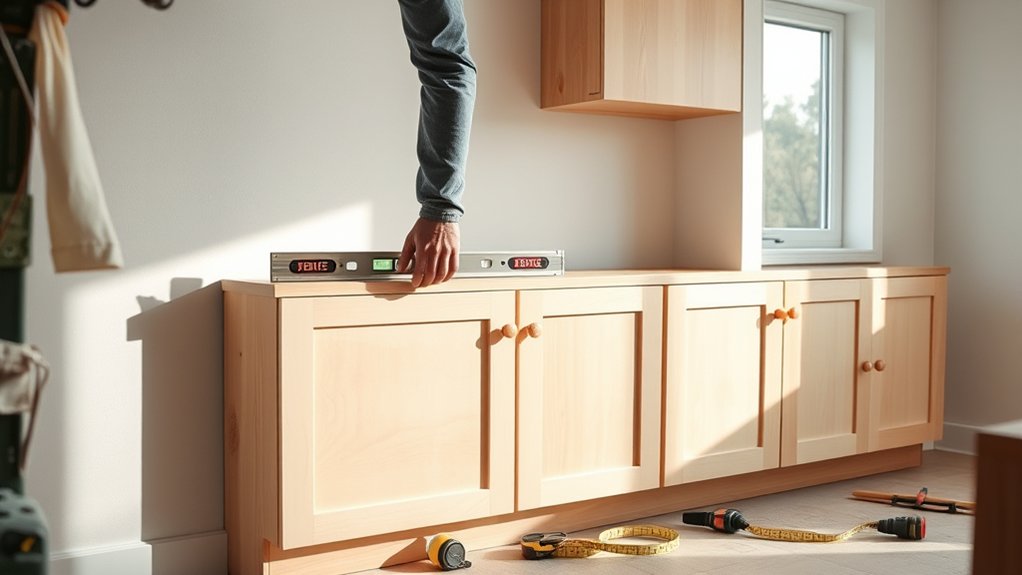
Position the base cabinets according to your kitchen plan, keeping them aligned with the wall and with one another. Then, use a spirit level to adjust the legs until each cabinet is even. Once everything is level, secure the cabinets together and anchor them firmly to the wall.
Position Base Cabinets
With the room cleared and your layout marked, set the base cabinets in place, beginning with the corner unit and working outward. Keep each cabinet’s front edge aligned with your planned run, and leave room for end panels, fillers, and appliances.
Use clamps temporarily to hold adjoining units together while you check the sequence. Compare your arrangement with the manufacturer’s instructions, since cabinet styles and storage solutions may require specific clearances.
| Check | What to confirm | Why it matters |
|---|---|---|
| Corner | Doors open freely | Prevents collisions |
| Run | Gaps match your plan | Supports a neat finish |
| Appliances | Openings fit correctly | Avoids costly changes |
Place shims nearby for the next stage, but don’t adjust heights or fasten cabinets yet. Step back, inspect the full run, and confirm drawers, doors, and walkways have adequate clearance before proceeding.
Level and Secure Cabinets
Start with the corner cabinet and adjust its legs or shims until it’s level from front to back and side to side. Check the cabinet against the wall, then mark and drill through the hanging rail into a stud.
Secure it with suitable screws, but don’t overtighten and distort the frame. Position the adjoining cabinet, clamp the face frames together, and repeat your leveling techniques before fixing it.
- Use a long spirit level across neighboring cabinets to spot height differences.
- Confirm doors and drawers open freely before final tightening.
- Add packers behind rails where walls aren’t perfectly straight.
Continue along the run, checking each unit against the previous one. Accurate cabinet mounting keeps the worktop stable and prevents gaps.
Once every cabinet sits square, drive screws through the rails and, where appropriate, the cabinet sides. Recheck the entire run, then trim or score visible shims for a clean finish.
Fit the Wall Cabinets Securely
Once the base units are level, mark a straight reference line for the wall cabinets and locate the studs behind it. Check the manufacturer’s fixing height, then transfer the measurements accurately to the wall. Use a level throughout, because even a small error can make adjoining units difficult to align.
Fit the supplied hanging rail or individual brackets according to the instructions. Choose fixings that suit both the wall construction and the loaded cabinet material. For masonry, use appropriate plugs and screws; for stud walls, drive screws directly into the studs wherever possible. Don’t rely on plasterboard alone for heavy units.
Lift each cabinet into position with help, engage it with the rail or brackets, and tighten the adjustment screws. Clamp neighbouring cabinets together, check that their fronts are flush, and join them with cabinet screws. Confirm every fixing is tight, the doors open freely, and the units remain level before loading them. Wear eye protection while drilling.
Cut and Fit the Worktops
Measure the base units carefully, allowing for the planned overhang. Mark the worktop’s length and any cut-outs for sinks or hobs. Double-check every measurement before cutting, and mark the finished edge clearly.
Choose suitable cutting techniques for your worktop material. Use a fine-tooth blade for laminate, a sharp carbide blade for solid wood, and specialist tools for stone or composite surfaces.
Support the worktop fully to prevent vibration and chipping.
- Cut with the finished face positioned to minimise visible tear-out.
- Clamp a straightedge securely to guide your saw.
- Smooth exposed edges with fine abrasive paper.
Dry-fit each section on the cabinets, checking that joints meet tightly and edges align.
For corner joints, use a router and worktop jig where appropriate, following the manufacturer’s guidance.
Seal raw laminate or timber edges with the recommended treatment. Leave the worktop level, then secure it from beneath through the cabinet rails without overtightening.
Wipe away dust and inspect the final fit before continuing.
Install the Sink, Appliances, and Connections
Next, position the sink securely in the worktop and seal around the edges. Then, connect your appliances according to the manufacturer’s instructions. Make sure all water, waste, gas, and electrical connections are secure, and check everything carefully before using your new kitchen.
Position the Sink
Position the sink near the dishwasher and main water connections to simplify plumbing and cleanup.
Before fixing cabinets, confirm your sink placement against the worktop, window, and surrounding units. Leave enough landing space on both sides, and check that doors, drawers, and the dishwasher can open without collisions.
Your plumbing considerations should include pipe routes, waste gradients, isolation-valve access, and room beneath the bowl for storage or a waste-disposal unit.
Mark the centreline carefully, then verify it against the cabinet and countertop cut-out.
- Keep the sink away from tight corners.
- Allow comfortable elbow room for washing and preparation.
- Protect nearby panels from splashes with suitable sealing.
Use the manufacturer’s template to mark the opening, but don’t cut until you’ve checked measurements twice.
Support the sink securely, level it, and seal its rim neatly to prevent water damage.
Connect Appliances
With the sink secured, connect the dishwasher, cooker, and other appliances according to the manufacturer’s instructions. Check appliance compatibility before you position each unit, ensuring its dimensions, ventilation needs, and connection points suit your cabinets and worktop.
Slide appliances into place without crushing hoses, cables, or insulation. Level the dishwasher and cooker so doors open smoothly and pans sit safely.
Follow the appliance manual when attaching inlet and waste hoses, and use the supplied brackets or clips to prevent movement.
Plan electrical wiring neatly behind units, leaving enough slack for servicing without allowing cables to touch hot surfaces. Confirm every appliance has the correct plug, rating, and protective device.
Don’t switch anything on until you’ve checked the connections, fitted panels, and removed all packaging and transit bolts.
Secure Utility Connections
Secure the sink first, then connect its waste, overflow, and water-supply fittings according to the manufacturer’s instructions. Check every washer and joint, then run water while inspecting for drips.
Fit isolation valves so you can shut off supplies quickly during maintenance.
For reliable utility safety, arrange qualified tradespeople for gas, electrical, and complex plumbing work. Follow local plumbing regulations, appliance instructions, and ventilation requirements rather than improvising connections.
- Anchor the sink firmly, but don’t overtighten clips, which could damage the worktop.
- Connect the dishwasher and washing machine to suitable valves, traps, and waste outlets.
- Test each appliance separately, checking hoses, seals, earthing, and accessible shut-off points.
Keep cables away from hot pipes and moving parts, and don’t conceal connections where you can’t inspect them.
Finally, label isolation valves and record appliance locations for future servicing. Clean away excess sealant and confirm doors and drawers open freely.
Check Everything and Finish the Details
Once everything’s installed, check that doors and drawers open freely, appliances work correctly, and all connections are safe. Run taps, inspect pipes for leaks, and test the cooker, extractor, dishwasher, and refrigerator.
If anything feels loose, noisy, or uneven, fix it before you unpack. Check cabinet alignment and tighten handles, hinges, and visible screws.
Seal gaps around the sink, worktops, and splashback to prevent water damage. Confirm that sockets, switches, and kitchen lighting operate safely, and replace any unsuitable bulbs or damaged fittings.
Clean dust, adhesive, and protective film from every surface. Review your flooring selection for raised edges, gaps, or movement, then repair problems that could cause trips or moisture damage.
Fit plinths, end panels, trims, and door buffers neatly. Finally, keep manuals, guarantees, and installer details together.
Walk through the room once more, testing each feature and noting anything requiring professional attention before you consider the kitchen complete. Dispose of packaging responsibly, and ventilate the space to clear lingering sealant or paint odours.
Frequently Asked Questions
Can I Fit a Kitchen Myself Without Previous DIY Experience?
Yes, you can fit a kitchen yourself without previous DIY experience, but you’ll need patience, planning, and realistic expectations. Start with beginner renovation tips: measure carefully, create a detailed layout, and assemble cabinets on a level surface.
DIY kitchen installation usually suits confident beginners for flat-pack units, handles, shelving, and painting. Hire qualified professionals for gas, electrical, and complex plumbing work.
Allow extra time, follow manufacturer instructions, and ask for help when tasks exceed your skills.
How Much Does Professional Kitchen Fitting Usually Cost?
Professional kitchen fitting usually costs £2,000–£6,000 for installation, although complex layouts, plumbing, electrics, and premium finishes can push the price above £10,000. You’ll often pay separately for units, appliances, worktops, and waste removal.
Get at least three itemised quotes for an accurate cost comparison. During budget planning, ask whether each quote includes preparation, flooring, decorating, and certification, because exclusions can create unexpected expenses.
Confirm payment schedules and guarantees before work begins.
How Long Does a Typical Kitchen Installation Take?
A typical kitchen installation takes one to three weeks, depending on your room’s size, design complexity, and required building work. You’ll usually spend a few days removing the old kitchen, followed by cabinet fitting, worktop installation, plumbing, and electrical connections.
Appliance placement and lighting design can extend the schedule if you need new wiring or adjustments. Bespoke units, flooring, plastering, and unexpected structural issues may add several extra days to your project.
Which Kitchen Materials Are Easiest to Clean and Maintain?
Choose smooth, nonporous materials if you want easy kitchen cleaning and simple maintenance. Quartz countertops resist stains, moisture, and scratches, while porcelain or ceramic tiles wipe clean without absorbing spills.
For cabinets, choose laminate, thermofoil, or painted finishes with minimal detailing. Stainless steel appliances clean easily, though they show fingerprints.
Maintenance tips include wiping spills promptly, using gentle cleaners, avoiding abrasive pads, and sealing natural stone regularly to preserve its appearance and performance.
What Warranties Should I Expect From Kitchen Suppliers and Installers?
You should expect appliance warranties covering parts and labour for one to five years, though premium brands may offer longer protection. Ask suppliers to confirm exclusions, registration requirements, and who handles repairs.
Cabinetry guarantees commonly cover manufacturing defects for five to ten years, while worktop and hardware coverage may differ. Your installer should provide a separate workmanship warranty, typically one to two years.
Get every promise, deadline, and remedy in writing before payment.
Conclusion
With your kitchen measured, prepared, and assembled, you’ve turned seven practical steps into a space that works beautifully. Check every cabinet, connection, door, and seal before you call the job complete.
A final clean-up is the finishing touch that makes the whole transformation shine—your own small “before and after” moment. Like the last piece of a puzzle, these details bring everything together.
Now you can step back, admire your work, and enjoy cooking in a kitchen fitted just for you with confidence in how to fit a kitchen.