How to Unclog a Kitchen Drain in 10 Steps
A clogged kitchen drain can bring your entire routine to a frustrating halt. You’re not alone—many people struggle with standing water, unpleasant odors, and slow drainage. The good news is that learning how to unclog a kitchen drain can help you fix the problem quickly and safely.
To unclog a kitchen drain in 10 steps, identify the likely cause and gather gloves, towels, a bucket, plunger, and snake. Remove standing water and visible debris, then plunge firmly while covering other openings.
Try baking soda followed by vinegar, then flush with hot water. If needed, clean the P-trap or snake deeper blockages.
Don’t use force, and call a plumber for recurring clogs, leaks, odors, or multiple slow drains. The steps below explain each method.
Key Takeaways
- Remove standing water, then clear visible food, grease, and debris from the stopper and drain opening.
- Seal the drain and overflow, then plunge vigorously 10–15 times to loosen the blockage.
- If plunging fails, place a bucket beneath the P-trap, remove it, and clean out accumulated debris.
- Feed a hand auger into deeper clogs, turning gently and withdrawing debris before flushing with hot water.
- Prevent future clogs with a drain strainer, proper waste disposal, and professional help for recurring or multiple-drain blockages.
Find the Cause of the Clog
Before you reach for a plunger, identify what’s causing the blockage. Understanding the problem helps you choose the right solution and prevents further damage.
Start by noticing how the water drains. A slow drain often points to grease, soap residue, coffee grounds, or food particles building up inside the pipe.
If water backs up suddenly, a larger obstruction may have shifted or formed deeper in the line. Check whether other fixtures drain slowly, too.
Multiple affected drains can indicate a blockage in the main line rather than in your kitchen sink.
Consider recent activity. Did you pour cooking oil down the drain, rinse fibrous vegetables, or wash dishes without scraping them first?
These common clog causes can reveal likely blockage sources. Listen for gurgling, which may signal trapped air around an obstruction.
Also note unpleasant odors. Decomposing food or grease often creates them. Identifying these signs gives you a clearer starting point for clearing the drain safely.
Gather Tools and Protect the Sink
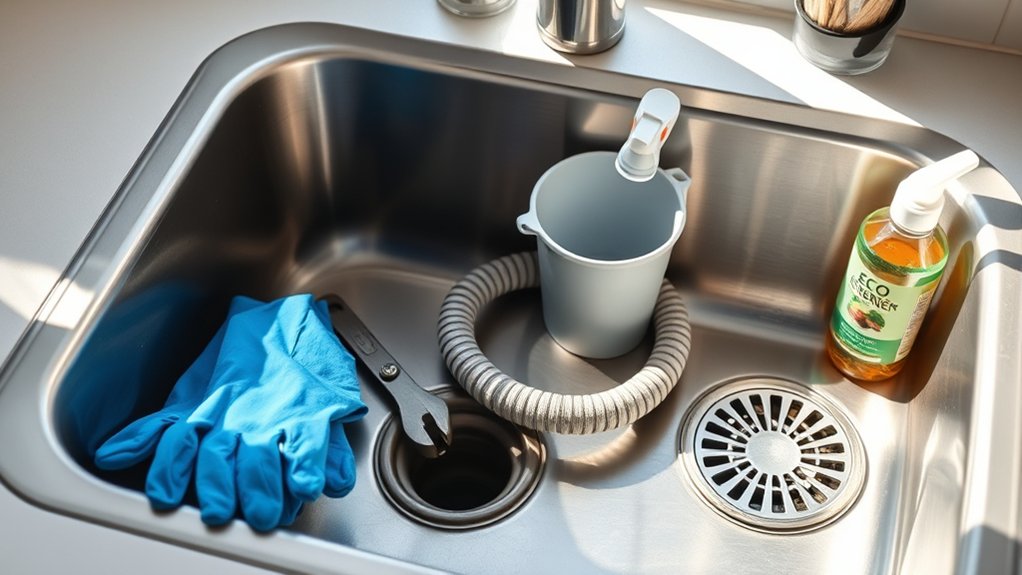
Gather a plunger, rubber gloves, a bucket, a flashlight, and a drain snake if needed. Choose tools that fit comfortably beneath your sink, and check each item for cracks, leaks, or damage before you begin.
Gather essential tools, inspect them for damage, and ensure everything fits comfortably beneath your sink before beginning.
Keep a clean cloth, old towels, and a small container nearby to protect surrounding cabinets and flooring from splashes.
Practice good Kitchen organization by placing every tool within reach, while keeping sharp equipment away from the sink’s edge. Put on rubber gloves to protect your hands from grime and cleaning products.
If you’ll use a chemical drain cleaner, read its label carefully, wear eye protection, and never mix it with another product.
Prioritize Water safety by keeping electrical appliances, cords, and outlets away from the work area. Open a window if the product’s instructions recommend ventilation.
Finally, guarantee you have adequate lighting so you can inspect the drain safely and work without damaging the sink’s finish or nearby fixtures.
Remove Standing Water
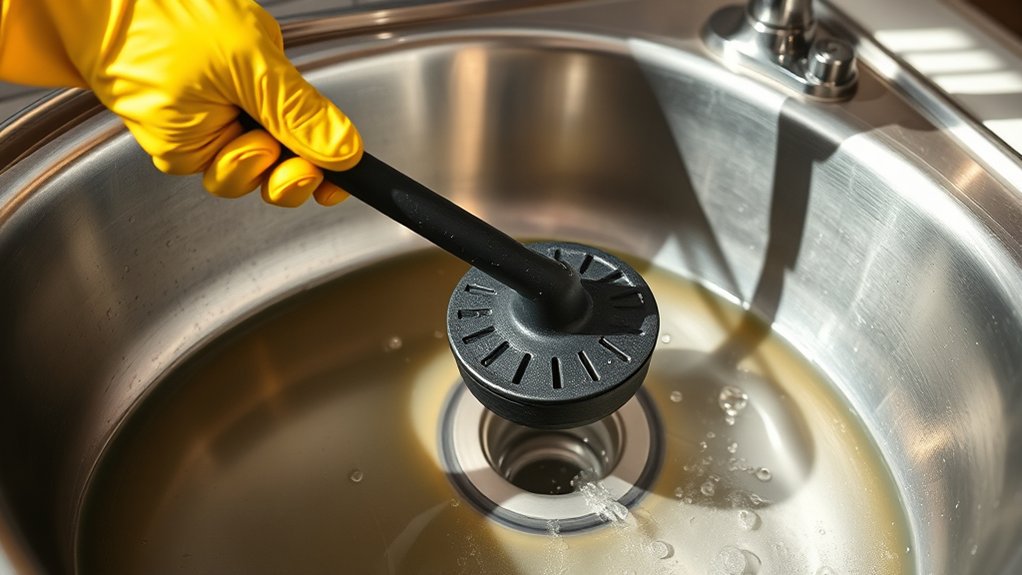
Grab some towels, a sponge, or another absorbent material to handle the spill. Scoop the standing water into a bucket or bowl until the sink is mostly empty. Then, dry the area around the drain so you can work safely and see clearly.
Gather Absorbent Materials
To remove standing water, keep several absorbent materials nearby, such as old towels, sponges, or paper towels. Choose supplies that can handle dirty water without tearing, and place them within easy reach before you begin.
Absorbent cloths work well for protecting cabinets, floors, and nearby surfaces from splashes. You can also use spill absorbents designed to trap moisture quickly and reduce messes.
- Old bath towels cover a broad area and protect flooring.
- Sponges help wipe damp cabinet walls and countertops.
- Paper towels provide a disposable option for small splashes.
Wear rubber gloves while handling wet materials, especially if food debris or unpleasant odors are present. Keep a trash bag nearby for used towels and saturated paper products.
Don’t overcrowd the workspace. Leave enough room around the drain for your tools and hands. Good preparation keeps cleanup manageable and protects surrounding surfaces.
Scoop Out Water
Once the area is protected, scoop the standing water from the sink with a cup, bowl, or small container. Work slowly to prevent splashes, and pour the water into a bucket rather than another drain.
This approach supports Water conservation if you reuse the water for outdoor plants, provided it contains no harsh cleaner.
| Tool | Best use |
|---|---|
| Cup | Small amounts |
| Bowl | Wider sink basins |
| Container | Faster removal |
| Bucket | Holding water |
Keep the bucket nearby as you continue, and stop when only a shallow layer remains.
Check the water for food scraps, grease, or other debris, then place solid waste in the trash. Don’t push debris farther into the drain.
Good Kitchen organization helps you find tools quickly and keeps the cleanup controlled. Follow local rules when disposing of contaminated water.
Dry the Drain Area
With the standing water removed, dry the drain area with a clean towel or rag. Wipe around the rim, sink basin, and nearby counter to eliminate moisture that could dilute your cleaner or make tools slip.
Use a fresh cloth if the first one becomes soaked. Good drying also supports Kitchen organization by keeping spills from spreading and giving you a clear workspace.
Before continuing, check these areas:
- Dry the drain opening and surrounding grooves.
- Wipe beneath the faucet and along the backsplash.
- Set wet towels aside so they don’t clutter your work area.
If you plan Drain cover removal, dry the cover completely before lifting it. A dry surface gives you a better grip and helps you spot food scraps, grease, or hair around the opening.
Keep a bowl nearby for debris, and wash your hands after handling dirty water. Now you’re ready to inspect the clog safely.
Clear the Stopper and Visible Debris
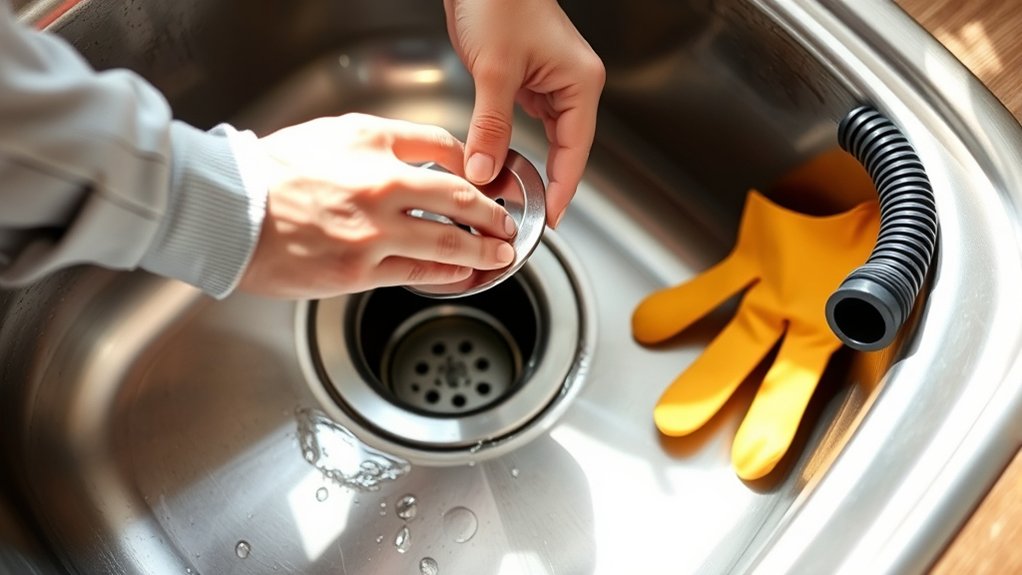
Start by removing the drain stopper, then lift out any food scraps, hair, or grease you can reach by hand. Wear rubber gloves, and use a flashlight to examine the opening. A bent wire, plastic grabber, or old toothbrush can help you collect residue without pushing it deeper into the pipe.
Rinse the stopper in warm water and scrub away sticky buildup with dish soap and a brush. Check its underside, where grease and trapped particles often gather.
During your debris inspection, look for anything blocking the crossbars, drain collar, or nearby strainer holes. Wipe those areas clean with a paper towel, then discard the waste rather than washing it back into the sink.
If your sink has a lift-and-turn or pop-up stopper, follow its stopper adjustment mechanism carefully as you remove and replace it. Make sure the stopper sits level and seals properly when you reinstall it.
Don’t force stuck parts. Loosen them gently to prevent damage.
Plunge the Kitchen Drain
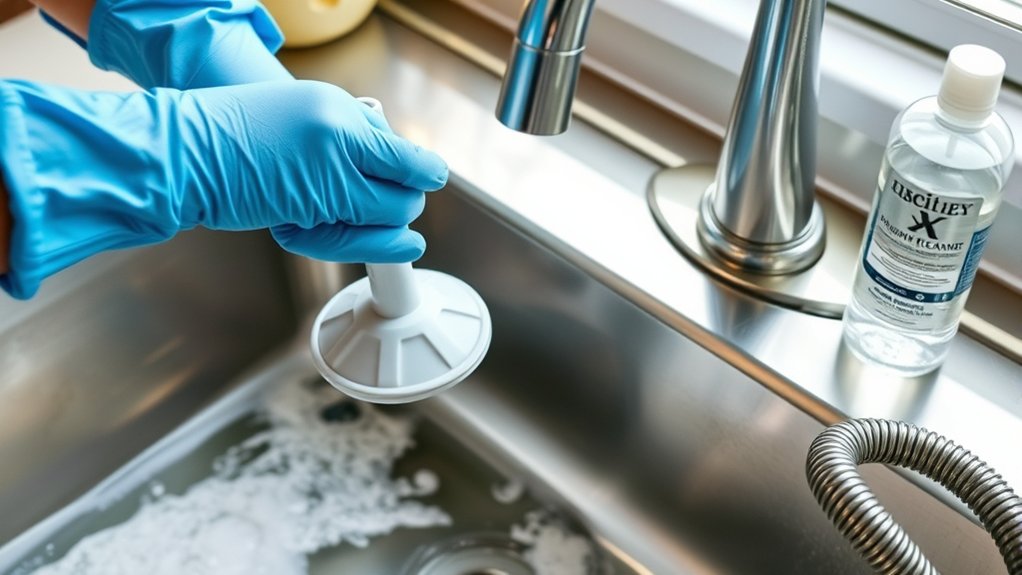
Fill the sink with enough water to cover the plunger’s cup, then center it over the drain opening and press down firmly. Maintain a tight seal so pressure reaches the clog instead of escaping around the rim.
Pump the handle rapidly 10–15 times without lifting the cup, then pull up sharply to release the blockage.
For effective plunge techniques, match your tool to the sink. A flat-cup sink plunger works best on kitchen drains, while a flange plunger suits toilets and won’t seal properly here.
If your sink has two basins, plug the second drain with a stopper or damp cloth to keep pressure focused. Cover the overflow opening with another cloth if your sink has one.
- Keep the plunger cup fully submerged during each stroke.
- Use controlled, forceful pumps rather than slow, shallow motions.
- Stop and reposition the tool if you lose the seal.
Repeat several cycles with proper plunging tools until the water begins moving freely. If plunging doesn’t shift the clog, prepare to try another clearing method.
Rinse the Drain After Clearing It
Once the water drains freely, flush the kitchen drain with hot tap water for several minutes to wash away loosened grease and debris. Keep the water flowing steadily, but don’t use boiling water if your pipes or sink manufacturer warns against it.
Watch the drain as it empties. If water pools, drains slowly, or rises in the other basin, you may still have a partial blockage that needs attention.
After rinsing, wipe the strainer, stopper, and nearby sink surfaces clean. Remove any residue trapped around the drain opening so it doesn’t wash back into the pipe.
Let the area dry, then reinstall the strainer securely.
Include this simple rinse in your regular drain maintenance routine. It helps carry away small particles before they accumulate.
You can also inspect your water filtration system and replace its filter on schedule, since cleaner water reduces sediment entering the plumbing.
Run cold water briefly afterward to clear the line completely and confirm normal drainage.
Use Baking Soda and Vinegar Carefully
Use baking soda and vinegar carefully to prevent spills and excess pressure. Measure each ingredient precisely before pouring it into the drain. Once the reaction has finished, flush the drain with hot water.
Measure Ingredients Carefully
Measure the ingredients carefully: pour about ½ cup of baking soda into the drain, followed by 1 cup of white vinegar. Accurate Measuring ingredients helps you create the right reaction without wasting supplies or stressing your pipes.
Use standard Kitchen measurements rather than estimating by eye, and choose level cups or spoons for consistency. Before you begin, remove standing water and clear away visible debris so the mixture can reach the buildup.
- Scoop baking soda into a dry measuring cup, then level it with a straight edge.
- Use a liquid measuring cup for vinegar, checking the amount at eye level.
- Keep your face and hands away from the opening as the mixture fizzes.
Don’t substitute concentrated cleaners or combine vinegar with bleach, ammonia, or commercial drain products. Work in a ventilated area, and stop if unusual fumes or pressure develop.
Flush With Hot Water
After the fizzing subsides, flush the drain with hot water to help carry loosened residue through the pipes. Pour it slowly in two or three stages, allowing each portion to work through the pipe before adding more.
This drain flushing step can move softened grease and food particles without overwhelming the plumbing. Use hot water, but avoid boiling water if your sink has PVC pipes, delicate seals, or older connections; extreme heat may cause damage.
If the water still drains slowly, repeat the baking soda and vinegar treatment once, then flush again. Don’t combine these ingredients with commercial drain cleaners, bleach, or other chemicals, because dangerous reactions can occur.
Wear gloves, keep your face away from the opening, and run fresh water afterward to clear remaining residue from the trap and drain line.
Clean the P-Trap
Place a bucket beneath the P-trap, then loosen the slip nuts and remove the curved pipe. Wear gloves, and keep a flashlight nearby.
During P-trap removal, empty trapped water and debris into the bucket. Inspect the pipe for grease, food scraps, or sludge that may block flow.
Empty trapped water and debris into the bucket, then inspect the P-trap for grease, food scraps, or sludge.
- Scrub the inside with a bottle brush and warm, soapy water.
- Rinse every section thoroughly until water runs clear.
- Check the washers for cracks, flattening, or other damage.
Wipe the connecting pipes and clean the slip nuts before reassembly. Replace worn washers to prevent leaks.
Refit the curved pipe and hand-tighten both slip nuts. Then give each a slight additional turn with pliers.
Don’t overtighten, since plastic threads can crack. Run water slowly while watching each joint.
If you see a drip, turn off the faucet and reseat the washer. Cleaning this fitting regularly supports effective drain maintenance and helps prevent recurring buildup.
Keep the bucket nearby until you’ve confirmed the connections stay dry.
Snake Deeper Kitchen Drain Clogs
If the P-trap is clear but the sink still drains slowly, a clog may sit deeper in the drain line. Remove the drain stopper, then feed a hand auger into the opening. Turn the handle clockwise as you push the cable forward.
When you feel resistance, rotate the auger to break through or hook the blockage. Pull the cable out occasionally and wipe away debris before continuing.
Run the auger several feet into the pipe, but don’t force it. Excessive pressure can damage fittings or push the clog farther inside.
Once the cable moves freely, retract it and flush the drain with hot water. Add a small amount of dish soap to help dissolve greasy residue.
For thorough deep cleaning, repeat the process if water still drains slowly. A pipe inspection camera can reveal buildup, roots, or a damaged section when snaking doesn’t restore normal flow.
Clean and dry the auger before storing it.
Know When to Call a Plumber
If your kitchen clog keeps coming back after basic fixes, it’s time to call a plumber. Also, watch for leaks, damaged pipes, slow drainage, or unusual odors, as these can signal a larger plumbing problem. Getting professional help early can prevent more expensive repairs later.
Recognize Persistent Clogs
A kitchen drain that keeps clogging despite plunging or cleaning likely has a deeper blockage that requires professional attention. Don’t keep forcing water through it or repeatedly pour chemical cleaner down the drain.
Instead, note how often the problem returns and what you’ve already tried. Call a plumber when you notice these warning signs:
- The drain backs up again within days.
- Multiple fixtures drain slowly at the same time.
- You hear gurgling after running water.
Persistent clogs may sit beyond the trap, where household tools can’t reach effectively. A professional can locate and remove the obstruction safely, helping you avoid wasted time and repeated messes.
Afterward, improve kitchen organization by keeping grease, coffee grounds, and food scraps out of the sink. Regular drain maintenance, including screens and careful disposal, can also reduce future blockages.
Don’t delay if backups disrupt daily use.
Identify Plumbing Damage
Water stains, leaks beneath the sink, or a damaged trap can signal plumbing problems that need more than a simple unclogging. Inspect the cabinet, drainpipe, and connections for cracks, loose fittings, or moisture that returns after drying.
If you hear gurgling, notice foul odors, or see water backing up repeatedly, the blockage may sit deeper in the line. Low water pressure can also indicate restricted flow or a damaged supply pipe, while discoloration, flaking, or pinhole leaks may reveal pipe corrosion.
Don’t force a plunger or chemical cleaner when pipes look fragile. You could worsen the damage.
Call a licensed plumber if you can’t locate the leak, the drain remains blocked after basic methods, or wastewater reaches other fixtures. A professional can diagnose hidden damage safely and accurately.
Prevent Costly Repairs
Knowing when to call a plumber can prevent a minor kitchen drain clog from becoming expensive damage. If plunging and a safe drain snake don’t restore flow, stop before you force a blockage deeper or damage pipes.
Call a professional when water backs up repeatedly, several fixtures drain slowly, foul odors persist, or you hear gurgling. These signs may indicate a damaged line or sewer problem rather than surface debris.
- Call immediately for leaks, flooding, sewage, or water near electrical outlets.
- Don’t use repeated chemical cleaners. They can corrode pipes and harm anyone working on them.
- Ask for a written estimate and repair options before work begins.
Afterward, support drain maintenance by avoiding grease, grounds, and fibrous scraps. Improve kitchen organization with a strainer, labeled waste containers, and a small bin for compostable scraps.
Regular professional inspections can also protect your budget.
Frequently Asked Questions
Can Chemical Drain Cleaners Damage Kitchen Pipes or Septic Systems?
Yes, chemical drain cleaners can damage kitchen pipes and septic systems. Their harsh ingredients trigger chemical reactions that generate heat, weaken seals, and accelerate pipe corrosion, especially in older metal or plastic plumbing.
They may also kill beneficial septic bacteria, disrupting waste treatment and causing backups. You shouldn’t mix products or use them repeatedly.
Instead, try a plunger, drain snake, or professional service, and follow your cleaner’s label carefully to reduce risks.
How Can I Prevent Future Kitchen Drain Clogs?
Keep your kitchen drain flowing like a well-tuned stream by preventing problems before they start. Scrape food scraps into the trash or compost, and use a sink strainer to catch debris.
Don’t pour grease, coffee grounds, flour, or fibrous peels down the drain. Flush pipes occasionally with hot water and mild dish soap.
Schedule professional drain cleaning when needed, and include regular pipe maintenance in your home-care routine to prevent buildup and costly clogs.
Are Garbage Disposals Safe to Use With Clogged Drains?
No, you shouldn’t run a garbage disposal when your drain is clogged. You could force standing water, worsen the blockage, damage the unit, or create leaks.
Turn off power, remove visible debris safely, and try a plunger instead. If water remains, call a plumber before operating the disposal.
For clog prevention, scrape food into the trash, avoid grease and fibrous scraps, use cold water, and clean the splash guard regularly to keep flow clear.
Why Does My Kitchen Drain Smell Bad After Unclogging?
About 70% of household drain odors come from organic residue, so your kitchen drain may smell bad after unclogging because debris remains inside the trap or pipes. That odor caused by grease, food particles, and bacteria buildup can surface once water starts flowing again.
Flush the drain with hot water, scrub the stopper and trap, and use baking soda followed by vinegar. If the smell persists, check for a dry trap, leaks, or deeper blockage.
How Often Should Kitchen Drains Receive Preventative Maintenance?
You should perform preventative drain maintenance monthly and inspect your kitchen drain weekly for early warning signs. Flush it with hot water, clean the stopper, and remove grease or food particles before buildup hardens.
For effective clog prevention, avoid pouring oil, coffee grounds, rice, or fibrous scraps down the drain. Schedule professional maintenance annually, or sooner if you notice slow drainage, recurring odors, gurgling, leaks, or persistent backups despite regular cleaning and care.
Conclusion
With these steps, you can tackle most kitchen drain clogs before they become a modern-day Augean stable. Start gently, protect your sink, and work from the simplest solution to the deepest blockage.
If plunging, cleaning the P-trap, or snaking doesn’t restore steady flow, don’t force it. You could damage the pipes. Call a licensed plumber when the clog keeps returning, affects multiple drains, or brings sewage odors.
A little care now can prevent a bigger mess later and help keep your kitchen drain clear.