How to Sharpen Kitchen Knives With a Rod in 5 Steps
Dull kitchen knives can make meal prep frustrating, but you’re not alone—many home cooks struggle to restore a clean, sharp edge. Learning how to sharpen kitchen knives with a rod can help you cut more smoothly, safely, and confidently.
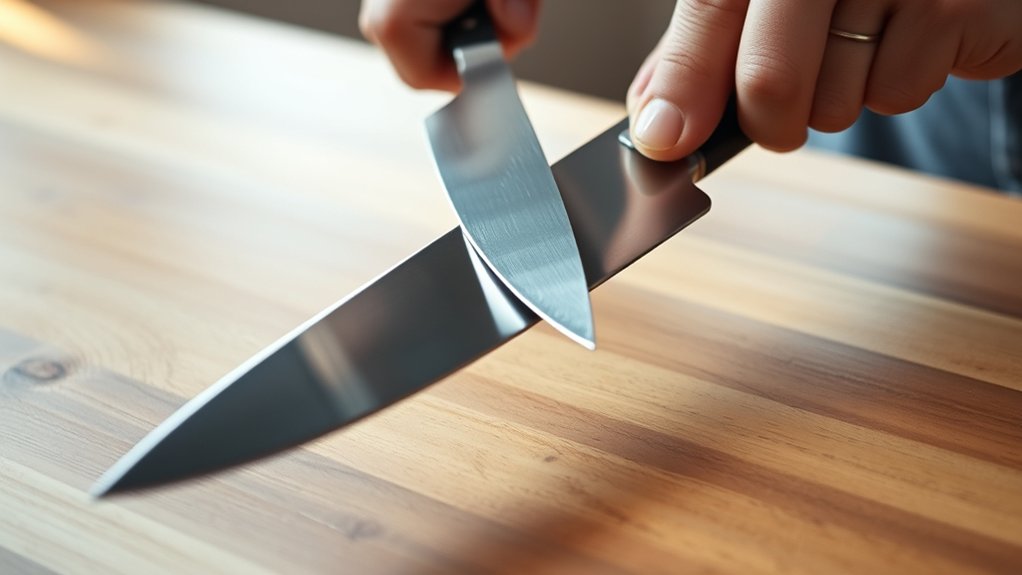
To sharpen a kitchen knife with a rod, first choose ceramic or fine diamond for stainless steel, or smooth steel for softer carbon steel.
Hold the blade at about 15° for Japanese knives or 20° for Western knives.
Slide it gently from heel to tip, alternating sides evenly.
Continue until you feel a consistent burr, then test the edge on paper or a tomato.
Wipe and dry the knife before storing it safely. The steps below explain each detail.
Key Takeaways
- Choose a suitable ceramic, steel, or diamond rod and hold it securely on a stable surface.
- Hold the knife at the correct angle, typically 15° for Japanese knives or 20° for Western knives.
- Glide the blade smoothly from heel to tip with light, controlled pressure.
- Alternate sides evenly, checking for a consistent burr along the entire edge.
- Test the knife, wipe it clean and dry, then store it safely.
Choose the Right Rod for Your Knife
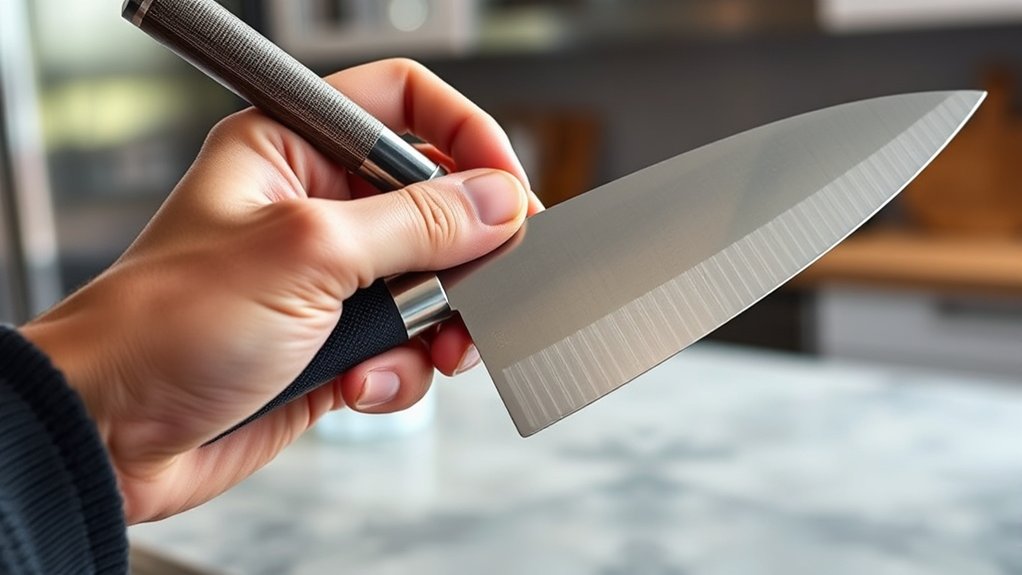
Choose a sharpening rod that matches your knife’s steel and condition. Start by identifying the knife material. Stainless steel works well with a ceramic or fine diamond rod, while softer carbon steel usually benefits from a smooth or lightly textured steel rod.
Choose a sharpening rod suited to your knife’s steel, balancing material compatibility with the edge’s current condition.
Ceramic rods remove a small amount of metal and refine an edge, making them useful for routine maintenance. Diamond rods cut more aggressively, so choose one when your edge needs noticeable correction, not casual touch-ups.
Consider rod diameter, too. A narrow rod suits small blades and lets you reach curved sections, while a wider rod offers steadier contact along longer kitchen knives.
Match the rod’s length to your blade; it should cover the cutting edge comfortably in one pass. Check the manufacturer’s guidance if your knife has a delicate, high-hardness steel, because an overly abrasive rod can remove material quickly.
Choose a handle with a secure grip and a guard, so you can maintain control during every stroke.
Find the Right Sharpening Angle
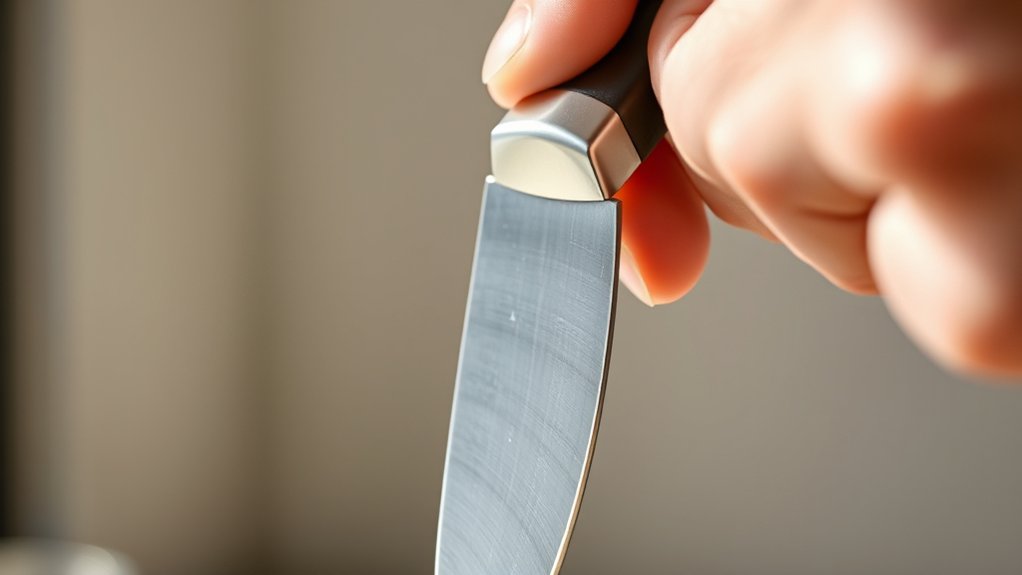
Set the sharpening angle according to your knife’s design and intended use. Most Western kitchen knives perform well at 20 degrees per side, while thinner Japanese blades often need 15 degrees.
A lower angle creates a sharper edge but leaves it more vulnerable to chips. A wider angle improves durability for heavy chopping.
| Knife type | Suggested angle |
|---|---|
| Japanese chef’s knife | 15° per side |
| Western chef’s knife | 20° per side |
Check your manufacturer’s guidance before choosing an angle, especially with unfamiliar knife materials. Harder steel may support a narrow edge, whereas softer steel benefits from a broader bevel.
Match the angle to your task, too. Use a finer angle for slicing vegetables and a sturdier one for dense foods.
If you’ve used sharpening stones, compare their angle guides with your rod’s recommended position. You can estimate the angle by dividing the full edge angle between both sides.
Consistency matters more than chasing a perfect number, so choose a practical angle you can maintain.
Use Light, Controlled Strokes
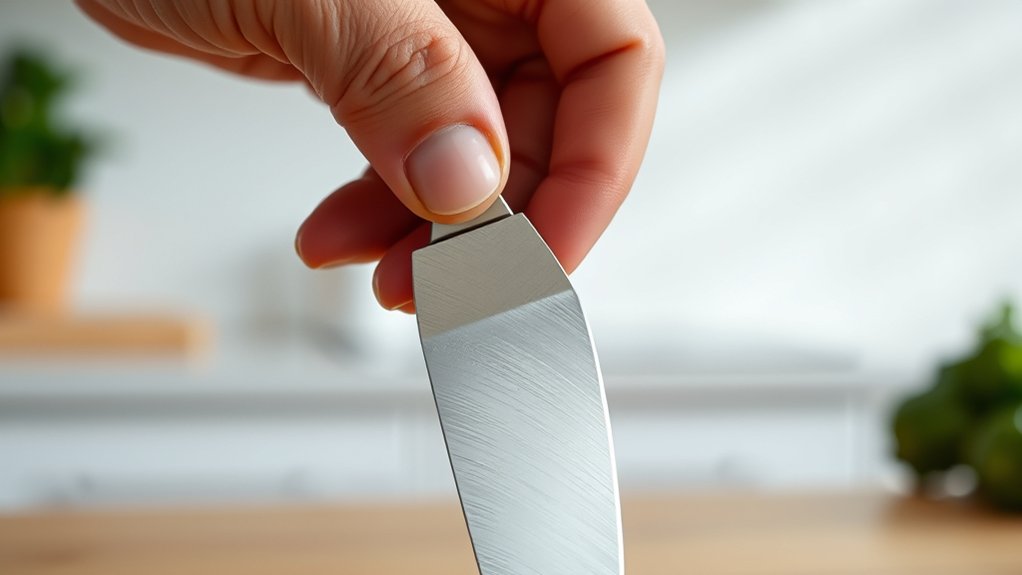
Use light, controlled strokes to move the knife along the sharpener without forcing the blade. Hold the handle securely, keep your chosen angle steady, and guide the edge from heel to tip in one smooth motion. Let the rod do the work; pressing harder won’t sharpen the knife faster and can remove unnecessary metal.
Match your pressure to the blade material and the sharpener’s surface. A delicate ceramic blade needs a gentler touch than a tough stainless-steel blade, while a coarse rod may require less force than a fine honing rod.
Keep each pass consistent, deliberate, and quiet. If the knife catches, skips, or produces a harsh scraping sound, reduce pressure and reset your angle.
Your sharpening frequency also affects technique. Frequent light maintenance usually needs only a few easy passes, while an overdue knife may require more patience.
Stop when the edge feels smooth and responsive, then wipe the blade clean before use.
Work Both Sides and Check for a Burr
After each light pass, alternate sides so you sharpen the edge evenly. Keep your angle consistent, and give both bevels the same number of strokes.
This balanced approach prevents you from pushing the edge off-center and supports reliable knife maintenance. Use controlled pressure; the rod should guide the blade, not force it.
| Check | What you should feel |
|---|---|
| First side | A slight wire edge on the opposite side |
| Second side | A matching burr along the first side |
After several alternating passes, gently sweep your fingertip across the blade’s side, moving away from the edge. Never drag your finger along it.
A fine, continuous burr indicates that your sharpening tools have reached the full length of the edge. If you feel a burr only near the heel or tip, make a few focused, light passes there while maintaining the same angle.
Continue alternating until the burr feels consistent from heel to tip, then stop sharpening. Avoid excessive strokes, which can remove unnecessary metal and create a wavy edge.
Test, Clean, and Maintain the Edge
Once the burr feels even from heel to tip, test the edge on a sheet of paper or a soft tomato. A sharp blade should slice cleanly without tearing, crushing, or slipping.
If it snags, return to the rod and make a few light, even passes on the weaker side. Don’t press hard; excessive force can create another uneven edge.
Wipe the blade with a clean, damp cloth to remove metal particles, then dry it immediately. Never leave a sharpened knife wet, and don’t wash it loosely in a sink.
These habits support Kitchen safety and protect your hands during cleanup.
Store the knife in a block, sheath, magnetic strip, or another suitable option among your Storage solutions. Keep the edge away from other utensils, countertops, and moisture.
Use the rod regularly with gentle strokes to realign the edge before it becomes dull. Wash and dry the rod as its manufacturer recommends.
Inspect the blade often for chips, rust, or damage, and seek professional sharpening when necessary.
Frequently Asked Questions
Can a Sharpening Rod Repair Chips or Severely Damaged Knife Blades?
No, you shouldn’t rely on a sharpening rod to repair chips or severely damaged knife blades. A rod realigns a slightly bent edge, supporting routine Blade maintenance and Edge preservation, but it removes little metal.
For chips, deep rolls, or significant damage, use a coarse sharpening stone, professional grinding service, or replace the blade if necessary. Don’t force the rod against damaged steel, because you could worsen the edge and create uneven bevels during sharpening.
How Often Should I Sharpen My Kitchen Knives With a Rod?
You should use a sharpening rod every few uses, typically once a week for frequently used kitchen knives. Light honing realigns the edge, while sharpening removes metal, so don’t overdo either.
If your knife feels dull, slips on food, or struggles with clean cuts, use the rod sooner. Your knife maintenance routine should match usage, cutting surfaces, and steel quality.
Proper sharpening techniques keep edges effective without unnecessary wear or damage.
Is a Ceramic Rod Better Than a Steel Rod for Sharpening?
A ceramic rod is usually better for sharpening because it removes a small amount of metal and creates a keener edge. Its ceramic durability resists wear, but ceramic can chip if you drop it.
A steel rod mainly realigns a rolled edge rather than sharpening it, and its steel flexibility makes it more forgiving and durable. Choose ceramic for routine sharpening; choose steel when your knife only needs quick edge maintenance between deeper sharpenings.
Can Sharpening Rods Damage Serrated or Specialty Knives?
Yes, sharpening rods can damage serrated or specialty knives if you use the wrong size, angle, or pressure. For Serrated edge maintenance, match a tapered ceramic rod to each serration, and sharpen only the beveled side. Don’t flatten the teeth against a standard honing steel.
For Specialty blade care, check the manufacturer’s guidance first, especially with scalloped, hollow-ground, or coated blades. Use gentle strokes, avoid excessive force, and stop when the edge feels aligned.
When Should I Replace a Worn-Out Sharpening Rod?
Replace your sharpening rod when its surface becomes visibly smooth, uneven, chipped, or clogged, since it can no longer abrade the blade consistently. Check for deep grooves, rust, peeling coating, or wobbling hardware before each use.
As part of regular knife maintenance, compare the rod’s performance with your sharpening frequency: if repeated passes stop restoring an edge, retire it. Don’t wait for damage to appear on your knives; replace a questionable rod promptly.
Conclusion
With the right rod and a steady hand, you can turn a tired kitchen knife into a willing partner again. Hold the proper angle, guide each light stroke with patience, and work both sides until a fine burr appears.
After testing and cleaning the blade, feel the difference: smooth, confident cuts instead of frustrating slips. Treat your knife well, and it’ll reward you with the sharp edge you want when you sharpen kitchen knives with a rod.