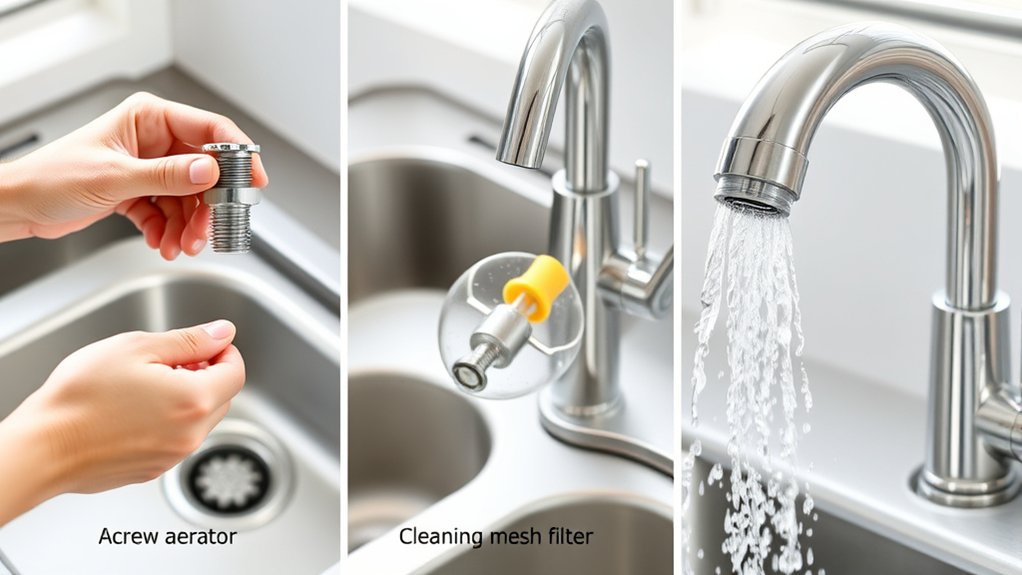
How to Increase Water Pressure in a Kitchen Sink in 3 Steps
Weak kitchen-sink water pressure can make everyday tasks frustrating, from rinsing dishes to filling a pot. You’re not alone—many people struggle with slow or uneven flow. Before replacing your faucet, try these simple steps to increase water pressure in a kitchen sink.
Increase kitchen-sink water pressure in three steps. First, unscrew the aerator, rinse it, soak it in white vinegar for 30 minutes, and scrub away mineral buildup.
Next, fully open both shutoff valves and inspect supply lines for kinks, leaks, corrosion, or sediment.
Finally, test pressure with a gauge at an outdoor spigot; normal household pressure is about 40–60 psi. If flow remains weak, compare hot and cold water and check the following troubleshooting tips.
Key Takeaways
- Clean the faucet aerator by soaking it in white vinegar, brushing away mineral buildup, and flushing loosened debris.
- Fully open both shutoff valves and inspect supply hoses for kinks, crushing, leaks, corrosion, or sediment blockages.
- Compare hot and cold flow to identify whether the restriction affects one supply line or the faucet itself.
- Test household pressure with a gauge. Normal pressure is typically 40–60 psi.
- Replace blocked components or contact a plumber if pressure remains low, drops suddenly, or affects the entire home.
Clean the Faucet Aerator to Increase Sink Flow
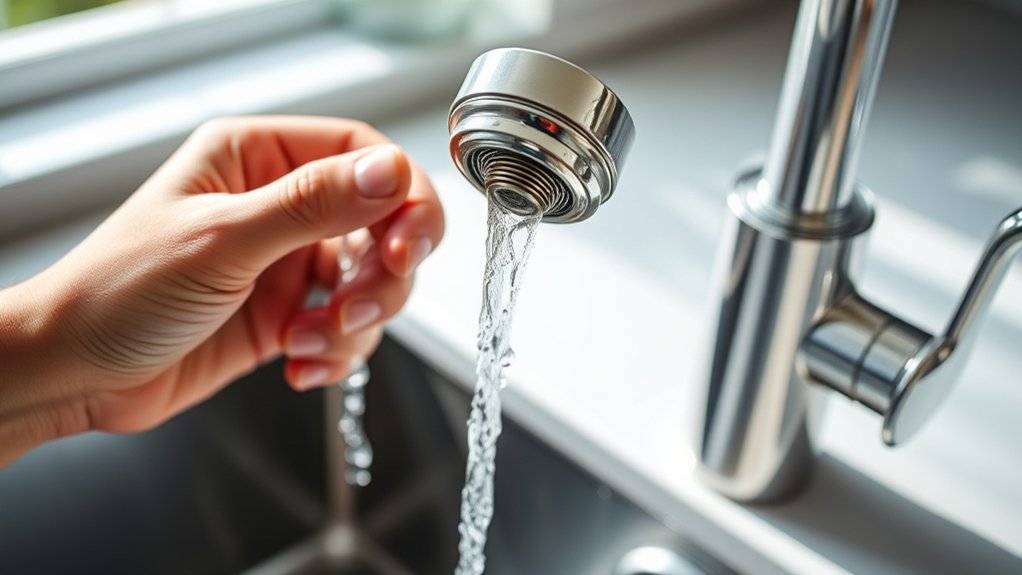
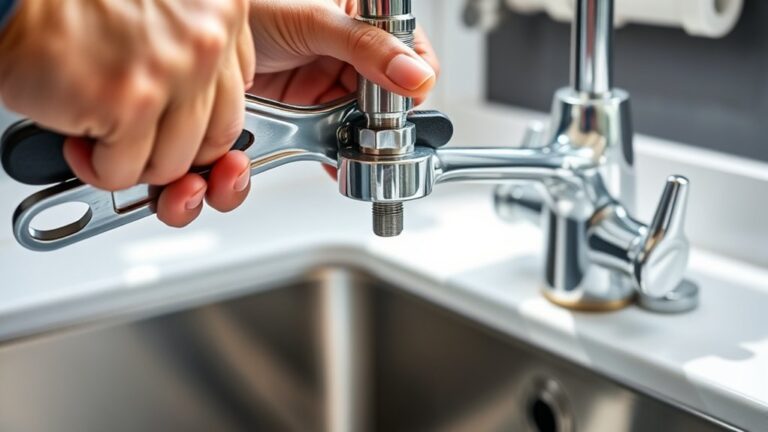
Mineral deposits and debris can clog the faucet aerator, restricting water flow and making the sink seem like it has low pressure. To restore stronger flow, unscrew the aerator from the faucet tip by turning it counterclockwise. Wrap the fixture with a cloth first to protect its finish, then use pliers gently if it won’t loosen by hand.
Rinse the screen and soak the parts in white vinegar for 30 minutes to dissolve mineral buildup. Scrub stubborn residue with an old toothbrush, and clear each opening with a soft brush or wooden toothpick. Don’t use a metal tool, which could damage the screen.
Rinse everything thoroughly, reassemble the aerator, and tighten it by hand. Check whether your faucet contains Flow restrictors, since they’re designed to limit output. Cleaning won’t remove that intended restriction.
If sediment returns quickly, consider Water filtration to reduce incoming minerals. Run the faucet briefly afterward to flush loosened debris and confirm improved flow.
Check the Supply Lines and Shutoff Valves
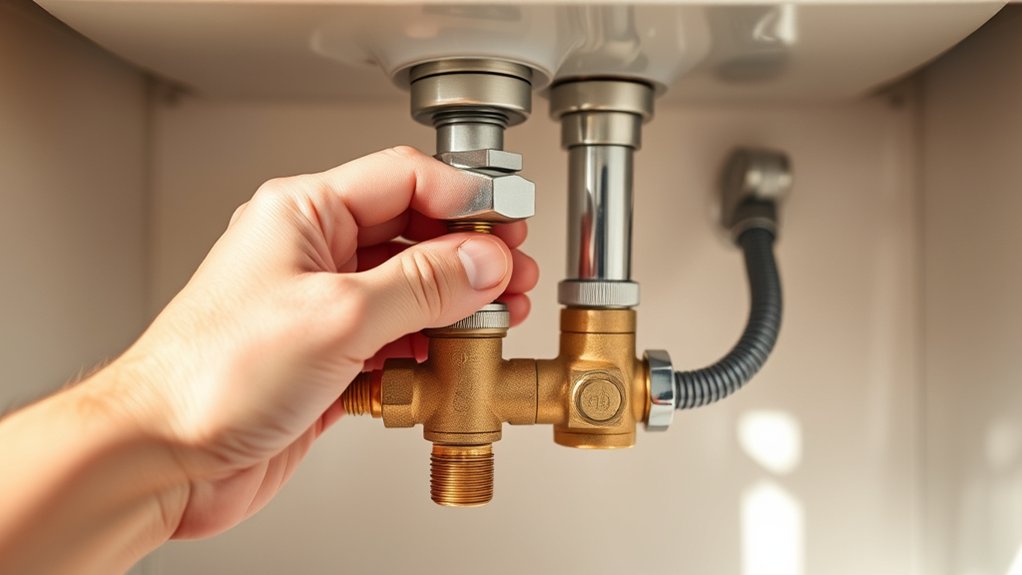
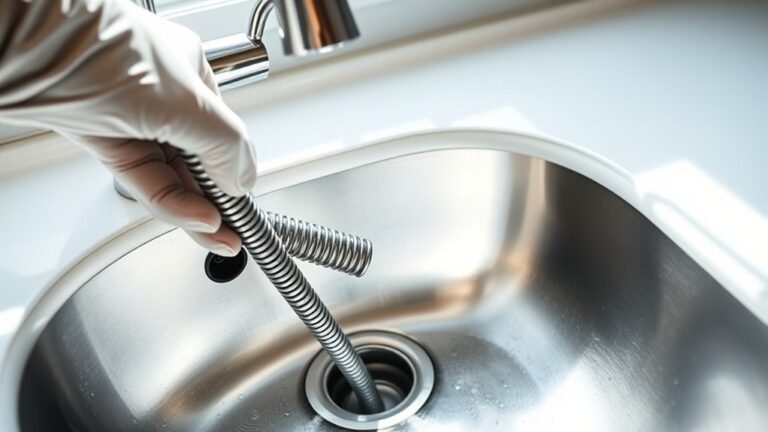
If cleaning the aerator didn’t restore flow, check the supply lines and shutoff valves beneath the sink. Turn each valve counterclockwise until it stops, but don’t force a stiff handle.
A partially closed valve can restrict water reaching your faucet, while a damaged valve may not open fully.
Next, inspect both supply lines for kinks, crushing, bulges, leaks, or moisture around the connections. Flexible hoses can deteriorate internally even when their outer surfaces look intact.
Look for pipe corrosion around threaded fittings and shutoff bodies, especially in older plumbing. Corroded parts may need replacement rather than tightening.
Check the valve openings and line connections for sediment buildup. Mineral deposits can narrow the passage and reduce flow.
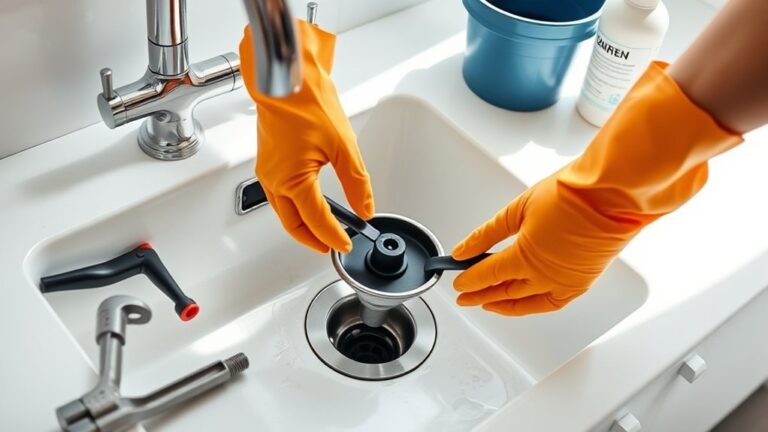
Place a bucket beneath the connection before loosening anything. Shut off the home’s main water supply if a valve leaks or won’t close.
Replace cracked hoses, heavily corroded valves, or blocked lines with compatible parts. Cap the lines securely afterward.
Test Pressure and Diagnose Ongoing Problems
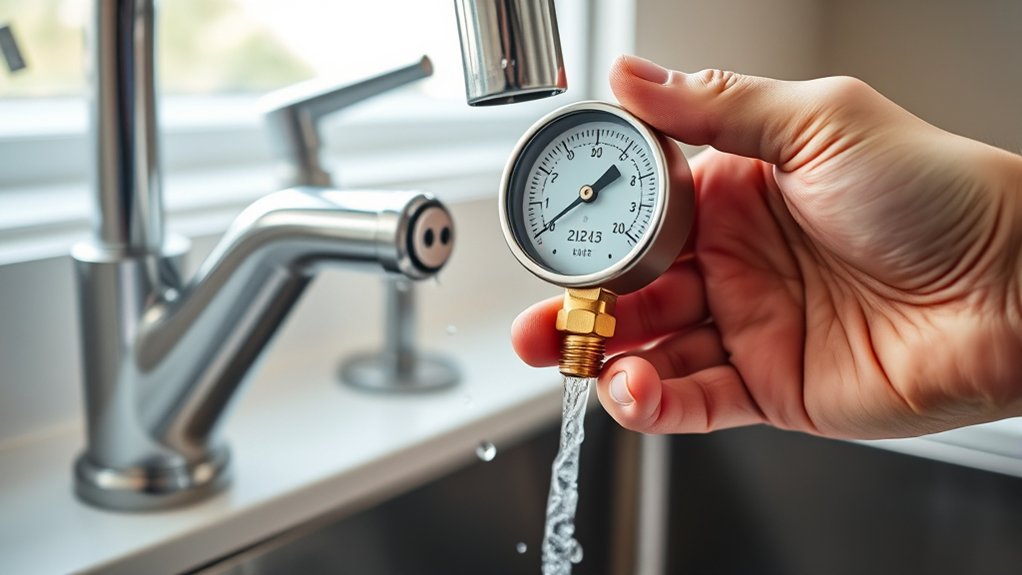
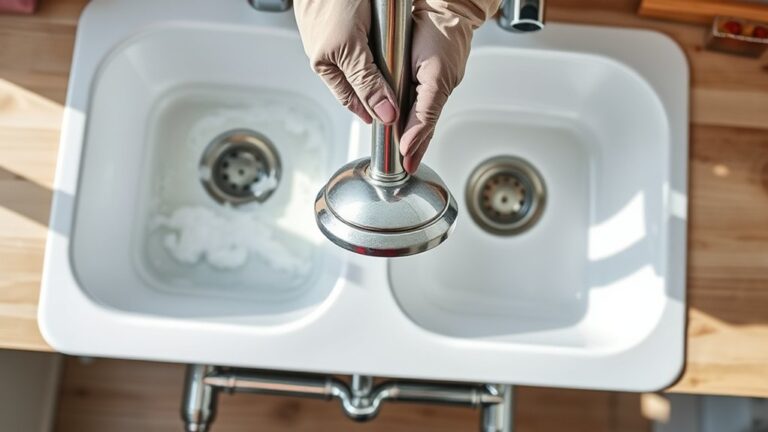
When the faucet still has weak flow, test the pressure to determine whether the problem affects only the kitchen sink or the entire home. Attach a pressure gauge to an outdoor spigot or another threaded faucet, then open the valve fully. Most homes should measure roughly 40 to 60 psi.
Test household water pressure at a threaded faucet to determine whether weak flow affects one fixture or the entire home.
A low reading throughout the house may indicate a faulty pressure-reducing valve, clogged main line, municipal supply issue, or hidden leak. Contact a plumber if pressure drops suddenly or falls below safe operating levels.
If other fixtures have normal pressure, inspect the faucet aerator, cartridge, flexible hoses, and shutoff valves for mineral buildup or debris. Remove and clean the aerator, and replace damaged components as needed.
Compare hot and cold flow to identify a supply-specific restriction. Record gauge readings during peak use to spot fluctuations. These diagnostic steps support water flow optimization and guide effective pressure regulation techniques without stressing pipes or fixtures.
Frequently Asked Questions
Could a Clogged Cartridge Cause Low Kitchen Sink Water Pressure?
Yes, a clogged cartridge can cause low kitchen sink water pressure, especially when only one faucet shows reduced flow. Sediment, rust, or mineral deposits may restrict the cartridge blockage and limit water flow.
Shut off the supply valves, remove the faucet handle, and inspect the cartridge. Clean or replace it if necessary.
If both hot and cold sides remain weak, check the aerator, supply lines, shutoff valves, or household plumbing for additional restrictions.
How Often Should Kitchen Sink Plumbing Receive Professional Maintenance?
Treat your kitchen sink’s plumbing like a riverbed: schedule professional maintenance every one to two years to keep water flow steady and prevent small problems from becoming costly floods. Request a pipe inspection during each visit, especially if you notice slow drainage, leaks, unusual noises, discolored water, or recurring clogs. You’ll also benefit from earlier service in older homes, after renovations, or whenever pressure changes suddenly and persistently.
Can Installing a Booster Pump Improve Water Pressure Throughout My Home?
Yes, a booster pump can improve water pressure throughout your home when your supply is weak or inconsistent. It increases water flow by adding pressure to incoming water, helping showers, faucets, and appliances perform better.
However, you’ll need proper pump installation to match your plumbing system and local regulations. Ask a licensed plumber to test your pressure first, size the pump correctly, and verify whether restrictions, leaks, or a failing regulator are causing the problem.
Does Hard Water Permanently Damage Kitchen Sink Plumbing Components?
Hard water affects about 85% of U.S. homes, but it won’t usually permanently damage kitchen sink plumbing overnight. Over time, mineral scale can clog aerators, restrict flow, and wear cartridges, valves, and seals.
You can reduce buildup through water softening and regular cleaning. Hard water itself rarely causes pipe corrosion, though deposits may hide leaks or worsen existing damage.
Replace severely scaled components, and have a plumber inspect persistent pressure problems.
What Safety Precautions Should I Take Before Repairing Sink Plumbing?
Before repairing sink plumbing, shut off the water supply and open the faucet to release pressure. Place a bucket beneath connections, and keep towels nearby for leak prevention.
Disconnect power to nearby appliances, especially garbage disposals, before working. Wear gloves and eye protection, and practice tool safety by using properly sized, undamaged tools.
Don’t force corroded fittings. Apply penetrating oil or call a licensed plumber if connections resist or conditions seem unsafe.
Conclusion
Increasing kitchen sink water pressure doesn’t have to be difficult. Clean the faucet aerator, inspect the supply lines, and fully open the shutoff valves before testing the flow again.
If pressure remains weak, check other fixtures and consider a pressure test to identify a larger plumbing issue. Don’t ignore leaks or damaged parts, since they can worsen over time.
With these simple steps, you can improve your kitchen sink water pressure and restore stronger flow as smoothly as water through a clear pipe.