How to Unclog My Kitchen Sink in 7 Steps
A clogged kitchen sink can quickly turn a simple cleanup into a frustrating mess. You’re not alone—many people struggle with standing water, slow drains, and stubborn buildup.
To unclog your kitchen sink in seven steps, remove standing water and clear visible debris. Pour in stages of boiling water, or use hot tap water for delicate pipes.
Plunge firmly with the second basin sealed. For light clogs, try baking soda and vinegar.
If water still drains slowly, clean the P-trap, then use a drain snake for deeper blockages. Prevent repeats with a strainer and proper grease disposal.
The detailed steps below will help you finish safely.
Key Takeaways
- Remove standing water, the stopper, and visible debris while wearing gloves.
- Flush the drain with hot water, or use boiling water only when pipes and surfaces can safely tolerate it.
- Plunge the drain firmly 10–15 times, sealing any second basin with a wet cloth.
- Clean the P-trap or use a drain snake if plunging fails, then reassemble connections and check for leaks.
- Prevent future clogs with a strainer, proper grease disposal, regular cleaning, and professional help for persistent blockages.
Remove Standing Water and Clear the Drain
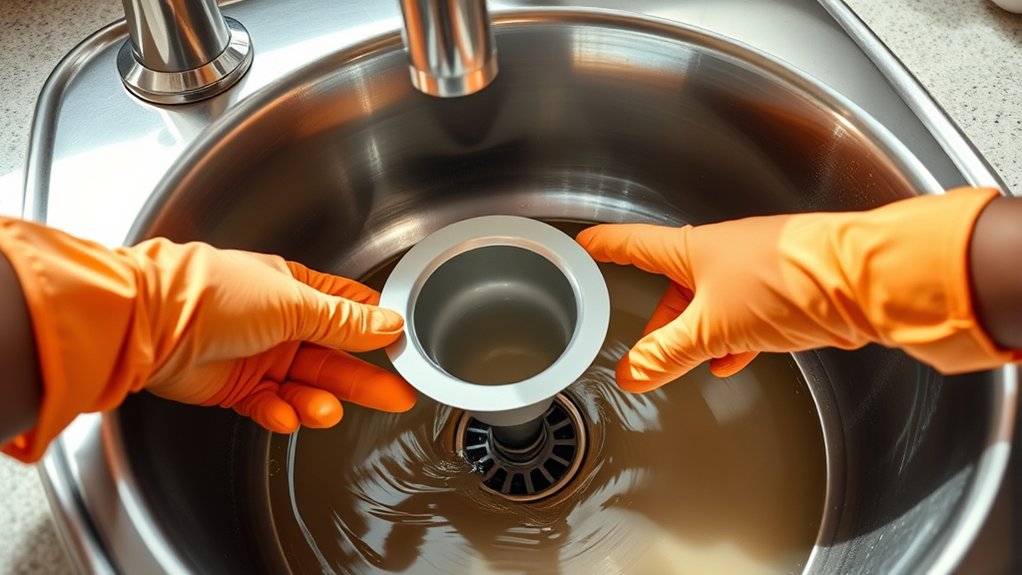
Before you begin, remove any dishes and use a cup or small container to scoop standing water into a bucket. Set the bucket nearby so you can empty the container quickly without splashing.
Once the basin is mostly dry, remove the stopper, strainer, or drain cover. Pull away visible food scraps, grease, hair, or other debris with gloved fingers, needle-nose pliers, or a bent wire. Don’t push material farther into the pipe.
Inspect the drain opening with a flashlight. If you see buildup within reach, loosen it carefully and wipe the area clean.
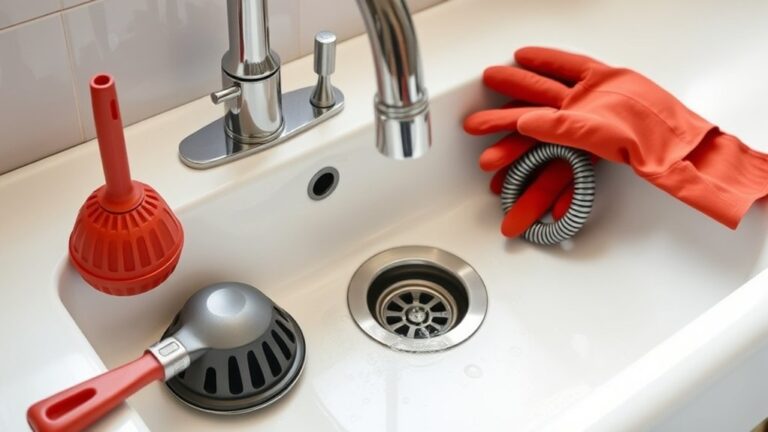
For kitchen maintenance, keep a drain brush, pliers, gloves, and a small flashlight together as essential Plumbing tools. Check the stopper for trapped residue, then rinse it separately and reinstall it only after clearing the opening.
Place a towel beneath the cabinet before handling any connected parts, and keep the work area dry. If the drain remains blocked, prepare for the next step without forcing objects into the pipe.
Flush the Sink With Boiling Water
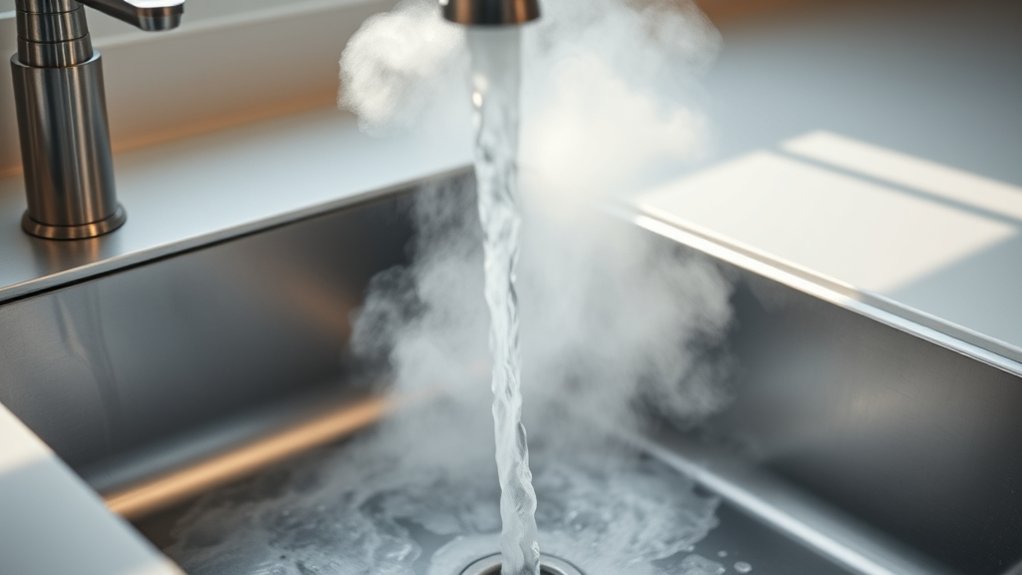
With the drain opening clear, boil a kettle or pot of water and pour it slowly into the sink in two or three stages. Pause for several seconds between pours, allowing the heat to work through grease, soap residue, and soft food buildup.
Slowly pour boiling water in stages, pausing between pours to loosen grease, soap residue, and soft food buildup.
This simple method can loosen materials clinging to the pipe walls and improve drainage without chemical cleaners.
Consider the benefits of boiling water: it’s inexpensive, readily available, and leaves no chemical residue. However, follow essential safety precautions.
Wear oven mitts, keep your face and hands away from splashes, and pour steadily rather than dumping the water quickly.
Don’t use boiling water if your sink, drain, or connecting pipes could warp or crack from high heat. Porcelain, natural stone, PVC, and glued joints may require caution.
Use hot tap water instead when your plumbing manufacturer advises it. After the final pour, watch the drain opening and check whether water flows away more freely.
Wipe up any splashes immediately to prevent burns or surface damage.
Plunge the Kitchen Sink
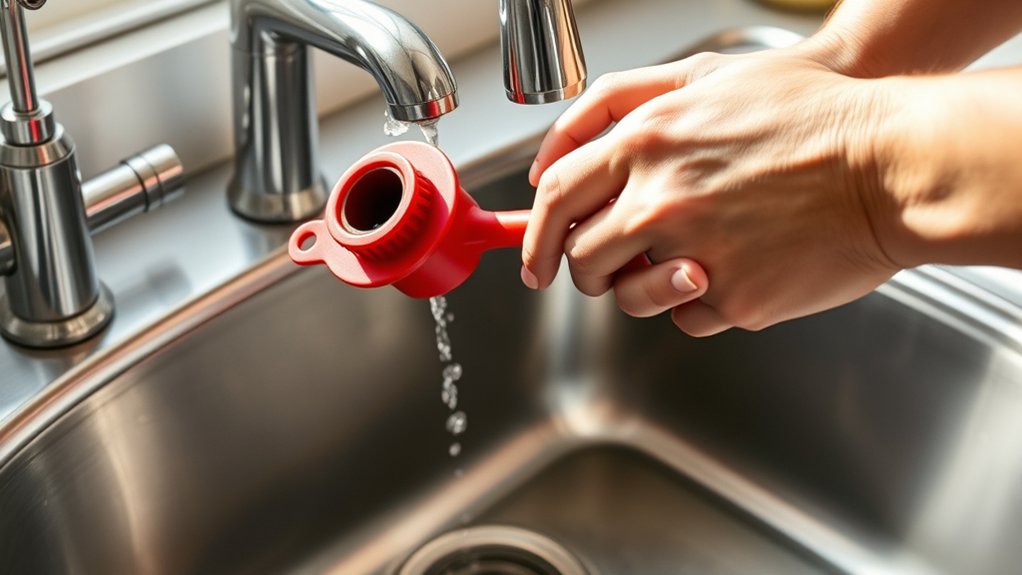
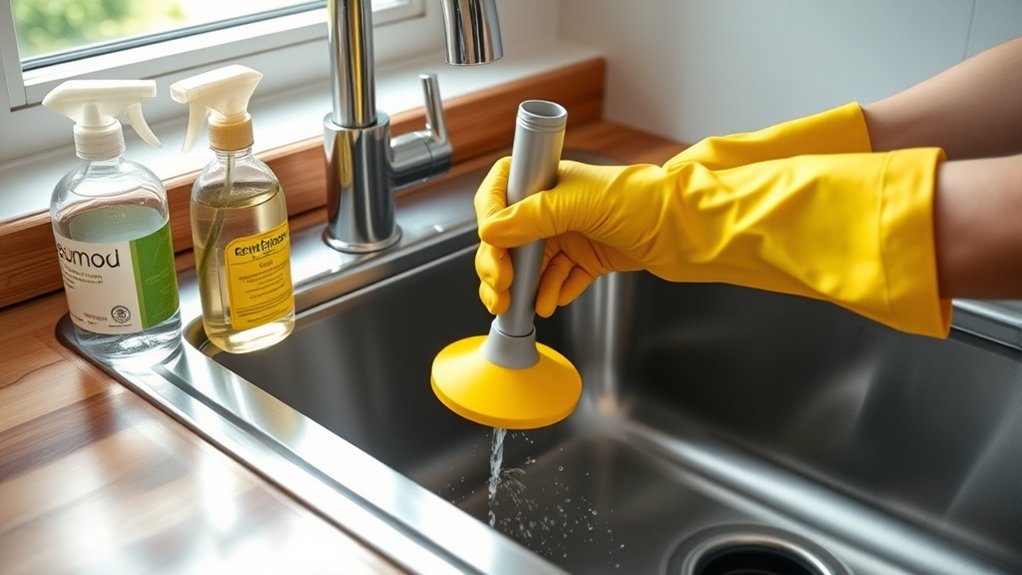
If water still drains slowly, use a sink plunger to loosen the clog. Remove the stopper, then add enough water to cover the plunger’s rubber cup.
For a double-basin sink, seal the second drain with a wet cloth. Center the plunger over the opening, press firmly, and pump vertically 10–15 times without breaking the seal.
Pull up sharply and check whether water flows. Repeat the plunging technique several times if needed.
| Action | What to do | Purpose |
|---|---|---|
| Prepare | Remove the stopper | Expose the drain |
| Seal | Cover the second basin | Focus pressure |
| Pump | Push and pull steadily | Dislodge buildup |
| Check | Run water briefly | Test drainage |
If plunging doesn’t work, stop and inspect the trap rather than forcing pressure that could damage connections.
Wash the plunger afterward and store it separately from your toilet plunger. Regular sink maintenance, including removing food scraps and using a drain strainer, helps prevent future clogs.
Never plunge a drain containing chemical cleaner. Splashing can injure your skin or eyes.
Try Baking Soda and Vinegar for Light Clogs
For a light clog, gather some baking soda, vinegar, and a drain stopper. First, pour the baking soda into the drain, then add the vinegar. Cover the opening and let the mixture sit for a few minutes. Finally, flush the drain with hot water.
Gather Your Ingredients
Before you begin, gather baking soda, white vinegar, boiling water, a measuring cup, and a drain stopper or cloth. This ingredients overview keeps your approach simple and helps you work safely.
Check that your measuring cup handles hot water, and choose a cloth that won’t shed fibers into the drain. Keep gloves and eye protection nearby as kitchen essentials, especially if splashing concerns you.
| Item | Purpose | Preparation |
|---|---|---|
| Baking soda | Breaks down light buildup | Measure before starting |
| White vinegar | Reacts with baking soda | Keep within reach |
| Boiling water | Flushes loosened residue | Heat carefully |
Set every item beside the sink before you begin. Remove dishes and clear the surrounding counter so you won’t knock anything over.
Don’t combine vinegar with commercial drain cleaners, since dangerous fumes can result. You’re now ready for the next step.
Add Baking Soda
With the drain opening clear, pour about half a cup of baking soda directly into it, using a funnel if needed to prevent spills. Let the powder settle inside the drain rather than leaving it around the rim.
Baking soda benefits include gentle deodorizing and mild abrasion, which can help loosen greasy residue without harsh chemicals. It’s a practical choice for light clogs and generally safe for most household pipes.
Don’t pack the powder down or add excessive amounts, since compacted material may restrict the opening further. If you don’t have baking soda, baking soda alternatives include washing soda or a small amount of liquid dish soap, though each works differently and may suit specific buildup.
Wear gloves, keep your face away from the opening, and remove standing water first so the powder can contact the blockage directly.
Follow With Vinegar
Slowly pour about half a cup of white vinegar into the drain over the baking soda, then cover the opening with a stopper or damp cloth. The fizzing reaction helps loosen grease, food particles, and other light buildup inside the pipe.
Let the mixture work for 10 to 15 minutes while you boil a kettle of water. Remove the cover carefully, then pour the hot water down the drain to flush away the loosened debris.
This method works best for minor clogs, so don’t expect it to clear a serious blockage. Natural remedies like these can provide a gentler first step than chemical solutions, which may damage older pipes or create harsh fumes.
If the water still drains slowly, repeat the process once before trying a plunger.
Clean the Sink’s P-Trap
Gather a bucket, an adjustable wrench, gloves, and a cleaning brush.
Place the bucket beneath the P-trap, then loosen the slip nuts and carefully remove the trap. Rinse out any debris, check the seals, and reassemble the trap securely.
Gather Necessary Tools
Before you begin, gather an adjustable wrench, a bucket, rubber gloves, a flashlight, and a wire brush to clean the sink’s P-trap. Check each item before starting, and replace anything damaged or unsuitable.
- Adjustable wrench: Confirm it opens and closes smoothly.
- Bucket: Choose one that fits beneath the trap.
- Gloves and flashlight: Protect your hands and illuminate the work area.
- Wire brush: Select firm, narrow bristles for removing buildup.
Practice basic Tool maintenance by wiping tools clean and storing them dry after use.
Follow Safety precautions: wear gloves, keep the floor dry, and ensure you’ve cleared the cabinet for comfortable access.
Place all supplies within reach, but don’t position them where they could fall into the cabinet.
Having everything ready saves time and helps you work confidently without interrupting the cleaning process.
Remove The P-Trap
How do you remove the P-trap safely? Place a bucket beneath the curved pipe to catch standing water. Wear gloves, then loosen both slip nuts by turning them counterclockwise. If they’re tight, use tongue-and-groove pliers gently; don’t crack plastic fittings.
Lower the trap carefully and keep its contents in the bucket. Understanding the P trap function helps you recognize why it holds water and blocks sewer gases. This step also supports routine plumbing maintenance by exposing clogs and buildup.
| Part | Action |
|---|---|
| Bucket | Catch trapped water |
| Slip nuts | Loosen by hand |
| Pliers | Use gentle pressure |
| Trap | Lower carefully |
Inspect the opening and trap for food scraps, grease, or foreign objects. Keep small washers or seals together, noting their positions for later reassembly.
Don’t force corroded metal; stop if the pipe starts twisting, since you could damage the wall connection. Set every removed part aside safely while you work.
Rinse And Reassemble
Rinse the P-trap under warm running water, using a bottle brush to remove grease and debris from its curve. Rinse thoroughly until water flows freely and the inside looks clean. Check the trap for cracks, damaged threads, or a worn washer before reinstalling it.
- Wipe the trap’s exterior and both connecting pipes dry.
- Position each slip nut and washer in the correct order.
- Reassemble carefully, aligning the trap with the drain and wall pipe.
- Tighten the nuts by hand, then give them a gentle extra turn with pliers.
Don’t overtighten, because excessive force can damage plastic fittings. Place a bucket underneath, then run the faucet for a minute.
Watch each connection for drips. If you spot a leak, loosen the nut, reseat the washer, and tighten it again.
Once everything stays dry, remove the bucket and wipe the area clean.
Use a Drain Snake for Deeper Clogs
If plunging hasn’t cleared the blockage, use a drain snake to reach deeper into the pipe. Remove the sink’s stopper or strainer so you can access the drain opening.
Feed the drain snake slowly into the pipe, turning its handle clockwise as you push. When you meet resistance, you’ve likely reached the clog.
Rotate the cable while applying gentle pressure to break through or hook the obstruction. Don’t force it, or you could damage the pipe.
Once the cable moves farther, continue feeding it several inches beyond the blockage. Turn the handle counterclockwise as you withdraw the snake, bringing debris back with it.
Clean the cable with a rag as you pull it out, then discard the material. Run hot water down the drain to check whether it flows freely.
If deep clogs remain or the cable won’t pass, stop and call a licensed plumber to avoid worsening the problem.
Prevent Future Kitchen Sink Clogs
Simple habits like catching food scraps, wiping grease, and cleaning strainers help prevent future kitchen sink clogs.
Prevent future kitchen sink clogs by keeping grease, coffee grounds, food scraps, and fibrous produce out of the drain. Small daily habits protect your pipes, reduce odors, and make Kitchen maintenance easier.
- Scrape plates into the trash or compost before washing them. Use a fine-mesh strainer to catch crumbs, peels, and other debris.
- Pour cooled cooking grease into a sealed container instead of the sink. Wipe greasy pans with paper towels before rinsing.
- Run hot tap water during and briefly after washing dishes. However, don’t rely on boiling water to fix buildup in delicate pipes.
- Flush the drain monthly with hot water and a small amount of dish soap. Clean the stopper and strainer regularly, too.
For Plumbing safety, never mix chemical drain cleaners or pour them into a clogged sink. Repair leaks promptly, and call a professional if slow drainage continues.
These simple practices keep water flowing and help you avoid emergency clogs.
Frequently Asked Questions
Can I Use Chemical Drain Cleaners to Unclog My Kitchen Sink?
You can use chemical drain cleaners, but you shouldn’t make them your first choice. They can damage pipes, harm your health, and create dangerous chemical reactions if you mix products or use them after bleach.
Try a plunger or drain snake first. If you use a cleaner, follow the label, wear protection, ventilate the room, and never combine products.
For better drain maintenance, prevent grease, food, and hair from entering your sink.
When Should I Call a Professional Plumber for a Clogged Kitchen Sink?
Call a professional plumber when plunging and safely cleaning the trap don’t restore drainage, or when the clog keeps returning. You should also seek help if multiple fixtures drain slowly, wastewater backs up, you smell sewage, or you’ve used chemical cleaner.
Don’t dismantle pipes after adding chemicals. A plumber can perform a plumbing inspection, locate deeper blockages, and recommend drain maintenance. Prompt service can prevent leaks, contamination, and costly pipe damage.
Why Does My Kitchen Sink Keep Clogging Despite Regular Cleaning?
You clean your sink regularly, yet it still clogs because surface cleaning can’t remove hidden buildup. Grease, coffee grounds, soap residue, food particles, or a partially blocked trap may keep restricting flow.
During Plumbing maintenance, flush drains with hot water and use a strainer to prevent debris. For effective Drainage troubleshooting, inspect the P-trap and vent, avoid chemical cleaners, and call a plumber if recurring clogs suggest damaged or poorly sloped pipes.
Can a Garbage Disposal Cause Kitchen Sink Drainage Problems?
Yes, your garbage disposal can cause kitchen sink drainage problems when food scraps, grease, fibrous vegetables, or foreign objects accumulate inside it or the connecting drain. A damaged disposal, dull blades, or inadequate water flow can also create a drain blockage.
You should turn off power before inspecting it, remove visible debris safely, and run cold water while operating the unit. If slow drainage continues, you’ll likely need professional cleaning or repair.
How Much Does Professional Kitchen Sink Unclogging Typically Cost?
Professional kitchen sink unclogging typically costs $100–$300, though you’ll pay more for severe blockages, emergency service, or pipe repairs. You can try DIY remedies first, but stop if water backs up repeatedly or chemical cleaners fail.
Ask for an upfront estimate, confirm whether the fee includes inspection, and compare licensed plumbers. You’ll save money through clog prevention: use a strainer, avoid grease, and don’t overload your garbage disposal.
Conclusion
With these seven steps, you can send that stubborn kitchen-sink clog down the drain where it belongs. Remove standing water, flush, plunge, fizz with baking soda and vinegar, clean the P-trap, or snake deeper blockages.
Then prevent a repeat by keeping grease, coffee grounds, and scraps out of the drain. It’s ironic: the sink works best when you stop treating it like a trash can.
A few simple habits can keep your kitchen flowing freely and help you unclog your kitchen sink when needed.