Build Kitchen Cabinets With 10 Free Plans
Building kitchen cabinets can feel overwhelming when you’re trying to balance limited space, storage needs, and a specific style. You’re not alone—many people struggle to create cabinets that fit their kitchen without overspending. These 10 free plans make it easier to choose a design, gather materials, and build with confidence.
Build kitchen cabinets with 10 free plans by choosing a design that fits your layout, storage needs, and style. Measure walls, appliances, doors, windows, plumbing, and outlets carefully, then create a cut list.
Gather plywood, solid wood, screws, hinges, slides, tools, and safety gear. Build base, wall, drawer, open-shelf, sink, and corner cabinets square and secure.
Sand, prime, finish, install, and adjust each unit carefully. The detailed plans ahead will help you complete every step confidently.
Key Takeaways
- Choose from 10 free cabinet plans that match your kitchen layout, storage needs, appliance clearances, and preferred style.
- Measure walls, openings, appliances, plumbing, electrical outlets, corners, and obstructions before cutting materials.
- Prepare cabinet-grade plywood, solid wood, hardware, tools, and scaled cutting diagrams with quantities and grain directions.
- Assemble square, stable cabinet boxes with glue, screws, clamps, secure back panels, and proper supports.
- Sand and finish the cabinets, install them level against wall studs, adjust doors and drawers, and inspect each cabinet before completion.
Choose a Kitchen Cabinet Plan for Your Layout
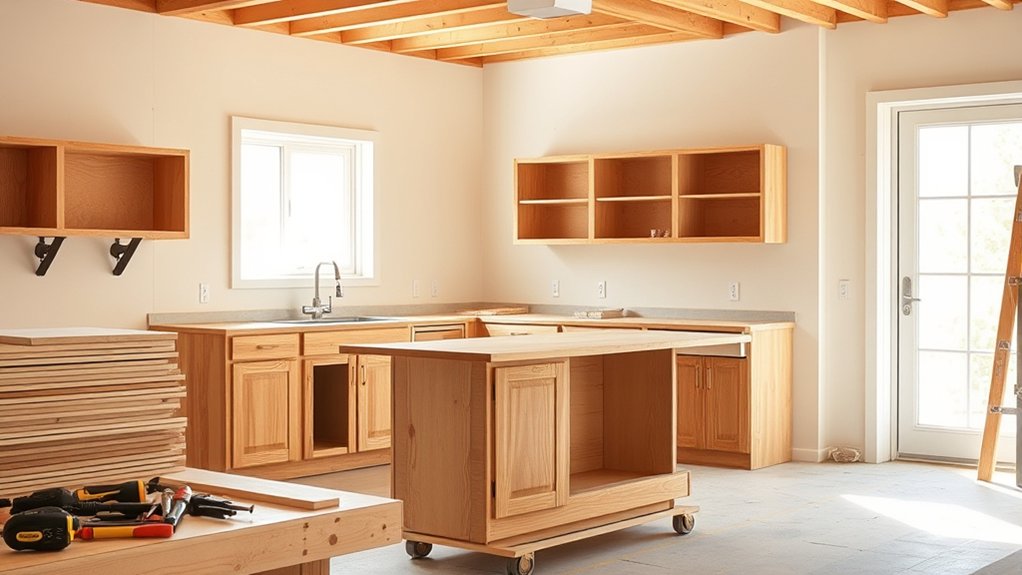
Before cutting any wood, choose a cabinet plan that fits your kitchen’s layout, available space, and storage needs. Measure each wall, doorway, window, appliance, and corner, then record the dimensions carefully.
Note where plumbing, electrical outlets, vents, and doors limit cabinet placement, but don’t gather supplies yet. Use these measurements to select a plan with suitable cabinet widths, heights, and depths.
Consider how you work in the kitchen. You might prefer deep drawers for cookware, tall cabinets for pantry storage, or open shelving for frequently used dishes.
Review different cabinet styles, including Shaker, flat-panel, beaded, and traditional raised-panel designs. Look for design inspiration in kitchens with similar proportions, then adapt attractive features to your room rather than copying an unsuitable arrangement.
Check the plan’s drawings and dimensions before committing. Make sure doors won’t collide, appliances can open fully, and walkways remain comfortable.
A well-matched plan will save material, simplify construction, and help your finished kitchen function beautifully.
Gather Tools and Materials for Cabinets
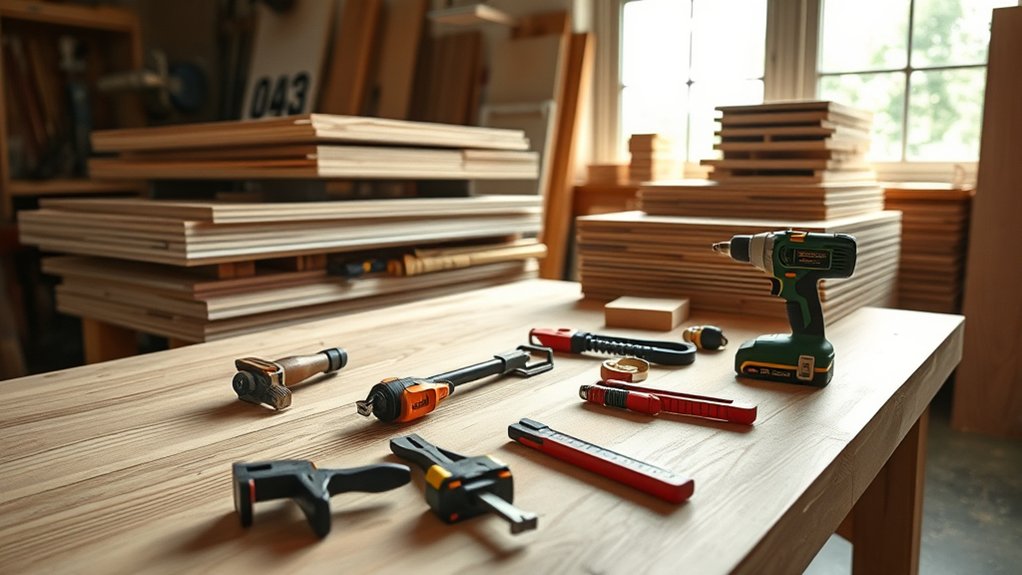
Before you start building, gather the essential tools: a saw, drill, clamps, level, and measuring tape. You’ll also need cabinet-grade plywood, screws, hinges, drawer slides, and finishing supplies. Use this checklist to make sure you have everything ready for your chosen plan.
Essential Cabinetmaking Tools
Gather a tape measure, combination square, pencil, clamps, drill, circular saw, and sander before you begin building your cabinets. Add a level, stud finder, straightedge, utility knife, and hearing and eye protection.
You’ll use the tape measure and square to mark accurate cuts, while the straightedge guides your saw for clean, repeatable lines. Choose sharp blades and bits suited to your material, then keep extras nearby to prevent delays.
Clamps hold panels securely during assembly, and a drill with adjustable torque helps prevent stripped holes. Use the sander to smooth edges before cabinet finishing, but don’t round corners unintentionally.
Keep a shop vacuum handy for dust control. Organize each tool within reach, inspect cords and batteries, and reserve separate bits for cabinet hardware installation.
Materials and Hardware Checklist
With your tools ready, gather cabinet-grade plywood, solid wood for face frames, edge banding, wood glue, and screws suited to your material. Confirm each panel’s thickness against your free plan before cutting.
You’ll also need shelf pins, hinges, drawer slides, pulls, knobs, and mounting brackets. Choose hardware based on cabinet dimensions, door weight, and desired operation.
Keep a tape measure, square, clamps, drill bits, countersink bit, and sandpaper nearby for accurate assembly. Stock matching fasteners, shims, and wall anchors for secure installation.
For cabinet finishing, prepare stain, paint, primer, brushes, rollers, and a clear protective coat. Test your finish on scrap wood first.
During hardware installation, use a template to align handles and hinges consistently. Label every part and store small hardware in containers to prevent mix-ups.
Measure Cabinet Dimensions and Plan Cuts
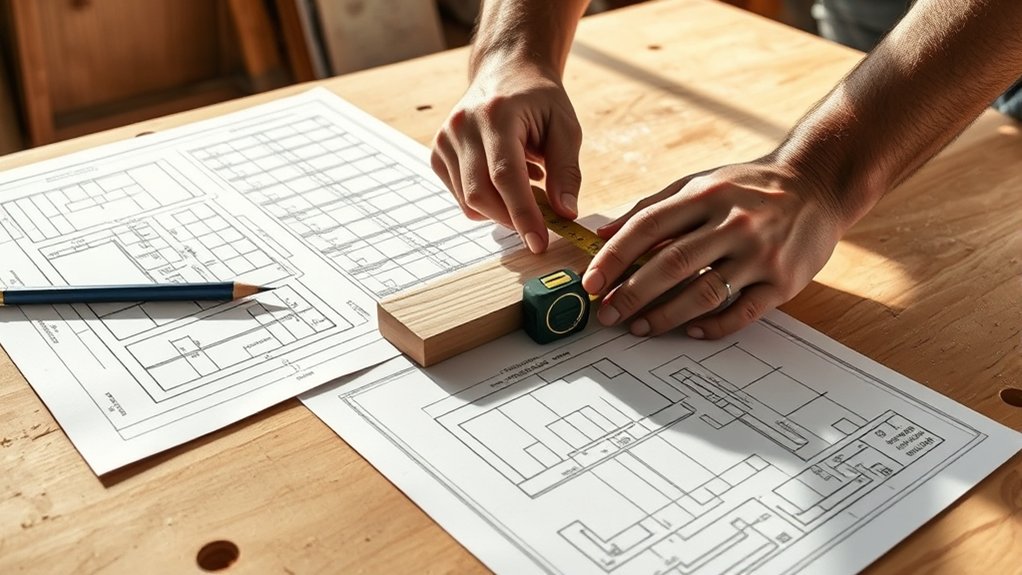
Accurate measurements set the foundation for every cabinet, so measure the wall space, appliance openings, ceiling height, and available depth before planning your cuts. Record each dimension in a notebook, and note walls, floors, and corners that aren’t perfectly square.
Measure in several places because width and height can change along a surface. Include clearances for doors, drawers, trim, plumbing, electrical outlets, and ventilation. Confirm appliance specifications, including required gaps, before you finalize cabinet sizes.
Create a scaled drawing or spreadsheet showing every part, its dimensions, quantity, and grain direction. Organize the layout to maximize your Cabinet materials and reduce waste.
Allow for saw kerfs, edge banding, finished ends, and small fitting adjustments. Label each cut clearly, and separate panels by thickness. Double-check your math and compare the plan with your measurements.
Strong measurement accuracy prevents expensive mistakes and gives you a reliable cutting guide for the project.
Build a Simple Base Cabinet
Gather all your tools and materials before you start building the base cabinet.
Next, cut the panels according to your plan. Assemble the cabinet box using screws and wood glue, and check each corner as you go to make sure it stays square.
Gather Tools and Materials
Before you begin building a simple base cabinet, gather a tape measure, combination square, circular or table saw, drill, clamps, sander, and safety gear.
Choose a sharp blade suited to plywood and solid wood, plus drill bits, driver bits, and spare batteries.
Stock cabinet-grade plywood, solid boards for rails or trim, screws, wood glue, edge banding, and sandpaper in several grits.
Keep a pencil, straightedge, and labeling tape nearby for accurate measurements and organized parts.
Check your plans before shopping so you’ll purchase the correct quantities and dimensions.
Review Appliance placement first; nearby refrigerators, ranges, or dishwashers may affect cabinet width, depth, and clearances.
Plan Indoor lighting as well, ensuring you can see layout marks and cut safely.
Wear eye and hearing protection, and use dust control from the start.
Assemble the Cabinet Box
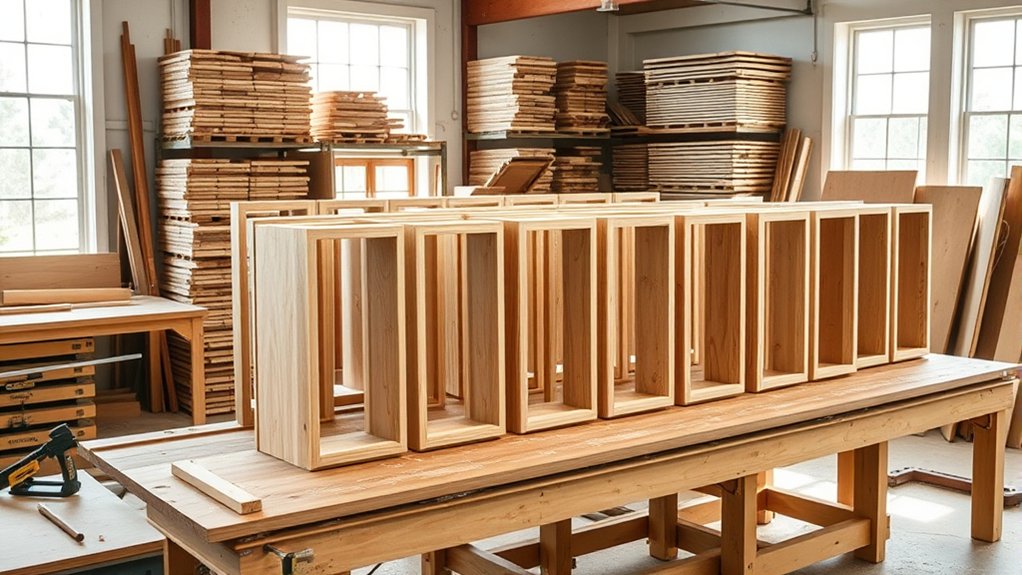
Start by assembling the cabinet box on a flat surface, fastening the side panels to the bottom, then adding the back and front rails with glue and screws. Check your cabinet design before assembly so each panel faces the correct direction and the openings align.
Apply a thin, even bead of wood glue along every joint, then drive screws through predrilled holes to prevent splitting. Use a square to check each corner as you work; a square box makes door and drawer installation easier.
Confirm your material selection supports the cabinet’s weight, especially if you’re using particleboard or plywood. Measure diagonals from corner to corner.
Adjust the box until both measurements match, then let the glue cure. Add a toe-kick base or feet after the box dries completely.
Build a Budget Wall Cabinet
A budget wall cabinet gives you useful storage without requiring expensive materials or complicated joinery. Start by measuring your available wall space, then cut a plywood box, two doors, a shelf, and a back panel. Choose three-quarter-inch plywood for strength, or use affordable furniture-grade panels where visible surfaces matter.
Assemble the box with glue and screws, keeping every corner square. Add a fixed or adjustable shelf, then attach the back to prevent racking. Install a simple cleat across the wall and cabinet, securing it to studs so the cabinet won’t shift under load.
Hang the doors with concealed or surface-mount hinges, and test their alignment before adding pulls. You can paint the cabinet to match your kitchen decor, or apply a clear finish for a warm wood appearance.
Plan appliance integration carefully if the cabinet will sit near countertop equipment. Leave enough clearance for ventilation and safe access. Sand the edges, seal exposed plywood, and mount the cabinet at a comfortable height.
Build a Custom Sink Cabinet
When you build a custom sink cabinet, measure the sink, plumbing, and available space before cutting any panels. Mark the cabinet’s width, height, and depth, then allow room for doors, countertop overhang, and wall irregularities.
Use moisture-resistant plywood for the sides, bottom, and back, since leaks can damage ordinary materials. Assemble a sturdy box with a recessed toe-kick, and leave the back open or add removable panels around supply lines and the drain.
Position the sink support rails beneath the countertop, ensuring they can carry the basin’s weight. Seal exposed edges with paint, varnish, or edge banding to protect them from splashes.
Plan appliance integration carefully if a dishwasher or filtration unit will sit beside the cabinet, preserving access to valves and outlets. Also check kitchen lighting placement so doors and plumbing won’t interfere with wiring or under-cabinet fixtures.
Install adjustable legs or shims to level the cabinet before securing it to adjacent units and the wall.
Build a Drawer Base Cabinet
For a drawer base cabinet, build a rigid box that can support heavy hardware and repeated use. Cut the sides, bottom, top supports, and back from cabinet-grade plywood, then assemble them with glue and screws. Check each corner for square before the glue sets.
Add a face frame if your kitchen design includes framed cabinets. Otherwise, apply edge banding to exposed plywood edges.
Measure the opening carefully, allowing the clearances specified by your drawer-slide manufacturer. Install a sturdy lower drawer for pots and pans, then add shallower drawers above for utensils and tools.
Mount slides level and parallel so every drawer operates smoothly. Use a spacer block to position repeated slides consistently.
Before installation, sand visible surfaces and apply your chosen cabinet finishes. Seal plywood edges thoroughly, especially near the floor.
Attach fronts after adjusting the boxes, keeping reveals even. Finish with decorative hardware that matches your other doors and drawers, then anchor the cabinet securely to adjacent units and the wall.
Build Open-Shelf Kitchen Cabinets
Open-shelf cabinets give your kitchen easy access and a lighter, more open look. You can build a simple unit with plywood sides, shelves, a top, and a sturdy back panel.
Open-shelf cabinets bring an airy feel to kitchens while keeping everyday dishes and essentials conveniently within reach.
Start by measuring the wall and deciding how many shelves you need. Cut matching sides, then cut shelves slightly shorter to fit between them.
Assemble the box with glue and screws, checking each corner for square. Add a back panel to prevent racking and attach the cabinet securely to wall studs.
Sand every surface, fill screw holes, and apply primer before painting or sealing. Install shelf supports that let you adjust the spacing for dishes, glasses, or cookbooks.
Leave enough clearance between shelves so you can remove items easily. Add decorative hardware, such as small brackets or trim, to reinforce the design.
Install cabinet lighting beneath each shelf to highlight displays and improve task visibility. Arrange frequently used items within easy reach, and keep heavier dishes on lower shelves.
Build a Corner Kitchen Cabinet
Start by carefully measuring your corner space. Note the wall lengths, available depth, and any obstructions. Once you have those measurements, assemble a sturdy cabinet frame that fits the space.
Measure Corner Space
Before cutting any parts, measure the corner space from the adjoining walls to determine the cabinet’s exact width, depth, and height. Start your corner measurement at the wall intersection, then check both walls for length, plumb, and uneven surfaces.
Record measurements at the floor, countertop level, and ceiling, since corners rarely run perfectly square. Measure the available depth without blocking nearby doors, drawers, appliances, or walkways.
Allow clearance for hinges, handles, trim, and baseboards. Mark the desired cabinet height while considering countertop thickness and any upper cabinets above it.
Use a level, straightedge, and tape measure to verify every figure. Compare opposing measurements to reveal irregularities, and use the smallest usable dimension when planning.
Careful space optimization now helps your finished cabinet fit cleanly and function comfortably.
Assemble Cabinet Frame
With your corner measurements confirmed, assemble the cabinet frame on a flat surface so each joint stays aligned. Cut two side panels, a top, bottom, and any required corner fillers from your chosen Cabinet material.
Dry-fit every piece, then apply glue and drive screws through predrilled holes. Keep the back square by measuring diagonals before the glue sets.
| Part | Check | Fastener |
|---|---|---|
| Side panels | Plumb | Screws |
| Top and bottom | Level | Glue, screws |
| Back support | Square | Staples |
Use clamps to hold corners tight while you verify the opening dimensions. Follow essential Safety precautions: wear eye protection, secure workpieces, and keep hands away from the blade and drill bit.
Don’t rush curing time. Once the frame feels rigid, attach the back panel, label the cabinet, and prepare it for installation.
Finish, Install, and Fix Cabinet Problems
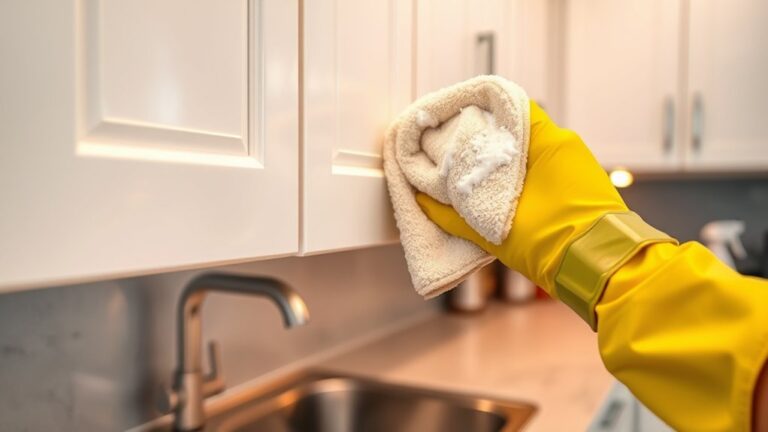
Once your cabinet boxes and doors fit properly, finish them with durable paint, stain, or clear coat, then install each unit level and securely anchored to the wall. Sand between coats, remove dust, and follow drying times for a smooth, lasting surface.
Finish cabinets with durable coatings, sanding between layers, removing dust, and allowing proper drying time for a smooth, lasting result.
Compare finishing techniques on scrap wood before committing to your chosen look.
- Mark stud locations before lifting cabinets.
- Shim gaps instead of forcing crooked boxes.
- Drive screws through rails into studs.
- Align doors after installation.
- Protect finished surfaces during handling.
Start with the upper cabinets so you can work freely without bumping into base units. Clamp neighboring boxes together, check the face frames, and tighten screws gradually.
Set base cabinets on a level reference line, then secure them and attach the countertop.
If a door rubs, adjust its hinge screws in small increments. Fixing door hinges usually requires only height, depth, or side-to-side corrections.
Replace stripped screws with longer ones or add wood filler, let it cure, and redrill.
Touch up exposed edges, install handles, and test every drawer, shelf, and door before you clean up.
Frequently Asked Questions
How Much Money Can I Save by Building My Own Kitchen Cabinets?
You can save roughly 30% to 50% by building your own kitchen cabinets, depending on your design, tools, and skill level. A professional installation might cost $10,000 to $25,000, while DIY cabinets could run $5,000 to $15,000.
Your cost comparison should include lumber, hardware, finishes, tools, and wasted materials. Smart material sourcing, such as buying plywood wholesale or reclaiming usable wood, can reduce expenses further, though your time still carries value.
What Wood Types Work Best for Durable, Affordable Homemade Kitchen Cabinets?
Choose maple, birch, or poplar for durable, affordable homemade kitchen cabinets. Maple offers strength and an attractive wood grain, while birch provides similar durability at a lower cost.
Use poplar for painted doors and face frames because it machines easily and costs less. Consider plywood for cabinet boxes, especially maple or birch veneer.
Compare finish options, including paint, stain, or clear coat, to protect surfaces and match your kitchen’s style.
Do I Need Building Permits to Install Homemade Kitchen Cabinets?
When in doubt, check it out: you may not need a permit to install homemade kitchen cabinets, but local rules vary. Contact your city or county building department before you begin.
Ask about building codes and permit requirements, especially if you’ll alter walls, electrical wiring, plumbing, ventilation, or structural elements.
Simple cabinet replacement often avoids permits, while significant remodeling may require inspections. Keep approvals and plans for your records.
How Long Does a Typical DIY Kitchen Cabinet Project Take?
You’ll typically need two to six weeks to complete a DIY kitchen cabinet project. Allow several days for measuring, planning, and ordering materials, followed by one to two weeks for cutting, assembly, and fitting.
Add three to seven days for cabinet finishing, including sanding, priming, and painting. Reserve another day or two for installation and hardware selection.
If you work weekends only, expect the project to take four to eight weeks.
How Can I Make Homemade Cabinets Safer for Children?
You can make homemade cabinets safer for children with practical childproofing strategies. Install childproof latches inside doors and drawers, especially those holding cleaners, tools, or sharp objects.
Choose cabinet hardware safety features, including rounded pulls and secure, snag-free handles. Anchor freestanding units firmly to wall studs, and smooth every edge and corner.
Store breakables and hazardous items high. Inspect hinges, screws, and latches regularly, and repair loose components immediately to prevent injuries.
Conclusion
You’ve now got the roadmap to build kitchen cabinets that fit your space, budget, and style.
Choose a plan, measure twice, cut carefully, and test each cabinet before installation. Sand, finish, and level everything so your hard work lasts.
If a drawer sticks or a door sags, adjust it instead of scrapping it. Like a trusty telegraph delivering news across town, your cabinets can connect function and beauty.
Start building kitchen cabinets today, and you’ll soon enjoy a kitchen made by you.