How to Sharpen Kitchen Shears in 7 Steps
Dull kitchen shears can turn simple prep tasks into a frustrating chore, especially when they crush food instead of cutting cleanly. You’re not alone—many home cooks struggle to keep their shears sharp and reliable. Learning how to sharpen kitchen shears can restore clean, effortless cuts and help your favorite pair last longer.
Clean and dry the shears, then inspect the blades for damage and find each beveled edge. Choose a suitable stone, diamond file, or manual sharpener.
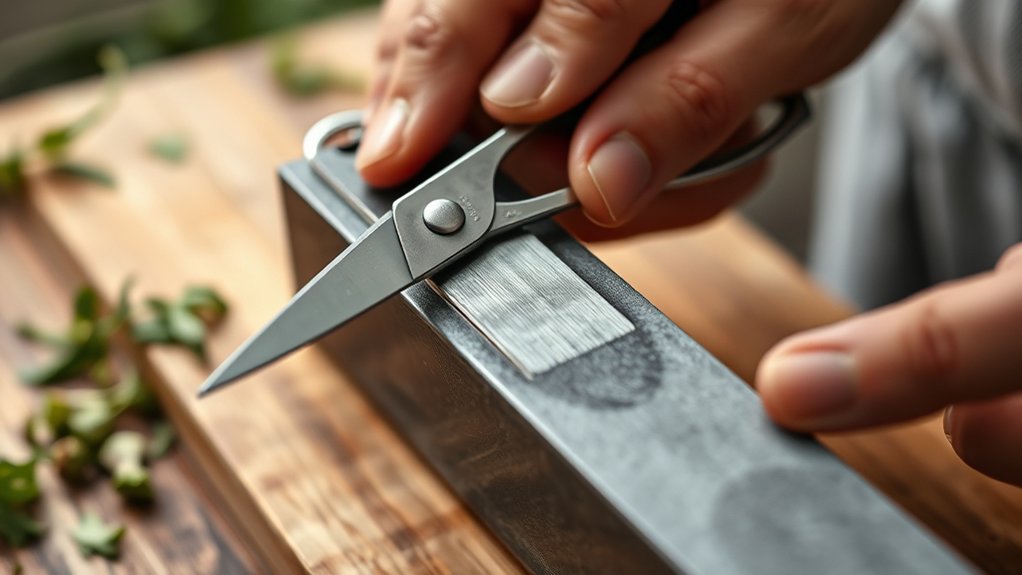
If possible, loosen the pivot and separate the blades. Sharpen each bevel from heel to tip with light, consistent strokes.
Remove burrs, wipe away metal dust, and test the shears on paper. Reassemble, adjust the screw, add a drop of mineral oil, and store them safely.
The steps below explain each stage in greater detail.
Key Takeaways
- Clean and dry the shears thoroughly, then inspect the blades, pivot, alignment, and beveled edges for damage.
- Open the shears and sharpen each beveled edge from heel to tip using a suitable stone, file, or manual sharpener.
- Maintain the original bevel angle and apply light, steady pressure in one direction. Avoid sawing back and forth.
- Remove burrs with a fine honing stone or deburring pad, then wipe away metal dust and test-cut paper.
- Reassemble and adjust the pivot, add a drop of food-safe mineral oil, wipe off the excess, and store the closed shears in a dry place.
Gather Tools and Prepare the Kitchen Shears
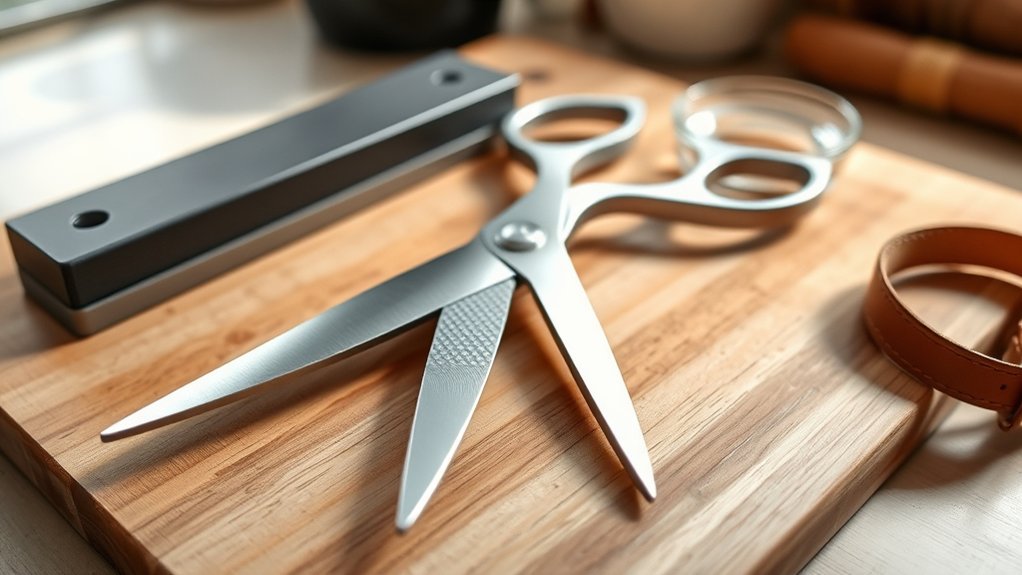
Before sharpening, gather a sharpening stone or diamond file, a clean cloth, mild dish soap, and protective gloves. Choose a stable, well-lit work surface with enough room to handle the shears safely. Keep a bowl of warm water nearby for washing, but don’t place your tools where they could slide or become wet.
Start your Cleaning routine by opening the shears and washing away grease, food residue, and dust with mild soapy water. Rinse them thoroughly, then dry every surface with the cloth.
Clean open shears with mild soapy water, rinse thoroughly, and dry every surface completely with a clean cloth.
Moisture can encourage rust, so don’t skip this step. If the handles or pivot area feel sticky, use a barely damp cloth and dry them immediately.
Put on protective gloves before handling the sharp edges. Organize your supplies within reach, and keep children and pets away from the workspace.
Afterward, follow simple storage tips: dry the shears completely, close them securely, and store them in a dry drawer or protective sleeve.
Inspect the Blades and Find the Beveled Edge
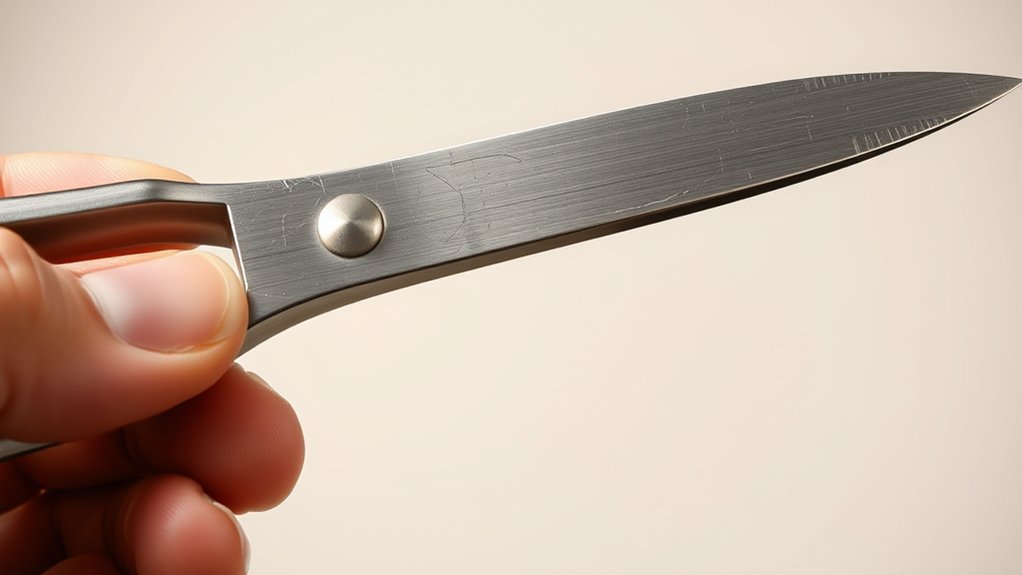
With the shears clean and dry, open them fully and examine each blade under good light. Look for nicks, dull spots, rust, or residue along both cutting edges.
Check blade alignment by bringing the blades together slowly. They should meet evenly without wobbling or leaving a wide gap.
Identify the beveled edge: it’s the slightly angled surface that slopes toward the cutting edge. The opposite side usually lies flatter.
Don’t confuse a polished flat side with a bevel, and don’t judge sharpness by touch.
| Inspection point | What to look for | Why it matters |
|---|---|---|
| Blade alignment | Even contact and no wobble | Reveals bending or looseness |
| Beveled edge | Consistent angled surface | Shows where the edge needs attention |
| Edge curvature | Smooth, continuous curve | Exposes dents or uneven wear |
Close the shears gently and inspect the tips, middle, and heel separately. Note any damage and keep the blades positioned consistently for later work.
Avoid forcing misaligned blades together. Careful observation now prevents accidental damage.
Choose the Best Sharpening Tool
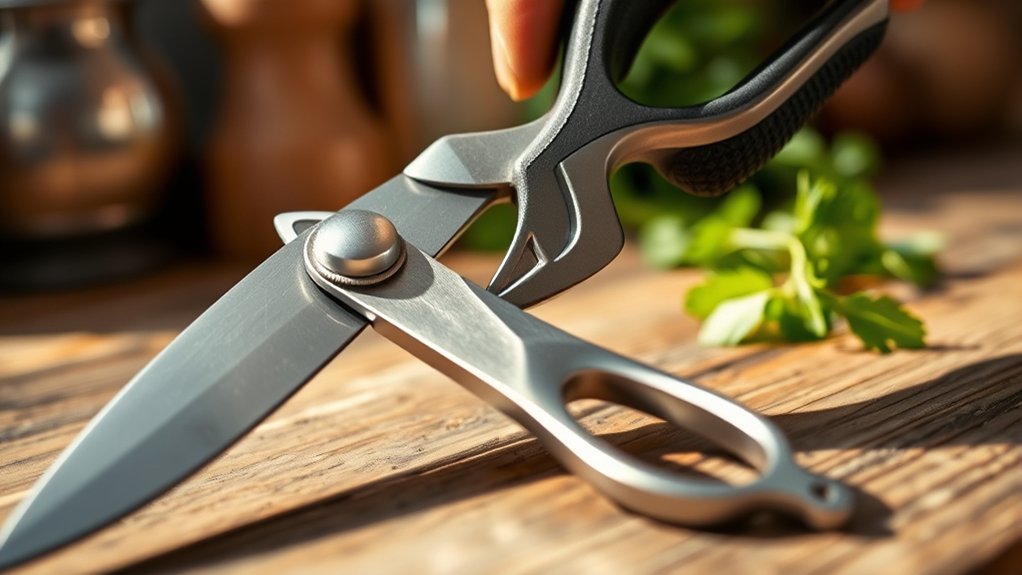
Once you’ve identified the beveled edge and noted any damage, choose a sharpening tool that matches the shears’ condition and your skill level. For light dullness, use a fine diamond file or compact manual sharpener designed for scissors. These tools give you control and work well when you’re new to sharpening.
Choosing sharpening stones offers greater precision, especially when you need to restore a noticeably blunt edge. Select a medium-grit stone for initial sharpening, then finish with a fine grit for smoothness.
You’ll need steady pressure and patience, but stones can produce excellent results.
Electric sharpeners save time and effort, yet they remove material quickly. Choose a model specifically rated for kitchen shears, and follow its instructions closely.
Avoid general knife sharpeners unless they support scissors, because their guides may not match the blades’ angle.
If the edges have chips or severe damage, take the shears to a professional instead of risking further wear with an unsuitable tool.
Separate the Blades if Your Shears Allow It
Before separating the blades, check whether your shears have a release screw. If they do, loosen it carefully, and keep the screw and any other hardware in a safe place. Handle each blade with care to prevent damage or injury.
Check for a Release Screw
Look for a screw, bolt, or other fastener at the point where the blades meet, since some kitchen shears let you separate the blades for easier sharpening. Check whether the fastener has a slotted, Phillips, hex, or specialized head.
A removable screw usually indicates that you can open the joint, while a rivet or sealed pivot generally means the blades should stay together. Before touching the fastener, inspect the joint for washers, spacers, or locking nuts that affect blade alignment.
Notice how tightly the blades move, too, because screw tension controls smooth operation and cutting pressure. Don’t force a stubborn fastener or use an ill-fitting tool; you could strip the head.
Confirm that your shears’ design supports separation, then gather the correct driver. You’re ready for the next step.
Separate Blades Carefully
If your shears have a removable fastener, hold both handles securely and loosen the screw slowly with the correct driver. Once the blades separate, place them on a clean, stable surface.
Keep your fingers away from the edges, even if the shears feel dull. Inspect each blade for food residue, bends, nicks, or uneven wear.
Separation gives you better access for sharpening and helps you evaluate the original Blade alignment. Notice how the cutting surfaces meet before you begin, so you can preserve that Cutting angle during sharpening.
Don’t force a stuck fastener or twist the blades apart. Stop if resistance could damage the tool. Handle each blade by its spine or handle area, and keep the cutting edges facing away from you while you work.
Keep Hardware Secure
Before separating the blades, make sure the screw, pin, or other fastener is secure and undamaged. Check whether your shears use a removable screw rather than a permanent rivet.
If you can remove it, place a towel beneath the shears to catch small parts and prevent damage. Turn the screw slowly with the correct screwdriver, and keep steady pressure to protect the head.
For hardware safety, organize every piece as you work:
- Set the screw, washer, and nut in a small dish.
- Photograph the assembly before taking it apart.
- Keep matching blades together.
Don’t force a stuck fastener. You could strip it or bend the blades.
After sharpening, clean the threads, reassemble the shears, and tighten the fastener until the blades move smoothly without wobbling. Include the parts in your tool storage routine.
Sharpen Kitchen Shears in One Direction
Sharpen each blade in one consistent direction, moving from the heel toward the tip rather than sawing back and forth. Hold the shears open and place the sharpening tool against the beveled outer edge.
Match the tool’s angle to the existing bevel; changing that angle can weaken the edge or create an uneven profile. Apply light, steady pressure as you draw the tool toward the tip, then lift it away before returning to the heel.
Don’t push the tool backward across the edge, because that motion can create a rough, irregular finish. Work through several controlled strokes, keeping your wrist stable and your pace even.
Blade alignment matters: follow the entire cutting edge without tilting the blade from side to side. Pay attention to Shear ergonomics, too.
Grip the handle comfortably, support the opposite blade safely, and position your fingers away from the edge. Repeat the same method on the second blade, maintaining its original bevel throughout.
Remove Burrs and Test the Cut
Check the blades for burrs, or tiny rough edges left behind after sharpening. Gently smooth them out, then test the shears on a piece of paper to make sure they cut cleanly.
Inspect for Burrs
Once you’ve finished sharpening, open and close the shears slowly while checking both blades for a thin, raised burr along the edges. Burr formation is normal after filing, but you must remove it before testing the cut.
Run a fingertip lightly away from the edge, never along it, and watch for catching or rough spots. Use bright light to spot tiny curls or uneven sections.
Pay special attention to the tips and the area near the pivot, where edge damage can hide.
- Look for a continuous, lifted wire edge.
- Check both blades, not just the sharpened side.
- Keep your fingers behind the cutting edges.
If you find a burr, wipe it away with a clean cloth or make a few gentle closing motions through folded paper.
Then cut thin fabric or paper to confirm that the blades meet cleanly.
Smooth Rough Edges
After sharpening, remove any burrs before testing the shears. Open the blades and inspect both edges under bright light.
Run a fine honing stone, deburring pad, or folded piece of fine-grit abrasive gently along the newly sharpened edge. Keep the tool nearly flat, and use light, controlled strokes away from your fingers.
Don’t press hard; excessive force can round the edge and reduce cutting performance. Wipe away metal dust with a clean, dry cloth, then check for remaining rough spots by sliding a cotton swab lightly along the blade.
If fibers snag, repeat the gentle honing process. Choose an abrasive suited to the blade’s hardness and finish to preserve material compatibility.
Careful burr removal improves edge durability and leaves the blades smooth, clean, and ready for safe evaluation.
Test the Cut
Test the cut on a clean sheet of paper, starting near the blade hinge and moving toward the tips. Your shears should slice cleanly without snagging, tearing, or crushing the paper.
If you feel rough spots, close the blades and inspect their edges. Remove leftover burrs with a fine sharpening stone or metal file, using light, even strokes away from your body.
Wipe the blades clean, then repeat the paper test.
Watch for these signs:
- Smooth cutting through the entire blade length
- No visible burrs, chips, or misaligned edges
- Comfortable, controlled movement without excess force
If the cut remains uneven, sharpen each blade again rather than forcing the shears. Test them on herbs or packaging only after the paper test succeeds.
Apply your preferred Cooking techniques carefully, and prioritize Kitchen safety by keeping fingers clear and storing the shears closed.
Reassemble, Lubricate, and Maintain the Shears
Reassemble the shears by aligning the blades and tightening the pivot screw until they open and close smoothly without wobbling. Add one drop of food-safe mineral oil to the pivot, then open and close the handles several times. Wipe away excess oil so it won’t transfer to food.
| Task | Frequency |
|---|---|
| Wipe blades clean | After each use |
| Oil the pivot | Monthly |
| Check screw tension | Monthly |
| Sharpen blades | As needed |
Wash residue from the blades with warm, soapy water, but don’t soak the shears or put them in a dishwasher. Dry every surface immediately to prevent rust.
Check the cutting edges and pivot regularly. Tighten the screw if movement feels loose, or loosen it slightly if the blades bind.
Store the shears closed in a dry drawer or protective sleeve for proper storage. Keep them away from utensils that could nick their edges.
Choose replacement shears with ergonomic handles, especially if you cut frequently. With gentle cleaning, light lubrication, and careful storage, your sharpened kitchen shears will stay smooth, safe, and effective.
Frequently Asked Questions
How Often Should Kitchen Shears Be Professionally Sharpened?
You should have kitchen shears professionally sharpened every six to twelve months with regular use, or whenever they start tearing, crushing, or struggling to cut cleanly.
Heavy use may require service every three to six months, while occasional cooks can wait longer. Between appointments, follow simple maintenance tips: wash and dry the blades, remove residue, and apply a drop of oil.
Proper sharpening techniques and careful storage will extend each professional sharpening.
Can Ceramic Kitchen Shears Be Sharpened at Home?
Yes, you can attempt home sharpening on ceramic kitchen shears, but you’ll need a diamond-coated sharpener, not a standard steel or whetstone. Ceramic blades are extremely hard yet brittle, so use light pressure and a consistent angle.
Follow your manufacturer’s instructions, because some models require specialized service. If you notice chips, cracks, or uneven cutting, stop sharpening and consult a professional.
Improper tools can permanently damage the blades or compromise safety.
When Should Dull Shears Be Replaced Instead of Sharpened?
Replace dull shears when sharpening no longer restores a clean, even cut, or when the blades show chips, deep nicks, cracks, rust pits, or severe misalignment. During your dullness assessment, test the shears on paper and inspect whether the pivot stays tight.
Consider shear replacement if repairs cost nearly as much as new kitchen shears. You shouldn’t replace them for ordinary dullness; careful sharpening usually handles that problem effectively.
Are Kitchen Shears Safe for Cutting Through Bones?
You shouldn’t use ordinary kitchen shears to cut through bones. They may slip, bend, or break, sending sharp fragments toward you.
For safer bone cutting, use heavy-duty poultry shears specifically designed for joints and small bones, and follow the manufacturer’s limits. Safety considerations include wearing cut-resistant gloves, keeping your fingers clear, stabilizing the food, and cutting away from your body.
Never force dull blades. Sharpen or replace them before use.
How Do You Sharpen Serrated Kitchen Shears?
You don’t need to replace dull serrated shears—careful sharpening can restore their bite. First, clean and dry the blades.
Open the shears, then use a tapered diamond file or ceramic rod, the best sharpening tools for a serrated edge. Match the file to each groove, and push it outward along the bevel several times.
Don’t sharpen the flat side; lightly remove its burr with fine paper. Test carefully on scrap material, then oil the pivot.
Conclusion
With a few careful steps, you can turn dull kitchen shears into dependable tools again. Clean edges, steady strokes, and a final test make the difference between frustration and smooth cutting.
Treat your shears like a well-tended garden: regular sharpening removes what no longer serves them, while a drop of oil helps new performance grow. Store them safely, avoid misuse, and revisit these steps whenever cutting feels rough.
Follow these steps for how to sharpen kitchen shears, and your kitchen will work more smoothly, one precise snip at a time.