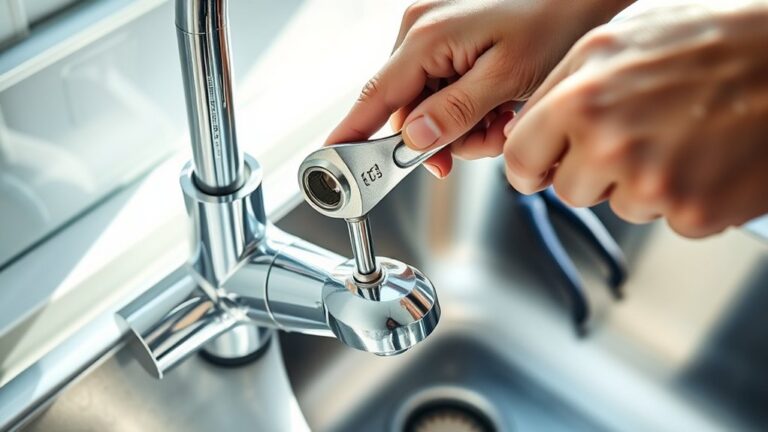
How to Install a Kitchen Sink Drain in 5 Steps
A loose or leaky kitchen sink drain can quickly turn into a frustrating mess, and you’re not alone if the installation feels intimidating. The right tools and a clear process make it much easier to create a secure, leak-free connection.
To install a kitchen sink drain, gather tools, protect yourself, and check every kit component. Remove the old drain, trap, gasket, and putty, then clean the opening.
Apply plumber’s putty beneath the new basket, fit its gasket and washer, and tighten the locknut. Connect the tailpiece and P-trap without forcing fittings.
Finally, run water and check each joint for leaks, tightening gently as needed. The detailed steps below will help you finish confidently.
Key Takeaways
- Gather tools, review manufacturer instructions, and inspect the drain kit for complete, undamaged parts.
- Remove the old drain, disconnect the P-trap, and clean the sink opening and surrounding surfaces.
- Apply plumber’s putty beneath the new flange, insert the basket, and tighten its gasket, washer, and locknut.
- Connect the tailpiece and P-trap, aligning fittings properly and tightening slip-joint nuts without overtightening.
- Run water and fill the sink, then inspect every connection for leaks and retighten or replace washers as needed.
Gather Tools and Check Drain Parts
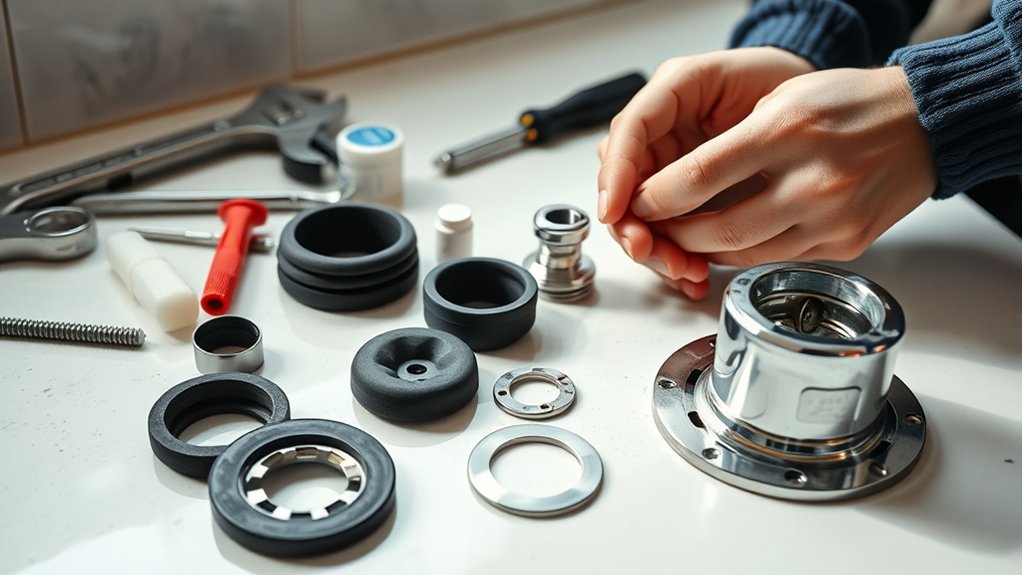
Before you begin, gather a basin wrench, adjustable wrench, plumber’s putty, a screwdriver, a bucket, and clean rags. Add a flashlight, utility knife, gloves, and eye protection so you can work comfortably and follow basic plumbing safety practices.
Keep the manufacturer’s instructions nearby because drain assemblies vary by sink and connection type.
Check that the drain kit includes the strainer, rubber gasket, friction ring, locknut, and any washers or tailpiece adapters. Confirm that each part matches your sink’s drain opening and the existing plumbing size.
Inspect threads, seals, and metal surfaces for cracks, warping, corrosion, or missing pieces. Replace damaged components before installation rather than forcing a poor fit.
Plan for drain cleaning by preparing a small brush and mild cleaner to remove residue from accessible parts, but don’t disassemble the old drain yet.
Place tools within reach, clear the cabinet, and ensure good lighting. Organizing everything first helps you work efficiently and prevents interruptions.
Remove the Old Sink Drain
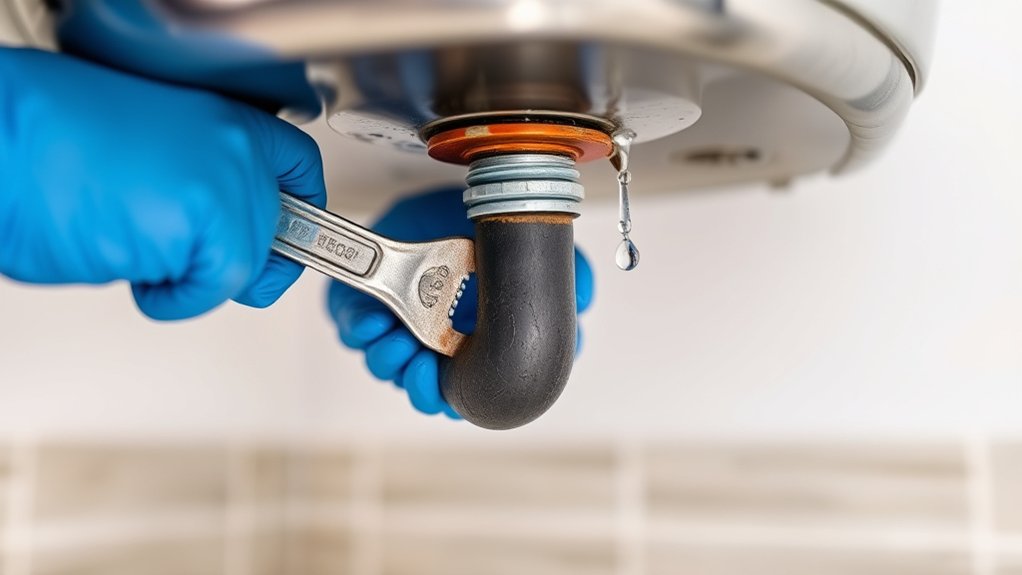
Start by placing a bucket beneath the drain and loosening the slip nut that connects the tailpiece to the trap. Let the water drain into the bucket, then remove the nut completely. Loosen the second slip nut at the trap’s opposite end and lower the trap carefully. Keep a rag nearby to catch residue.
Disconnect the trap carefully, allowing water to drain into a bucket, and keep a rag nearby for any residue.
Under the sink, loosen the large retaining nut holding the drain flange. Use adjustable pliers while holding the flange above with another tool or by hand. If the nut won’t move, apply penetrating oil and wait several minutes.
For severe pipe corrosion, replace the damaged nut rather than forcing it and cracking the sink.
Push the old flange upward through the sink opening and remove its gasket. Scrape away old plumber’s putty with a plastic scraper, then wipe the surface clean.
During drain cleaning, inspect the exposed drain opening and surrounding pipes for cracks, buildup, or leaks. Set removed parts aside for disposal or recycling.
Install the New Drain Basket
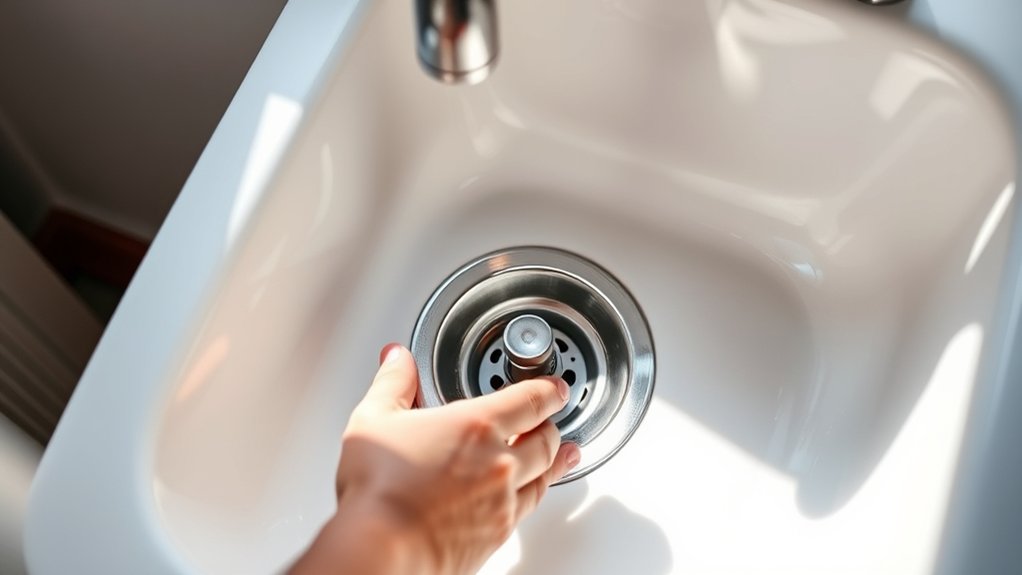
Apply a continuous bead of plumber’s putty beneath the new drain basket’s flange, then lower the basket into the clean sink opening. Press firmly so the flange seats evenly, and wipe away squeezed-out putty with a damp cloth.
Confirm Drain basket compatibility first: the basket should match your sink’s opening and the manufacturer’s specifications.
| Check | What you see | What you do |
|---|---|---|
| Flange | Even, snug contact | Press gently |
| Putty | Thin, visible edge | Remove excess |
| Basket | Centered opening | Hold steady |
From beneath the sink, slide the rubber gasket and metal washer onto the basket’s threaded shank. Thread the locknut by hand, keeping the basket centered from above.
Use pliers or a basket wrench to tighten the nut carefully. Stop when the flange feels secure and the putty compresses evenly.
Don’t overtighten, or you could distort the sink or damage the seal. Check for gaps around the flange.
These Basket installation tips help create a watertight, professional-looking fit before continuing to the next drain component.
Attach the Tailpiece and P-Trap
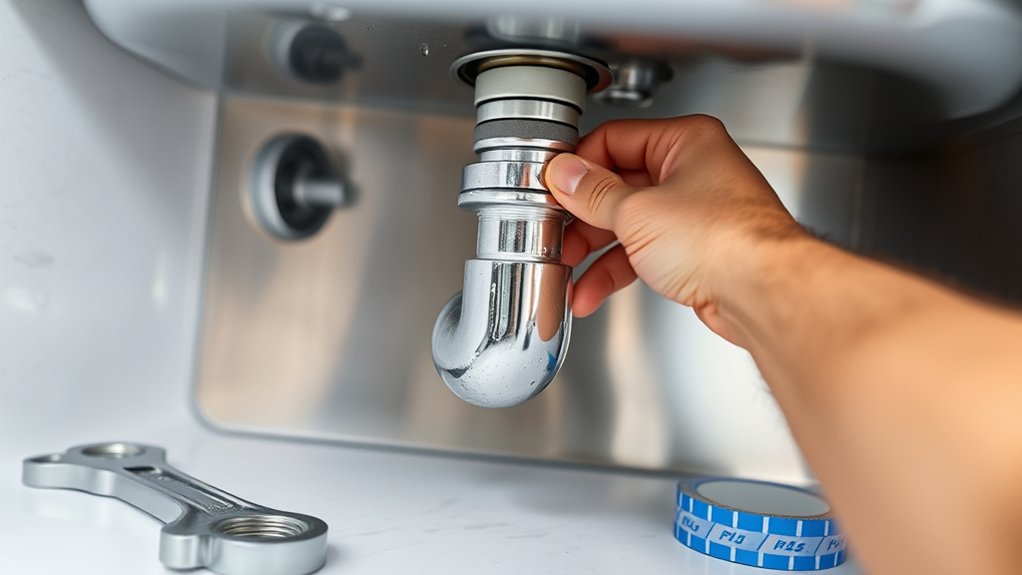
With the drain basket secured, attach the tailpiece beneath it using a slip-joint washer and nut, then connect the P-trap to the tailpiece and align it with the wall drain. Slide a slip-joint washer onto each connection before threading the nuts by hand.
Connect the tailpiece and P-trap with slip-joint washers, aligning each fitting carefully before tightening the nuts by hand.
Position the trap’s curved section beneath the sink, keeping its opening oriented toward the wall pipe. If the pieces don’t align, adjust the tailpiece length or rotate the trap; don’t force the fittings.
Cut excess tailpiece with a hacksaw if necessary, then smooth the edge with a file. Tighten each slip-joint nut firmly by hand, adding a quarter turn with pliers only when needed.
Keep the trap accessible for future drain cleaning, and avoid cementing slip-joint connections. Proper pipe maintenance starts with a correctly positioned trap that remains removable.
Support longer sections with a hanger so their weight won’t strain the basket or wall connection. Guarantee the trap’s bend faces downward and leaves clearance for cabinet storage.
Test the Kitchen Sink Drain for Leaks
Once the P-trap and tailpiece are aligned and tightened, test the drain before closing the cabinet. Place a dry bowl or towel beneath each connection to reveal drips. Remove the sink stopper, then run cold water for several minutes. Fill the basin halfway and release it, checking the strainer, tailpiece, slip nuts, and P-trap as water flows.
If you spot moisture, turn off the water and dry the joint completely. Hand-tighten the slip nut, then add a small amount with pliers if needed. Don’t overtighten, because you could damage the washer or threads. For threaded connections, inspect the washer’s position and replace it if it’s warped.
Leak prevention starts with clean mating surfaces and properly seated washers, not excessive force. If the strainer leaks, loosen it, reseat the gasket, and repeat the Sealant application according to the manufacturer’s instructions.
Run another full test, wipe every connection dry, and check again after an hour. Only close the cabinet when everything remains dry.
Frequently Asked Questions
How Often Should a Kitchen Sink Drain Be Professionally Inspected?
You should schedule a professional drain inspection about once a year to catch buildup, leaks, corrosion, or developing blockages before they become expensive problems.
If you notice slow drainage, recurring clogs, foul odors, water stains, or unusual noises, don’t wait for your annual appointment. Arrange an inspection promptly.
Include this service in your plumbing maintenance routine, especially if you have older pipes, hard water, or frequently use your kitchen sink.
Can I Install a Garbage Disposal With This Kitchen Sink Drain?
Yes, you can install a garbage disposal with this kitchen sink drain if the drain opening matches the disposal flange and your cabinet has enough space.
Think of your sink as a doorway: the disposal becomes a new gate, replacing the existing strainer. Before installation, shut off power, confirm compatible plumbing, and support the unit securely.
These installation tips help prevent leaks. You’ll also need a grounded electrical connection and may require a dishwasher inlet.
What Drain Size Is Standard for Most Kitchen Sinks?
Most kitchen sinks use a standard 3½-inch drain opening, which fits common basket strainers and garbage disposals. You’ll still need to measure your sink before buying components, because older or specialty models may differ.
Your sink material options, including stainless steel, porcelain, composite granite, and cast iron, can affect installation and gasket fit. Check dishwasher compatibility if you’ll connect a disposal or drain branch, and follow the manufacturer’s specifications for proper connections.
Are Chemical Drain Cleaners Safe for Kitchen Plumbing?
Chemical drain cleaners aren’t the best choice for kitchen plumbing; they can corrode pipes, damage seals, and create hazardous fumes—an unwelcome “shortcut.”
For better Chemical safety, use a plunger or a drain snake first. You can also flush the drain with hot water and mild dish soap for routine Drain maintenance.
Never mix products, and wear protection if you must use one. Call a plumber for stubborn clogs or recurring backups.
How Can I Prevent Future Kitchen Sink Drain Clogs?
Prevent future kitchen sink drain clogs by keeping grease, coffee grounds, eggshells, and food scraps out of the drain. Scrape plates into the trash, use a sink strainer, and run hot water while rinsing small particles.
Include these plumbing maintenance habits in your routine. Apply gentle drain cleaning techniques, such as flushing with hot water and cleaning the stopper monthly.
Don’t rely on chemical cleaners, which can damage pipes and seals.
Conclusion
With these five steps, you’ve transformed a troublesome sink into a leak-free powerhouse. You gathered the right tools, removed the old drain, installed the basket, connected the tailpiece and P-trap, and tested every joint.
Now, run the water and watch for drips. If everything stays dry, you’ve conquered one of the most intimidating kitchen repairs imaginable. Tighten any leaking connection, clean up, and enjoy a sink that works flawlessly for years to come.
With your new kitchen sink drain installed, you can confidently handle minor plumbing repairs and keep your sink running smoothly.