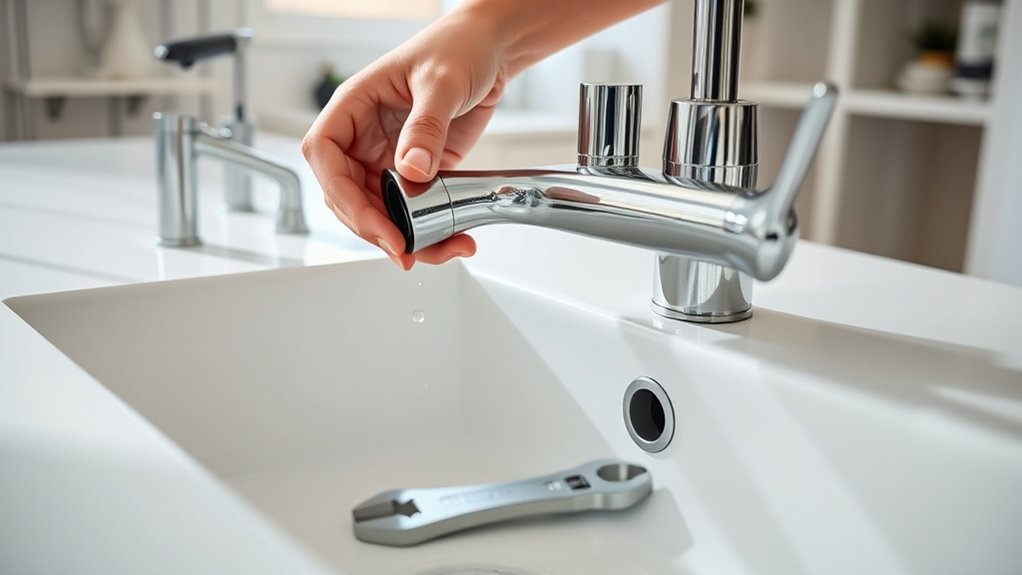
How to Replace a Kitchen Faucet in 10 Steps
Replacing a kitchen faucet can feel harder than it should, especially when leaks, low pressure, or loose handles keep getting worse. You’re not alone—many people struggle with finding the right fit and handling the connections.
This guide makes it easier to replace a kitchen faucet with confidence.
To replace a kitchen faucet in 10 steps, check compatibility and gather tools. Shut off hot and cold water, then open the faucet to relieve pressure. Disconnect the supply lines and remove the old faucet.
Clean and dry the sink surface.
Position the gasket and mounting plate, install the new faucet, and tighten it evenly. Connect hot and cold lines, flush the system, and check for leaks. Fix drips, pressure issues, or loose handles, then continue for helpful installation details.
Key Takeaways
- Verify faucet compatibility, gather tools and parts, and clean the sink surface before beginning installation.
- Shut off hot and cold water, open the faucet, and disconnect supply lines while catching residual water.
- Remove the old faucet, detach hoses and mounting hardware, then clean and dry the sink’s mounting area.
- Install the new gasket and mounting plate, position the faucet, and tighten mounting nuts evenly without over-tightening.
- Reconnect supply lines, flush the faucet, reinstall the aerator, and check every connection for leaks and proper operation.
Check Faucet Compatibility and Gather Tools
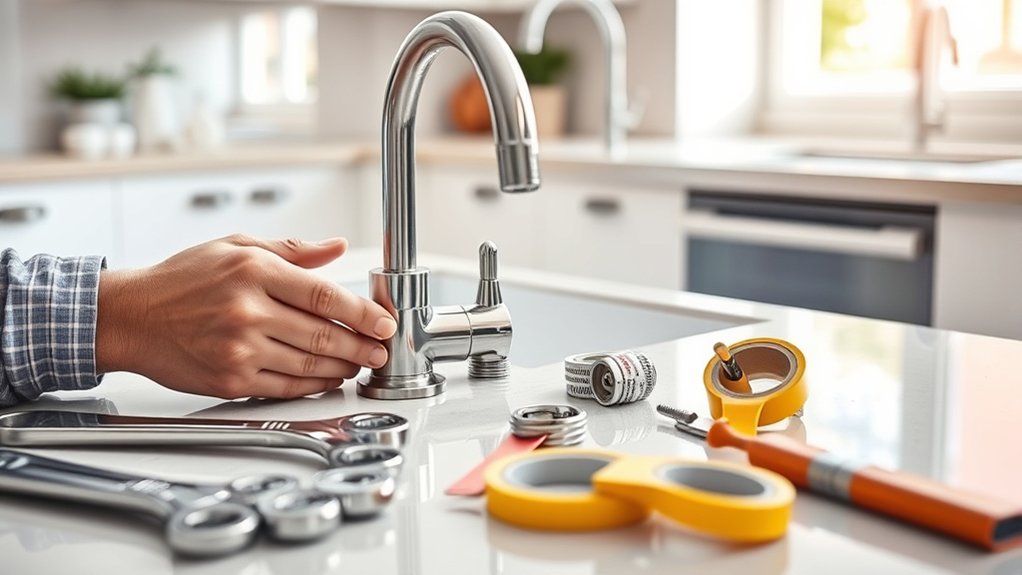
Before buying a replacement faucet, check that it matches your sink’s mounting configuration and the space beneath the counter. Count the existing holes, measure their spacing, and choose a faucet designed for that layout.
If you’re replacing a three-hole faucet with a single-hole model, confirm that the new faucet includes, or works with, a compatible deck plate. Check the spout’s height, reach, and swivel range so it clears your backsplash and centers over the basin.
Review material compatibility before purchasing. Select finishes and components that suit your sink, countertop, and household water conditions. Avoid combinations that may corrode, stain, or scratch surrounding surfaces.
Also inspect the connection sizes and hose arrangement to ensure they match your plumbing.
Plan your tool requirements before starting. Gather an adjustable wrench, basin wrench, screwdrivers, plumber’s tape, a bucket, towels, and a flashlight.
Keep the manufacturer’s instructions nearby, and verify that every adapter, washer, gasket, and mounting nut comes with the faucet.
Shut Off the Water Supply
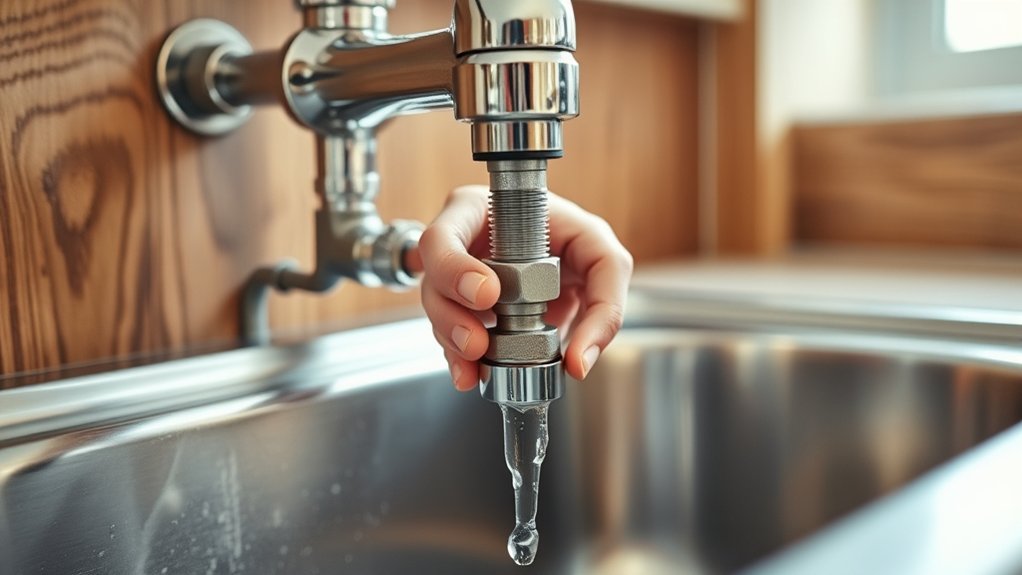
Locate the shutoff valves beneath the sink. Turn them clockwise to stop the water, and then open the faucet to make sure the flow has stopped.
Locate Shutoff Valves
Turn off the water supply before disconnecting the old faucet. Look beneath the sink for two small valves attached to the hot- and cold-water supply lines. They’re usually mounted near the cabinet’s back wall, directly below the faucet connections.
Follow each flexible hose or rigid pipe until you find its valve. If you have a single-handle faucet, you’ll still typically see separate hot and cold valves.
Some kitchens use one main valve instead, especially with older plumbing or specialized water filtration systems. Check the valve handles: lever handles should sit across the pipe when closed, while round handles turn clockwise.
Don’t confuse these valves with a dishwasher line or filtration shutoff. Identifying the correct pair protects your faucet durability project from leaks and makes disconnection easier.
Turn Off Water
Once you’ve identified the correct shutoff valves, close both to stop water from reaching the faucet. Turn each handle clockwise until it stops, but don’t force it; an over-tightened valve can become difficult to reopen or damage its seal.
If a lever controls the supply, rotate it perpendicular to the pipe. Keep a towel beneath the connections to catch residual water, support water conservation, and protect your cabinet.
Before disconnecting anything, follow these steps:
- Confirm both hot and cold valves are fully closed.
- Keep a bucket nearby for trapped water.
- Check the valve area for moisture or corrosion.
- Handle hoses carefully to protect surrounding faucet materials.
If a valve won’t close or appears damaged, stop and arrange a replacement or professional repair. Avoid loosening supply lines until the shutoff points feel secure and dry.
Test Water Flow
With both shutoff valves closed, open the faucet and let the remaining water drain into the sink. This relieves pressure and confirms that the supply lines are isolated.
Close the faucet, then place a bucket beneath the connections to catch any trapped water. Slowly loosen each supply-line nut and watch for dripping.
If water continues flowing steadily, one valve isn’t fully closed. Tighten the connection, close the valve, and test again.
Once the lines stay dry, briefly open each shutoff valve one at a time while keeping the faucet closed. Check for leaks around the valve, hose, and connections.
Then shut the valve and proceed with removal. Careful testing supports water conservation by preventing waste and protects your faucet maintenance work from avoidable leaks during installation.
Always keep a towel nearby for quick cleanup.
Disconnect the Water Supply Lines
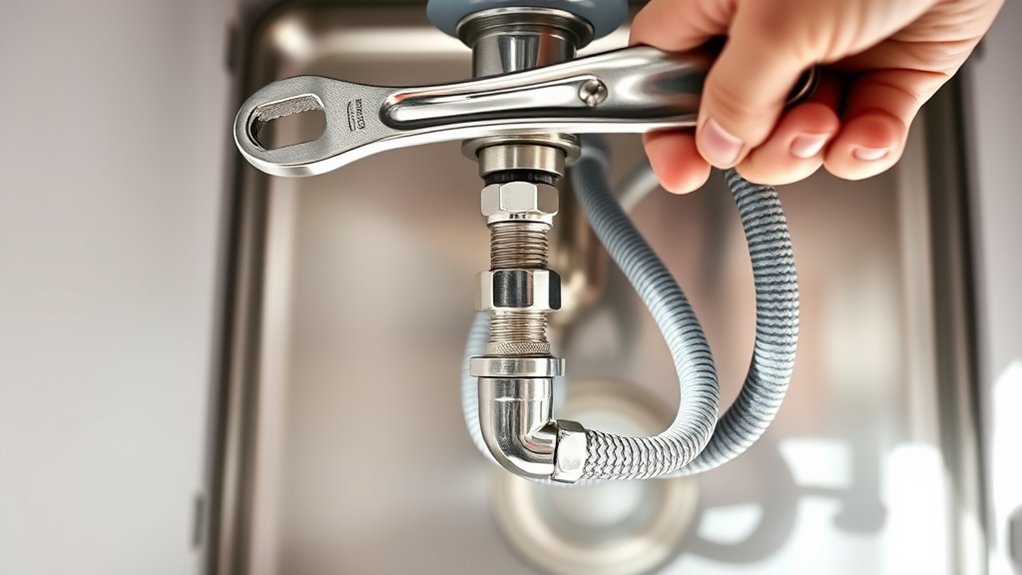
Shut off the hot and cold water valves beneath the sink, then open the faucet to relieve pressure in the lines. Place a bucket and towel below the connections to catch residual water. Wear gloves if the fittings feel slippery.
Disconnect each supply line carefully:
- Loosen the coupling nut at the shutoff valve with an adjustable wrench.
- Support the valve with a second wrench so you don’t twist the plumbing.
- Turn the nut counterclockwise until you can finish removing it by hand.
- Label the hot and cold lines, then cap or plug them temporarily.
Keep the openings pointed into the bucket, and wipe away drips as you work. Don’t force a corroded nut; apply penetrating oil and wait briefly before trying again.
Check the shutoff valves for leaks while they’re closed, and replace a damaged connector rather than relying on a worn seal. Careful disconnection supports water conservation and preserves faucet ergonomics by preventing strain on the new installation.
Avoid disturbing the faucet mounting hardware at this stage.
Remove the Old Kitchen Faucet
To remove the old kitchen faucet, start by shutting off the water supply beneath the sink. Then disconnect the faucet’s water lines, keeping a bucket nearby to catch any residual water. Once the lines are disconnected, loosen the mounting hardware that holds the faucet in place.
Shut Off Water Supply
Before removing the old kitchen faucet, turn off the hot- and cold-water supply valves beneath the sink by rotating them clockwise until they stop. This prevents water from flowing while you work and supports water conservation by avoiding unnecessary spills. If a valve won’t turn easily, don’t force it; contact a plumber to prevent damage.
- Clear items from beneath the sink so you can see and reach both valves.
- Place a flashlight nearby to inspect the valve positions clearly.
- Check that each handle sits fully clockwise and feels snug.
- Keep a towel and shallow container available for minor residual drips.
Wait briefly, then confirm the faucet remains inactive by moving its handle gently. Don’t begin removing parts until the supply valves stay closed. Planning this step protects your cabinet, preserves faucet aesthetics, and creates a safer, cleaner workspace.
Disconnect Faucet Connections
With the water supply off, disconnect the faucet’s hot- and cold-water supply lines using an adjustable wrench, turning the fittings counterclockwise. Keep a bucket beneath each connection to catch trapped water.
If a sprayer hose or soap dispenser line connects beneath the sink, detach it as well, following your faucet design. Don’t force corroded fittings; apply penetrating oil and wait several minutes before trying again.
Hold the valve steady with a second wrench so you don’t twist the supply pipe. Once disconnected, remove any clips, weights, or retaining nuts securing the faucet assembly.
Residual water pressure may remain, so loosen connections slowly and wear eye protection. Label unfamiliar lines if necessary, then inspect the shutoff valves and hoses for leaks, corrosion, or damaged threads before removing the faucet.
Clean the Sink Mounting Surface
Once the faucet is removed, scrape away old plumber’s putty, caulk, and mineral buildup around the mounting holes. Work carefully with a plastic scraper so you don’t scratch the sink’s finish.
Wipe loosened debris into a cloth rather than down the drain.
For effective Surface preparation, inspect the entire mounting area, not just the visible ring. Clean residue from stainless steel, porcelain, or composite material with warm, soapy water and a nonabrasive pad.
If stubborn deposits remain, use a manufacturer-approved cleaner, then rinse thoroughly.
- Remove residue that could prevent a flat, stable connection.
- Check for cracks, chips, corrosion, or warped metal around each hole.
- Dry the surface completely with a lint-free towel.
- Run your fingertip around the openings to find rough spots or leftover grit.
A spotless, dry surface improves Sink aesthetics and helps the replacement look professionally installed. Don’t force tools against the basin, and avoid harsh abrasives that can dull the finish.
Finish by clearing the cabinet area of debris before continuing.
Install the Faucet Gasket and Plate
A clean, dry mounting surface is ready for the new faucet gasket and plate. Check the manufacturer’s instructions to confirm which gasket fits your model.
Inspect the gasket for cracks, warping, or debris, and replace it if necessary. During gasket replacement, choose the correct shape and thickness rather than relying on appearance alone.
If the faucet material requires a separate mounting plate, place the plate over the sink holes with its finished side facing upward. Position the gasket beneath the plate or faucet base as directed.
Some designs use one molded piece, while others use separate components. Make sure every part sits flat against the sink without folds, gaps, or trapped dirt.
If the gasket has a lip, orient that edge according to the instructions. Lightly moisten a rubber gasket with water if needed, but don’t apply plumber’s putty unless the manufacturer specifically recommends it.
Keep the faucet material and surrounding surfaces free from scratches as you handle each component.
Align and Secure the New Faucet
Lower the faucet straight through the gasket and sink holes, then center the spout over the sink. From beneath the counter, slide the mounting brackets onto the faucet shank. Thread the retaining nuts by hand, but don’t fully tighten them yet.
Use these checks before final tightening:
- Face the handle forward or toward the side you prefer, according to the manufacturer’s instructions.
- Confirm the spout swivels freely without striking the backsplash or sink.
- Check that the gasket remains flat and the faucet base sits flush against the countertop.
- Tighten each retaining nut gradually, alternating sides to maintain even pressure.
Hold the faucet in position from above while you tighten the nuts below with a basin wrench or adjustable wrench. Stop when the faucet feels firmly anchored. Excessive force can damage the sink or threads.
Wipe away fingerprints and inspect the faucet finish for scratches. If the faucet shifts, loosen the nuts, realign it, and secure it again before moving on.
Connect the Hot and Cold Water Lines
With the faucet secured, connect the hot and cold supply lines to the matching faucet inlets. Identify each line before attaching it; hot usually connects to the left inlet, while cold connects to the right. If your faucet or plumbing uses different markings, follow those instead.
Thread each supply line onto its inlet by hand to prevent cross-threading. Then tighten the connection with an adjustable wrench, turning only until it’s snug.
Don’t overtighten, since excessive force can damage the threads, compression fitting, or faucet materials. Hold the faucet fitting steady with a second wrench if necessary, so you don’t twist the faucet or supply tube.
Route the lines without sharp bends, kinks, or contact with cabinet edges. Keep the hot and cold lines separate enough to identify later, and ensure they reach the shutoff valves without strain.
Choosing durable lines supports water conservation by reducing replacement waste and helps your installation last.
Flush the Lines and Check for Leaks
Once the supply lines are connected, slowly open both shutoff valves to flush debris from the new faucet and inspect every connection for leaks. Keep the faucet spout aimed into the sink, then lift the handle briefly to clear trapped air and sediment.
Slowly open both shutoff valves, flush the faucet, and inspect every connection for leaks.
Let cold and hot water run separately for about a minute each. Remove the aerator first if the manufacturer recommends it, because debris can clog its screen.
- Watch the supply-line nuts, valve connections, and faucet base as water flows.
- Run a dry tissue around each joint. Even a small damp spot signals moisture.
- Check the cabinet floor and nearby items for splashes to help prevent stains.
- Reinstall the aerator after flushing. Consider water filtration if your water contains sediment.
Keep the cabinet doors open while you monitor the connections for several minutes. Dry the area thoroughly, then check again after using the faucet normally.
Don’t apply sealant or tighten anything yet. Simply confirm the system stays dry.
Fix Leaks, Low Pressure, and Loose Handles
If you notice a leak, start by tightening the connections. You may also need to replace any worn washers or seals.
If the water pressure is low, clean the aerator and check the supply lines for kinks or blockages.
For a loose handle, simply tighten it with a screwdriver or hex key.
Fixing Faucet Leaks
Before replacing the faucet, check whether a simple repair can solve the problem. Shut off the supply valves, open the handle, and cover the drain to protect small parts.
Identify the leak’s location before choosing a repair:
- Spout: Replace worn O-rings or the cartridge if water drips when the faucet is off.
- Handle: Tighten the set screw, then replace the cartridge if seepage continues.
- Base: Clean mineral buildup and renew the base gasket to stop water from pooling.
- Connections: Tighten supply-line nuts gently and replace damaged washers.
Match replacement parts to your faucet design, since cartridges and seals vary by model. Wipe everything dry and test for leaks slowly.
Prompt repairs prevent cabinet damage and support water conservation. However, replace the faucet if corrosion, cracks, or repeated failures make repairs impractical.
Restoring Water Pressure
Repairing leaks may solve some faucet problems, but low pressure or a loose handle can signal additional issues. First, remove the aerator and rinse away mineral deposits. If pressure improves, scrub or replace the screen.
Next, check the supply valves beneath the sink; open them fully and inspect the hoses for kinks. If both hot and cold flow remain weak, clean the cartridge or replace it according to the faucet manufacturer’s instructions.
Tighten a loose handle by removing its decorative cap and securing the set screw. Don’t overtighten, or you could damage the valve.
Recheck every connection for drips, then run water briefly to flush debris. These repairs support water conservation by preventing waste and restore smooth operation.
Choose matching replacement parts to preserve your faucet aesthetics while improving performance.
Frequently Asked Questions
How Long Does a Kitchen Faucet Typically Last?
A kitchen faucet typically lasts 15–20 years, though your faucet’s lifespan depends on quality, usage, water conditions, and maintenance. You’ll extend its life by choosing durable materials, cleaning mineral buildup, tightening loose connections, and replacing worn washers or cartridges promptly.
Hard water, frequent use, leaks, and inexpensive components can shorten longevity. When repairs become frequent or corrosion appears, you’ll usually benefit from replacing the faucet rather than continuing to fix it.
Should I Choose a Pull-Down or Pull-Out Faucet?
Choose a pull-down faucet if you want a tall, flexible spray head for filling pots and rinsing deep sinks. Choose a pull-out model if you prefer a compact design and extended reach across countertops.
Consider both Spray head styles, including stream and pause functions, before deciding. Also review Faucet mounting options to confirm compatibility with your sink or countertop. Your sink’s size, clearance, and daily habits should guide your final choice.
Can I Install a Water Filter Alongside My New Faucet?
Yes, you can install a water filter alongside your new faucet because one faucet apparently isn’t enough plumbing excitement. Choose an under-sink system or a countertop unit, depending on your space and preferences.
Check faucet compatibility before buying, especially if you want a filtered-water dispenser attached directly to the sink. Water filtration systems need dedicated connections, adequate cabinet room, and shutoff valves.
Follow the manufacturer’s instructions, and test every connection for leaks before regular use.
What Faucet Finish Best Resists Fingerprints and Water Spots?
Choose a brushed or satin stainless-steel faucet finish to best resist fingerprints and water spots. Its textured surface hides smudges better than polished chrome, though it won’t eliminate them.
Faucet materials also matter: stainless steel generally outperforms plated finishes for durability.
Follow simple maintenance tips: wipe the faucet dry after use, clean it with mild dish soap, and avoid abrasive pads or harsh chemicals. You’ll keep the finish looking clean longer with minimal effort.
When Should I Hire a Professional Plumber?
Hire a professional plumber when you can’t shut off the water, access connections, or remove a stubborn faucet safely.
Call one immediately if you find corroded pipes, active leaks, damaged valves, mold, or signs of water damage.
DIY tips can help with simple replacements, but don’t force fittings or risk flooding your cabinets.
Cost considerations include labor, emergency fees, replacement parts, and potential repairs. Get written estimates before work begins.
Conclusion
With your new faucet installed, turn on the water, check every connection, and tighten anything that drips. Confirm the handle feels secure and the flow stays strong.
If pressure is low, clean the aerator and flush the lines again. You’ve now finished a practical kitchen faucet replacement without calling a plumber or sending a telegram for help.
Keep the manufacturer’s instructions nearby, wipe away excess water, and enjoy an easier, more reliable kitchen sink for years to come.