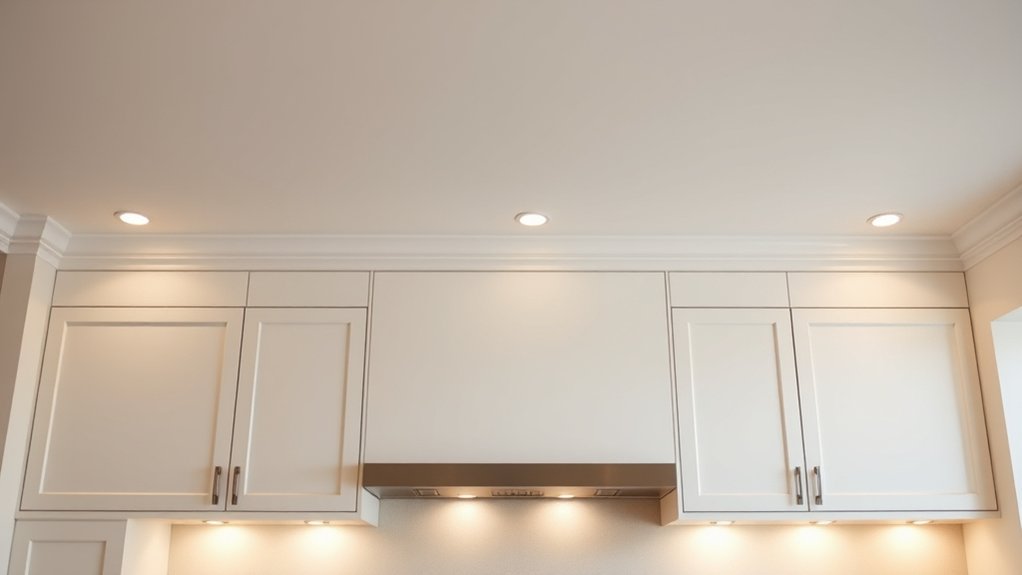
How to Disguise Kitchen Soffits
Kitchen soffits can make an otherwise beautiful space feel dated, bulky, or difficult to decorate—and you’re not alone if you struggle with how to disguise them. The right solution can help your kitchen look more polished without requiring a major renovation.
To disguise a kitchen soffit, first check for wiring, plumbing, ductwork, supports, and vents before making changes.
For an affordable update, paint it to match your cabinets or ceiling, using the same color and sheen.
You can also add crown molding, extend cabinets over it, or create shallow display shelves.
Tile or wood paneling can make it an intentional feature, while warm lighting draws attention away.
Keep reading to uncover which option best fits your style and budget.
Key Takeaways
- Inspect the soffit for wiring, plumbing, ductwork, supports, vents, and access panels before covering, cutting, or modifying it.
- Paint the soffit to match your cabinets or ceiling, matching the color, undertone, and sheen for a cohesive appearance.
- Add crown molding, trim, or paneling to connect the soffit visually with surrounding cabinets and existing architectural details.
- Disguise the soffit with shallow cabinets, open shelving, or matching backsplash materials to add useful storage and reduce visual bulk.
- For permanent solutions, consider removing or rebuilding the soffit with professional help, permits, and careful attention to structural and ventilation requirements.
Check What’s Inside the Soffit First
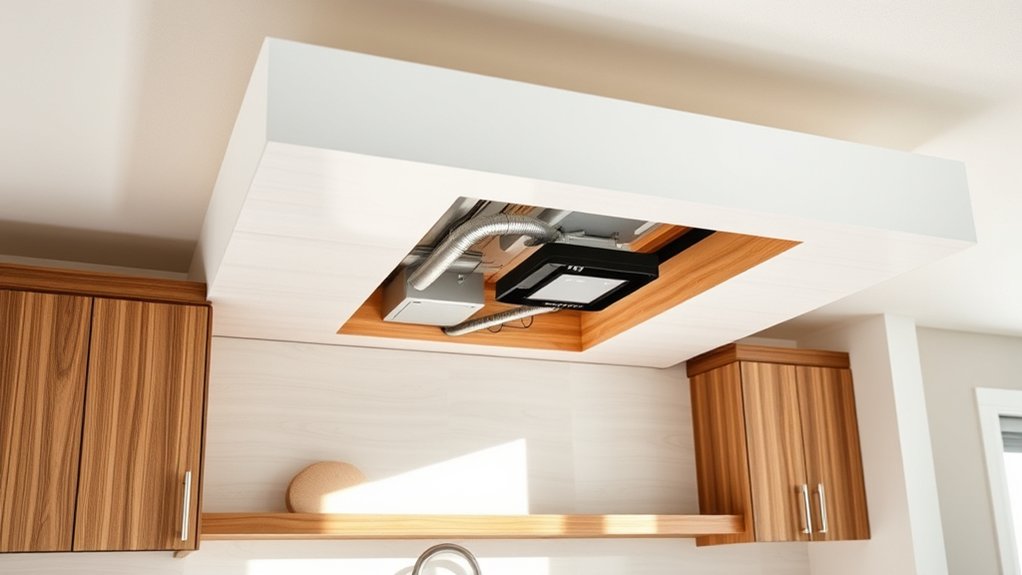
Before disguising a kitchen soffit, find out what’s inside it. Don’t assume it’s empty or purely decorative. Locate electrical cables, plumbing lines, ductwork, structural supports, and any access panels before you cover, trim, or alter the area.
Turn off power to nearby circuits, then use a stud finder, inspection camera, or small exploratory opening to investigate safely. If you suspect hidden wiring or pipes, stop cutting and call a qualified professional.
You should also check whether the soffit supports cabinets or connects to a load-bearing wall. Look for existing soffit ventilation, especially if the space conceals a range hood duct or other exhaust path.
Never block grilles, vents, or duct openings, because restricted airflow can create moisture, heat, or indoor-air problems. Photograph and measure everything you uncover, and mark cable and pipe locations on the wall.
Confirm local code requirements before planning your disguise, so your finished kitchen remains safe, accessible, and functional.
Compare Soffit Fixes by Cost and Permanence
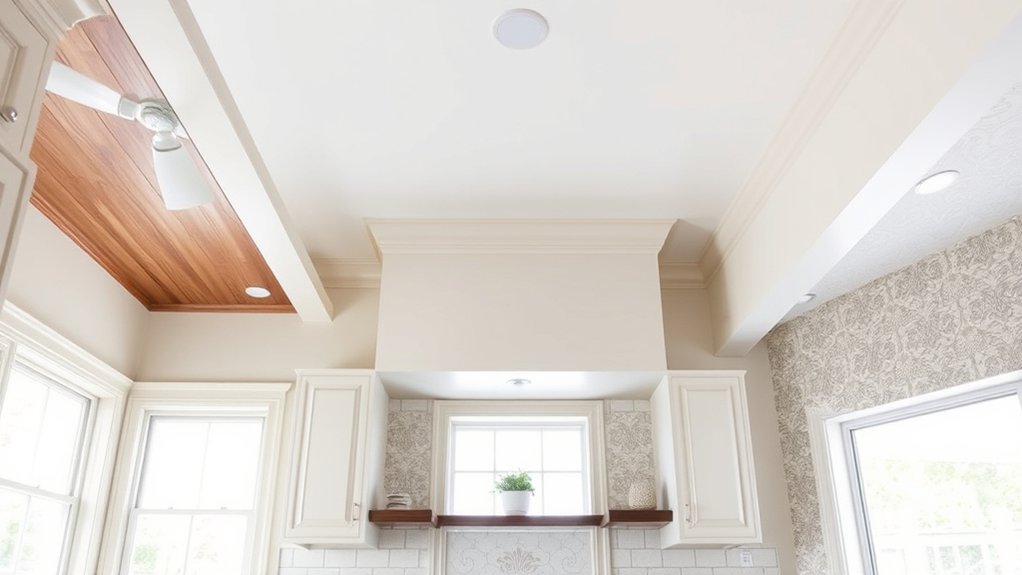
You can disguise a kitchen soffit with budget-friendly cosmetic fixes that update its appearance without major construction. If you want more function, mid-range built-in solutions can add storage or decorative trim, though they require a larger investment. For the most lasting result, consider permanent structural changes, which typically cost more and may require professional help.
Budget-Friendly Cosmetic Fixes
For a quick, low-cost update, paint the kitchen soffit to match the walls or cabinets, add trim, or cover it with peel-and-stick wallpaper. These changes hide awkward gradual changeover without construction, and you can reverse most of them easily.
Choose washable paint in a satin finish for busy kitchens, or use wallpaper with a subtle pattern to make the soffit recede. Lightweight molding can sharpen the edges, but secure it carefully and avoid blocking access panels.
Before covering anything, inspect for leaks, wiring, and soffit ventilation openings. Don’t seal vents or alter grilles merely for appearance.
Likewise, cosmetic work won’t replace structural reinforcement if the soffit shows sagging, cracking, or water damage. Expect these fixes to last several years with proper preparation, though wallpaper may need earlier replacement near heat and steam.
Mid-Range Built-In Solutions
When paint, trim, or wallpaper isn’t enough, mid-range built-in solutions can give the soffit a cleaner look with greater durability. Consider shallow cabinets, open shelving, or a custom wood surround that matches your doors and counters.
These options conceal the soffit while adding useful storage or display space, so you gain function without committing to major construction. Before choosing a design, check kitchen ventilation requirements and leave access around ducts, wiring, or appliance connections.
A cabinetmaker can build panels that follow the soffit’s dimensions and create smoother ceiling integration, helping the feature appear intentional rather than awkward.
Expect higher costs than cosmetic fixes, but installation usually remains manageable and reversible compared with structural work. Choose quality hardware and moisture-resistant finishes to protect your investment and simplify future updates.
Permanent Structural Changes
Permanent structural changes offer the most complete soffit solution, but they also carry the highest cost and least flexibility. You might remove the soffit entirely, rebuild the surrounding wall, or integrate new cabinetry into the altered space.
Before demolition, hire a qualified contractor to inspect wiring, plumbing, ventilation, and load-bearing components. Structural reinforcement may become necessary if the soffit supports adjacent framing or conceals important infrastructure.
Your material selection also affects durability, appearance, and price. Matching drywall, cabinetry, trim, and ceiling finishes creates a cohesive result.
Expect permits, construction dust, and longer project timelines, especially when you relocate utilities. Choose this route when you own the home, plan to stay for years, and want maximum usable height.
If your layout or budget may change, consider a reversible disguise instead.
Paint the Soffit to Match Cabinets
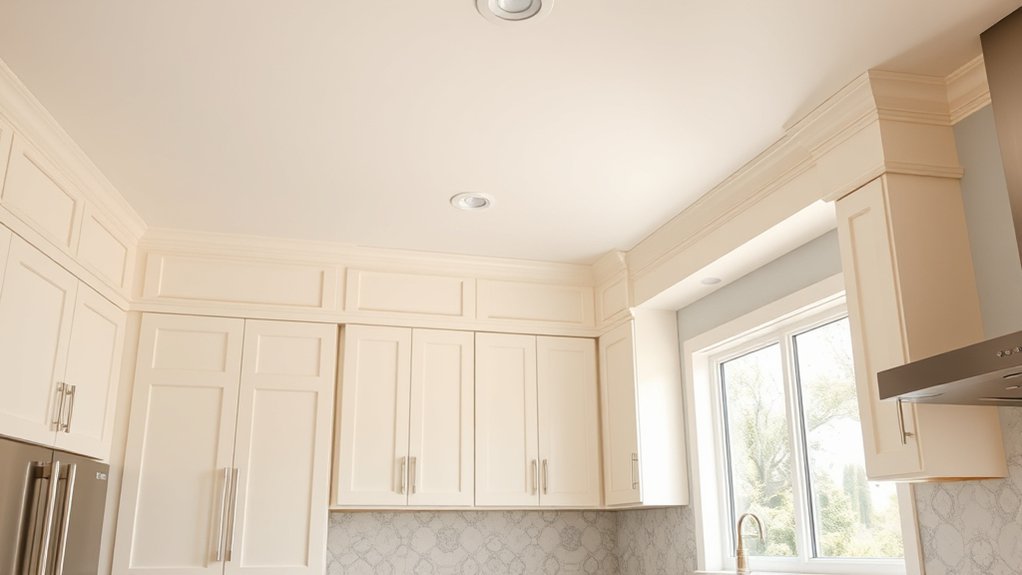
You can make the soffit recede by painting it to match your cabinets. Use the same finish for a consistent look, then coordinate the cabinet details, such as the trim, molding, and hardware. This approach won’t hide the soffit completely, but it will help it look intentional.
Choose a Matching Paint Color
Create a seamless look by painting the kitchen soffit the same color as your cabinets. This simple choice draws the eye across the room, helping the soffit blend into your cabinetry instead of standing out.
Prioritize color coordination by comparing paint samples beside your doors under daytime and evening lighting. Even slight differences can make the soffit appear separate, so test before you commit.
| Check | What to do |
|---|---|
| Undertone | Match warm or cool hues |
| Sample | Test beside cabinet doors |
Ask your paint professional to create a close match if your cabinets have a custom shade. Maintain paint consistency by using the same color formula throughout the soffit.
Mark the chosen color for future touch-ups, and inspect the surface after painting to confirm the new color visually connects the cabinetry. This approach keeps your kitchen looking intentional.
Use the Same Finish
Use the same paint finish on the soffit and cabinets to make both surfaces read as one continuous element. Matching sheen reduces visual breaks, so the soffit attracts less attention and feels integrated with your kitchen’s cabinetry.
Before painting, clean both surfaces and repair dents or seams. Then follow these steps:
- Choose the cabinet’s existing sheen, such as satin, semi-gloss, or gloss.
- Test the paint on the soffit to confirm its color and reflectivity match.
- Lightly sand glossy areas so the new coating adheres evenly.
- Apply thin, consistent coats, allowing each layer to dry fully.
Prioritize finish consistency across every visible surface. Material matching also matters, so use compatible primers and paints suited to the cabinet material and soffit substrate.
Keep your application neat around edges, and inspect the finish in daylight before replacing nearby items.
Blend Cabinet Details
Matching the soffit’s paint color to your cabinets helps blend it into the cabinetry’s shape and detailing. Choose the same shade, sheen, and undertone so the progression looks intentional rather than patched together.
If your cabinets have a distinctive finish, test paint samples under morning, afternoon, and evening lighting before committing. You can also continue trim lines, crown molding, or other cabinet accents across the soffit to create visual continuity.
Match the Cabinet hardware’s style and placement when adding decorative elements nearby, keeping the overall design cohesive. Consider your Kitchen layout, too: a matching soffit can visually extend a cabinet run and make the room feel more streamlined.
Avoid contrasting colors unless you want to highlight the soffit as a deliberate architectural feature. This approach works especially well in compact kitchens.
Paint the Soffit to Match the Ceiling
Painting the kitchen soffit to match the ceiling makes it recede visually, reducing the contrast that draws attention to its bulk. Choose the ceiling’s exact color and sheen so the blend looks intentional. A flat or matte finish helps hide small uneven areas, while consistent lighting prevents shadows from emphasizing the soffit’s lower edge.
Match the soffit to the ceiling in color and sheen to reduce contrast and create a smoother, less bulky appearance.
- Clean the surface thoroughly to remove grease, dust, and cooking residue.
- Repair cracks, dents, or peeling areas, then sand lightly for a smooth base.
- Apply a quality primer, especially over dark paint or patched drywall.
- Roll on two thin, even coats, allowing each coat to dry completely.
Protect cabinets and countertops with drop cloths and painter’s tape. Don’t seal vents or obstruct soffit ventilation while painting; preserve airflow around fixtures and ductwork.
If the soffit contains acoustic insulation, avoid disturbing it, since moving the material can reduce sound control. Match nearby ceiling repairs before painting for a uniform appearance.
Inspect the result from several angles and under both daytime and evening lighting.
Add Trim for a Built-In Finish
Add trim around the soffit for a polished, built-in finish. Choose molding that complements your cabinets and matches the existing trim. This detail will help the soffit look intentional rather than like an afterthought.
Choose Complementary Molding
Choose molding that echoes your kitchen’s existing trim so the soffit looks like an intentional part of the cabinetry rather than a cover-up. Focus on proportion, profile, and placement without copying every cabinet detail.
A simple, well-scaled edge can soften the soffit and give it a finished architectural presence.
- Select a crown, panel, or base profile that suits the soffit’s shape and height.
- Use Decorative accents, such as corner blocks or beadboard, to add character without clutter.
- Introduce Material contrast with wood, painted trim, or metal edging when the surrounding surfaces feel flat.
- Extend molding cleanly across the soffit, keeping seams tight and corners crisp.
Before installation, hold sample pieces against the wall and view them from several angles. You’ll quickly see whether the trim feels balanced, too heavy, or visually distracting.
Paint or stain it after fitting for cleaner results.
Match Cabinet Trim
Match the soffit’s trim to your cabinets so it reads as a seamless extension of the kitchen rather than a separate box. Use the same wood species, paint color, or laminate finish, then repeat your cabinet’s crown, scribe, or edge molding along the soffit’s lower and upper edges.
Measure carefully before cutting, and align every joint with nearby doors and panels. If your cabinets have shaker detailing, choose trim with similarly clean lines; ornate cabinets need more substantial molding to look balanced.
Paint the trim after installation for crisp coverage, or finish it beforehand to protect the surrounding surfaces. Coordinate the result with your cabinet hardware and nearby wall decor, so the entire wall feels intentional.
Caulk small gaps, fill nail holes, and touch up the finish for a truly built-in appearance.
Use Crown Molding to Hide the Gap
Crown molding creates a clean shift between your kitchen cabinets and soffit, turning an awkward gap into a polished architectural detail. This simple trim gives your kitchen a finished appearance while supporting effective gap concealment. Choose a profile that complements your cabinet doors and existing room details.
- Measure carefully: Record the cabinet run and each corner, then buy slightly more molding than you need.
- Select the profile: Use a shallow design for limited space or a more decorative style when the soffit allows it.
- Build corner joints: Cut inside and outside corners accurately, using a coping saw or miter saw for clean connections.
- Install and finish: Attach the molding to sturdy framing, fill nail holes, caulk seams, and paint it to match your cabinetry.
You can prime and paint the trim before installation to simplify finishing. Keep the molding level across the run, and test-fit every piece first.
A consistent line draws attention to the cabinetry rather than the soffit’s uneven transition.
Extend Cabinets Over the Soffit
Extending cabinets over the soffit creates a continuous built-in look that makes the kitchen feel taller and more cohesive. You can install matching cabinet boxes or shallow panels across the soffit’s face, hiding the break between the upper cabinets and ceiling.
Create a seamless, built-in appearance by extending matching cabinets or panels across the soffit, visually connecting the cabinetry to the ceiling.
Measure carefully before ordering materials, since uneven soffits may require fillers, scribing, or custom construction. A professional can help you confirm wall depth, ceiling height, and cabinet alignment so the finished run looks intentional.
Choose door fronts, hardware, and finishes that match your existing cabinetry. If you’re updating the kitchen, use this cabinet extension to create a unified appearance from one end of the wall to the other.
Secure every component to studs or appropriate blocking, and leave room for doors to open without striking the ceiling or adjacent surfaces. Paint, trim, and caulk can then seal small gaps and complete the soffit concealment.
This approach works especially well when you want practical, full-height cabinetry without major remodeling.
Turn the Soffit Into Display Storage
Turn a kitchen soffit into display storage by adding shallow open shelves or recessed niches for cookbooks, pottery, glassware, or decorative baskets. This approach gives an awkward architectural feature a useful purpose while creating a curated focal point. Match the shelving material and finish to your cabinets for a built-in appearance, or choose contrasting wood to add warmth and character.
Plan each shelf around the items you’ll display, leaving enough clearance for easy removal and cleaning. Keep heavier pieces on lower shelves, and secure anything fragile in homes with children or pets. For balanced kitchen organization, group objects by color, height, or function rather than filling every inch.
- Stack favorite cookbooks horizontally beside a small vase.
- Arrange matching bowls or mugs in a neat row.
- Use baskets to conceal rarely used kitchen supplies.
- Add decorative accents, such as pottery or framed art.
Limit the collection to a few meaningful pieces so the soffit looks intentional, not cluttered.
Use Lighting to Downplay the Soffit
Strategic lighting can make a kitchen soffit recede by shifting attention to brighter, more useful areas. Start with under-cabinet fixtures that cast an even glow across your counters. The illumination draws your eyes downward and makes the soffit less visually dominant while improving meal preparation.
Use under-cabinet lighting to brighten counters, draw attention downward, and make the kitchen soffit less visually dominant.
Add recessed ceiling lights in a balanced grid, keeping their beam spread broad enough to prevent harsh shadows along the soffit’s lower edge. You can also install adjustable track lights and aim them toward artwork, open shelving, or a distinctive backsplash. These focal points redirect attention without emphasizing the soffit itself.
For effective soffit concealment, choose warm, dimmable bulbs that complement your kitchen’s finishes. Avoid placing bright fixtures directly against the soffit, since they’ll highlight its outline and uneven surfaces.
Layer ambient, task, and accent lighting techniques so the room feels intentional and comfortable. If the soffit contains wiring or ductwork, consult an electrician before adding fixtures, and use compatible low-profile options where clearance is limited.
Cover the Soffit With Tile or Paneling
Cover the soffit with the same tile as your backsplash to create a continuous surface that makes the structure look intentional. Extend the tile upward, align each grout line, and finish exposed edges with trim for a polished result.
If you want warmth instead of a seamless backsplash, choose Wooden paneling that complements your cabinets. Install it horizontally or vertically to influence the room’s visual height.
- Match materials: Repeat your backsplash tile or cabinet finish so the soffit blends naturally.
- Add character: Use Decorative tiles in a restrained pattern to turn the soffit into an accent.
- Choose scale: Select larger tiles or broad panels to minimize seams and visual clutter.
- Protect the surface: Seal grout and wood, especially above cooking areas, to resist grease and moisture.
Before installing, check that the soffit is sturdy, dry, and free from wiring or plumbing concerns. Use construction adhesive or appropriate fasteners, then caulk perimeter gaps.
You’ll create a durable, cohesive feature rather than a distracting box.
Frequently Asked Questions
Can Kitchen Soffits Be Removed Without Affecting Electrical Wiring or Plumbing?
Yes, you can remove kitchen soffits without affecting electrical wiring or plumbing, but you’ll need to verify what’s inside first. Turn off power, open a small inspection area, and identify cables, pipes, ducts, or structural supports.
Hire a licensed electrician or plumber if utilities pass through the soffit. If removal isn’t practical, consider Alternative design ideas and DIY decoration tips, such as painting, shelving, or adding decorative trim to make the soffit intentional.
Do Disguised Soffits Require Building Permits or Professional Installation?
You may need a building permit when you alter, remove, or conceal a soffit, especially if you affect structural elements, electrical wiring, plumbing, ventilation, or fire-rated materials. Check local building codes and safety regulations before starting.
You can usually handle simple cosmetic disguises yourself, but hire a licensed professional for complicated work or hidden utilities. Your local building department can confirm requirements and recommend qualified installers for your project.
How Can Renters Disguise Kitchen Soffits Without Making Permanent Changes?
You can disguise kitchen soffits as a renter by using removable solutions. Attach lightweight Decorative paneling with removable adhesive strips or strong hook-and-loop fasteners, after testing a hidden area first.
Hang curtains or fabric panels from tension rods to conceal the soffit without drilling. Use coordinated artwork, decals, or peel-and-stick wallpaper for added style.
Choose plug-in Light fixtures beneath or beside the soffit, avoiding hardwired changes and respecting your lease terms.
What Tools and Materials Are Needed to Disguise a Kitchen Soffit?
You’ll need measuring tape, a level, pencil, removable adhesive strips, lightweight Decorative wall panels, scissors or a utility knife, and a caulking gun if appropriate. Gather primer, paint, brushes, rollers, painter’s tape, drop cloths, and sample cards for paint techniques.
For renter-friendly installation, choose damage-free hooks or strips instead of screws. Keep a stud finder, cleaning cloth, and step stool nearby. Test every adhesive on an inconspicuous surface first.
How Do I Maintain and Clean a Disguised Kitchen Soffit?
You’ll find maintenance surprisingly simple: clean your disguised soffit whenever you wipe nearby cabinets, so both stay fresh together. Dust the surface weekly with a microfiber cloth, then use a lightly damp cloth and mild dish soap for grease.
Avoid abrasive scrubbers and excess water, which can damage Decorative paint or loosen Adhesive panels. Dry everything immediately, and inspect seams monthly. Touch up chips promptly, and replace damaged panels to preserve a polished appearance.
Conclusion
With a little planning, you can turn a kitchen soffit from an awkward overhead interruption into a quiet design feature. First, uncover what’s inside, then choose a solution that fits your budget, style, and long-term plans.
A coat of paint, thoughtful trim, warm lighting, storage, or new tile can gently redirect the eye. Instead of letting this architectural “quirk” hover over your kitchen, you can give it a polished purpose and make the whole room feel more intentional.
These ideas can help you disguise kitchen soffits while creating a more cohesive, finished look.