How to Sharpen Kitchen Knives in 10 Steps
Dull kitchen knives can make everyday meal prep frustrating, slow, and even unsafe. You’re not alone—many home cooks struggle to restore a sharp, reliable edge without damaging the blade. The right sharpening tools can make the process much easier.
To sharpen kitchen knives in 10 steps, choose a suitable whetstone, inspect the blade, and clear a stable workspace.
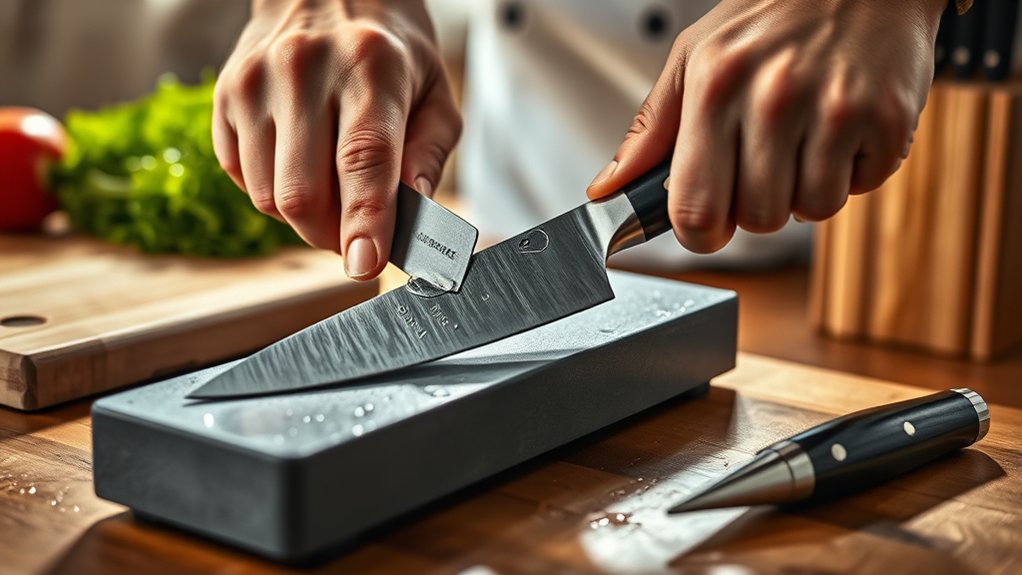
Soak and secure the stone, then hold the knife at a consistent 15–20° angle. Use light strokes from heel to tip, alternating sides until you feel an even burr.
Hone gently, wipe the blade, and test it on paper or food.
Wash, dry, and store it safely.
The detailed steps below will help you sharpen with confidence.
Key Takeaways
- Inspect the knife for dullness, chips, bends, or corrosion, then clean and dry it before sharpening.
- Choose an appropriate whetstone grit: coarse for repairs, medium for routine sharpening, and fine for polishing.
- Soak the waterstone as directed, place it level on a nonslip towel, and keep its surface wet.
- Sharpen heel to tip using light, consistent strokes at a steady angle until a continuous burr forms.
- Remove the burr with alternating light strokes, wash and dry the knife, then test and store it safely.
Choose a Whetstone for Your Kitchen Knife
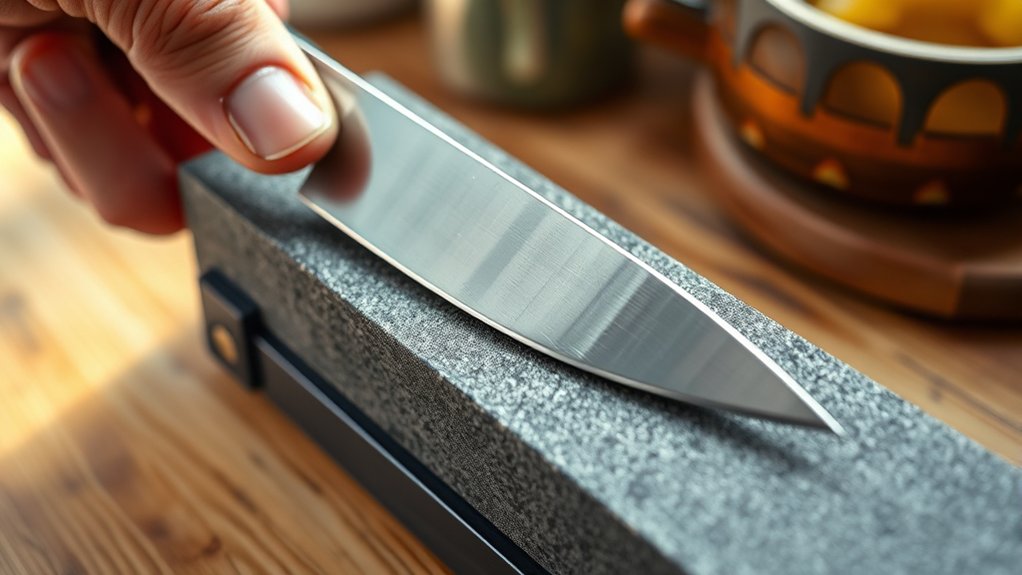
Choosing the right whetstone makes sharpening your kitchen knife easier and more effective. Start by selecting the stone’s grit according to your maintenance goals. A coarse 400–800 grit stone repairs chips and reshapes damaged edges, while a medium 1,000–3,000 grit stone handles routine sharpening.
Choose a fine 4,000–8,000 grit stone to polish the edge and improve slicing performance.
Consider Whetstone materials before buying. Aluminum oxide stones cut quickly and suit most kitchen knives. Ceramic stones offer consistent results and resist wear, while natural stones provide distinctive feedback but often cost more.
Water stones require soaking or surface wetting, whereas oil stones use honing oil and typically need less frequent flattening. Follow the manufacturer’s instructions to prevent cracking or clogging.
Your stone’s size matters, too. Pick one long and wide enough to support the blade securely.
For Knife aesthetics, a polished stone or attractive storage case can complement your kitchen, but prioritize grit, stability, and maintenance over appearance.
Check Whether the Blade Needs Sharpening
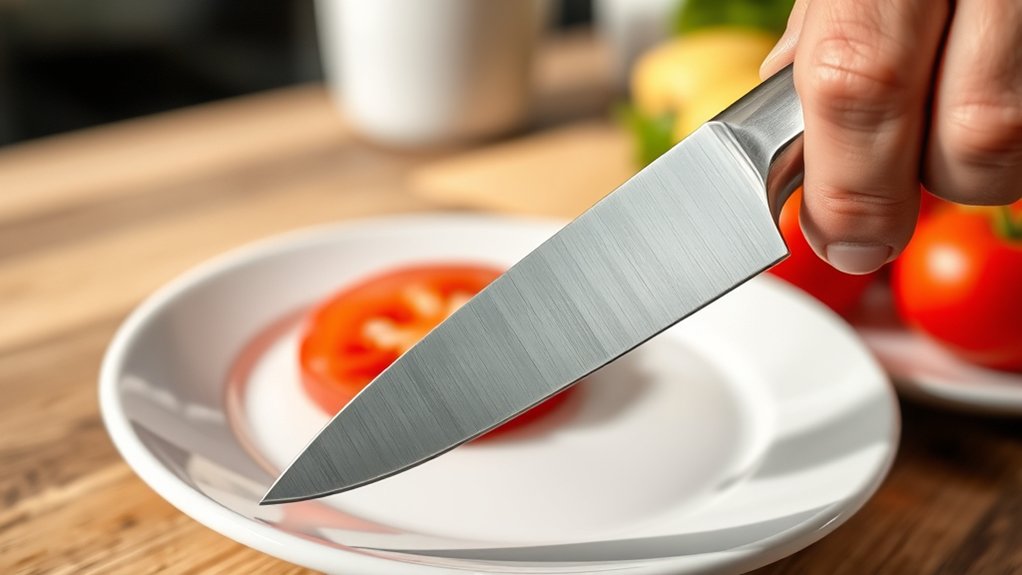
Before sharpening, test how well the knife cuts by slicing through a sheet of paper or a firm vegetable. Then inspect the blade for chips, bends, or uneven spots. Watch for signs that it’s dull, such as slipping while cutting or crushing the food instead of slicing cleanly.
Test Cutting Performance
Test your knife’s cutting performance before sharpening it so you can confirm whether the blade is actually dull. Place a ripe tomato on a stable cutting board and slice with gentle pressure.
A sharp knife should glide through the skin without crushing the flesh. Try a sheet of paper next; the blade should cut smoothly rather than snagging or tearing.
| Test | Sharp result | Dull result |
|---|---|---|
| Tomato | Clean slice | Squashed skin |
| Paper | Smooth cut | Tearing |
Repeat each test carefully, keeping your fingers behind the blade. Good Knife safety prevents accidental cuts, while sharpening myths can make you sharpen too often.
If the knife struggles consistently, plan to sharpen it. If it cuts cleanly, wash and store it properly instead.
Don’t force the blade or test it on your hand. Performance tests provide enough evidence safely.
Inspect the Blade Edge
After checking how the knife cuts, inspect the blade edge under good lighting. Hold the knife securely by its handle, and keep your fingers away from the cutting edge. Rotate the blade slowly so light travels across both sides.
Examine the edge from heel to tip, checking whether it remains straight and evenly formed. Confirm the Blade alignment by comparing the edge with the knife’s centerline.
Look for bends, rolled sections, chips, or places where the bevel appears uneven. Check for discoloration, pitting, or edge corrosion, which can affect the metal’s condition and may require cleaning before sharpening.
Don’t run your fingers along the edge. Use a magnifying glass if necessary. Once you’ve completed this inspection, decide whether the blade needs sharpening, repair, or replacement.
Identify Dullness Signs
A dull knife often requires more pressure and slides over food instead of biting cleanly. Test it on a ripe tomato or a sheet of paper. If the blade crushes the tomato, tears its skin, or snags instead of making a smooth cut, it likely needs sharpening.
You can also inspect the edge under bright light. A sharp edge reflects little light, while a dull, rounded edge may show a noticeable bright line. Run your thumb gently across the spine, never along the cutting edge, to check for bends or nicks.
During Knife maintenance, notice whether chopping feels harder or less controlled than usual. Prompt attention supports Kitchen safety because forcing a dull blade increases slipping risks.
Sharpen the knife when these signs appear, rather than waiting until cutting becomes hazardous.
Set Up a Safe, Stable Work Area
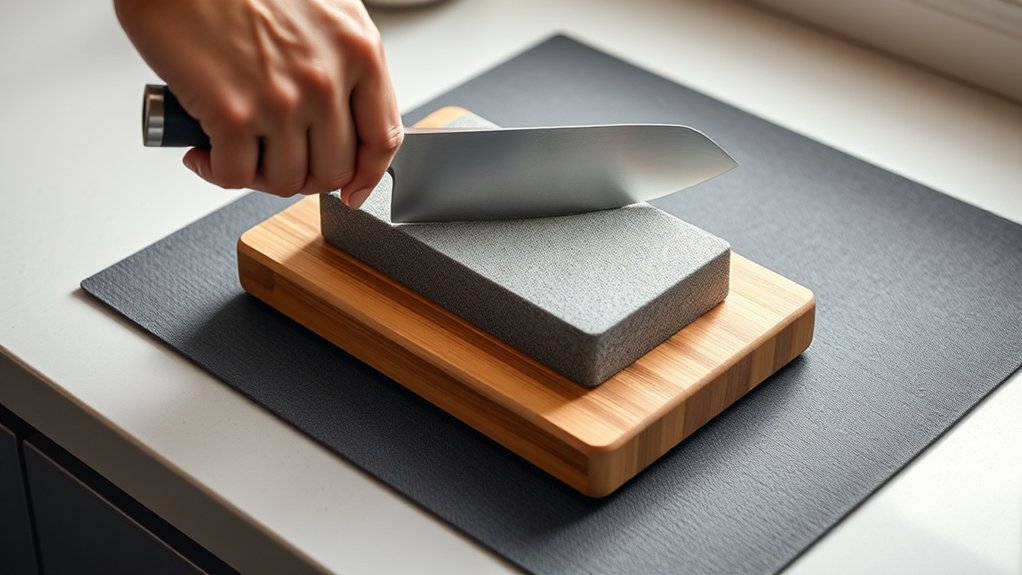
Before you begin sharpening, clear a sturdy, well-lit surface and keep it free of clutter. You’ll control the knife more confidently when your workspace doesn’t wobble, slide, or force awkward movements. Choose a counter at a comfortable height, and position yourself so your elbows can move freely without bumping nearby objects.
Prepare your area with these four safety checks:
- Place a damp towel or nonslip mat beneath your equipment to limit movement.
- Keep the knife’s handle and your hands completely dry for a secure grip.
- Move cords, dishes, and other tools away from the sharpening zone.
- Set a first-aid kit nearby, and keep children and pets out of reach.
Check the knife before you start. Note its length, weight, and Blade material, since these affect handling and require your full attention.
If you’re storing other knives nearby, use organized Knife storage so exposed edges won’t create hazards. Keep the blade pointed away from your body throughout setup and sharpening.
Soak and Position the Whetstone
Soak the whetstone according to the manufacturer’s instructions. Then check that it absorbs water evenly. Place it on your work surface and make sure it won’t slide. A properly saturated, secure stone makes sharpening safer.
Soak the Whetstone Properly
Once you’ve selected the correct grit, submerge the whetstone in clean water until it’s fully saturated—usually for 5 to 10 minutes, or according to the manufacturer’s instructions. This simple step prepares the surface for controlled sharpening and supports consistent knife maintenance.
- Place a damp towel on your work surface to prevent slipping.
- Set the soaked stone on the towel, with its long edge parallel to you.
- Keep the stone’s sharpening face level and accessible.
- Gather your knife, timer, and a small water container nearby.
Handle the stone according to its construction. Whetstone materials vary, so follow the maker’s guidance for soaking, handling, and storage.
Don’t force the stone into position or leave it where it can fall. Keep your workspace uncluttered, and wash your hands after handling abrasive residue.
A stable setup lets you focus on smooth, deliberate sharpening strokes.
Check Water Absorption
Check whether the whetstone absorbs water before you begin sharpening. Place a few drops on its surface and watch what happens. If the water darkens the stone and disappears quickly, its Water absorption is high, so keep the surface wet during sharpening.
If droplets remain on top, the stone may need only a brief soak or occasional splashes. Follow the manufacturer’s instructions, since some stones can crack or lose their abrasive properties when submerged.
After soaking, lift the stone and let excess water drain away. Check the surface for an even, damp appearance without dry patches.
Adequate moisture supports Blade hydration by keeping metal particles and abrasive debris moving smoothly. Set the damp whetstone on a flat, dry work area, ready for the next step.
Secure the Stone Position
Before sharpening, soak the whetstone for the time recommended by its manufacturer, then place it on a stable, level surface with its abrasive face up. Proper positioning keeps your strokes controlled and protects your fingers during knife maintenance.
- Set the stone on a damp kitchen towel, rubber mat, or nonslip base.
- Check that the stone doesn’t wobble; add another folded towel if necessary.
- Keep a small water container nearby, and rewet the surface when it starts drying.
- Align the stone lengthwise in front of you, leaving enough room to move the knife comfortably.
Your Whetstone selection matters, too: some stones require soaking, while others need only surface wetting. Follow the manufacturer’s instructions rather than guessing.
Never sharpen on a loose stone, because movement can ruin your angle or cause injury.
Find the Right Sharpening Angle
The right sharpening angle depends on your knife’s design and intended use. For most Western kitchen knives, choose 20 degrees per side. This angle creates a durable edge for everyday chopping, slicing, and meal preparation.
Many Japanese knives use a narrower angle, commonly 10 to 15 degrees per side. This produces excellent sharpness but requires gentler handling. Check your manufacturer’s guidance before choosing an angle, especially for specialty or single-bevel blades.
Hold the knife so the blade’s bevel matches the stone at your chosen angle. A 20-degree angle roughly equals the height of two stacked coins beneath the spine, though the exact measurement varies with blade width.
Keep your wrist steady and maintain the same angle throughout each stroke. Consistency matters more than perfect numerical accuracy. If you’re unsure, use an angle guide designed for your sharpening tools.
Learning this skill strengthens your knife maintenance routine and helps you create a reliable, even edge without damaging the blade.
Start With the Coarse Side of the Stone
Once you’ve chosen and stabilized your sharpening angle, place the stone with its coarse side facing up. Set it on a damp towel or nonslip mat so it won’t slide.
> Stabilize your angle, then secure the coarse side of the stone on a damp, nonslip surface.
If you’re using a water stone, soak it according to the manufacturer’s instructions, then keep the surface appropriately moist.
Before touching the knife, check your setup for Kitchen safety. Keep your fingers away from the stone’s working area, clear nearby clutter, and position the handle so you can control it comfortably.
The coarse surface removes metal efficiently, making it the right starting point for a dull or damaged edge.
- Confirm the coarse grit suits your knife’s condition.
- Inspect the stone for cracks, warping, or loose particles.
- Place water and a clean cloth within reach.
- Keep the finer side covered until you’re ready to switch.
Starting coarse supports effective Knife maintenance and prepares the edge for later refinement without wasting the finer abrasive.
Use Light, Even Strokes on the Blade
With the blade held at your chosen angle, guide it across the coarse stone in smooth, light strokes. Keep your wrist steady, relax your grip, and let the stone do the work.
Move from the heel toward the tip, following the blade’s curve without pressing down. Lift the knife at the end of each pass, then reset it rather than dragging it backward.
| Focus | What you do | Why it helps |
|---|---|---|
| Pressure | Use gentle, consistent contact | Protects the edge |
| Motion | Sweep heel to tip | Keeps sharpening even |
| Grip | Hold comfortably and steadily | Supports knife ergonomics |
Watch the stone’s surface and your rhythm, not the clock. If your arm tires, pause and adjust your stance.
Comfortable control improves blade maintenance and reduces accidental slips. Keep the knife and stone stable throughout each stroke.
Work slowly enough to maintain the same angle and path. This gives the edge uniform attention without rushing or forcing the blade.
Sharpen Both Sides Until a Burr Forms
Alternate sides every few strokes, keeping the same light pressure and angle on each pass. Work from heel to tip, guiding the blade smoothly across the abrasive surface. Your goal is even Burr formation, not speed.
A burr is a thin, raised fold of metal along the opposite edge, showing that you’ve reached the apex.
- Make three to five strokes on one side.
- Switch sides and repeat the same number.
- Check the edge with your fingertip, moving away from the blade.
- Continue alternating until you feel a consistent burr from heel to tip.
Keep your wrist steady and match each side’s angle. If the burr appears only in spots, focus gently on those sections rather than pressing harder.
Wipe away metal particles occasionally so they don’t interfere with your assessment. Maintain Edge consistency by counting strokes and using controlled movements.
Once both sides develop a continuous, even burr, stop sharpening. Further passes may unnecessarily remove metal.
Don’t rush this stage, because uniform contact shapes the edge properly.
Hone and Test the Knife Safely
Hone the blade with controlled, light strokes to safely align its edge. Then, carefully test it on paper or a soft food, keeping your fingers clear and watching for a clean cut. Assess the sharpness gradually, and repeat the process if the edge still feels dull.
Proper Honing Technique
Hold the honing rod upright with its tip resting on a stable cutting board, then place the knife’s heel near the top at a 15- to 20-degree angle. Keep light, even pressure as you draw the blade downward and toward you, ending at the tip.
Repeat on the opposite side, matching the angle and number of strokes. For controlled blade maintenance, use this sequence:
- Start with three gentle strokes per side.
- Keep your fingers behind the knife’s edge.
- Move steadily, without sawing or forcing the blade.
- Wipe away fine metal particles with a clean cloth.
A ceramic rod supports subtle surface polishing, while a steel rod realigns an edge. Don’t press hard; honing refines alignment rather than removing substantial metal.
Maintain a consistent rhythm, and keep the rod dry and secure throughout the process.
Safe Knife Testing
Once you’ve finished honing, wipe the blade clean and inspect the edge under good lighting. Keep your fingers away from the cutting edge, and hold the handle firmly with your dominant hand.
Place the knife on a stable cutting board before any controlled test. Don’t wave it around, test it on your skin, or catch it if it slips. These Safety precautions support reliable Knife maintenance.
| Action | Safe approach |
|---|---|
| Clear the area | Remove clutter and distractions |
| Position the knife | Keep the edge facing away |
| Test material | Use a soft, stable food item |
| Finish | Wash, dry, and store securely |
Work slowly, use a steady grip, and stop if the handle feels loose or the blade shows damage. Return the knife to its sheath or block immediately after testing, keeping it away from children.
Assessing Sharpness Carefully
How can you tell whether your knife is truly sharp? Assess the edge carefully, prioritizing kitchen safety over speed. Hold the knife by its handle, keep the blade pointed away, and never test sharpness on your skin.
If you’ve honed the edge, wipe away metal particles before checking it.
- Paper test: Gently slice through a sheet. A sharp edge cuts smoothly; a dull one tears or catches.
- Food test: Slice a ripe tomato or onion without pressing hard. Clean entry shows a refined edge.
- Visual check: Under bright light, inspect the bevel. A reflective line may reveal a rolled or damaged edge.
- Honing check: If cutting feels uneven, repeat a few controlled passes on the honing rod.
Knowing basic knife terminology helps: the bevel forms the edge, while the spine sits opposite it. Stop immediately if the blade slips, wobbles, or feels damaged.
Clean, Dry, and Store the Knife
After sharpening, wash the knife by hand with warm water and mild dish soap to remove metal filings and residue. Hold the handle securely, keep the blade pointed away from you, and wipe both sides carefully with a soft sponge. Don’t put a sharpened knife in the dishwasher. Heat, harsh detergent, and movement can dull the edge or damage the handle.
Rinse the knife, then dry it immediately with a clean towel. Don’t leave it soaking, because moisture can cause rust, especially near the bolster or handle. Inspect the edge for remaining particles before storing it.
Place the knife in a block, sheath, or magnetic strip that protects the blade and keeps it separate from other utensils. Store it where you can reach it safely, using kitchen ergonomics to reduce awkward handling.
Finally, practice cutting board maintenance by cleaning and drying your board regularly. A sanitary, stable surface protects both your knife and your food.
Frequently Asked Questions
Can Kitchen Knives Be Sharpened Without a Whetstone?
Yes, you can sharpen kitchen knives without a whetstone. Use electric sharpeners for quick, consistent results. Follow the manufacturer’s instructions and avoid removing too much metal.
Ceramic rods can refine an edge and maintain sharpness, though they won’t repair severely dull blades. You can also use a honing steel, pull-through sharpener, or fine-grit sandpaper in an emergency.
Work carefully, keep your fingers behind the edge, and test sharpness safely.
How Often Should Kitchen Knives Be Professionally Sharpened?
You should professionally sharpen kitchen knives once or twice yearly, yet your usage matters more than the calendar. A home cook may need service annually; a chef might need it every few months.
Between appointments, maintain the edge with suitable sharpening tools, such as a honing rod or guided sharpener. Prioritize knife safety: use a stable surface, cut away from yourself, and replace damaged knives rather than forcing them through food.
What Is the Difference Between Sharpening and Honing?
Sharpening removes metal to create a new, keen edge, while honing realigns an existing edge without considerably removing metal. During routine knife maintenance, you’ll hone frequently to keep your blade performing well.
You’ll use sharpening techniques less often, typically when honing no longer restores cutting ability. A honing rod maintains alignment, while a whetstone, pull-through sharpener, or professional service reshapes the edge.
Understanding this difference helps you protect your knives and cut safely.
Can Serrated Kitchen Knives Be Sharpened at Home?
Yes, you can sharpen serrated kitchen knives at home, but you’ll need patience and the right technique. Serrated blade maintenance works best with a tapered ceramic sharpening rod that fits each individual scallop.
Sharpen only the beveled side, matching its angle, and make a few gentle strokes per gullet. Don’t flatten the serrations with a whetstone.
Your home sharpening tools should include a fine ceramic rod, cloth, and cut-resistant glove for safer handling.
When Should a Damaged Knife Be Replaced Instead of Sharpened?
Replace a damaged knife when its blade has deep chips, cracks, severe bends, or corrosion that sharpening won’t safely remove. You should also replace it if the handle stays loose, the tang is broken, or repeated sharpening leaves too little blade.
These are essential Replacement criteria, not minor cosmetic flaws. Good Knife durability depends on sound steel and secure construction.
Don’t risk slips or broken pieces; retire the knife and choose a reliable replacement.
Conclusion
With the right whetstone, a steady angle, and light pressure, you can sharpen a kitchen knife safely in a few careful steps. Don’t rush the burr-forming process; consistency matters more than force.
A sharp knife isn’t just easier to use—it’s safer. The U.S. Consumer Product Safety Commission reports that knives cause more than 300,000 emergency-room injuries annually.
Finish by honing, testing carefully, cleaning, drying, and storing your knife properly. Following these steps for how to sharpen kitchen knives helps each meal start with control and confidence.