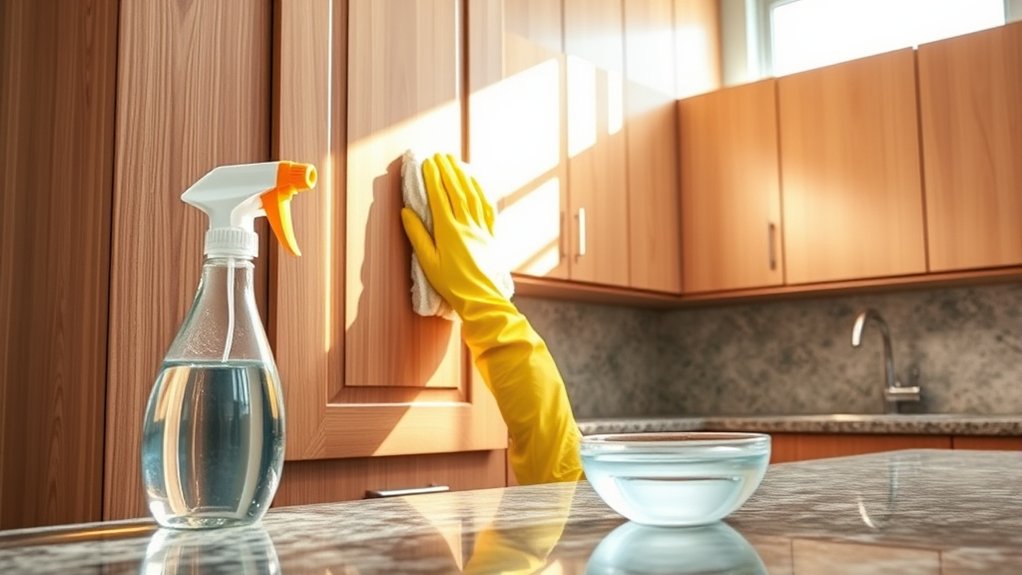
How to Clean Kitchen Cabinets in 5 Easy Steps
Greasy fingerprints, stubborn splatters, and dull-looking doors can make even a tidy kitchen feel neglected. You’re not alone—many people struggle to clean kitchen cabinets without damaging the finish. The right products and a simple routine can make the job much easier.
To clean kitchen cabinets in five easy steps, first identify the finish and gather microfiber cloths, warm water, mild dish soap, and dry towels.
Dust doors, frames, handles, hinges, and interiors from top to bottom.
Wash with a damp, soapy cloth, then rinse and dry immediately.
Treat grease with a finish-safe degreaser or tested baking soda paste, using gentle pressure.
Wipe away residue and leave doors slightly open to air-dry.
Keep going for finish-specific tips and helpful maintenance advice.
Key Takeaways
- Identify the cabinet finish and gather mild dish soap, warm water, microfiber cloths, a soft sponge, and dry towels.
- Dust cabinets from top to bottom, including doors, edges, handles, hinges, corners, and interiors.
- Wash surfaces with diluted dish soap, rinsing the cloth frequently and drying cabinets immediately.
- Remove grease with a finish-safe degreaser or tested baking soda paste, using gentle pressure.
- Rinse away cleaner residue with a damp cloth, dry thoroughly, and leave doors slightly open for ventilation.
Identify the Finish and Prepare Supplies
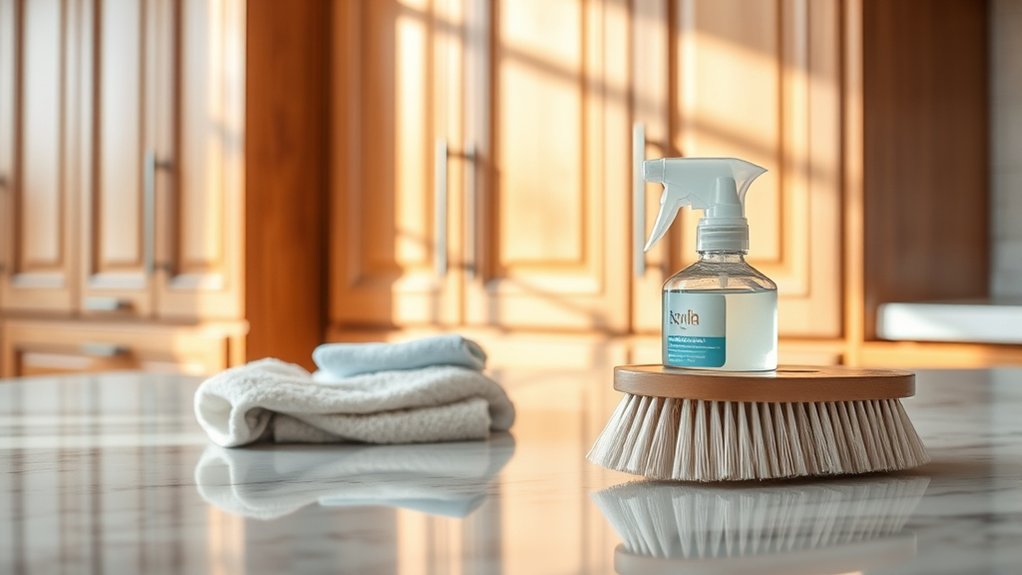
Before cleaning, identify whether your cabinets have a painted, stained, laminate, wood, or high-gloss finish, since each requires different care. Check the manufacturer’s instructions if you have them, especially for specialty coatings.
Painted and wood surfaces usually tolerate mild dish soap, while laminate often handles slightly stronger solutions. High-gloss finishes need a gentle, nonabrasive cleaner to prevent dulling and fine scratches.
Gather a microfiber cloth, soft sponge, bucket, warm water, and a small amount of mild dish soap. Keep a dry towel nearby so you can remove moisture promptly.
Avoid bleach, ammonia, abrasive powders, steel wool, and rough scrubbers, which can damage finishes. Remove or protect cabinet hardware if your cleaner could affect its coating, and test any solution on an inconspicuous spot first.
Match your cleaning frequency to kitchen use: high-traffic cabinets may need weekly attention, while lightly used doors may need cleaning monthly. Don’t soak the surfaces or let water sit around seams.
Dust Cabinets Before Washing
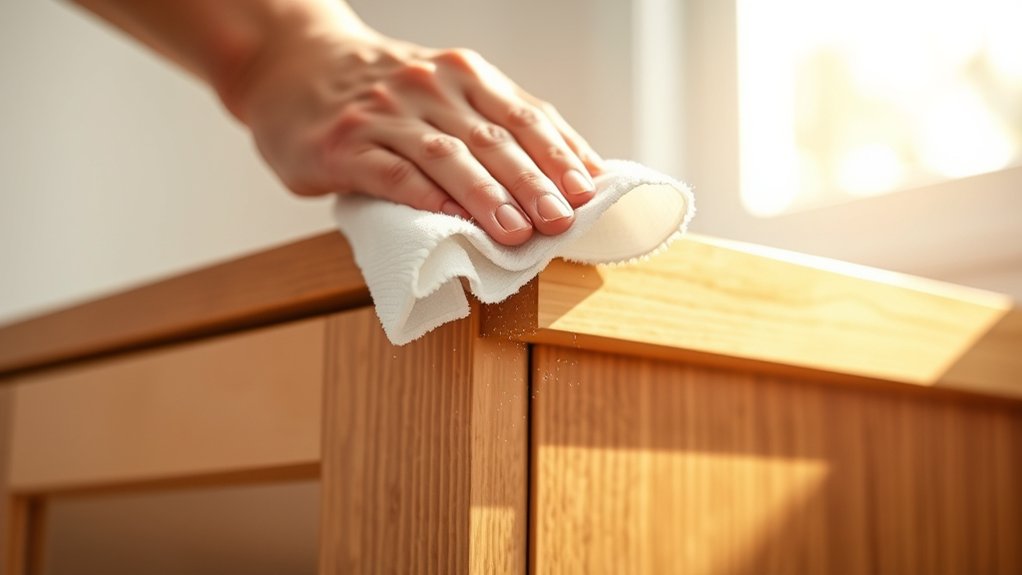
Once you’ve identified the finish and gathered your supplies, remove loose dust and crumbs from the cabinets. Start at the top and work downward, so falling particles don’t settle on areas you’ve already cleaned.
Remove loose dust from top to bottom, preventing debris from settling on surfaces you’ve already cleaned.
Use a soft microfiber cloth, a clean feather duster, or a vacuum with a brush attachment as your Dusting tools. Choose an option that suits the Cabinet material and won’t scratch, snag, or leave lint behind.
Open each door and drawer, then dust the fronts, edges, handles, hinges, and exposed surfaces. Use gentle strokes rather than pressing debris into the finish.
For grooves, corners, and decorative trim, guide a soft brush into narrow spaces. Vacuum crumbs from cabinet interiors and the floor beneath them.
If you find sticky residue, don’t scrub it during this step. Simply note the spot for later attention.
Replace or shake out dusty cloths as needed, keeping your supplies clean while you work.
Wash Cabinets With a Gentle Cleaner

Mix a small amount of mild dish soap with warm water, then dip a soft microfiber cloth into the solution and wring it out until damp. Wipe each cabinet door, drawer front, and frame with gentle, even strokes.
Work from top to bottom so dirty water doesn’t run over areas you’ve already cleaned. Rinse the cloth often, and switch to fresh water when it looks cloudy.
For cabinet hardware, use the same diluted cleaner and a separate cloth. Clean handles, knobs, and hinges carefully, avoiding excess moisture around screws and edges.
Don’t soak wood or let water sit on the surface, since prolonged dampness can cause swelling or damage. After washing, dry every area with a clean, lint-free towel.
Your cleaning frequency depends on kitchen use. Wipe high-touch areas weekly, then wash the full cabinet surface monthly or whenever it looks dull.
Test the solution on an inconspicuous spot first, and follow your cabinet manufacturer’s care instructions.
Remove Grease Without Damaging the Finish
For greasy cabinet surfaces, use a degreaser labeled safe for your cabinet’s finish, applying it to a microfiber cloth rather than spraying the cabinets directly. Work in small sections, gently wiping with the grain or along the cabinet’s contours.
Use a finish-safe degreaser on a microfiber cloth, working gently in small sections rather than spraying cabinets directly.
Let the product sit only as long as the label recommends; prolonged contact can dull or soften some finishes. For stubborn buildup, make a paste with a small amount of baking soda and water, then test it first inside an inconspicuous area.
Use light pressure and a soft cloth, never abrasive pads, steel wool, or stiff brushes that can scratch protective coatings. Avoid vinegar, ammonia, and harsh solvents unless your cabinet manufacturer approves them.
Pay special attention to handles, edges, and areas near the cooktop, where grease collects quickly. Effective grease removal depends on patience, while finish preservation depends on gentle tools, limited moisture, and manufacturer-approved products.
Stop if you notice discoloration, cloudiness, or lifting.
Rinse and Dry Cabinets to Prevent Damage
After cleaning, wipe each cabinet with a clean, lightly damp microfiber cloth to remove residue without soaking the wood or finish. Rinse the cloth often in clean water, wring it thoroughly, and continue wiping until no cleaner remains.
Don’t spray water or solution directly onto doors, seams, or edges, where moisture can seep into the wood and cause swelling, peeling, or discoloration.
Dry every surface immediately with a fresh, soft towel. Pay special attention to corners, grooves, and the area around cabinet hardware.
Remove knobs or pulls occasionally so you can wipe beneath them and dry the mounting points. If water collects near hinges, drawer tracks, or cabinet bottoms, absorb it promptly.
Your cleaning frequency affects drying needs. Frequent light cleaning usually requires less moisture than occasional deep cleaning.
Always leave doors and drawers slightly open for a few minutes after wiping to allow air to circulate. Before closing them, check that the finish feels completely dry and free of streaks.
Frequently Asked Questions
How Often Should Kitchen Cabinets Be Deep-Cleaned?
You should deep-clean your kitchen cabinets every three to six months, depending on cooking frequency, household size, and visible buildup. Add monthly spot-cleaning to your Cabinet cleaning schedule, especially around handles, doors, and the stove.
Use Deep cleaning techniques during each thorough session: empty cabinets, dust corners, wash surfaces with mild soap, and dry everything completely. If grease, spills, odors, or sticky residue appear sooner, don’t wait. Clean those areas immediately to prevent lasting damage.
Can Cabinet Hardware Be Cleaned Separately?
Yes, you can clean cabinet hardware separately, and you’ll often get better results that way. Removing the knobs and pulls while you’re already wiping cabinets can also make the task feel easier.
Soak cabinet hardware in warm water with mild dish soap, then scrub gently with a soft brush. Choose cleaning techniques suited to each finish, and dry every piece completely before reinstalling it to prevent moisture damage, rust, or tarnishing.
Should Cabinet Liners Be Removed Before Cleaning?
Yes, you should usually remove cabinet liners before cleaning. Cabinet liner removal lets you reach crumbs, spills, and dust trapped underneath while protecting the shelf surface from moisture.
Shake or vacuum the liner, then wash it with warm water and mild dish soap. Follow these Liner cleaning tips: test cleaners first, avoid harsh chemicals, and let the liner dry completely before replacing it.
Replace damaged, moldy, or permanently stained liners.
How Can You Eliminate Musty Odors Inside Cabinets?
Remove everything, then wipe cabinet interiors with warm water and mild dish soap. Dry every surface completely, leaving doors open to improve airflow.
For persistent smells, place an open bowl of baking soda, activated charcoal, or coffee grounds inside for several days; these provide effective odor absorption.
Check for leaks, damp liners, or hidden mold, and replace damaged materials. Improve ventilation and keep cabinets dry for ongoing mold prevention.
When Should Damaged Cabinet Finishes Be Professionally Repaired?
Call for professional repair when your cabinet finish shows deep scratches, peeling, bubbling, cracking, water damage, or exposed wood. You should also seek help if discoloration remains after gentle cleaning or if moisture has caused swelling, warping, or mildew.
A specialist can match the original color, sheen, and coating, then prevent further deterioration. Don’t sand aggressively or apply harsh chemicals first, because you may worsen the damage and increase restoration costs.
Conclusion
Now that you’ve identified your cabinet’s finish, removed dust, washed away grime, and tackled stubborn grease, you’re almost done. Don’t skip the final step: lightly rinse every surface and dry it completely.
Hidden moisture can leave streaks, dull the finish, or cause swelling before you notice. As you wipe the last cabinet dry, check the corners and hardware once more.
Your careful effort will reveal clean, refreshed cabinets and a kitchen that feels brand-new. With these simple steps for how to clean kitchen cabinets, you can keep them looking their best.