How to Redo Kitchen Cabinets Step by Step
Tired of outdated cabinets but not ready for a full kitchen remodel? You’re not alone—many homeowners struggle to refresh worn cabinets without spending a fortune. Learning how to redo kitchen cabinets can give your kitchen a cleaner, updated look with less time and cost.
To redo kitchen cabinets, first confirm they’re structurally sound and worth updating. Remove and label every door, drawer, hinge, and handle. Then degrease, repair, and lightly sand all surfaces.
Choose paint, stain, or another compatible finish, and apply primer where needed. Add thin, even coats, lightly sanding between them.
Seal the finish and let it cure fully before reinstalling hardware. Finally, correct drips, brush marks, or sticking doors, and uncover more helpful refinishing details below.
Key Takeaways
- Inspect cabinet condition, repair damage, and confirm the existing layout and materials can support refinishing.
- Remove and label every door, drawer, hinge, handle, and slide to simplify accurate reassembly.
- Clean, fill, and sand surfaces thoroughly, then remove dust before applying a compatible primer.
- Apply paint, stain, or another finish in thin, even coats, allowing proper drying between applications.
- Seal and cure the finish completely, then reinstall hardware, adjust doors, and inspect for defects.
Check Whether Your Cabinets Are Worth Redoing
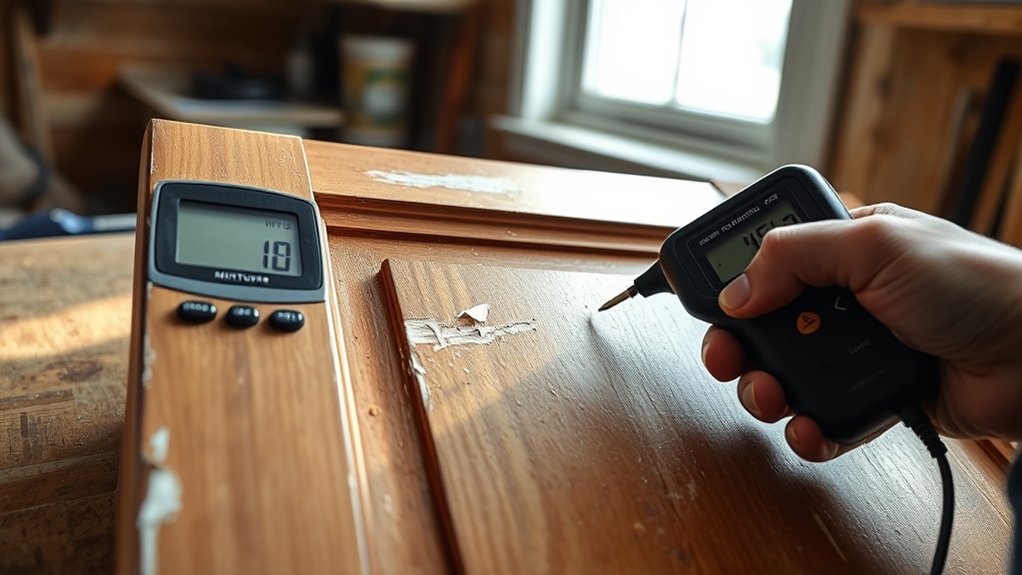
Before you start, check whether your cabinets are sturdy enough to justify the work. Open and close every door and drawer, watching for sagging, sticking, or loose hinges.
Test every door and drawer first, checking for sagging, sticking, or loose hinges before committing to a cabinet update.
Press gently against the boxes and face frames; they shouldn’t wobble, crack, or pull away from the wall. Inspect the interior for water damage, mold, swelling, and soft spots, especially beneath the sink.
Your Cabinet material also matters. Solid wood and quality plywood usually tolerate updates better than particleboard, which can crumble around screws or swell after moisture exposure.
Check whether the layout still suits how you cook, because cosmetic improvements won’t solve poor storage or awkward placement. Compare repair needs with replacement costs as part of your Budget considerations.
If the structure remains sound, redoing the cabinets may offer strong value. If damage affects multiple boxes, replacement might save time, prevent recurring repairs, and provide a more reliable foundation for your kitchen project overall.
Choose Paint, Stain, or a New Finish
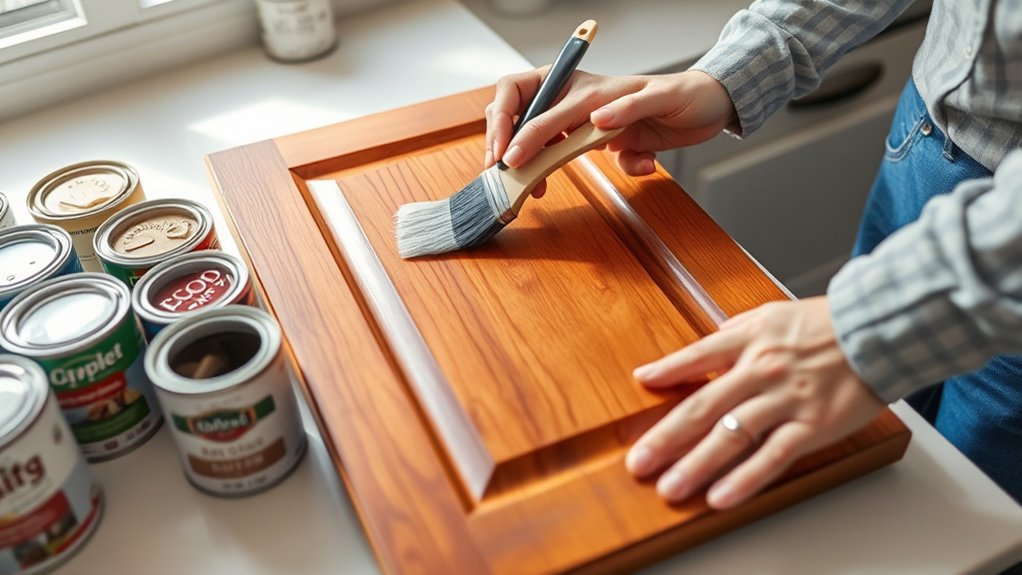
Once you’ve confirmed the cabinets are sound, choose a finish that suits their material, condition, and the look you want. Start by identifying the cabinet surface.
Paint works well on wood, MDF, and previously finished cabinets, giving you broad Color options and a uniform appearance. Choose a durable cabinet or trim paint if you want to hide grain, minor repairs, or mismatched doors.
Stain emphasizes natural wood grain, so select it only when the doors and frames have attractive, consistent wood. A clear coat can refresh lightly worn wood while preserving its character.
For a more distinctive update, consider a glaze, limewash, or tinted finish, but test its effect before committing. Match your selection to your kitchen’s lighting, countertops, flooring, and style.
Light colors can make the room feel larger, while deeper tones add warmth and contrast. If you’re unsure, compare samples on an inconspicuous area and view them throughout the day.
Gather Kitchen Cabinet Tools and Supplies
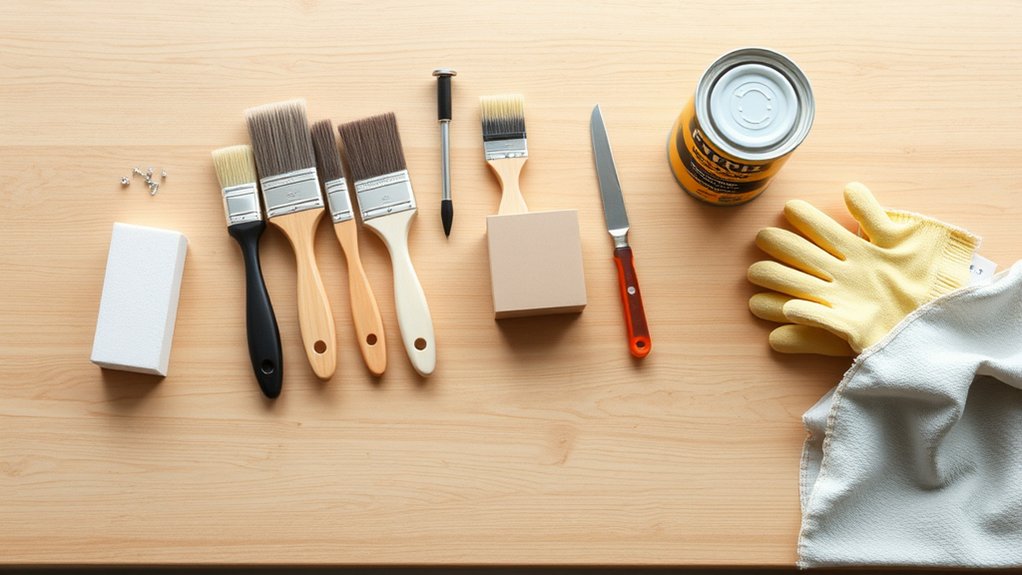
Gather all your tools and supplies before removing any cabinet doors or hardware. A complete setup keeps your project organized and prevents interruptions once you begin refinishing.
Choose materials that match your finish plan, available workspace, and skill level.
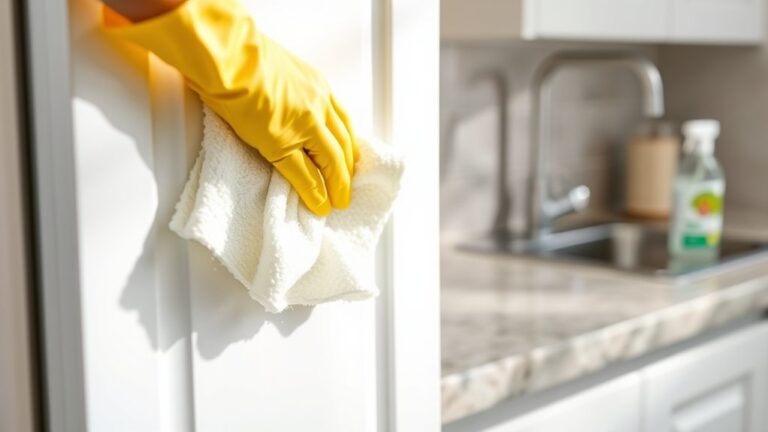
- Cleaning supplies: Use degreaser, dish soap, microfiber cloths, sponges, and clean water to remove kitchen residue.
- Preparation tools: Gather screwdrivers, a drill, sanding blocks, fine-grit sandpaper, wood filler, putty knives, painter’s tape, and drop cloths. Keep cabinet hardware stored separately if you’ll reuse it.
- Finishing materials: Set out primer, cabinet paint or stain, stir sticks, paint trays, quality brushes, foam rollers, and protective gloves. Add respirator protection and adequate ventilation for safer work.
Select tools that support smooth painting techniques, especially if you’ll apply multiple thin coats. Check every container for drying times and surface requirements.
Arrange supplies within reach, but keep your work area clear enough to move comfortably and inspect each cabinet surface as you proceed. Don’t start until you have everything required.
Remove and Label Doors, Drawers, and Hardware
Before you remove anything, label each cabinet door, drawer, and its matching opening to make reassembly easier. Keep every hinge, screw, and handle with the piece it belongs to so nothing gets lost or mixed up.
Label Each Cabinet Piece
Start by numbering every cabinet door and drawer, then place the matching number on its opening and corresponding hardware. Use painter’s tape and a pencil or removable marker so labels won’t damage finished surfaces.
Keep each number visible after removal, and photograph the cabinet layout before you begin for an extra reference.
For reliable cabinet labeling, follow these organization tips:
- Mark doors on their hinge-side edge, where labels stay hidden after reinstallation.
- Label drawers inside the box and mark their openings at eye level.
- Note each piece’s position, such as “left of sink” or “upper right,” beside its number.
Write clearly, use consistent numbering, and double-check every label before moving pieces away.
If a label loosens, replace it immediately rather than guessing later. This simple system makes sanding, painting, and reinstalling far easier.
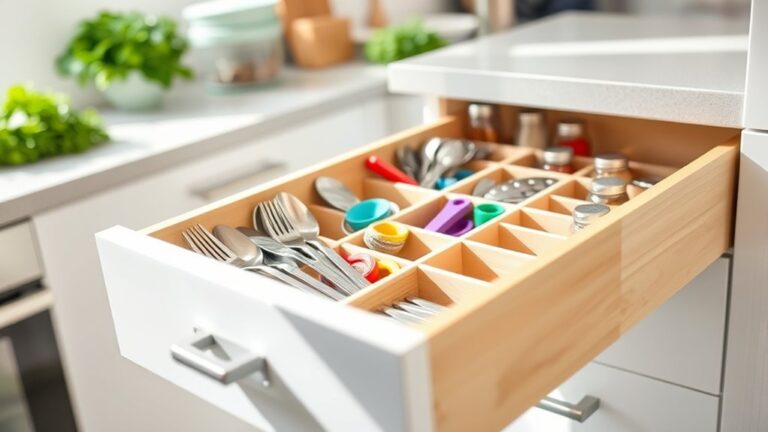
Organize Hardware Carefully
Once each cabinet piece is labeled, remove the hinges, handles, and drawer slides, keeping the hardware with its matching door or drawer. Place every screw, bracket, and handle in a small bag or container, then mark it with the cabinet’s number.
This simple label system prevents confusion when you reinstall everything. For effective hardware organization, keep each bag attached to its matching piece, or store all bags together in a divided box.
If hardware looks worn, separate it for cleaning, replacement, or repair rather than mixing it with usable parts. Take photos of unusual hinge placements or slide orientations before removal, so you’ll remember how each component fits.
Keep cabinet hardware in a safe, dry location throughout the project, and don’t discard anything until installation is complete and every piece fits correctly.
Clean and Repair Kitchen Cabinet Surfaces
Inspect every surface under bright light and complete these surface repairs:
- Fill small dents, nail holes, and scratches with stainable or paintable wood filler. Let it cure according to the manufacturer’s directions.
- Tighten loose joints, replace damaged hinges, and secure separated veneer with suitable adhesive.
- Remove failing caulk, hardened residue, and loose finish with a plastic scraper, taking care not to gouge the wood.
Wipe away cleaner and repair dust, then let each cabinet dry completely. Check your work once more, because leftover grease or unresolved damage can show through the new finish.
Keep your workspace ventilated throughout the process.
Sand Kitchen Cabinets for Better Adhesion
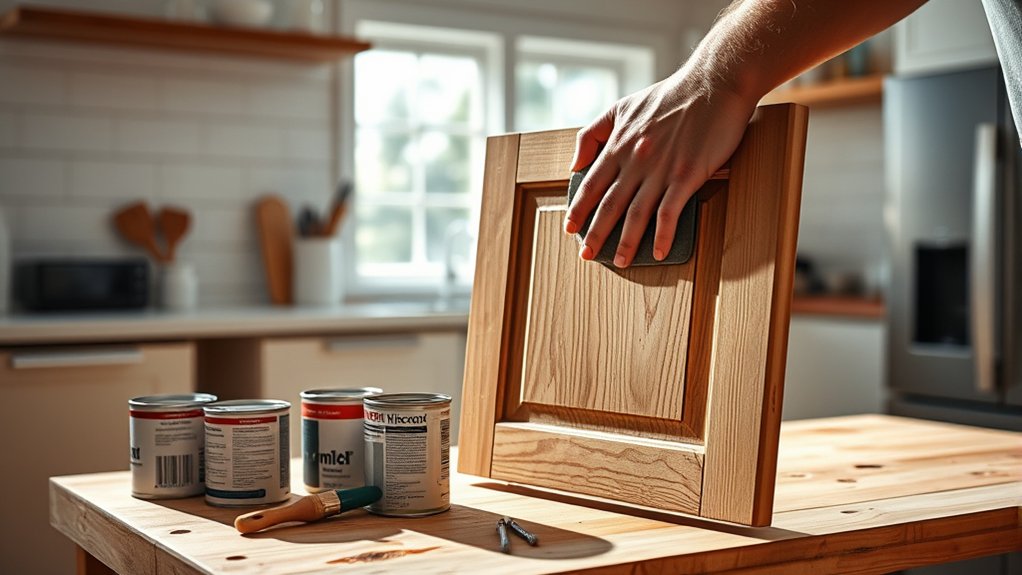
With the cabinets clean, dry, and repaired, lightly sand every surface to create a smooth, slightly rough profile that helps the new finish adhere. Start with 120- to 150-grit sandpaper, working with the wood grain and using steady, even strokes.
Lightly sand clean, repaired cabinets with 120- to 150-grit paper, following the wood grain to create a smooth, paint-ready surface.
For detailed edges, profiles, and corners, fold the paper or use a sanding sponge so you don’t miss recessed areas. You don’t need to remove all existing finish; focus on dulling glossy spots and smoothing uneven patches.
If the old coating feels thick or flaky, sand those areas until they’re stable and level. Cabinet sanding creates the mechanical grip your new coating needs, while careful surface preparation prevents visible scratches and rough marks.
After the first pass, inspect the doors and frames under bright light, then smooth them with 180- to 220-grit paper. Vacuum the dust, wipe surfaces with a clean, dry cloth, and let particles settle before continuing.
Prime Kitchen Cabinets Correctly
Apply a high-adhesion primer suited to your cabinet material and chosen topcoat, using a quality brush for edges and a small roller for broad, flat areas. Before priming, complete your surface preparation: remove grease, dust, and sanding residue, then let every panel dry completely. Recheck corners and profiles, because missed grime can cause peeling.
- Stir the primer gently rather than shaking it, which can create bubbles. Pour a manageable amount into a tray, and keep the container covered between uses.
- Prime cabinet boxes first, working from the upper sections downward. Coat doors and drawer fronts separately on a protected, level surface.
- Inspect the coverage under bright light. Touch up thin spots, runs, and exposed edges, then allow the primer to cure according to the label.
If you removed Cabinet hardware, keep screws and hinges organized in labeled bags. Lightly sand raised primer fibers only after curing, and remove the resulting dust before proceeding. Don’t rush the drying time. A properly bonded primer creates a durable foundation.
Paint or Stain in Thin, Even Coats
Once the primer has cured and any dust is removed, begin painting or staining the cabinets in thin, even coats. Stir your product thoroughly, then load your brush lightly to prevent drips, ridges, and uneven coverage.
Use long, steady strokes that follow the wood grain, and smooth each section before moving on. For detailed panels, work paint into corners first, then feather the edges while they’re still wet.
These brush techniques help create a clean, consistent surface without visible lap marks. If you’re staining, wipe away excess with a lint-free cloth, following the grain and maintaining even pressure.
Pay attention to color blending where rails meet stiles, so transitions look natural rather than blotchy. Let each coat dry according to the product instructions, then inspect it under bright light.
Lightly smooth rough spots if needed, remove dust, and apply the next thin coat. Keep your workspace clean to avoid particles settling into the finish.
Seal the Finish and Let Cabinets Cure
After the final coat has dried, protect the surface with a compatible clear sealer, applying it in thin, even layers with a clean brush or sprayer. Choose a product designed for your paint or stain, and follow its label for ventilation, recoat intervals, and coverage. This finish protection helps resist moisture, grease, scratches, and daily wear.
Protect your finished surfaces with a compatible clear sealer to resist moisture, grease, scratches, and everyday wear.
- Stir the sealer gently to avoid bubbles, then strain it if the manufacturer recommends it.
- Coat cabinet doors, drawer fronts, frames, and exposed edges evenly, keeping your strokes consistent.
- Let every sealed component dry undisturbed before applying another coat or reinstalling hardware.
Respect the stated curing time, which may last several days even when the surface feels dry. Keep doors and drawers flat or supported as directed, and maintain steady airflow without blowing dust onto the finish.
Don’t stack parts, close doors, or load shelves prematurely. Once the finish has fully cured, reinstall the hardware and carefully return each door and drawer to its opening.
Fix Drips, Brush Marks, and Sticky Doors
Inspect the cured cabinets in strong, angled light, looking for drips, ridges, brush marks, or doors that rub and stick. Mark each flaw with painter’s tape before you begin repairs.
Lightly sand raised drips and ridges with fine-grit paper, then wipe away dust. Don’t sand through the finish; use several gentle passes instead.
For stubborn brush marks, smooth the surface and apply a thin, even coat with a quality roller or brush. Choosing brushes with fine, flexible bristles helps prevent new marks, while loading the brush lightly keeps paint from pooling.
If you’re applying primer to a repaired area, let it dry fully before recoating with cabinet paint.
To fix sticky doors, check the hinges first and tighten loose screws. Sand the rubbing edge slightly, then seal and repaint it.
Allow the door to cure before closing it, and reinstall hardware only after the finish feels hard and dry.
Frequently Asked Questions
Can I Redo Kitchen Cabinets Without Removing the Countertops?
Yes, you can redo kitchen cabinets without removing the countertops. Start by protecting the counters with drop cloths and painter’s tape, then clean, sand, and prime every cabinet surface.
Cabinet painting works best when you apply thin, even coats and allow proper drying time. You can also update the look through Hardware replacement, such as new knobs, pulls, or hinges.
Remove doors and drawers if possible, but leave the cabinet boxes installed.
How Long Does a Kitchen Cabinet Redo Typically Take?
You’ll typically spend three to seven days redoing kitchen cabinets, depending on their condition, quantity, and your chosen finish. Allow one day for cleaning, repairs, and sanding, then two to four days for cabinet painting, including drying time between coats.
Hardware replacement usually takes a few hours after the doors and drawers cure. If you hire professionals, they may finish faster, while extensive repairs, intricate details, or countertop protection can extend your timeline.
Should I Update Cabinet Hinges and Drawer Slides During the Project?
Yes, you should update cabinet hinges and drawer slides during the project, especially if the existing hardware sticks, sags, squeaks, or lacks soft-close features.
Hinge replacement works best while doors are removed, and slide upgrades make drawers smoother and more durable. Measure carefully before buying, since overlay sizes and slide lengths vary.
Replacing everything now saves time, prevents mismatched hardware, and gives your refreshed cabinets a polished, modern feel.
Can I Redo Laminate or Thermofoil Kitchen Cabinets?
Yes, you can redo laminate or thermofoil kitchen cabinets, but your approach depends on their condition. For laminate durability, clean and lightly sand surfaces, repair chips, apply bonding primer, and use cabinet-grade paint.
Replace badly damaged panels instead of forcing a finish. Thermofoil options include painting after careful preparation or replacing peeling doors with new laminate, wood, or thermofoil fronts.
Upgrade hinges and drawer slides while everything’s removed for smoother, longer-lasting operation.
How Much Does Redoing Kitchen Cabinets Usually Cost?
You’ll usually spend $1,000–$4,000 to reface kitchen cabinets, $2,000–$6,000 to professionally repaint them, or $6,000–$15,000 to replace them. Your final price depends on cabinet size, labor rates, damage, hardware, and layout changes.
For smart Budget considerations, compare quotes and include preparation, installation, and disposal fees. Your material options also matter: laminate costs less, thermofoil offers easy maintenance, and wood typically costs more. DIY work can reduce labor expenses considerably.
Conclusion
Redoing your kitchen cabinets takes patience, but you can transform them without replacing them. First, decide whether their condition suits refinishing, then choose a durable paint, stain, or finish.
Label every part, clean thoroughly, repair damage, and apply primer before adding thin, even coats. Seal the surfaces and allow plenty of curing time.
If drips, brush marks, or sticky doors appear, don’t throw in the towel. Sand lightly, adjust, and let each correction dry completely to successfully redo kitchen cabinets.