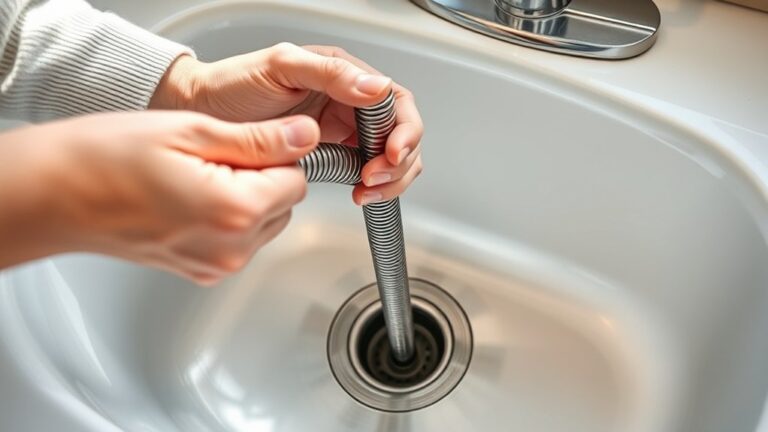
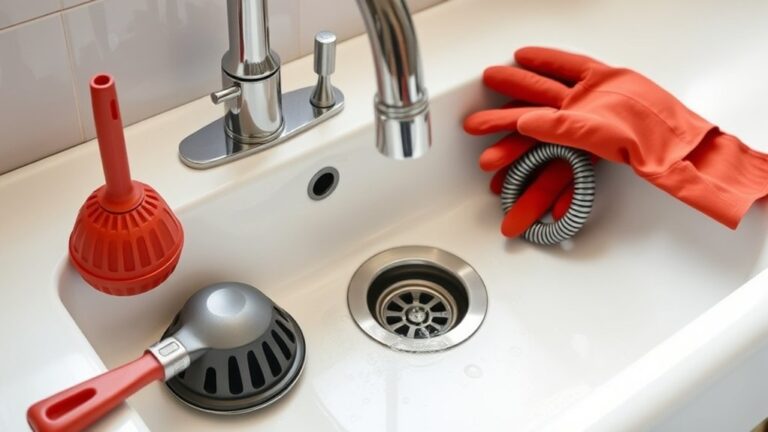
How to Remove a Kitchen Faucet Aerator in 5 Steps
Struggling with a stubborn faucet aerator can be frustrating, especially when low water pressure or a messy spray disrupts your kitchen routine. You’re not alone—many people struggle with this simple repair. Learning how to remove a kitchen faucet aerator can make cleaning and maintenance much easier.
To remove a kitchen faucet aerator in five steps, gather a wrench, pliers, cloth, bowl, and vinegar. Identify whether your aerator is external, recessed, or cache-style.
Wrap the faucet with the cloth, then gently turn the aerator counterclockwise by hand or with the correct key.
Soak its parts in vinegar for 30–60 minutes, scrub and rinse them, then inspect the seals.
Reassemble and hand-tighten the aerator, turn on the water, and check for leaks as you continue for helpful details.
Key Takeaways
- Turn off the faucet, briefly open the handle to release pressure, and place a bowl beneath the spout.
- Identify whether the aerator is external, recessed, or Cache-style before removing it.
- Wrap the aerator with a cloth and turn it counterclockwise by hand to loosen it.
- Use a rubber band, adjustable wrench, or correct aerator key if mineral buildup makes removal difficult.
- Remove the aerator completely, keeping its parts together for cleaning, inspection, or replacement.
Gather the Right Tools
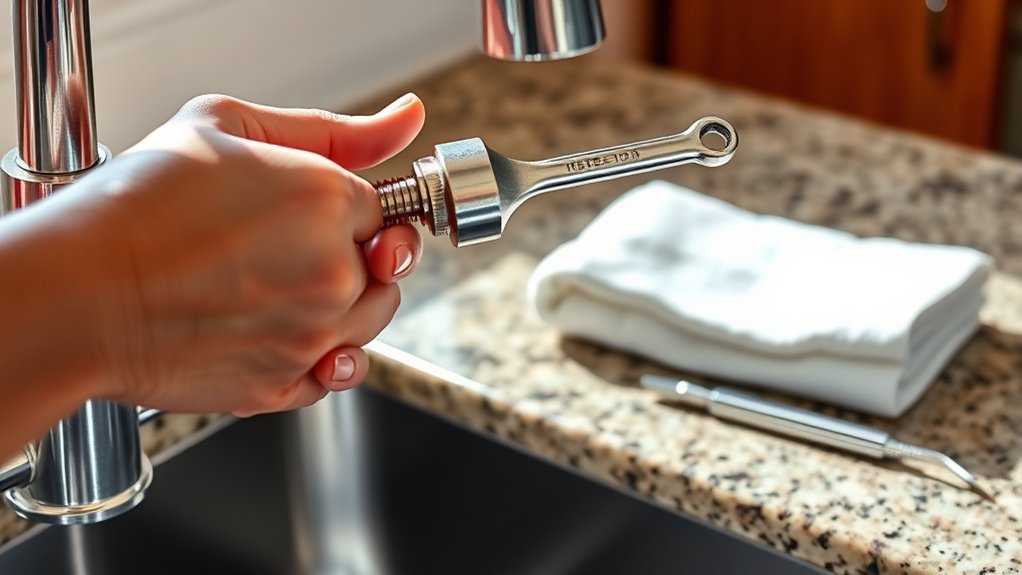
Before removing the aerator, gather an adjustable wrench, slip-joint pliers, a clean cloth, and a small bowl. These basic tools help you loosen the fitting, protect the faucet’s finish, and catch residual water without creating a mess.
Turn off the faucet and release Water pressure by opening the handle briefly. Keep the bowl beneath the spout to collect drips.
Wrap the clean cloth around the aerator or spout before using pliers. This barrier prevents scratches while giving you a firm grip.
Use the adjustable wrench only when you need controlled force on a stubborn connection, and avoid squeezing too tightly.
Choose tools that fit comfortably in your hand, especially if the fitting resists turning. Some Aerator types require a gentle grip, while others may need more leverage, so prepare both tools before you begin.
Don’t use a knife or screwdriver as a substitute. Sharp edges can damage threads, seals, or the faucet surface during removal.
Check What Kind of Aerator You Have

Kitchen faucet aerators typically fall into three types: external, recessed, and cache aerators. Identify yours before choosing a removal method or replacement.
An external aerator screws onto the faucet’s tip and usually has visible threads. A recessed aerator sits inside the spout, while a cache aerator uses a specialized insert that may look smooth from the outside.
External aerators show visible threads, while recessed and cache models sit inside the faucet spout and may appear smooth.
Check the outlet’s shape, threading, and screen position without turning anything yet. Your faucet’s manual or manufacturer’s website can confirm the design and required key.
- Look for visible external threads.
- Check whether the screen sits inside the spout.
- Note the outlet’s diameter and shape.
- Compare the part with replacement listings.
Aerator compatibility matters because an insert designed for one faucet may not fit another, even when both appear similar.
Also consider Water pressure effects: a low-flow aerator can reduce splashing but may make flow feel weaker, while a higher-flow model can increase output.
Record the type and size before moving to removal.
Loosen and Remove the Kitchen Faucet Aerator
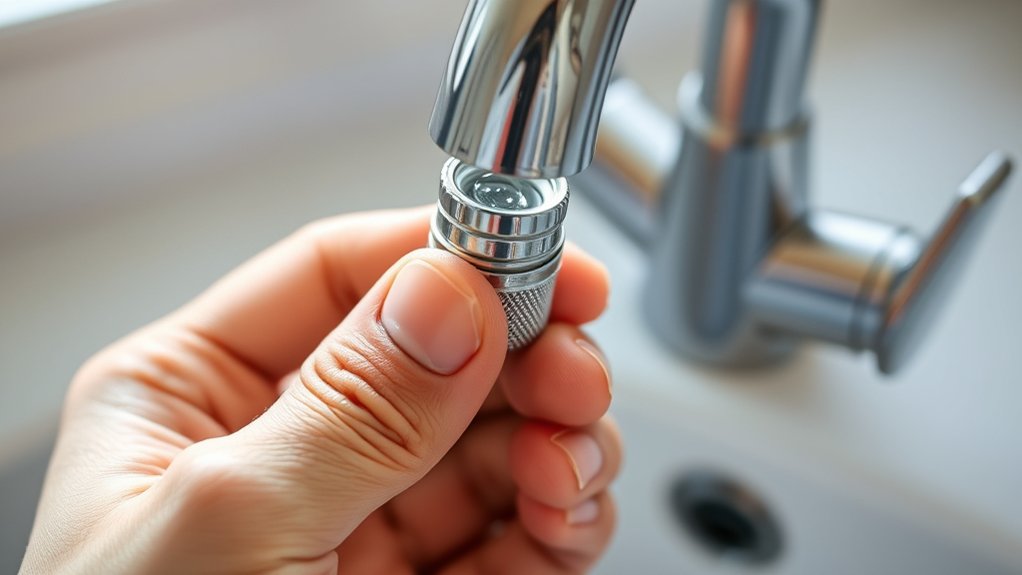
Once you’ve identified the aerator, cover the faucet tip with a cloth and turn it counterclockwise by hand. Keep your grip steady, but don’t force the part. The cloth protects the finish and gives you better traction. If the aerator won’t move, wrap a rubber band around it, then try again.
For a recessed aerator, insert the correct key into the slots and turn counterclockwise. Use only light pressure to avoid stripping the insert or damaging the faucet.
Your faucet design determines whether you’ll need pliers, an aerator key, or a simple hand twist. Check aerator compatibility before using any tool, since the wrong key can deform the housing.
Once the threads release, unscrew the aerator completely and lower it into your hand. Keep its screen, gasket, and outer casing together so you can identify each piece later.
Place the removed parts on a clean cloth, and inspect the faucet threads for damage before installing a replacement.
Soak the Aerator to Dissolve Mineral Buildup
With the aerator removed, soak its screen, gasket, and casing in white vinegar to dissolve mineral buildup. Pour enough vinegar into a small bowl to cover every piece, then let the parts sit for 30 minutes to an hour.
Vinegar’s mild acidity loosens mineral deposits without harsh chemicals, making this one of the simplest cleaning techniques for a faucet aerator.
For stubborn buildup, extend the soak for several hours, checking the parts occasionally. Don’t mix vinegar with bleach or other cleaners, because dangerous fumes can result.
If you notice discoloration, corrosion, or a damaged gasket during the soak, stop and set those pieces aside for replacement later.
- Use distilled white vinegar for consistent results.
- Keep all components fully submerged.
- Set a timer so you don’t forget the soak.
- Open a window if the vinegar smell bothers you.
The softened residue will be easier to address in the next stage, so keep the soaked parts together in the bowl.
Clean, Replace, and Reinstall the Aerator
After soaking, scrub the screen and casing with an old toothbrush to remove loosened deposits, then rinse every piece under running water. Inspect the screen, gasket, and housing for cracks, corrosion, or flattened seals.
Replace any damaged part, or install a new aerator if cleaning doesn’t restore the faucet water flow. Check the replacement’s size and thread type before purchasing, and match its flow rating to your faucet.
Reassemble the aerator in the same order you removed it. Seat the screen and gasket correctly, then hand-tighten the aerator onto the faucet spout.
Don’t force it, because cross-threading can damage the faucet. Wrap a cloth around the aerator and use pliers for a gentle final turn only if necessary.
Turn on the water slowly and check for leaks. If water sprays unevenly, remove the aerator and reseat its parts.
Regular aerator maintenance keeps debris from restricting flow and helps your faucet perform efficiently.
Frequently Asked Questions
How Often Should a Kitchen Faucet Aerator Be Replaced?
You should replace a kitchen faucet aerator every one to two years, but your water quality and usage can change that schedule. Your aerator lifespan may shorten if you have hard water, sediment, or mineral buildup.
Check the screen regularly, and replace it when cleaning no longer restores water flow, the spray pattern remains uneven, or corrosion appears. As a general replacement frequency, inspect it every six months and keep a spare available.
Can a Clogged Aerator Reduce Water Pressure Throughout the House?
A clogged aerator can make your faucet act like the whole house forgot how to deliver water, but it usually can’t reduce water pressure throughout your home. It restricts water flow only at that faucet, creating the illusion of broader pressure issues.
Remove and clean the aerator first, then test other fixtures. If several faucets remain weak, check the main valve, supply line, or filter, or contact a plumber to diagnose the cause.
Are Faucet Aerators Compatible With All Kitchen Sink Faucets?
No, faucet aerators aren’t compatible with every kitchen sink faucet. Check your faucet’s thread size, shape, and mounting location before buying a replacement.
Common faucet styles include standard, pull-down, pull-out, and side-spray models, each potentially requiring different connections. Aerator types also vary, including regular, cache, swivel, spray, and flow-control designs.
If your faucet lacks exposed threads, you may need an adapter or a manufacturer-specific aerator for proper fit and performance.
What Water-Saving Benefits Do Kitchen Faucet Aerators Provide?
Kitchen faucet aerators reduce water use by mixing air into the stream, so you maintain useful pressure while consuming fewer gallons per minute. You’ll lower household water consumption, decrease energy needed to heat water, and potentially reduce utility bills.
As an Eco friendly plumbing upgrade, an aerator supports practical Water conservation techniques without changing everyday habits. You’ll also limit wastewater, making this inexpensive attachment an easy step toward a more efficient, sustainable kitchen.
When Should a Professional Plumber Remove a Stubborn Faucet Aerator?
When in doubt, call a professional plumber before force damages your faucet. You should do so if the aerator won’t loosen after careful DIY tips, shows corrosion, or requires heat, penetrating oil, or specialized tools.
“Better safe than sorry” applies when leaks, stripped threads, or hidden valve damage could result. Avoid common mistakes, such as gripping the spout aggressively or using excessive torque.
A plumber can remove it safely and replace it properly.
Conclusion
With the right tools and a few careful steps, you can remove, clean, and reinstall your kitchen faucet aerator without calling a plumber. Don’t force a stuck aerator; vinegar can safely dissolve stubborn mineral buildup.
That matters because household faucets can waste thousands of gallons annually when aerators clog or leak. Once you’ve finished, turn on the water and check the flow.
A clean aerator helps you conserve water, improve pressure, and keep your sink working efficiently. Knowing how to remove a kitchen faucet aerator makes routine maintenance easier.