How to Clean a Kitchen Sink Drain in 3 Steps
A slow, smelly, or clogged sink drain can quickly turn a simple kitchen task into a frustrating chore. You’re not alone—many people struggle with buildup from food scraps, grease, and everyday use. The good news is that learning how to clean a kitchen sink drain can be simple with the right steps and a few household supplies.
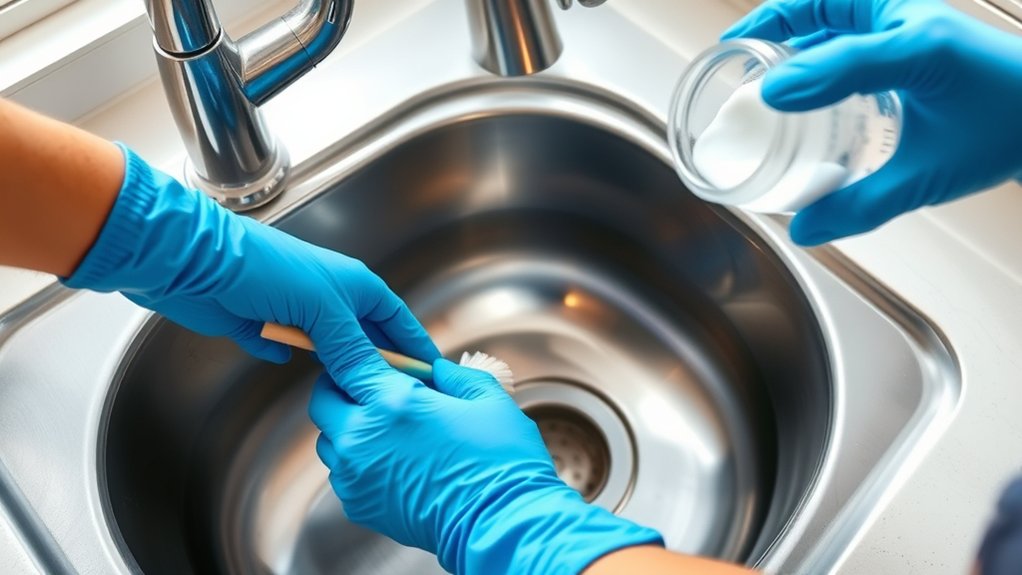
Clean your kitchen sink drain in three steps. First, put on gloves, remove the stopper, and collect visible food, grease, and debris with a paper towel or brush.
Next, pour in ½ cup baking soda, add 1 cup white vinegar, cover the drain for 10–15 minutes, then flush with hot water.
Finally, prevent future clogs by using a strainer, wiping greasy dishes, and avoiding oil or coffee grounds.
Keep going for solutions to stubborn blockages and odors.
Key Takeaways
- Remove the strainer and clear visible food scraps, grease, and debris using gloves, paper towels, or a scrub brush.
- Pour ½ cup baking soda into the drain, followed by 1 cup white vinegar.
- Cover the drain and let the mixture fizz for 10–15 minutes.
- Flush the drain with 2 cups of very hot tap water.
- Prevent future clogs by using a strainer and avoiding oil, coffee grounds, flour, and fibrous scraps.
Get Supplies and Remove Sink Debris
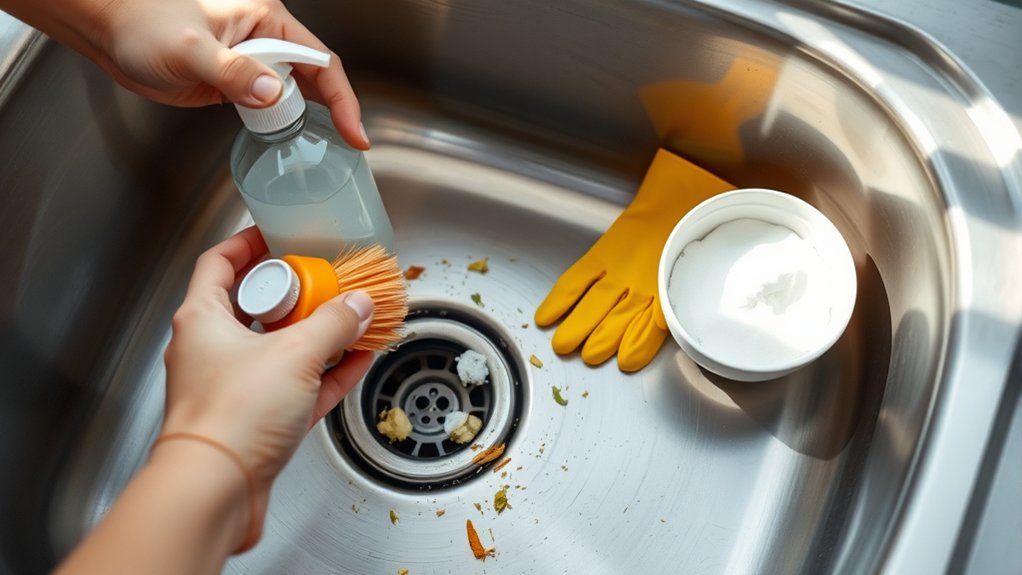
Before you begin, gather rubber gloves, a bucket, a scrub brush or old toothbrush, dish soap, baking soda, white vinegar, and a drain stopper or cloth. These basic supplies support safe, orderly drain maintenance and help you handle mess without interrupting your work.
Put on the gloves, then remove dishes, sponges, and other items from the sink. Lift out the drain strainer or stopper if it comes loose easily.
Protect your hands, clear the sink, and remove the strainer or stopper carefully before beginning drain maintenance.
Place it in the bucket so residue won’t spread across your counter. Use a paper towel or your gloved hand to collect visible food scraps, grease, and other debris around the drain opening. Don’t push anything deeper into the pipe.
Keep a flashlight nearby to inspect the opening, and arrange your plumbing tools within reach. If the drain holds standing water, scoop it into the bucket before continuing.
Wipe the sink surface clean, but don’t add cleaning solutions yet. A clear work area lets you spot buildup and work safely.
Clean a Kitchen Sink Drain Naturally
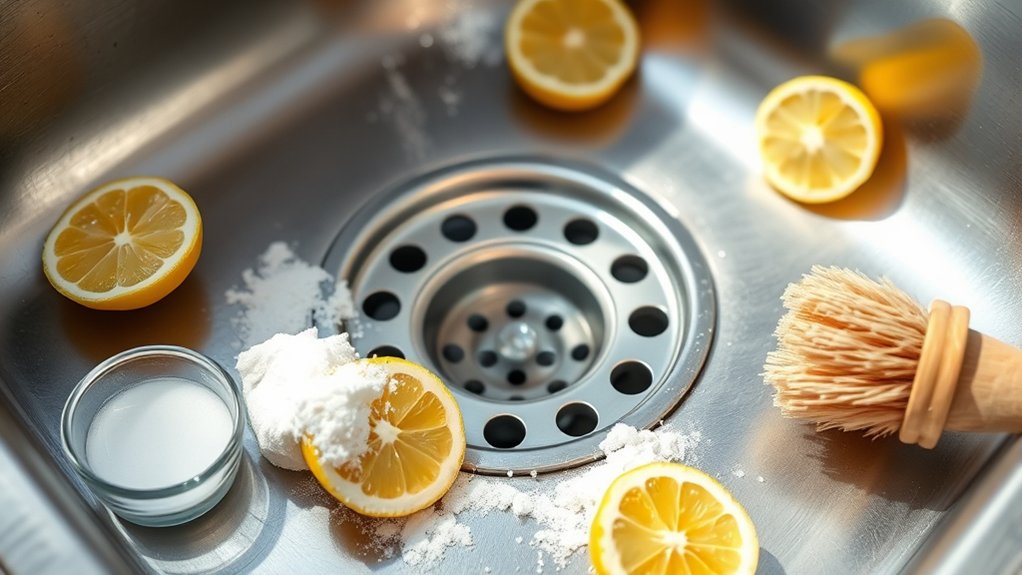
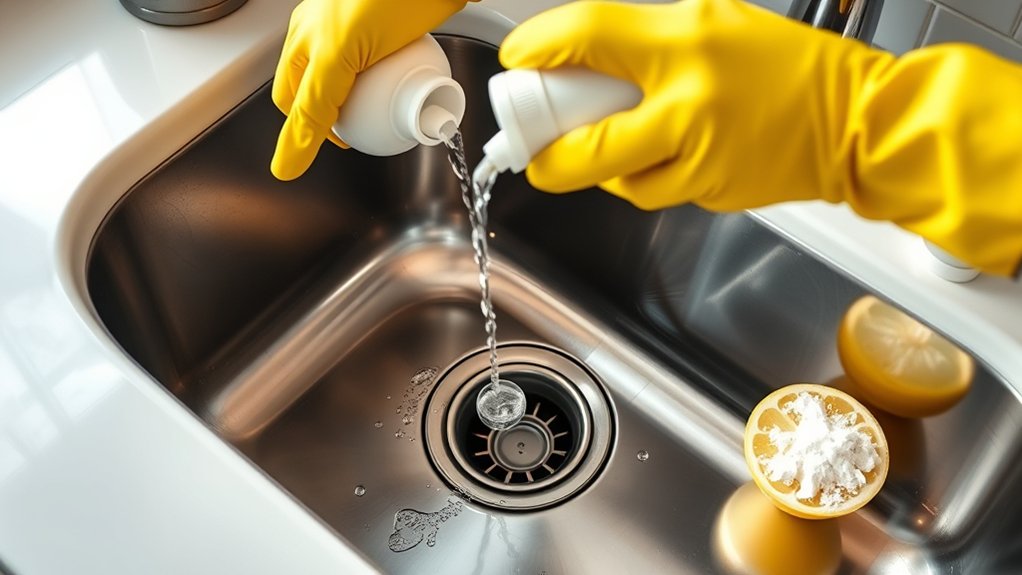
Once you’ve cleared the sink, pour ½ cup of baking soda into the drain, followed by 1 cup of white vinegar. Quickly cover the opening with a drain stopper or small plate. The mixture will fizz as it loosens residue inside the pipe. Let it work for 10 to 15 minutes.
Next, remove the cover and slowly flush the drain with 2 cups of hot water. If your pipes are plastic, use very hot tap water instead of boiling water to protect them. Repeat the treatment once if you still notice residue.
For another option, sprinkle ½ cup of coarse salt into the drain, add ½ cup of baking soda, and follow with hot water after 10 minutes. These natural remedies use common pantry ingredients and avoid harsh chemical cleaners.
Include this gentle method in your regular drain maintenance routine, and wipe the drain opening clean when you finish. Don’t mix vinegar with bleach or commercial cleaners.
Prevent Clogs, Odors, and Stubborn Blockages
To prevent future clogs and odors, use a sink strainer to catch food scraps, grease, and other debris before they enter the drain. Empty it daily, and wipe greasy dishes with a paper towel before washing them.
Don’t pour cooking oil, coffee grounds, flour, or fibrous peels down the sink. Let these materials cool, then discard them properly.
For regular drain maintenance, flush the drain weekly with hot water and a small amount of dish soap. If odors develop, sprinkle baking soda into the opening, add vinegar, wait 15 minutes, and rinse with hot water.
Avoid combining chemical cleaners, since dangerous fumes can result. When water drains slowly, remove visible buildup with a plunger or drain snake instead of forcing debris deeper.
Don’t use a plunger after applying chemical cleaner. Schedule a plumbing inspection if recurring blockages, leaks, gurgling, or sewage smells persist.
A professional can identify damaged pipes, tree-root intrusion, or hidden grease deposits before they cause costly damage.
Frequently Asked Questions
Can I Use Commercial Drain Cleaners in My Kitchen Sink?
You can use commercial drain cleaners in your kitchen sink, but you shouldn’t make them your first choice. Strong chemicals can damage pipes, harm septic systems, and create dangerous chemical reactions if you mix products.
They can also irritate your skin and lungs. Try eco friendly solutions first, such as boiling water, baking soda, vinegar, or a sink plunger.
If you choose a cleaner, follow its label carefully and never combine it with anything else.
How Often Should I Professionally Inspect My Kitchen Sink Drain?
You should professionally inspect your kitchen sink drain every one to two years, especially if your home has older plumbing.
Don’t wait for trouble to knock—schedule an inspection sooner if you notice recurring clogs, slow drainage, drain odor, leaks, or unusual sounds.
A plumber can identify hidden buildup, damaged seals, and pipe corrosion before they cause costly water damage.
If you’ve used chemical cleaners frequently, request an inspection annually because they may weaken pipes.
What Tools Are Best for Disassembling a Kitchen Sink Drain?
For disassembling a kitchen sink drain, you’ll need adjustable pliers, a basin wrench, screwdrivers, a bucket, and a flashlight. Plumber tools like tongue-and-groove pliers help loosen slip nuts, while a basin wrench reaches tight connections beneath the sink.
Use careful Disassembly techniques: place the bucket underneath, photograph each connection, and loosen fittings counterclockwise. Keep washers organized, avoid overtightening, and replace damaged seals before reassembly to prevent leaks and guarantee dependable drainage.
When Should I Replace Damaged Kitchen Sink Drain Pipes?
Replace damaged kitchen sink drain pipes when you notice persistent leaks, cracks, corrosion, sagging, foul odors, or repeated clogs after cleaning. Don’t wait if water reaches cabinets or flooring; hidden damage can worsen quickly.
Your drain pipe materials affect durability. Replace brittle plastic, rusted metal, or severely degraded fittings promptly. Consider replacement frequency based on condition, not a fixed schedule; quality pipes may last decades, while damage, poor installation, or harsh cleaners can shorten service life.
Can a Garbage Disposal Affect Kitchen Sink Drain Performance?
Yes, a garbage disposal can affect your drain performance. When you overload it, run it without enough water, or allow grease and fibrous scraps inside, you can create clogs, slow draining, odors, or backups.
You’ll improve flow by running cold water during use and briefly afterward, cutting food into small pieces, and avoiding grease, coffee grounds, bones, and stringy produce. If problems persist, inspect the trap and call a plumber for deeper blockages.
Conclusion
With three simple steps, you’ve cleaned your kitchen sink drain without summoning a plumber or negotiating with the mysterious sludge beneath the strainer.
Remove debris, freshen the drain naturally, and prevent future clogs by treating it like a drain, not a trash can. A little hot water, baking soda, and common sense go a long way.
Keep up the routine, and your kitchen sink drain will keep swallowing dishes instead of staging a smelly rebellion.