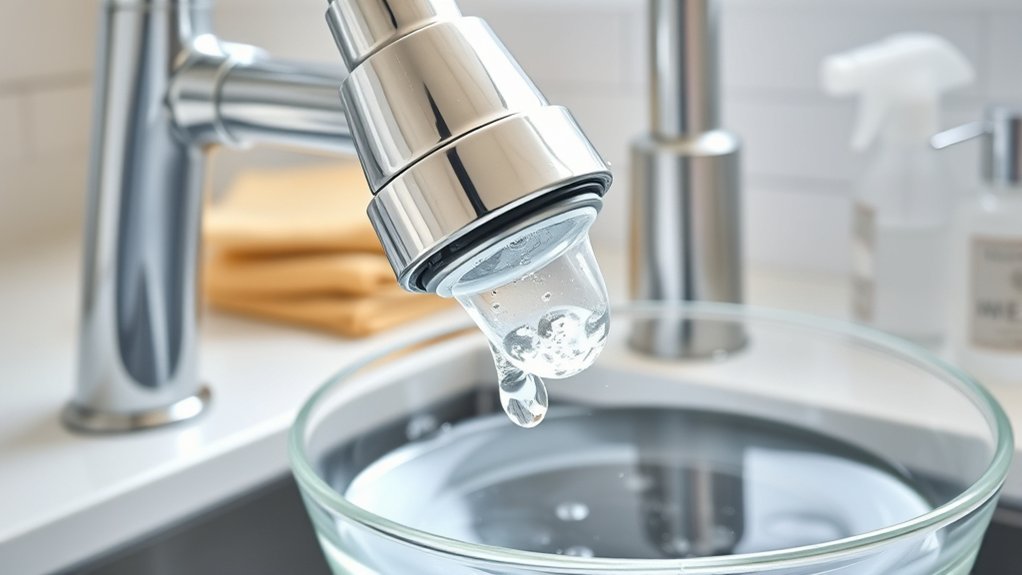
How to Clean a Kitchen Faucet Head in 5 Steps
A grimy kitchen faucet head can make even a clean sink feel unhygienic, especially when weak spray or uneven water flow gets in the way. You’re not alone—many people struggle with mineral buildup and clogged spray holes.
This simple guide to how to clean a kitchen faucet head will help you restore a smoother, cleaner flow.
Turn off the faucet, protect the drain, and gather white vinegar, a soft toothbrush, and a cloth.
Unscrew the faucet head carefully, using pliers over the cloth only if needed.
Soak the head in vinegar for 30 to 60 minutes, then rinse it.
Scrub the spray holes and aerator screen, clearing stubborn deposits with a toothpick.
Reattach the parts with the washer seated flat, turn on the water slowly, and check for leaks.
Follow these tips for a thorough clean.
Key Takeaways
- Gather an adjustable wrench, toothbrush, white vinegar, bowl, cloth, and towel. Protect the drain and work in a ventilated area.
- Turn off the faucet, support the hose, and carefully unscrew the faucet head. Save the washer and other components.
- Soak the faucet head in white vinegar for 30–60 minutes, then rinse thoroughly to dissolve mineral buildup.
- Scrub the spray holes and aerator screen with a soft toothbrush. Use a toothpick carefully for stubborn deposits.
- Reassemble the head with its washer, tighten gently, and turn on the water. Check for leaks and proper spray flow.
Gather Supplies and Protect the Drain
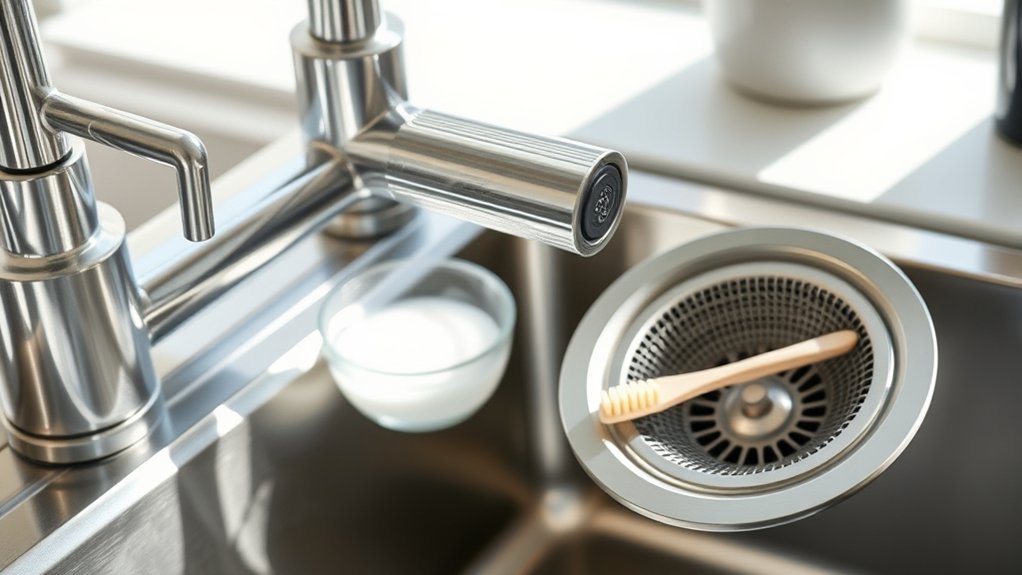
Before you begin, gather an adjustable wrench, an old toothbrush, white vinegar, a small bowl or plastic bag, and a clean cloth. These supplies support practical Cleaning techniques without requiring harsh chemicals or specialized equipment.
Choose a well-ventilated workspace, and clear items from around the sink so you can work comfortably.
Protect the drain before handling any small parts. Place the sink stopper firmly in position, or cover the opening with a folded cloth.
This barrier keeps screws, screens, and other pieces from falling into the plumbing. Set the bowl or bag nearby to hold removed components and prevent them from rolling away.
Keep the cloth within reach for wiping water and vinegar from the surrounding surface. If your faucet has electronic controls, avoid splashing those areas.
Planning these steps makes Faucet maintenance cleaner and easier. You’ll also reduce the chance of losing parts or creating unnecessary mess while preparing for the cleaning process.
Remove the Kitchen Faucet Head Safely
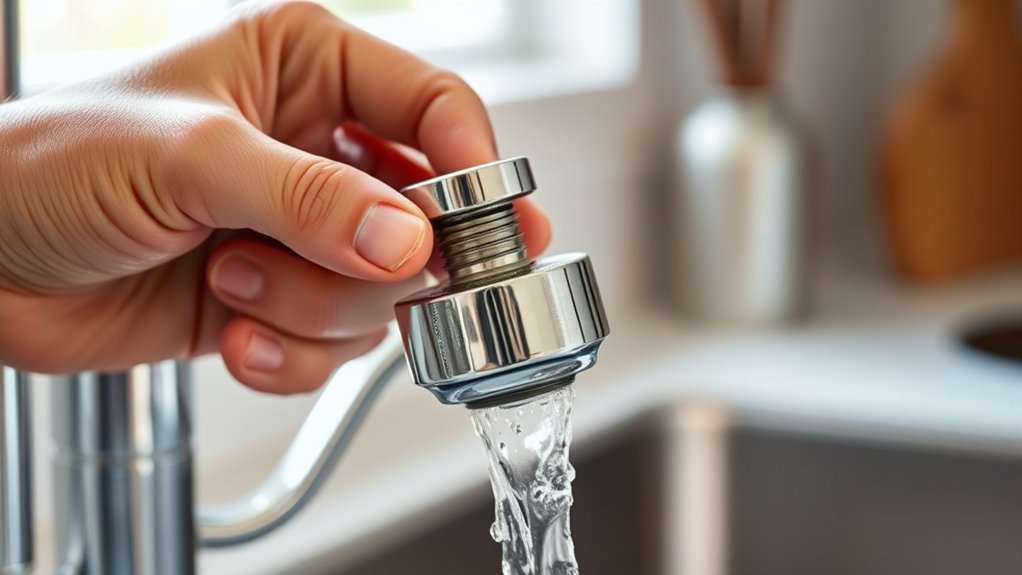
Turn off the faucet and pull the spray head down to expose the hose connection. Keep the hose supported so it doesn’t retract into the faucet body. Look beneath the head for the connection collar, then unscrew it counterclockwise by hand.
If it’s tight, wrap the collar with a soft cloth and use adjustable pliers gently. Don’t squeeze the spray head or scratch its finish.
Set a small towel under the connection to catch residual water. Once the head separates, check whether a rubber washer or screen remains inside the connector.
Remove loose parts carefully and place them in a labeled container so you can reinstall everything correctly. Don’t pull forcefully on the hose, since stretching or kinking it can cause leaks.
If the head won’t budge, stop and consult the manufacturer’s instructions. Correct removal supports future Faucet installation and prevents unnecessary Plumbing repairs.
Keep the exposed hose end clean and covered until you’re ready to reattach the head.
Soak the Faucet Head in White Vinegar
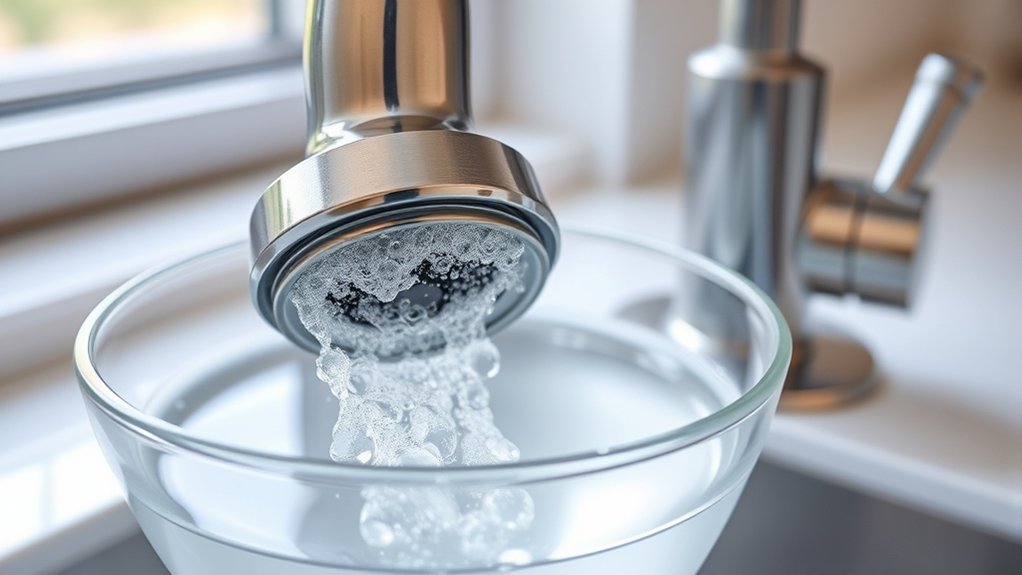
Place the faucet head in a bowl and cover it with white vinegar, making sure the spray openings stay submerged. Vinegar’s mild acidity helps dissolve mineral deposits, scale, and residue that can restrict water flow.
If the head floats, weigh it down gently with a small, clean glass or another nonabrasive object. Let the faucet head soak for 30 minutes to an hour.
For heavy buildup, extend the soak to several hours, but check the manufacturer’s care instructions first, especially if the finish is coated, brushed, or made from a sensitive material.
Don’t mix vinegar with bleach or other cleaners, because the combination can release dangerous fumes. When the soaking time ends, lift the head from the bowl and rinse it thoroughly with clean water.
A vinegar soak also supports rust prevention by removing mineral deposits that trap moisture against metal surfaces. Keep the rinsing gentle; you’ll address remaining debris in the next step.
Scrub the Spray Holes and Aerator Screen
After rinsing away the vinegar, gently scrub the spray holes with a soft toothbrush or nylon brush to loosen any remaining scale. Work around every opening using short, firm strokes without forcing bristles into the holes.
If mineral buildup remains, use a wooden toothpick to clear it carefully. Avoid metal tools, which can scratch the finish or enlarge the openings.
Next, inspect the aerator screen, if your faucet head has one. Remove trapped grit by brushing both sides under running water.
For stubborn deposits, place the screen in a small dish of fresh white vinegar for several minutes, then scrub it again. Hold the screen toward a light to check for blocked spaces.
A clear screen helps maintain steady water pressure and an even spray pattern. Rinse all parts thoroughly, checking that no loosened particles remain.
Wipe the exterior with a soft cloth. Avoid abrasive pads or harsh cleaners that could damage the faucet’s finish.
Reattach the Clean Faucet Head and Test the Spray
Once all parts are clean and fully rinsed, reattach the aerator screen and screw the faucet head back onto the hose or fitting by hand. Tighten it firmly, but don’t force the connection, since overtightening can damage the threads or gasket.
If your faucet uses a rubber washer, make sure it sits flat before you finish tightening.
Turn the water supply on slowly, then run cold water for several seconds. Check around the connection for leaks.
If you see dripping, shut off the water, remove the head, and inspect the washer, threads, and aerator for misalignment or debris. Reseat the parts and try again.
Test each spray setting, if available. The stream should flow evenly without splashing or weak spots.
If the water pressure still seems low, remove and rinse the aerator once more. Wipe the faucet head dry and add this simple step to your regular faucet maintenance routine for reliable performance.
Frequently Asked Questions
How Often Should I Clean My Kitchen Faucet Head?
You should clean your kitchen faucet head every one to three months to maintain strong water flow and prevent mineral buildup. If you have hard water, clean it monthly; soft-water homes may need cleaning every three months.
Also, clean the head whenever you notice reduced pressure, uneven spraying, or visible residue. Don’t wait for serious blockage.
Regular cleaning keeps your faucet hygienic, efficient, and working properly while extending its useful life.
Can I Use Lemon Juice Instead of White Vinegar?
Yes, you can use lemon juice as a Lemon alternative and Vinegar substitution, but it’s usually less acidic than white vinegar. You’ll still loosen mineral buildup, though you may need more time or repeated applications.
Soak the faucet head in undiluted lemon juice for 30–60 minutes, then scrub and rinse thoroughly. Unlike vinegar’s sharp smell, lemon leaves a fresher scent; however, don’t mix either ingredient with bleach, and avoid prolonged contact with delicate finishes.
What Causes Low Water Pressure After Cleaning the Faucet Head?
Mineral buildup may still block the aerator screen, reducing Water flow after cleaning. You might also have loosened debris that’s lodged deeper inside the faucet head or supply line.
Check that the screen, rubber washer, and spray settings sit correctly, then rinse them thoroughly. If pressure remains low, inspect the shutoff valves and hose for kinks.
You may need to flush the line or replace a damaged aerator.
When Should I Replace My Kitchen Faucet Head?
Replace your kitchen faucet head when cleaning, soaking, or removing mineral buildup doesn’t restore normal spray patterns or pressure. You should also replace it if you notice cracks, persistent leaks, rust, damaged threads, or a loose connection.
If water flow adjustment remains difficult, a new head may solve the problem. During Faucet installation, confirm the replacement matches your faucet’s threading and hose connection. Choose a model with features that suit your daily needs.
Are Commercial Faucet Cleaners Safe for All Faucet Finishes?
No, commercial faucet cleaners aren’t safe for every finish. Check your faucet material and the cleaner’s label before applying it. Avoid harsh acids, bleach, ammonia, abrasives, and strong solvents, which can damage chrome, brushed nickel, bronze, brass, or matte coatings.
Choose products specifically labeled for your finish, and test them on a hidden area first. Follow dilution instructions, rinse thoroughly, and dry with a soft cloth to prevent spotting or corrosion.
Conclusion
With these five simple steps, you can clean a kitchen faucet head and restore a steady, revitalizing spray. Protect the drain, remove the head carefully, soak it in white vinegar, and scrub away mineral buildup from the holes and screen.
Then reattach it, turn on the water, and check the flow. Like a clear stream after a storm, your kitchen faucet head should now run smoothly. Repeat this routine whenever deposits begin slowing the spray.