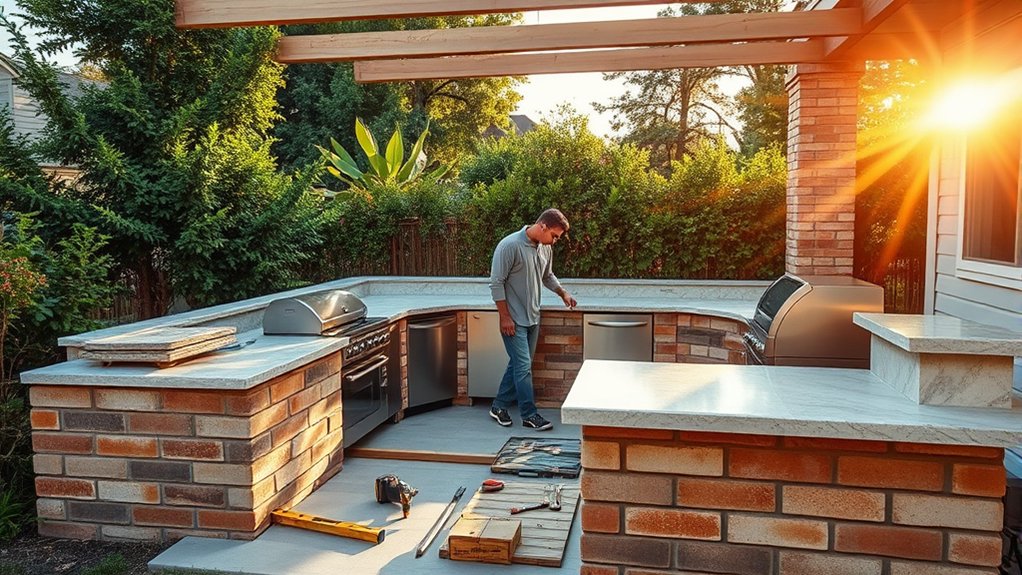
How to Build an Outdoor Kitchen in 10 Steps
Planning an outdoor kitchen can feel overwhelming when you’re unsure where to begin, how much to spend, or which features matter most. You’re not alone—many homeowners struggle to turn their backyard cooking ideas into a practical, comfortable space.
This guide explains how to build an outdoor kitchen in 10 steps, from defining your needs and setting a realistic budget to choosing materials, installing utilities, and adding safety features. Use these steps to create a durable outdoor kitchen designed for cooking, entertaining, and relaxing.
To build an outdoor kitchen in 10 steps, define your cooking and entertaining needs, set a budget with a 10–20% contingency, and choose a convenient site. Sketch zones for cooking, serving, dining, and relaxing.
Check codes and permits, then run approved gas, water, drainage, and electrical lines. Build a sloped, weatherproof base, add durable cabinets and counters, install appliances, and finish with storage, lighting, nonslip flooring, and safety features.
The following steps explain each stage in detail.
Key Takeaways
- Define the kitchen’s purpose, choose a suitable site, and sketch zones for cooking, serving, dining, and relaxing.
- Check building codes, HOA rules, permits, property restrictions, and utility routes before construction begins.
- Create a detailed budget covering appliances, materials, labor, permits, utilities, landscaping, and a 10–20% contingency.
- Build a weatherproof, well-drained foundation using durable materials, nonslip flooring, corrosion-resistant hardware, and safe clearances.
- Install utilities, cabinets, countertops, appliances, storage, lighting, and safety features, then test every system before use.
Define Your Outdoor Kitchen Project

Before choosing appliances or materials, define how you’ll use your outdoor kitchen. Decide whether you’ll prepare quick family meals, host large gatherings, or create a dedicated space for grilling and entertaining. Your answer will shape the kitchen’s size, layout, and essential features.
Define your outdoor kitchen’s purpose first, so its layout, size, and features support everyday meals, entertaining, or dedicated grilling.
Observe your yard’s traffic patterns, views, sunlight, wind, and proximity to the house. Choose a location that supports convenient movement between indoor and outdoor cooking areas. Consider how you’ll connect the kitchen to existing patios, decks, gardens, and utilities without disrupting the property’s function.
Explore Landscaping ideas that frame the kitchen, provide privacy, and complement your home’s style. Plan space for Outdoor furniture, including dining tables, bar seating, lounge chairs, or storage benches. Leave enough room for guests to move comfortably around open flames and work surfaces.
Sketch a simple layout showing cooking, serving, dining, and relaxation zones. Identify must-have activities and remove features that don’t support your intended use. This clear project definition will guide every later decision.
Set Your Outdoor Kitchen Budget
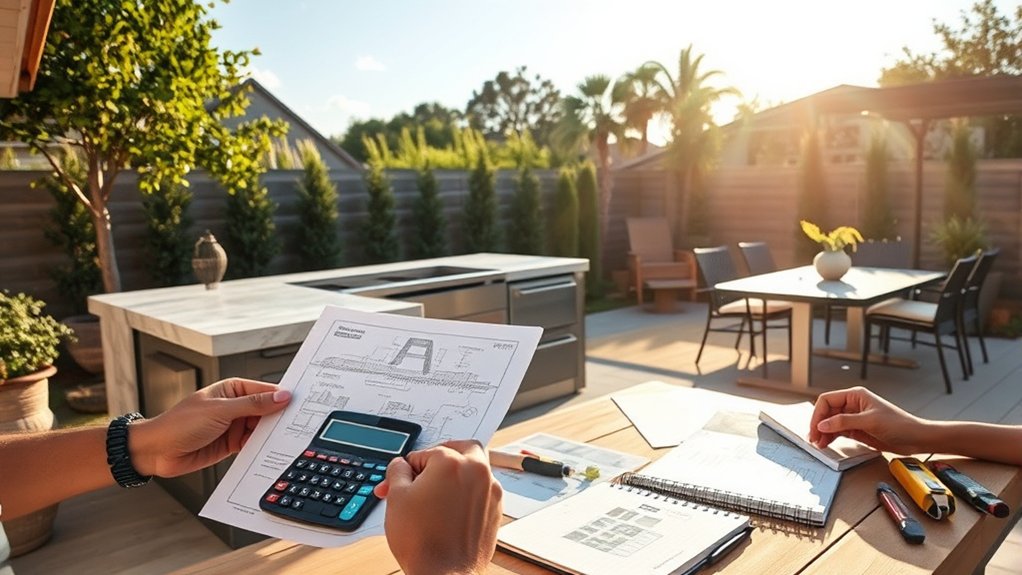
Set a realistic budget for your outdoor kitchen by estimating the costs of appliances, materials, labor, and installation. Be sure to set aside extra money for permits, utility connections, delivery fees, and unexpected changes. Planning for these expenses upfront helps you stay on track without giving up the features that matter most.
Estimate Total Costs
Estimate your total outdoor kitchen cost by adding materials, appliances, labor, permits, and utility work, then include a 10–20% cushion for unexpected expenses.
Request itemized quotes from contractors and suppliers so you can compare prices accurately. Separate fixed costs, such as permits and installation, from variable costs, including countertops, cabinetry, and finish materials.
Choose appliances based on your cooking habits rather than matching your indoor dining setup. Account for site preparation, drainage, electrical upgrades, gas lines, and water connections before approving the design.
Your landscaping design may require grading, retaining walls, lighting, or surface repairs, so ask your landscaper for a separate estimate.
Track every quote in a spreadsheet, note taxes and delivery fees, and update your total as selections change. This approach keeps your budget realistic and prevents costly surprises.
Plan for Extras
Plan for extras by reserving 10–20% of your outdoor kitchen budget for unexpected costs, such as site repairs, utility upgrades, delivery fees, permit changes, or material price increases. This cushion protects your project from costly delays and rushed compromises.
Include landscape integration, lighting, drainage, and outdoor furniture in your forecast, even if you’ll add them later. Review these allowances before approving plans:
| Extra | Why It Matters | Suggested Allowance |
|---|---|---|
| Site repairs | Fixes grading or foundations | 5–10% |
| Utility upgrades | Supports gas, water, or power | 5–15% |
| Delivery fees | Covers difficult access | 2–5% |
| Permits | Handles revisions or inspections | 2–5% |
Track every quote and update your budget as prices change. If your reserve remains unused, you can add better finishes, storage, or comfortable seating without exceeding your limit.
Choose the Best Kitchen Location
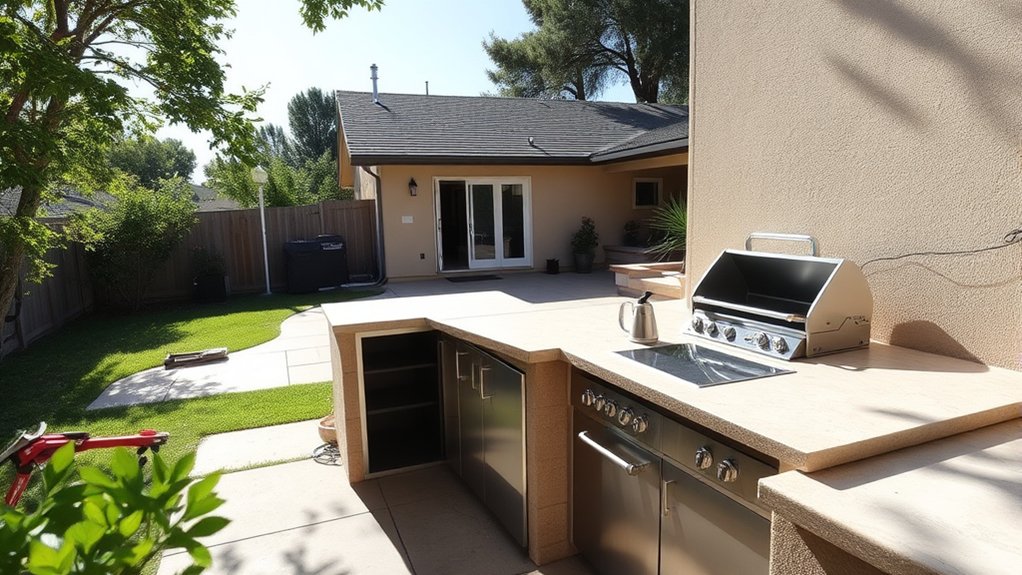
Choose a location that keeps your outdoor kitchen convenient, safe, and comfortable to use. Place it near your home’s entrance to simplify trips between indoor and outdoor cooking areas. A nearby door also makes it easier to bring out ingredients, dishes, and supplies.
Choose a convenient location near your home’s entrance to simplify transporting ingredients, dishes, and supplies between indoor and outdoor kitchens.
Check the site’s exposure before you commit. Avoid low areas where rainwater collects, and choose firm, level ground that won’t shift over time.
Consider prevailing winds so smoke and cooking odors won’t drift toward seating areas or through open windows. Keep grills and heat-producing appliances away from siding, fences, overhanging branches, and other combustible materials.
Account for sun and shade throughout the day. A naturally shaded spot can improve comfort, while strategic outdoor lighting keeps evening cooking safe and practical.
Think about landscape integration, too. Position the kitchen where it complements patios, gardens, and existing features without removing healthy plants unnecessarily.
Finally, confirm local building codes, utility access, property lines, and any homeowners’ association requirements before construction begins.
Plan a Practical Kitchen Layout
Plan your kitchen layout by creating separate zones for food prep, cooking, and serving. Place essential appliances where they’re easy to access, and leave plenty of counter space for preparing and serving meals.
Define Cooking Zones
Arrange your outdoor kitchen into clear cooking zones so each task flows naturally into the next. Start with a preparation zone where you’ll wash, trim, season, and organize ingredients.
Place it beside a cooking zone for outdoor grilling, roasting, or simmering, leaving enough room to work safely and turn comfortably. Add a serving zone near the cooking area so you can transfer finished food without crossing paths.
Include a cleanup zone where you’ll handle dishes, scraps, and spills after meals. As you map these cooking zones, consider how you move between them while carrying hot pans or sharp tools.
Keep frequently shared work surfaces close together, but separate raw-food preparation from serving tasks. A thoughtful arrangement reduces backtracking, improves safety, and makes entertaining feel easier.
Define boundaries with counters, carts, or changes in flooring.
Position Essential Appliances
With your cooking zones defined, position each appliance where it supports the tasks around it. Place the grill in the primary cooking zone, away from walls, overhanging branches, and flammable Outdoor decor.
Set the refrigerator near the food-preparation area so you can retrieve ingredients without crossing hot zones. Install the sink between storage and cooking areas to simplify rinsing and cleanup, while keeping plumbing access practical.
If you’re adding a side burner, locate it beside the grill for efficient meal preparation. Leave safe clearance around every heat-producing appliance, and follow the manufacturer’s ventilation requirements.
Consider prevailing wind, smoke direction, sunlight, and traffic from the house. Finally, coordinate appliance placement with Landscaping features, protecting plants and preserving sightlines.
Confirm utility connections before securing cabinets or equipment.
Allow Ample Counter Space
Give yourself enough counter space to prep ingredients, set down hot cookware, and serve food without crowding the grill or sink. Aim for at least 36 inches of uninterrupted workspace beside your cooking area, plus landing zones near the refrigerator and dining space.
Choose weather-resistant surfaces, such as sealed granite, stainless steel, or porcelain, and include a slight overhang for seating.
| Zone | Suggested space |
|---|---|
| Prep area | 36–48 inches |
| Grill landing zone | 18–24 inches |
Arrange counters to create an efficient work triangle, keeping supplies within easy reach. Leave room for cutting boards, serving trays, and small appliances you’ll use often.
Coordinate the countertop’s color and texture with your Outdoor decor, while matching its placement to your landscaping design. Measure appliances first, then add clearance for doors, movement, and comfortable entertaining.
Check Local Codes and Plan Utilities
Before you break ground, check local building codes, zoning rules, and homeowners’ association requirements for outdoor kitchens. Determine which permits are required by your city, county, or utility provider, and apply before scheduling work.
Review zoning restrictions involving property lines, easements, lot coverage, noise, smoke, and structures near fences or neighboring homes. Your local building department can explain inspections, appliance regulations, and electrical safety standards.
Plan utilities before you finalize your kitchen’s location or purchase equipment. Map routes for gas, water, drainage, electricity, and optional lighting.
Ask qualified professionals to assess existing connections and confirm whether you need larger service, shutoff valves, backflow protection, or dedicated circuits. Choose weather-rated wiring, outlets, fixtures, and appliances designed for outdoor use.
If you’ll use propane, plan a secure, ventilated storage area. For natural gas, arrange professional installation and leak testing.
Coordinate utility paths with your contractor, document their locations, and schedule inspections so approvals don’t delay the project. Check requirements again before making changes to the layout.
Build a Strong, Weatherproof Base
Start with a solid base that can handle moisture, heat, and changing weather. Choose durable materials that suit your climate and can support heavy appliances. Be sure to add a slight slope and proper drainage so water doesn’t pool and cause damage.
Choose Durable Materials
Choose materials that can withstand sun, rain, heat, and temperature changes without warping, rusting, or cracking. Select a sturdy foundation, weather-resistant cabinets, and countertops designed for outdoor use. Stainless steel, masonry, porcelain tile, and sealed natural stone offer strength while supporting your preferred material aesthetics. Before buying, compare material maintenance requirements with your available time and budget.
Prioritize these qualities when choosing each component:
- Cabinets: Choose marine-grade polymer, stainless steel, or treated wood with durable hardware.
- Countertops: Install granite, quartzite, concrete, or porcelain that resists stains and heat.
- Appliances: Select models rated for outdoor exposure, with corrosion-resistant finishes.
- Fasteners: Use galvanized or stainless-steel screws, hinges, and brackets to prevent rust.
Check manufacturer ratings and warranties, and inspect samples in natural light. You’ll create a stronger kitchen that stays attractive and functional through changing seasons.
Ensure Proper Drainage
A strong, weatherproof base starts with proper drainage to direct rainwater away from your outdoor kitchen and prevent pooling, erosion, and foundation damage. Before pouring concrete or laying pavers, assess the slope and guide runoff toward a suitable low point, garden bed, or approved drain.
Aim for a gentle grade away from your home and cooking area, while keeping the surface stable and level enough for appliances. Use compacted gravel beneath the base to improve water drainage and reduce shifting during freeze-thaw cycles.
You can also install channel drains, perforated pipes, or catch basins as effective drainage solutions where runoff collects. Seal joints and inspect the system after heavy rain.
Clear leaves and debris regularly so water keeps moving freely and your foundation stays protected.
Run Plumbing, Gas, and Electrical Lines
Before closing the walls or setting the countertop, run the plumbing, gas, and electrical lines your outdoor kitchen will need. Plan each route carefully, and check local codes before you dig or connect anything. Hire licensed professionals for gas and electrical work, especially when lines pass near water or combustible materials.
Plan utility routes before closing walls, follow local codes, and hire licensed professionals for safe gas and electrical installations.
- Install water supply and drain lines with proper shutoff valves, slope, and freeze protection. Don’t connect them to watering systems without backflow protection.
- Size the gas line for every appliance, then add an accessible shutoff valve and test the system for leaks.
- Protect electrical wiring in approved outdoor conduit, use weather-resistant boxes, and install GFCI protection with a dedicated circuit.
- Map outlets, appliance connections, and switches before installation, including circuits for refrigerators, grills, pumps, and outdoor lighting.
Seal wall penetrations, label every line, and photograph concealed routes for future repairs. Schedule inspections before covering the work. Keep utilities accessible, organized, and safely separated throughout the installation.
Choose Weatherproof Cabinets and Counters
Select cabinets and counters built for constant exposure to sun, rain, humidity, and temperature swings. Choose weatherproof materials such as marine-grade polymer, stainless steel, powder-coated aluminum, or sealed hardwood. These options resist swelling, rust, corrosion, fading, and insect damage better than standard indoor cabinetry.
Compare cabinet styles based on your storage needs and the look you want. Full-height doors hide supplies, while drawers keep utensils and smaller tools organized. Add adjustable shelves for flexibility, and choose soft-close, corrosion-resistant hinges and latches.
Make sure every cabinet has tight seams, raised legs, and proper drainage so water can escape rather than collect inside.
For counters, consider granite, quartzite, porcelain, concrete, or durable stainless steel. Select a nonporous, UV-resistant surface that won’t stain easily or require constant sealing.
Match the counter’s edge profile to your design, but avoid delicate projections that can chip. Confirm that each material suits your climate, maintenance preferences, and budget before ordering.
Don’t forget ventilation openings where needed to prevent trapped moisture.
Install the Grill and Appliances
Install the grill and appliances only after confirming that the cabinets, counters, utilities, and ventilation are ready. Measure each opening, then follow the manufacturer’s clearances for heat, airflow, and combustible materials.
Position the grill where you can cook comfortably without blocking walkways or creating smoke near doors and windows.
Before securing equipment, verify connections with qualified professionals:
- Connect gas lines with an approved shutoff valve and test every joint for leaks.
- Install a dedicated, weather-rated electrical circuit for refrigerators, burners, or outlets.
- Anchor the grill and appliances securely so wind, movement, and daily use won’t shift them.
- Check doors, lids, controls, and burners to ensure they open, close, and operate freely.
Choose stainless-steel, outdoor-rated appliances that match your cooking habits and climate. Keep finishes coordinated with your Outdoor decor, while placement supports your Landscaping design rather than crowding plants or views.
Run a complete test before cooking, checking ignition, temperature control, drainage, and ventilation. Clean construction debris away from hot surfaces, then review warranty requirements and maintenance instructions.
Add Storage, Lighting, and Safety Features
Add storage, lighting, and safety features once the appliances are in place and you understand how the space will function. Install weather-resistant cabinets or drawers for utensils, cookware, fuel, and cleaning supplies.
Choose sealed materials and raise stored items above the ground to limit moisture and pests. Add open shelving only where it won’t interfere with cooking or traffic.
Layer task lighting over the grill, prep area, and sink, then add ambient fixtures around seating. Use outdoor-rated, sealed fixtures and protect connections with appropriate covers.
Motion sensors or dimmers can improve convenience while reducing energy use. Keep pathways bright and unobstructed after dark.
Build safety into every detail. Position a fire extinguisher within reach, store propane tanks upright in a ventilated area, and keep combustibles away from heat.
Add nonslip flooring, rounded edges, and clearances around appliances. Finally, arrange outdoor furniture carefully, and use decorative accents that won’t block exits or create trip hazards.
Frequently Asked Questions
How Do I Protect My Outdoor Kitchen During Winter?
Protect your outdoor kitchen before freezing weather arrives. Start with these Winterization tips: clean appliances, shut off gas and water, drain plumbing, and disconnect power.
Store removable burners, hoses, cushions, and utensils indoors. Apply Cold weather protection by covering grills and cabinets with breathable, waterproof covers.
Seal countertops and inspect caulking for cracks. If temperatures may drop below freezing, install approved pipe insulation or use a professional winterizing service.
Check everything periodically after storms.
What Cooking Tools and Accessories Should I Keep Outdoors?
Keep an outdoor grill, sturdy cooking utensils, heatproof gloves, tongs, spatulas, a grill brush, an instant-read thermometer, skewers, and a cast-iron skillet outdoors. Choose rust-resistant stainless steel and store smaller tools in a sealed, weatherproof container.
You’ll also want an aluminum tray, cutting board, basting brush, and spray bottle for flare-ups. Keep propane accessories, paper goods, and electronics inside, where moisture, pests, and temperature changes won’t damage them.
How Often Should I Clean and Maintain My Outdoor Kitchen?
Your outdoor kitchen needs regular care to stay in peak shape. Follow a cleaning schedule: wipe counters and cooking surfaces after every use, empty grease trays weekly, and deep-clean grills monthly.
Apply these maintenance tips: inspect gas lines, burners, seals, and electrical connections each month. Remove rust promptly, and cover appliances before storms.
At season’s end, clean thoroughly, shut off utilities, and check for winter damage before reopening.
Can I Add an Outdoor Kitchen to a Rental Property?
Yes, you can add an outdoor kitchen to a rental property, but check your lease and local rental restrictions first. Ask your landlord for written approval before installing cabinets, counters, plumbing, gas lines, or permanent electrical connections.
To minimize damage and simplify removal, choose portable appliances, freestanding storage, and movable prep tables. Keep everything safe, code-compliant, and attractive. When you move, restore the area according to your agreement.
How Can I Prevent Insects and Pests Around My Outdoor Kitchen?
You can prevent insects and pests by sealing food, removing scraps, and keeping surfaces clean. For example, if you wipe spilled soda immediately, store leftovers in airtight containers, and empty trash after dinner, ants and raccoons have fewer reasons to visit.
Install screens, tight-fitting doors, and other insect barriers around enclosed areas. Use covered bins, eliminate standing water, and trim nearby vegetation.
Schedule professional pest control when problems persist, especially around gas lines or plumbing.
Conclusion
With thoughtful planning, you can build an outdoor kitchen that makes every meal feel like a celebration. You’ll define your goals, control your budget, choose a smart location, and create a layout that works.
After checking codes and installing utilities, you’ll add weatherproof materials, dependable appliances, storage, lighting, and safety features. Take each step carefully, and your new outdoor kitchen will become the heart of your backyard, a warm gathering place where memories simmer for years to come.