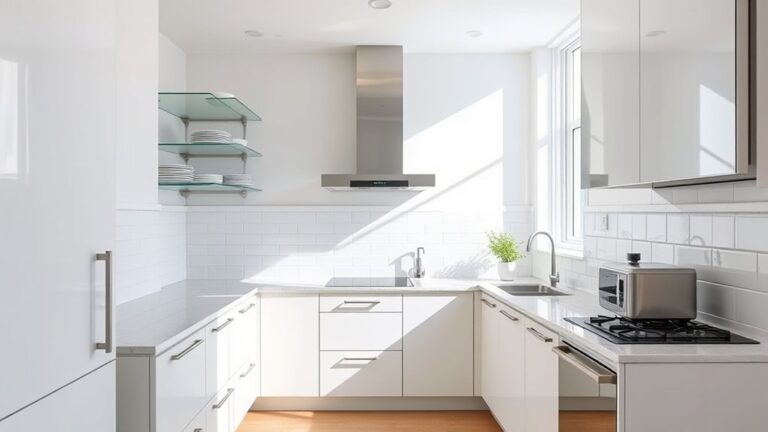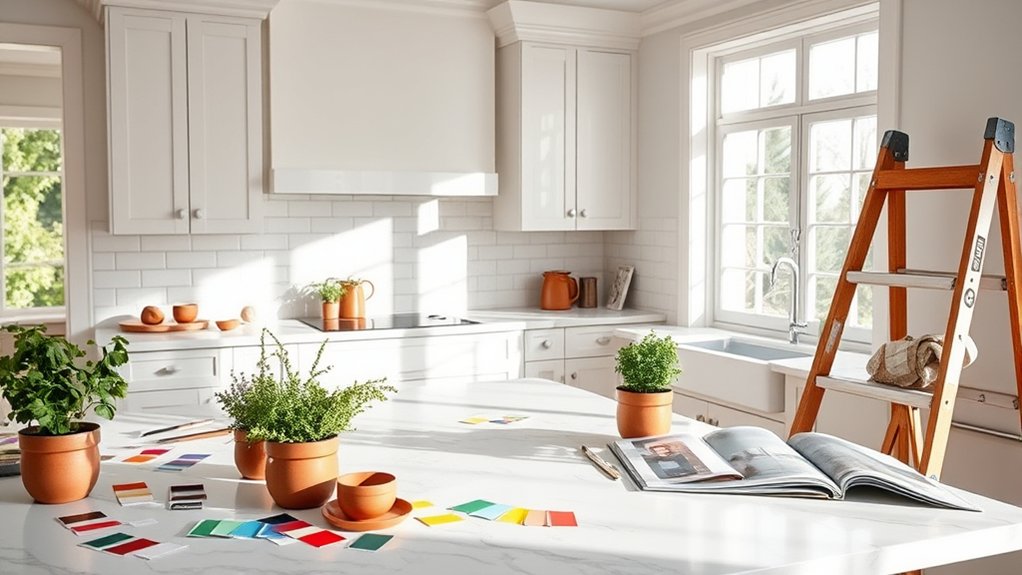
How to Decorate a Kitchen Step by Step
Decorating a kitchen can feel overwhelming when you’re trying to balance style, storage, and everyday function. You’re not alone—many people struggle to know where to begin or which upgrades are worth the investment.
This guide to how to decorate a kitchen step by step will help you create a space that feels cohesive, practical, and welcoming without making the process complicated.
Decorate your kitchen step by step by defining your style, priorities, and budget first. Measure the room, map appliances and pathways, then choose a cohesive color palette.
Refresh cabinets, countertops, backsplash, and layered lighting to improve function and atmosphere. Add an island, stools, and storage suited to how you cook.
Finish with coordinated textiles, artwork, hardware, greenery, and useful countertop accessories. The following steps will help you bring every detail together confidently.
Key Takeaways
- Define your kitchen’s style, priorities, layout, and decorating budget before purchasing materials or furnishings.
- Measure the room carefully, recording walls, openings, utilities, fixed features, and appliance clearances.
- Choose a cohesive color palette and coordinate cabinets, countertops, backsplash, hardware, textiles, and adjoining rooms.
- Layer ambient, task, and accent lighting using warm LEDs, under-cabinet fixtures, dimmers, and glare-conscious placement.
- Finish with organized storage, functional accessories, greenery, artwork, textiles, and durable countertop essentials.
Define Your Kitchen Style and Priorities
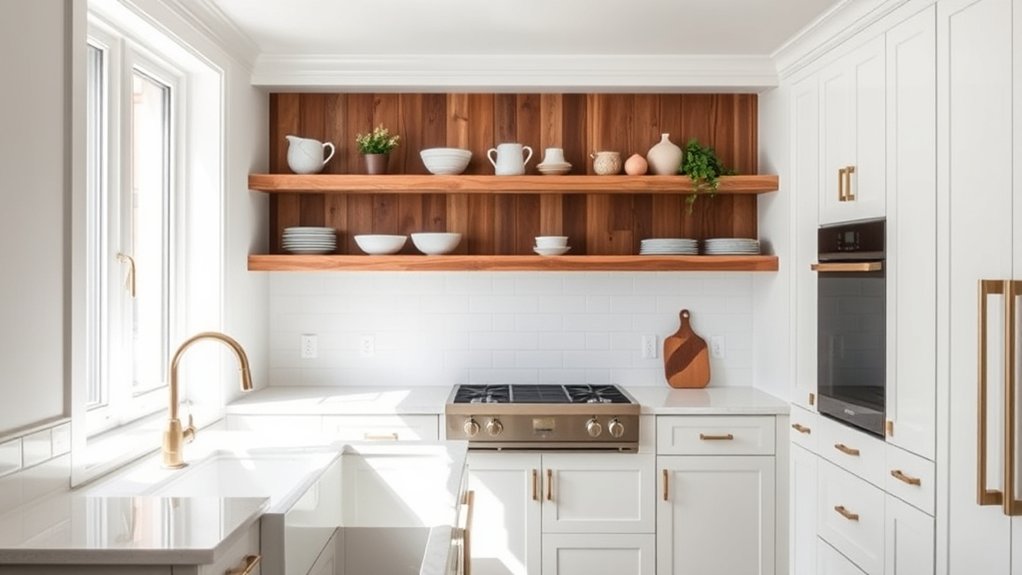
Before you choose colors, finishes, or accessories, decide how you want your kitchen to look and function. Start by collecting images that reflect your preferred mood, whether that’s warm farmhouse, sleek contemporary, colorful eclectic, or timeless traditional.
Look for repeated details, such as natural wood, matte hardware, open shelving, or bold tile, then use those patterns to define your style.
Next, list your priorities. Do you need easy-clean surfaces, more storage, a welcoming breakfast area, or room for frequent entertaining? Rank these needs so your decisions stay focused when choices compete.
Consider how your kitchen layout should support cooking, serving, conversation, and cleanup without discussing exact dimensions or locations yet.
Appliance placement should also reflect your routines. You might prioritize quick access to the refrigerator, generous counter space near the cooktop, or a quiet dishwasher away from seating.
Keep your vision practical, personal, and consistent, and let every decorating choice reinforce it.
Measure Your Kitchen and Map the Layout
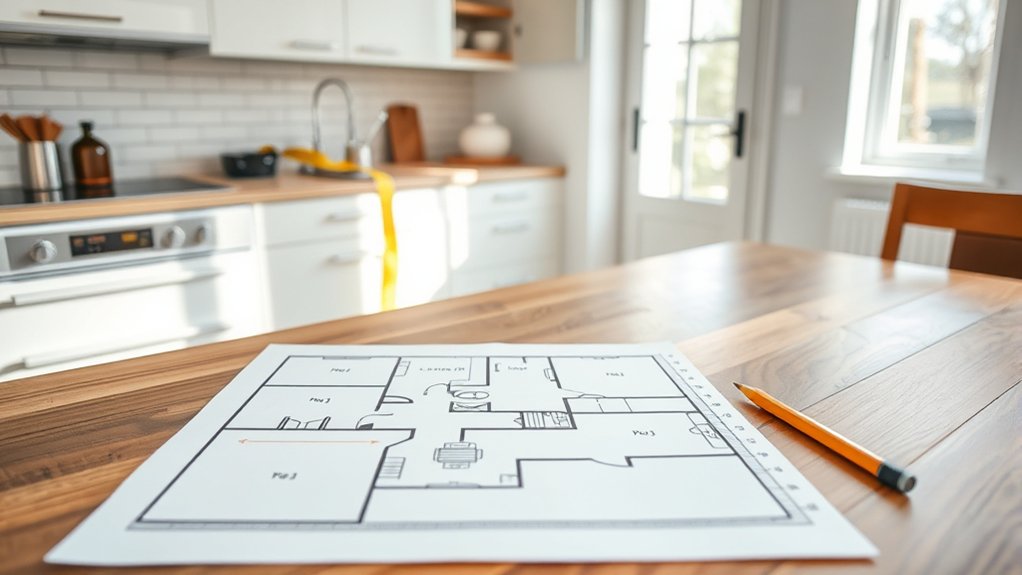
Before you choose finishes, measure your kitchen’s walls and floors carefully. Mark the location of every door, window, and opening, then sketch the layout to get a better sense of how the space flows.
Measure Walls And Floors
Accurate measurements give you a reliable foundation for decorating your kitchen. Measure each wall from corner to corner, recording the length and ceiling height. Check multiple points because older homes may have uneven walls or floors.
Note alcoves, columns, radiators, and other fixed features that affect usable space. Leave door and window details for the next step.
Measure the floor’s length and width, then calculate its square footage. For irregular areas, divide the room into rectangles, calculate each section, and add the totals.
Measure any changes in level and mark them on your sketch. Include extra material when estimating flooring options, since cutting creates waste.
Your measurements will help you estimate wall paint, plan furniture placement, and compare finishes accurately. Keep the sketch and numbers together for easy reference.
Note Doors And Windows
Now measure each door and window from the finished floor to the top of the frame, including the width, sill height, and distance from nearby corners. Record the swing direction, opening clearance, trim depth, and whether each unit sits flush with the wall.
Note sliding doors, pocket doors, casements, and other door styles, since their operation affects usable space and furniture choices. Identify radiators, handles, locks, blinds, and any obstructions near the openings.
For windows, document the glass height, mullions, sash movement, and views you want to preserve. Mark natural light levels at different times, too.
Measure the window recess and note existing window treatments, such as curtains, shutters, or roller shades. Keep these measurements with your wall and floor notes, and photograph every opening for accurate reference during decorating.
Sketch The Kitchen Layout
Start by sketching your kitchen’s basic shape on graph paper. Mark walls, corners, doors, windows, and fixed features such as plumbing, radiators, and built-in appliances.
Measure every wall twice, recording lengths, ceiling height, and the distance between openings. Note which way doors swing and where windows begin above the floor.
Then map your working zones before choosing finishes or furniture.
- Mark water, gas, electrical, and waste connections.
- Reserve clear paths between work areas.
- Plan appliance placement around practical workflow.
- Allow space for doors, drawers, and seating.
- Include kitchen ventilation near cooking appliances.
Use one square to represent a fixed measurement, and label each dimension clearly. Check your drawing against the actual room, since walls may not be perfectly straight.
A scaled plan helps you compare cabinet layouts, spot awkward clashes, and decorate confidently without expensive surprises later.
Plan Your Kitchen Decorating Budget

Before you buy paint, hardware, or accessories, set a realistic kitchen decorating budget based on what you can comfortably spend. Review your income, savings, and upcoming expenses, then choose a firm spending limit.
Divide that amount among surfaces, lighting, hardware, textiles, artwork, and professional help. Include sales tax, delivery fees, tools, and a contingency fund of about 10 percent for surprises.
Use budget planning to compare priorities and decide where you’ll invest or save. Measure your kitchen before shopping so you can estimate quantities accurately and avoid costly overbuying.
Gather several quotes for installation, electrical work, or custom pieces, and ask what each price includes. Track every purchase in a spreadsheet or notes app, updating your remaining balance after each decision.
During material selection, compare durability, maintenance needs, and price rather than choosing solely by appearance. Set aside money for finishing touches, but postpone nonessential purchases if costs rise.
A clear plan helps you decorate confidently without straining your finances.
Choose a Kitchen Decorating Color Scheme
Choose a color scheme that complements your kitchen’s cabinets, countertops, flooring, and natural light. Start by observing existing colors and deciding whether you want a warm, cool, or balanced atmosphere.
Then build a simple color palette with one dominant shade, one supporting color, and a few accent tones. Test paint cards or fabric samples at different times, because morning and evening light can change how colors appear.
- Choose warm whites, creams, or earthy hues for a welcoming feel.
- Select soft blues, greens, or grays for a calm, airy mood.
- Use bold accent tones sparingly to add personality without visual clutter.
- Repeat colors in artwork, rugs, curtains, or small accessories for cohesion.
- Check every sample beside your kitchen’s fixed finishes before committing.
Keep adjoining rooms in mind so your kitchen feels connected to the rest of your home. If the space is small, lighter colors can make it feel larger, while deeper shades create intimacy.
Trust your preferences, but limit your palette to three main colors for a polished result.
Upgrade Cabinets, Countertops, and Backsplash
Once your color scheme is set, update the cabinets, countertops, and backsplash to reinforce it and give the kitchen a refreshed look. Start with the cabinets, since they cover the most visual space.
Reface sturdy boxes, replace outdated doors, or repaint them for a budget-friendly transformation. Compare Cabinet finishes such as matte paint, stained wood, laminate, and high-gloss lacquer, then choose an option that suits your style and cleaning needs.
Next, select durable Countertop materials that complement your cabinet color. Quartz offers low maintenance, granite adds natural variation, butcher block brings warmth, and laminate provides affordable flexibility.
Measure carefully and plan for edge details before ordering.
Finish the upgrade with a backsplash that connects both surfaces. Choose ceramic tile, porcelain, glass, or stone in a pattern that supports your palette without overwhelming it.
Extend the backsplash to the upper cabinets for a polished appearance, and use contrasting grout to emphasize its shape and texture.
Layer Kitchen Lighting for Every Task
Layered lighting makes a kitchen more functional and inviting by combining ambient, task, and accent fixtures. Start with a ceiling fixture or recessed lights to provide even ambient brightness.
Layer ambient, task, and accent lighting to create a kitchen that feels both functional and inviting.
Then add task illumination where you chop, prep, wash, and cook. Under-cabinet strips reduce shadows across worktops, while a focused fixture near the range improves visibility without glare.
Layer lighting thoughtfully by choosing warm, consistent bulbs and placing switches where you can reach them easily. Use dimmers to adjust the mood from bright morning prep to relaxed evening cleanup.
Add accent lighting inside glass-front cabinets or beneath toe-kicks to highlight architectural details, but keep decorative glow secondary to safety.
- Choose LED bulbs for efficiency and long life.
- Match color temperatures so the room feels cohesive.
- Aim fixtures away from shiny surfaces to limit glare.
- Install separate controls for each lighting layer.
- Test brightness at night before finalizing placement.
You’ll create a flexible kitchen that supports every task while feeling comfortable and welcoming.
Choose Kitchen Islands, Stools, and Carts
A well-planned island can anchor your kitchen while adding prep space, storage, and a natural gathering spot. Measure your room first, leaving comfortable clearance around the island and appliance doors.
Compare Kitchen island styles, from streamlined waterfall counters to farmhouse worktables, and choose a shape that suits your floor plan. A rolling cart works well when you need flexible prep space or occasional serving space without committing to built-in construction.
Select a durable countertop that complements your cabinets and handles daily use. Then choose stools that match the island’s height: counter stools suit standard counters, while bar stools fit taller surfaces.
Consider stool materials such as wood, metal, leather, or woven fiber, balancing comfort with your decorating style. Add a footrest and a supportive seat so guests can linger comfortably.
Keep the island’s finish cohesive with nearby surfaces, but use color or hardware to give it a distinct, polished character.
Organize Storage Around How You Cook
- Store oils, spices, and seasonings beside your prep area.
- Keep pots, pans, and lids near the cooktop.
- Place knives and cutting boards together near your main counter.
- Arrange plates, bowls, and glasses close to the dishwasher.
- Reserve higher shelves for appliances you use occasionally.
Use drawer dividers for utensil storage, separating cooking tools from serving pieces and measuring equipment. Choose clear containers for staples when they make quantities easy to spot, and label them consistently.
If you bake often, dedicate one cabinet to flour, sugar, pans, and mixers. If you entertain, keep serving platters together.
Your storage should support your routines, reduce reaching, and make cleanup quicker. Review the arrangement after a week and adjust anything that slows you down.
Add Kitchen Textiles, Artwork, and Accessories
Add personality and polish with coordinated textiles that complement your kitchen’s colors and style. Then, display artwork to create a focal point and arrange functional accessories where they’re easy to reach. Together, these thoughtful details make your kitchen feel welcoming, personal, and complete.
Choose Coordinated Textiles
Coordinate your kitchen textiles by choosing a consistent palette and repeating one or two colors across dish towels, runners, potholders, and seat cushions. Aim for harmony without making every piece identical. Consider each item’s purpose, maintenance needs, and texture before you buy.
- Choose washable cotton for everyday towels.
- Check Textile durability when selecting seat cushions.
- Mix subtle Fabric patterns with solid colors.
- Match warm or cool tones throughout.
- Rotate seasonal accents for a fresh look.
Keep busy patterns away from one another so your kitchen feels calm rather than cluttered. Use texture to add interest: pair woven runners with smooth napkins or quilted potholders.
Measure surfaces before choosing runners or cushions, and select nonslip options where needed. You’ll create a polished, practical foundation for the rest of your kitchen accessories.
Display Kitchen Artwork
Once your textiles establish a cohesive palette, display kitchen artwork that adds personality without competing with the room’s practical features. Choose pieces that echo your selected colors while introducing contrast through shape, texture, or scale.
Hang a framed print above a breakfast nook, or create a small gallery on an open wall away from cooking splashes. Wall murals can transform a plain surface into a striking focal point, especially when you choose a washable, moisture-resistant finish.
For a traditional touch, arrange Decorative plaques in a balanced row or cluster. Keep artwork at eye level, and leave enough breathing room around each piece so the kitchen doesn’t feel crowded.
Secure every frame properly, particularly near busy walkways. Rotate seasonal prints occasionally to refresh the room without changing its overall design.
Style Functional Accessories
Finish the look with functional accessories that reinforce your kitchen’s palette while keeping everyday essentials within reach. Choose pieces that add personality without crowding counters or interrupting prep.
- Layer washable runners or cotton mats to soften hard floors and define work zones.
- Fold colorful towels over an oven handle, and keep extra linens in a nearby drawer.
- Display decorative vases with fresh herbs, branches, or utensils for useful beauty.
- Group cutting boards against the backsplash so you can grab them quickly.
- Install statement lighting above an island to brighten tasks and create a focal point.
Balance open displays with concealed storage, especially near the sink and cooktop. Repeat two or three colors across textiles, ceramics, and artwork for a polished connection.
Edit accessories seasonally, removing anything that collects dust or blocks movement. Your kitchen should feel inviting, practical, and distinctly yours, not staged or difficult to maintain.
Add Hardware, Greenery, and Countertop Essentials
Add personality and function with thoughtfully chosen hardware, a few plants, and useful countertop essentials. Begin with hardware upgrades that complement your cabinets and faucet.
Replace dated knobs with pulls in brass, matte black, or polished nickel, but keep finishes consistent for a cohesive look. Measure existing holes before buying, and choose comfortable shapes you can grip easily.
Next, plan greenery placement around light, airflow, and daily routines. Set a small herb pot near a sunny window, place a trailing plant on an open shelf, or add a compact arrangement to an island corner.
Choose low-maintenance varieties if you’re often away, and use saucers to protect surfaces.
Finish your counters with attractive items you’ll use regularly. Display a wooden cutting board, ceramic utensil crock, salt cellar, or fruit bowl.
Corral smaller pieces on a tray to prevent visual clutter, and leave generous prep space clear. Edit accessories seasonally so your kitchen stays practical, fresh, and inviting.
Frequently Asked Questions
How Can I Decorate a Rental Kitchen Without Making Permanent Changes?
You can refresh your rental kitchen without permanent changes by adding color, texture, and smart storage. Try decorative wall decals on a focal wall, and choose removable backsplash options, such as peel-and-stick tiles or washable panels.
Swap cabinet hardware only if your landlord allows it, or use adhesive knobs. Add a colorful runner, countertop canisters, open shelving, and battery-powered lighting.
Display artwork, plants, and attractive cookware to personalize the space while protecting every original surface.
Which Kitchen Decorating Materials Are Easiest to Clean and Maintain?
Choose easily washable materials and low-maintenance surfaces for the simplest kitchen upkeep. Ceramic tile, sealed quartz, stainless steel, glass, and laminate are especially practical because they resist stains and wipe clean quickly.
Use washable, semi-gloss paint on walls, and select machine-washable rugs for added comfort. Avoid porous stone, unfinished wood, and heavily textured finishes, which trap grease and require frequent sealing or scrubbing.
These choices keep your rental kitchen fresh with minimal effort.
How Can I Make a Small Kitchen Feel Larger?
You can make a small kitchen feel larger by letting light lead the way. Choose pale color schemes, reflective backsplashes, and consistent finishes to visually expand walls.
Improve space optimization with vertical shelving, magnetic racks, and pullout organizers. Keep countertops clear, hide appliances when possible, and select glass-front or open cabinets to create depth.
Use under-cabinet lighting to brighten corners, while one oversized mirror can make the room feel twice as spacious.
What Safety Considerations Should I Follow When Decorating a Kitchen?
Prioritize safety when decorating your kitchen by keeping fabrics, paper, and decorations away from stovetops and other heat sources. Follow fire safety practices: install working smoke detectors, keep a fire extinguisher accessible, and never block exits.
Prevent electrical hazards by keeping cords away from sinks, using grounded outlets, and avoiding overloaded power strips. Secure rugs, anchor shelves, and choose shatter-resistant décor.
You’ll create an attractive space without introducing unnecessary risks or accidents.
How Often Should I Refresh My Kitchen Decor?
How often should you refresh your kitchen decor? Aim for small updates every season and a more substantial refresh every three to five years. You can swap textiles, artwork, plants, and accessories to reflect seasonal updates without overspending.
When your color schemes feel dated, worn, or disconnected from your style, repaint walls or replace accent pieces. Don’t change everything at once. Thoughtful adjustments keep your kitchen inviting, functional, and fresh.
Conclusion
Decorating your kitchen doesn’t have to feel overwhelming. When you define your style, measure carefully, set a budget, and choose a cohesive color scheme, every decision becomes easier.
Upgrade key surfaces, select practical seating, and organize storage around how you cook. Then, layer in textiles, artwork, greenery, hardware, and everyday essentials to make the room feel personal.
Think of your finished kitchen as a recipe: each thoughtful detail adds flavor, function, and warmth to the space you’ll enjoy daily. With these kitchen decorating ideas, you can create a room that feels both beautiful and practical.