How to Build a Mud Kitchen in 7 Steps
Creating a fun outdoor play space can feel overwhelming, especially when you want it to be safe, durable, and easy for children to use. You’re not alone—many parents struggle to know where to start. This mud kitchen guide breaks the project into simple steps so you can build a practical play area with confidence.
Choose a safe, level garden spot near water, away from hazards. Gather weather-resistant wood, screws, tools, and natural play materials. Build and secure a sturdy frame, then add a smooth worktop and level shelves. Install a shallow sink, drainage, hooks, and storage.
Choose child-friendly tools without sharp edges or loose parts. Finally, sand surfaces, cover hardware, seal the wood, and inspect the kitchen regularly. The steps below provide helpful details for building one that lasts.
Key Takeaways
- Choose a level, visible location near water, away from hazards, with suitable sunlight and good drainage.
- Gather weather-resistant materials, essential tools, and natural play ingredients. Sand all wood and remove sharp or fragile parts.
- Build and secure a sturdy frame. Check the corners, joints, legs, braces, and overall stability before use.
- Add a smooth worktop, accessible shelves, a child-height basin, hooks, and storage for utensils and containers.
- Plan drainage, apply child-safe outdoor sealant, and elevate the kitchen. Inspect, clean, and repair it regularly.
Choose a Safe, Suitable Garden Spot
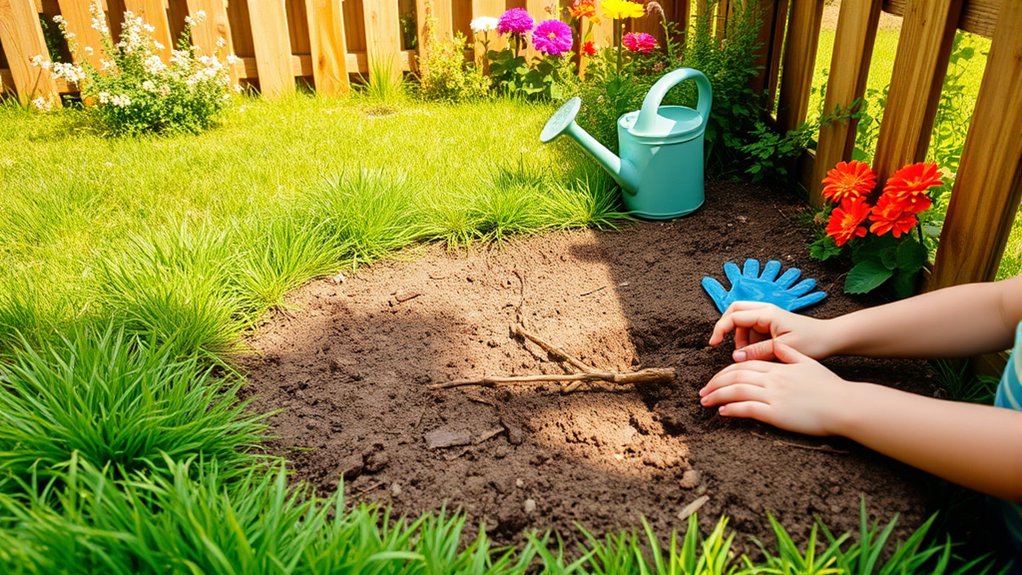
Choose a level spot in your garden that’s easy to supervise and close to a water source. You’ll want a location where you can watch children while they play, especially if younger children use the mud kitchen.
Choose a level, visible spot near water, allowing adults to supervise children easily while they enjoy the mud kitchen.
Keep the area away from driveways, ponds, steep slopes, thorny plants, and other hazards.
Consider your garden layout before choosing the final position. Leave enough room for children to move safely around the kitchen without blocking paths, gates, or planting beds.
Check the ground after rain to ensure it doesn’t become slippery, flooded, or excessively muddy.
Evaluate sunlight exposure throughout the day. Partial shade can keep children comfortable and protect the play area from intense heat, while some morning sun helps the space dry.
Avoid placing the kitchen beneath weak branches or where falling debris could create risks. Mark the proposed spot, then observe it at different times before you commit to construction.
This planning will make supervision easier and play safer.
Gather Tools and Mud Kitchen Materials
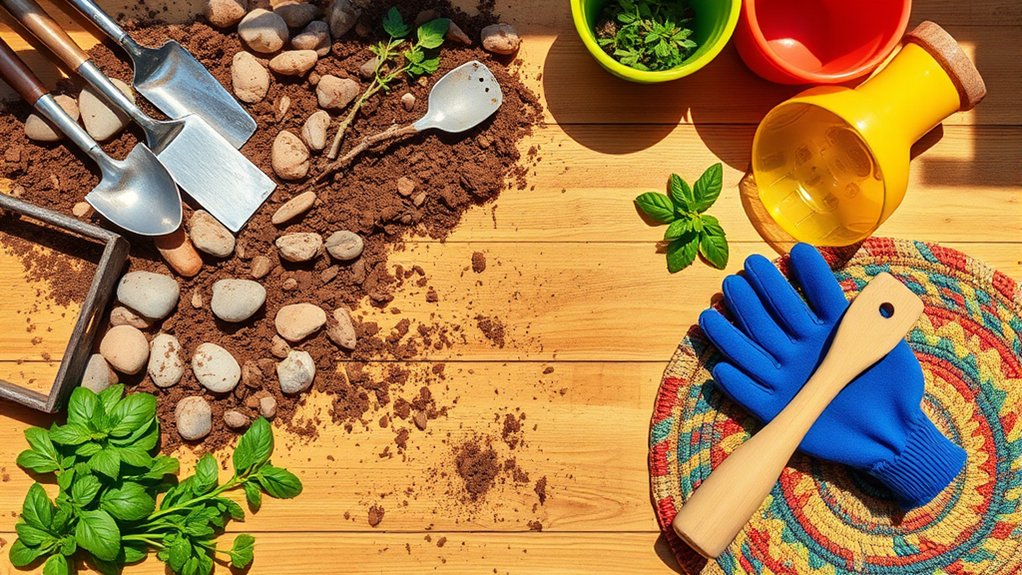
Gather the essential tools, including a saw, drill, screws, and measuring tape. Then, use a kitchen-material checklist to collect sturdy shelves, bowls, pots, utensils, and water containers. Don’t forget safety gear such as gloves, goggles, and protective aprons for the children.
Essential Tools
Before you begin building, gather the essential tools and materials for a safe, functional mud kitchen. Choose a sturdy work surface, then collect a tape measure, pencil, square, screwdriver, drill, drill bits, hammer, hand saw, sandpaper, clamps, and work gloves.
You’ll also need screws rated for outdoor use and a level to keep every section stable. If you’re cutting lumber, wear safety glasses and secure each piece before sawing.
Consider your garden design and mud kitchen themes before selecting colors, shapes, or decorative details. Keep tools organized in a box so children can’t access them during construction.
Inspect reclaimed wood carefully, removing nails and splinters. Plan where you’ll work, and leave enough space to measure, cut, assemble, and safely move around the kitchen structure.
Kitchen Material Checklist
With your tools ready and your workspace set up, make a complete material checklist before construction begins. Choose sturdy, weather-resistant pieces that fit your child’s height and the kitchen’s location. Gather:
- A wooden pallet, reclaimed boards, or a small table for the frame.
- Stainless-steel bowls, old pots, pans, cups, and spoons for mixing and serving.
- Natural clay, soil, sand, stones, leaves, and water containers for imaginative recipes.
- Exterior screws, hinges, hooks, shelves, and waterproof paint for durable finishing touches.
Select materials without sharp edges, loose splinters, or fragile parts. Repurpose safe household items to reduce costs, but check each piece for cleanliness and stability.
Add a bucket, basin, or shallow tub to hold mud, plus a drying rack for tools. Keep extra boards and fasteners available for adjustments during assembly.
Store everything together so construction stays organized and efficient.
Safety Gear Supplies
Protect yourself and your child during construction by gathering safety glasses, work gloves, a dust mask, closed-toe shoes, and hearing protection for noisy tools.
Choose Protective gloves that fit snugly, letting you grip boards, screws, and hand tools without slipping.
Use Safety goggles whenever you cut, drill, sand, or handle dusty materials. Regular glasses won’t shield your eyes from flying debris.
A properly fitted dust mask helps you avoid breathing sawdust, soil particles, or old paint flakes.
Wear closed-toe, non-slip shoes to protect your feet from dropped tools and nails.
If you use loud power tools, put on hearing protection before switching them on.
Keep your child away from active work areas, and give them appropriately sized gear for supervised tasks.
Check each item for damage, then store everything securely after construction ends.
Build and Secure the Mud Kitchen Frame
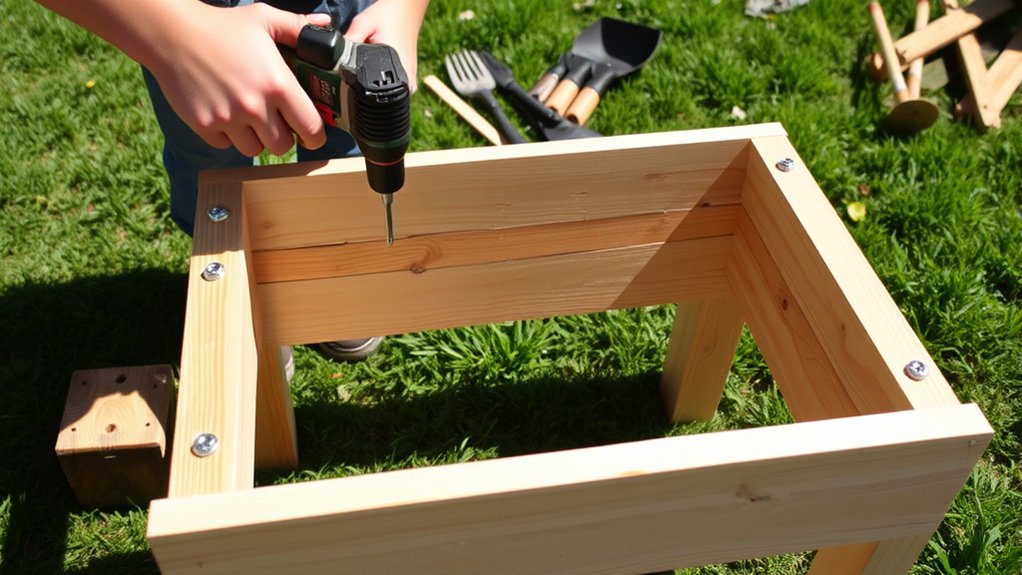
Start by assembling the frame on level ground, securing the legs to the countertop supports with exterior-rated screws. Check each corner with a square, then tighten the fasteners firmly without splitting the wood.
A stable frame gives you a safer foundation for imaginative outdoor play.
- Position the front legs evenly, keeping the opening accessible for children.
- Attach the rear legs, matching their height so the structure won’t rock.
- Add side braces between paired legs to prevent swaying during messy play.
- Test stability by gently pushing from several directions before letting children use it.
For strong Mud kitchen safety, round sharp edges, countersink screw heads, and inspect every joint for snags. Choose untreated, splinter-free lumber, and keep the frame low enough for children to reach comfortably.
This child friendly design should feel sturdy without creating climbable gaps or unstable projections. Recheck the frame after the first few uses, especially if rain, shifting soil, or enthusiastic play loosens any connection.
Don’t move on until everything feels solid and secure.
Add a Durable Worktop and Shelves
Choose a durable, weather-resistant material for the worktop so it can withstand messy play and frequent cleaning. Then, add practical shelves beneath or beside it to keep pots, tools, and containers within easy reach.
Be sure to secure every surface firmly, and smooth or cover any sharp edges to help keep children safe.
Choose Durable Worktop Materials
For a mud kitchen worktop, use durable materials such as exterior-grade plywood, sealed hardwood, or recycled plastic that can withstand water, dirt, and frequent scrubbing. Compare these countertop options by considering your climate, budget, and desired appearance.
Prioritize weather resistance so rain, sunlight, and temperature changes won’t cause rapid warping, cracking, or fading.
- Exterior-grade plywood: Paint or seal every edge to block moisture.
- Sealed hardwood: Choose a sturdy species, then recoat it regularly.
- Recycled plastic: Enjoy a nonporous surface that cleans easily.
- Stainless steel: Select it for exceptional durability and simple sanitation.
Round sharp corners and sand the entire surface smooth before installation. Fasten the worktop securely to the frame, leaving no wobble during messy play.
Apply a child-safe, nontoxic finish, and inspect the coating each season for wear or peeling.
Install Practical Storage Shelves
Add practical storage shelves beneath the worktop to keep pots, utensils, and containers organized and within easy reach. Choose treated timber, exterior-grade plywood, or recycled plastic that can withstand moisture, mud, and frequent cleaning.
Sand every edge smooth, then seal wooden surfaces with a child-safe outdoor finish. Mount sturdy brackets beneath the worktop, spacing them evenly to prevent sagging.
Check that each shelf sits level and leaves enough room for children to reach items safely. For better storage organization, group tools in baskets and place heavier containers on the lower shelf.
Allow water to drain by leaving small gaps between boards. Test shelf durability by pressing down firmly before your children use the kitchen.
Inspect fasteners regularly, tighten loose screws, and replace cracked or warped materials promptly.
Add a Sink, Hooks, and Tool Storage
Give the mud kitchen a practical workstation by fitting a shallow sink, mounting hooks, and creating simple tool storage. Choose a weather-resistant basin, such as a recycled bowl or stainless-steel pan, and secure it firmly at child height.
Plan water drainage before installation: drill a small outlet, add tubing, or let water flow into a gravel bed away from the structure. Skip decorative fixtures unless they serve a purpose. A simple tap or hand pump can make the station feel authentic without complicating maintenance.
- Position the sink where children can reach it comfortably.
- Attach sturdy hooks beneath the counter for aprons, cups, or brushes.
- Build a narrow rack from scrap timber for containers and utensils.
- Label storage spots with pictures so cleanup feels straightforward.
Sand every edge, seal exposed wood, and check each fastener regularly. Keep storage open and visible, giving children an inviting place to collect, use, and return their mud-kitchen equipment.
Choose Safe Tools for Mud Kitchen Play
Once the sink and storage are ready, stock the mud kitchen with tools that can handle messy play without creating hazards. Choose child-friendly tools with rounded edges, sturdy handles, and sizes small hands can control.
Look for non-toxic materials, such as stainless steel, untreated wood, or food-grade silicone. Skip sharp knives, glass, rusty metal, and tools with loose parts.
Check every item regularly, and remove anything cracked, splintered, or broken.
| Tool | Safe choice | Avoid |
|---|---|---|
| Spoon | Wooden or silicone | Sharp metal |
| Bowl | Wide, sturdy plastic | Brittle glass |
| Cup | Flexible, food-grade silicone | Tiny cups |
| Whisk | Rounded stainless steel | Pointed wires |
Let your child use measuring cups, sieves, ladles, spatulas, and old baking tins for imaginative recipes. Select tools without choking-sized detachable pieces, especially for younger children.
Keep handles smooth and easy to grip. Teach children to carry tools carefully and use each item as intended.
Supervise play, then rinse and inspect everything after use. Store clean tools within reach, but keep unsuitable household equipment out of the kitchen.
Sand, Secure, and Weatherproof the Kitchen
Sand the kitchen’s rough edges and wooden surfaces until they’re smooth, then secure every component so it won’t tip, shift, or collapse during play. Check your sand stability by pressing on shelves, legs, and counters.
Add exterior screws, corner braces, or ground stakes wherever movement occurs. Keep screw heads flush, and cover sharp hardware with child-safe caps.
Use these weatherproofing techniques to help the kitchen withstand rain and sun:
- Brush on a non-toxic, water-based outdoor sealant.
- Coat exposed end grain, joints, and drilled holes thoroughly.
- Elevate the kitchen on pavers to prevent standing water.
- Add a small roof or place it beneath a covered patio.
Let every finish cure completely before children play. Inspect the wood monthly for splinters, swelling, loose screws, or peeling sealant.
Sand and reseal damaged areas promptly. After storms, empty containers, wipe surfaces dry, and check the base.
Good maintenance keeps the kitchen sturdy, safer, and ready for imaginative muddy adventures.
Frequently Asked Questions
How Do You Make Mud for a Mud Kitchen?
You make mud by mixing clean soil with water in a bucket, tub, or sturdy bowl. Add water gradually and stir with a stick until you reach your preferred Mud consistency, from thick clay for shaping to runny slop for pouring.
Use Safe ingredients: natural soil, clean water, sand, and fallen leaves. Avoid fertilizer, manure, chemicals, sharp stones, and unknown compost.
Let children investigate, then wash hands thoroughly after play.
What Age Is Suitable for Mud Kitchen Play?
You can introduce mud kitchen play from around age two, when you’re able to supervise closely and set clear boundaries. Toddlers enjoy simple scooping, pouring, and mixing activities, while preschoolers can investigate recipes and imaginative play more independently.
Prioritize Outdoor safety by checking for sharp objects, toxic plants, contaminated soil, and slippery surfaces. Mud play also supports Sensory development through texture, smell, temperature, and hands-on experimentation.
Keep water clean and provide handwashing afterward.
How Do You Encourage Imaginative Play With a Mud Kitchen?
You encourage imaginative play by offering open-ended tools, natural ingredients, and plenty of time to invent stories. Invite your child to run a pretend café, forest kitchen, or potion shop, then let them lead the creative role play.
Add leaves, stones, flowers, water, and safe utensils for sensory exploration. Ask gentle questions like, “What are you making?”
Avoid correcting their ideas. Instead, celebrate their creations and join their imaginary world when invited.
How Often Should Mud Kitchen Mud Be Replaced?
Replace mud every few play sessions, or sooner if it smells bad, looks moldy, contains litter, or becomes excessively slimy—the mess can seem to swallow the whole yard!
For Mud safety, use clean soil, avoid areas treated with chemicals, and check for sharp objects.
Your Cleaning tips include removing debris, rinsing tools, and letting surfaces dry fully. Refresh the mud after heavy rain, illness, or contamination, and store fresh soil covered.
Can Children Use a Mud Kitchen During Winter?
Yes, children can use a mud kitchen during winter, provided you make it safe. Encourage winter play on mild days, when temperatures stay above freezing and surfaces aren’t icy. Dress children in waterproof layers, boots, gloves, and warm hats, and supervise them closely.
For mud preservation, cover the mud area to prevent excess rain or snow, then let frozen mud thaw naturally. Don’t add salt or handle frozen mud forcefully.
Conclusion
You’ve now built a mud kitchen that’s safe, sturdy, and ready for messy adventures. Check every screw, smooth rough edges, and refresh the weatherproofing each season.
For example, place a bowl of water, wooden spoons, and old pans on the shelves, then let your child “cook” a garden soup from leaves and petals. With thoughtful storage and supervision, you’ll create an inviting outdoor play space that encourages creativity, confidence, and hours of hands-on fun.