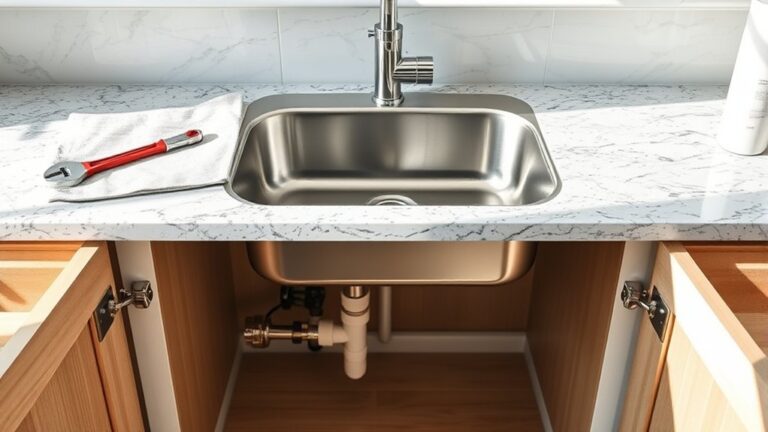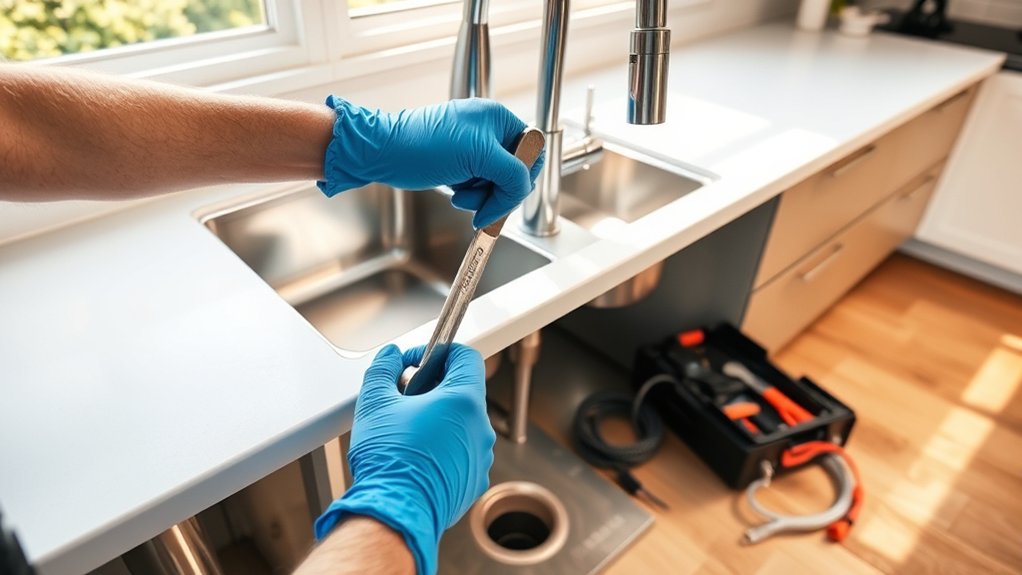
How to Remove a Kitchen Sink in 3 Steps
Removing a kitchen sink can feel intimidating, especially when hidden clips, plumbing connections, or stubborn caulk get in the way. You’re not alone—many people struggle with this project, but the right steps can make it much easier.
To remove a kitchen sink in three steps, first shut off the hot and cold valves, open the faucet, and disconnect the supply lines and drain.
Next, loosen the sink clips and carefully score through the caulk around the rim.
Finally, check for hidden fasteners, hoses, or disposal connections, then push the sink up gently and lift it out with help if needed. Set it on a padded surface and clean the opening; the steps below provide helpful details.
Key Takeaways
- Shut off hot and cold water, open the faucet, and disconnect supply lines with a wrench.
- Disconnect the drain trap, catch remaining water, and keep all fittings organized.
- Remove sink clips, then carefully cut through the caulk around the sink rim.
- Check that plumbing, clips, brackets, hoses, and adhesive are completely detached.
- Lift the sink out carefully, place it on padding, and clean and inspect the countertop opening.
Shut Off Water and Disconnect the Lines
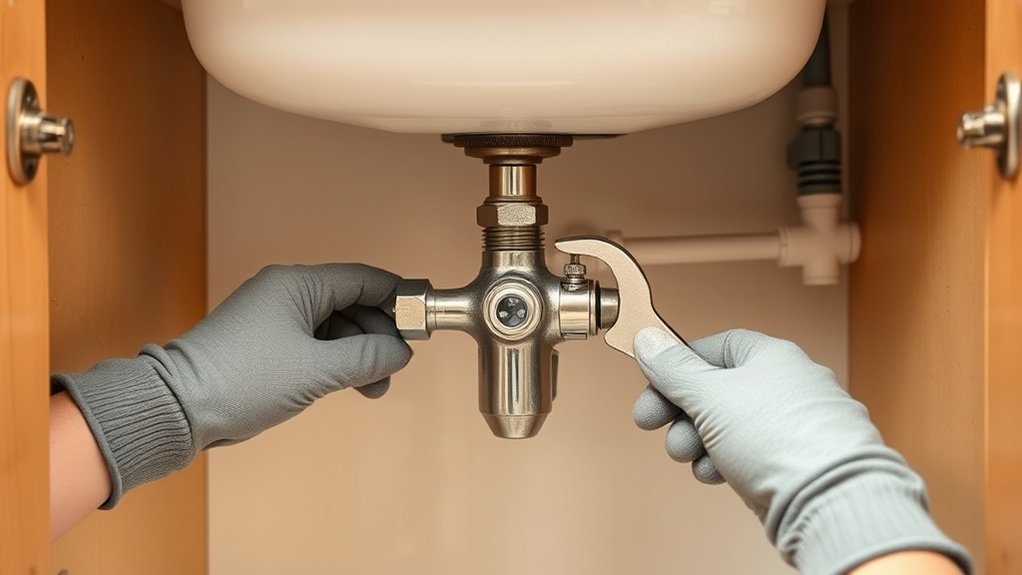
Start by shutting off the hot- and cold-water supply valves beneath the sink. Turn each valve clockwise until it stops, then open the faucet to relieve water pressure in the lines. Let the remaining water drain into the basin or a bucket.
Shut off both supply valves, open the faucet to release pressure, and drain any remaining water into a basin or bucket.
Place a towel and shallow pan beneath each connection. Use an adjustable wrench to loosen the compression nuts connecting the supply tubes to the faucet tails. Support the valve with one wrench while turning the nut with another, so you don’t twist the plumbing.
If pipe corrosion has seized a connection, apply penetrating oil and wait several minutes before trying again. Replace badly damaged tubes or valves rather than forcing them.
Disconnect the drain trap next. Loosen the slip nuts by hand or with tongue-and-groove pliers, then lower the trap carefully into your container. Cap the wall drain temporarily with a rag to block odors, but don’t push it inside the pipe.
Keep every fitting organized for reassembly.
Release Sink Clips and Cut Through the Caulk
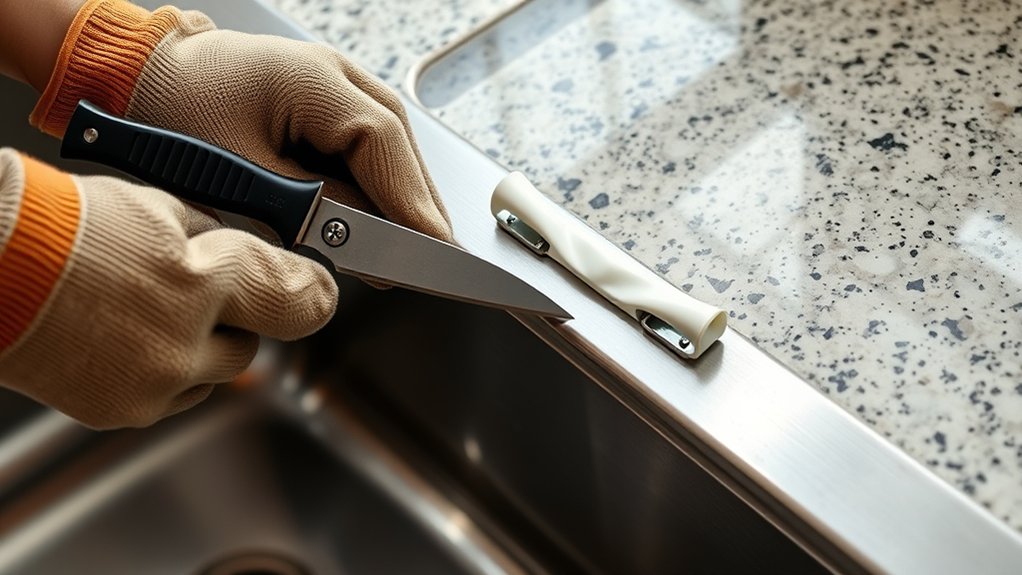
Once the plumbing is disconnected, remove the sink’s mounting clips from beneath the counter. Put on gloves and eye protection before starting.
Support each clip with one hand, then loosen its screw with a driver. Work around the basin methodically, keeping screws and brackets together in a container.
This Clip release step can feel tense, but patience prevents damage.
- Protect your hands from sharp metal edges.
- Keep your workspace calm and organized.
- Avoid prying against the countertop.
- Celebrate each loosened clip as progress.
After removing every clip, score the caulk seam where the sink meets the counter. Use a sharp utility knife, holding it nearly flat to avoid gouging the surface.
Make several controlled passes instead of forcing the blade. For stubborn sealant, apply an appropriate caulk softener and follow its label directions.
Careful Sealant removal takes time, especially with old, hardened adhesive. Cut along the entire visible perimeter, including corners, until the bond is fully separated.
Keep your tools within reach and replace the blade if it drags or tears the caulk.
Check Connections and Lift Out the Sink Safely
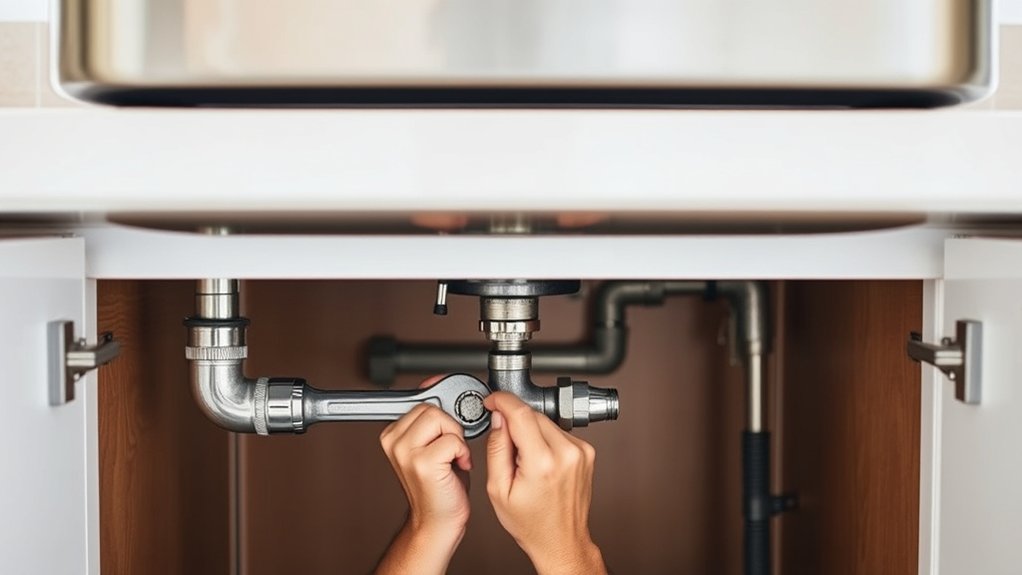
With the clips removed and the caulk cut, check beneath the sink for any remaining plumbing, clips, brackets, or adhesive holding it in place. Complete a careful Drain inspection, confirming the drainpipe, supply lines, sprayer hose, and disposal connection are disconnected.
Place a bucket beneath open pipes to catch trapped water, and cap or plug lines if needed. Check the countertop’s underside and sink rim for spots that still resist movement.
Don’t force the basin. Cutting remaining caulk or removing an overlooked fastener can prevent countertop damage.
Ask someone to help lift the sink, especially if it’s cast iron or includes an attached faucet. Push upward gently from below while your helper lifts from above.
Keep the sink level to avoid scraping the opening or spilling debris. Set it on a padded surface, then clean old caulk from the countertop with a scraper.
Inspect the opening for damage before beginning fixture replacement, and protect exposed edges until installation.
Frequently Asked Questions
What Tools Are Needed to Remove a Kitchen Sink?
You’ll need an adjustable wrench, basin wrench, channel-lock pliers, screwdrivers, a utility knife, and a putty knife. Keep a bucket and towels nearby to catch water from the Drain pipe. Use a hex key or faucet wrench for Faucet removal, depending on your fixture.
Add a flashlight for visibility, penetrating oil for stubborn connections, and safety glasses and gloves for protection. Shut off the water supply before you begin work.
How Long Does Kitchen Sink Removal Typically Take?
You’ll typically spend 1–3 hours removing a kitchen sink, though tight plumbing, stubborn fasteners, or countertop damage can extend the job. Most homeowners finish faster with basic tools and a helper.
After removal, schedule a Plumbing inspection to check connections, leaks, and cabinet damage. If you’re replacing the fixture, plan additional time for Sink installation, usually another 2–4 hours, depending on the model, faucet, disposal, and necessary countertop adjustments.
Can I Remove a Sink Without Professional Plumbing Experience?
Yes, you can remove a sink without professional plumbing experience if you work carefully and follow safety steps. Shut off the water, disconnect the supply lines, place a bucket underneath, and loosen the drain and mounting clips.
Wear gloves and expect some residual water. DIY plumbing is manageable for basic removal, but call a professional if connections are corroded, leaks persist, or you’ll need complex Sink installation afterward. Always check local requirements.
How Should I Dispose of an Old Kitchen Sink?
You should investigate recycling options before tossing your old kitchen sink. Like a medieval knight choosing a dragon’s lair, you’ll need to check its material first.
Metal sinks often qualify for scrap-metal recycling, while porcelain sinks may require a construction-waste facility. Contact your municipality to learn about local disposal rules, pickup services, and fees.
Remove faucets, strainers, and attached hardware, then transport the sink safely. Don’t leave it beside regular household bins.
What Should I Do if the Countertop Is Damaged?
Assess the damage before choosing a solution. For minor chips, scratches, or swelling, clean the area, dry it thoroughly, and consider professional Countertop repair.
Match the filler or patch to your counter’s material and finish. If cracks spread, the surface feels unstable, or water has caused extensive damage, hire a contractor to evaluate it.
You may need Surface replacement, especially when repairs won’t restore strength, hygiene, or appearance.
Conclusion
With the water off, lines disconnected, clips released, and caulk cut, you’re ready to lift out the sink. Check every connection once more, then raise it carefully with both hands.
Don’t rush—one overlooked hose can turn a simple project into a flood of epic proportions. If the sink feels stuck, stop and inspect for hidden fasteners or sealant.
Once it’s free, clean the opening and prepare the countertop for your new sink. That completes the final step in how to remove a kitchen sink.