How to Replace a Kitchen Sink in 10 Steps
A leaky, outdated, or hard-to-clean sink can make your entire kitchen feel frustrating. You’re not alone—many people struggle with choosing the right replacement and getting the installation details right.
To replace a kitchen sink, choose a compatible model and gather your tools. Measure the countertop opening carefully, then shut off water and clear the cabinet. Disconnect supply lines and the drain, remove the old sink, and clean the opening.
Install the faucet and strainer, apply silicone, and secure the new sink. Reconnect plumbing, restore water slowly, and test every joint, drain, and faucet for leaks.
Follow the detailed steps below for a smoother installation.
Key Takeaways
- Measure the cabinet and countertop opening, then choose a compatible sink, faucet, drain, and installation style.
- Shut off hot and cold water, open the faucet, clear the cabinet, and place a bucket beneath the plumbing.
- Disconnect supply lines and the P-trap, remove mounting clips, cut the sealant, and lift out the old sink.
- Install the faucet and drain strainer, apply silicone around the rim, position the new sink, and tighten mounting clips.
- Reconnect plumbing, turn on water slowly, check every joint for leaks, and test drainage and faucet operation.
Choose a Compatible Sink and Gather Tools
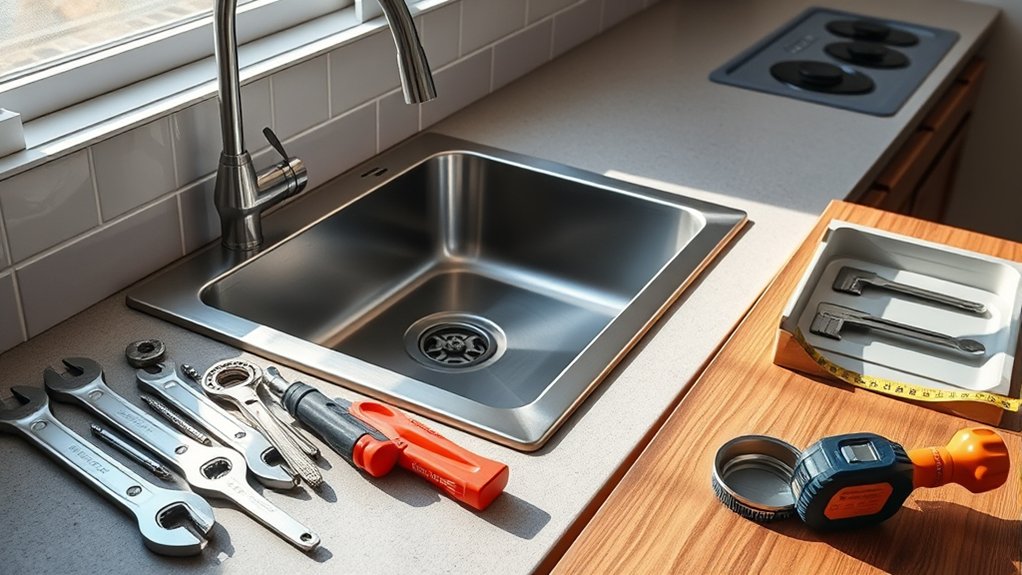
Choose a sink that matches your cabinet width, countertop opening, and installation style—drop-in, undermount, or farmhouse. Review the manufacturer’s specifications, including bowl depth, drain placement, rim requirements, and minimum cabinet size.
Don’t choose a model solely for appearance. Confirm that your plumbing layout and faucet configuration can support it without discussing countertop measurements here.
Consider current design trends, but prioritize durability and daily function. Stainless steel resists stains and offers a light, practical finish.
Composite granite dampens noise and provides color variety, while fireclay delivers a classic look with substantial weight. These material options affect maintenance, installation support, and long-term performance.
Gather adjustable wrenches, channel-lock pliers, a basin wrench, screwdrivers, a utility knife, a bucket, towels, plumber’s putty or silicone, and replacement supply lines.
Keep a flashlight, gloves, and safety glasses nearby. Before you begin, shut off the water, clear the cabinet, and read the sink and faucet instructions.
Don’t force fittings or reuse damaged connectors during installation.
Measure the Countertop Opening
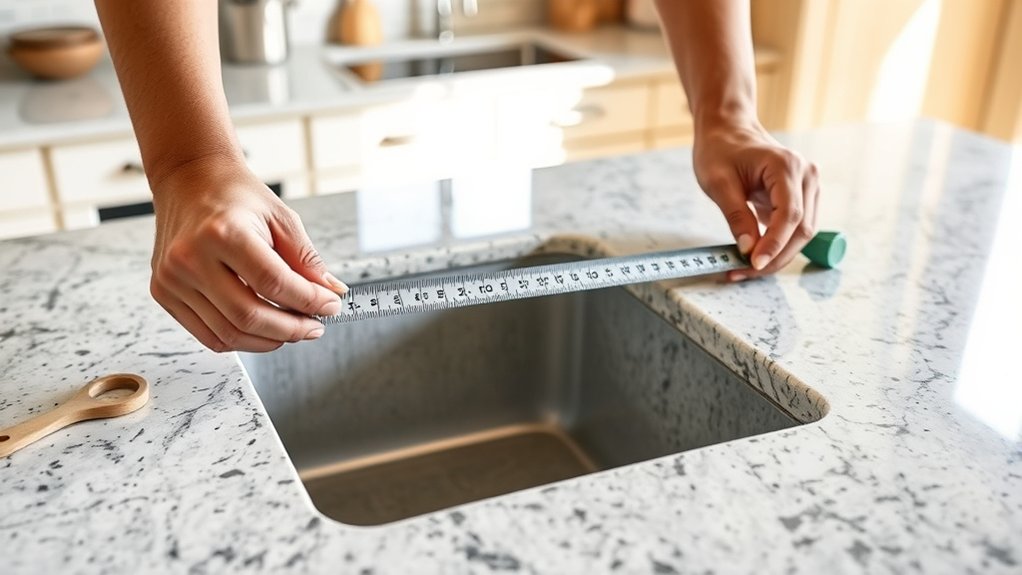
Before you remove the existing sink, verify that the countertop opening fits the replacement model. Check the manufacturer’s specifications for the required cutout length, width, corner radius, and minimum cabinet clearance. Don’t rely on the old sink’s dimensions. Its rim may conceal an opening that’s larger or differently shaped.
Measure the opening from below the counter, where you can see its edges clearly. Record the length at the front and back, then measure the width at both sides. If the measurements differ, use the smaller figures to confirm the new sink will fit.
Measure each corner radius with a template or radius gauge, and compare those details with the installation guide. Consider the countertop material, because stone, solid-surface, laminate, and wood may have different tolerances and finishing requirements.
Check measurement accuracy twice before cutting or ordering modifications. Mark every dimension on paper, and keep the sink template available for a final comparison.
Shut Off Water and Clear the Cabinet
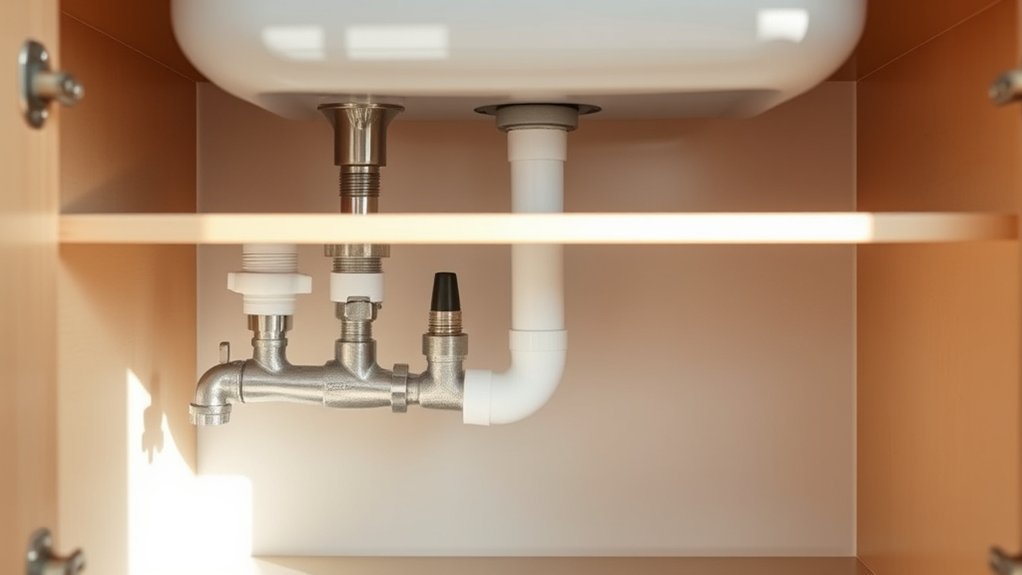
Shut off the hot- and cold-water supply valves beneath the sink, then open the faucet to release pressure from the lines. Leave it open until water stops flowing. If either valve won’t close completely, shut off the home’s main water supply before continuing.
Keep a bucket and towels nearby to catch unexpected drips, and wear gloves to protect your hands from grime or sharp cabinet hardware.
Remove cleaning products, cookware, trash bins, and stored items from the cabinet. Clearing the space gives you room to work, protects your belongings from moisture, and lets you inspect the area for leaks, mold, or water damage.
Wipe away spills and let the cabinet dry.
Follow local plumbing regulations, especially if your project requires a permit or licensed professional. Careful preparation supports water conservation by preventing wasted water and helping you identify faulty valves early.
Don’t proceed until the cabinet is accessible, dry, and well lit.
Disconnect the Drain and Supply Lines
Before you disconnect anything, make sure the water supply is turned off. Then, disconnect the hot and cold supply lines from the faucet. Place a bucket underneath the drain, and remove the drain trap to catch any remaining water.
Shut Off Water
Once you’ve cleared the cabinet, turn off the hot- and cold-water supply valves beneath the sink and open the faucet to relieve pressure. Keep a bucket and towels nearby to catch residual water. Before touching anything, confirm both valves are fully closed and the faucet stops flowing.
- Check whether each valve turns clockwise smoothly; don’t force a stuck handle.
- Place the bucket directly below the drain assembly to protect the cabinet floor.
- Photograph the setup so you can identify connections during reassembly.
- Inspect visible pipe materials for corrosion, mineral buildup, or cracking.
This step supports water conservation by preventing unnecessary leaks during the project. If a valve won’t shut off completely, stop and arrange building-wide water service before proceeding. Leave the faucet open briefly, then close it once pressure has dissipated.
Disconnect Supply Lines
With the water off and pressure relieved, disconnect the faucet’s hot- and cold-water supply lines using an adjustable wrench. Place a bucket beneath each connection to catch residual water, then loosen the nuts slowly.
If a fitting resists, hold the valve steady with a second wrench so you don’t twist the supply pipe. Check for trapped water pressure by opening the faucet briefly before removing the lines completely.
Label the hot and cold lines if you plan to reuse them. Remove any clips or brackets securing the lines to the cabinet, and inspect each hose for cracks, corrosion, or worn washers.
Replace damaged connectors rather than reinstalling them. If condensation has affected nearby pipe insulation, let the area dry before continuing.
Keep the cabinet floor clear and dry as you prepare for the next step.
Remove Drain Trap
Place a bucket beneath the P-trap, then loosen the slip nuts by hand or with tongue-and-groove pliers. Let standing water drain into the bucket, and keep a rag nearby for spills.
Remove the trap carefully, checking for debris or buildup that could indicate poor Drain trap maintenance. If the nuts resist, apply penetrating oil rather than forcing the fittings.
- Support the tailpiece while removing the trap.
- Inspect washers and replace cracked or flattened ones.
- Seal the open drain with a rag to block odors.
- Label parts if you’ll reuse them.
Scrape residue into a container, not the sink. Follow local rules for Alternative disposal methods, especially if the water contains chemicals or grease.
Set the removed trap aside, then wipe the drain connections clean so the replacement sink’s plumbing will fit securely. Don’t discard reusable hardware until installation ends.
Remove the Old Kitchen Sink
Before you remove the sink, shut off the water supply. Then disconnect the plumbing lines and loosen any clips or sealant holding the sink in place.
Once everything is detached, carefully lift out the old sink and set it aside.
Shut Off Water
Start by shutting off the hot and cold water supply valves beneath the sink, turning each clockwise until it stops. This step prevents water pressure from flooding the cabinet while you remove the old fixture.
If a valve won’t turn easily, don’t force it. Shut off the home’s main water supply instead.
Check that the faucet no longer runs, then place a towel beneath the valves to catch residual moisture.
Before continuing, inspect the setup so you understand the pipe materials and identify any older, fragile components.
- Turn both supply valves clockwise.
- Test the faucet for remaining flow.
- Close the main shutoff if necessary.
- Keep towels and a shallow pan nearby.
Once the water stays off, you’re ready to continue removing the sink safely. Don’t loosen plumbing connections until the next step.
Disconnect Plumbing Lines
With the water shut off, disconnect the faucet supply lines and drain pipes beneath the sink. Place a bucket under each connection to catch residual water, then loosen compression nuts with an adjustable wrench.
Hold the valve or pipe steady with a second wrench so you don’t twist fittings inside the wall. Label hot and cold lines if their positions aren’t obvious.
Remove the trap by loosening its slip nuts, keeping the pieces together for reference. If corrosion prevents removal, apply penetrating oil and wait several minutes. Don’t force fragile connections.
Check the pipe materials, such as copper, PVC, or braided stainless steel, to choose suitable replacement fittings later. Follow local plumbing regulations, especially requirements for shutoff valves, trap configuration, and drain connections.
Cap open supply lines temporarily to keep debris out.
Lift Out Sink
Once the plumbing is disconnected, remove any clips, brackets, or fasteners securing the sink beneath the countertop. Run a utility knife around the rim to cut through caulk or sealant. Work carefully so you don’t chip the counter or damage surrounding cabinets.
- Place a sturdy board across the cabinet opening.
- Ask someone to support the basin from above.
- Push upward gently, then lift the sink straight out.
- Set it on a protected surface for disposal or reuse.
Wear gloves, especially when handling heavy cast-iron sink material. If the basin resists, check for missed brackets or hardened adhesive instead of forcing it.
Scrape away remaining sealant and wipe the countertop clean. These installation tips help you prepare an even, debris-free surface for the replacement sink and prevent damage during removal. Inspect the opening before measuring your new model.
Clean and Check the Sink Opening
After removing the old sink, scrape away any remaining caulk, adhesive, or debris from the countertop opening. Use a plastic scraper to protect the surface, then wipe it with a damp cloth and mild cleaner.
Thorough sink cleaning removes grime that could hide problems. Dry the area completely before your opening inspection.
| Check | What to Look For | Action |
|---|---|---|
| Edges | Chips, cracks, or gaps | Mark damage |
| Surface | Adhesive or buildup | Scrape clean |
| Shape | Uneven or enlarged areas | Measure carefully |
| Moisture | Dampness or stains | Dry and investigate |
Run your fingers around the opening to find raised spots or sharp edges. Set a straightedge across the countertop and check for warping that could prevent a level fit.
Measure the opening’s length and width, comparing them with the replacement sink’s specifications. If damage extends beyond the rim, repair it before continuing.
Don’t force the sink into an opening that’s too small. Vacuum loose particles, wipe the countertop again, and leave it clean, dry, and ready for the next step.
Install the Faucet and Strainer
Install the faucet and strainer before setting the sink in the countertop, when access to the mounting hardware is easiest. Begin Faucet installation by placing the gasket on the faucet base, lowering the assembly through the sink’s faucet holes, and tightening the mounting hardware underneath.
Keep the faucet aligned as you snug the nuts, but don’t overtighten and damage the sink.
For Strainer replacement, roll plumber’s putty into a rope and press it beneath the strainer flange. Push the strainer through the drain opening, then fit the rubber gasket, friction ring, and locknut underneath.
Tighten the locknut while holding the strainer steady from above. Wipe away excess putty.
- Confirm the faucet’s supply lines reach your shutoff valves.
- Match the strainer basket to the sink drain opening.
- Install the faucet’s included washers in the specified order.
- Hand-tighten connections first to prevent cross-threading.
Check that both assemblies sit straight and move freely. Leave final sink sealing and countertop securing for the next step.
Seal and Secure the New Sink
Apply a continuous bead of silicone sealant around the sink’s rim, then lower the sink into the countertop opening and press it firmly into place. Center the basin, ensuring its edges sit evenly against the counter. Wipe away squeezed-out sealant with a damp cloth before it skins over.
Use these checks during installation:
| Check | What to do | Why it matters |
|---|---|---|
| Alignment | Center the rim | Prevents uneven gaps |
| Sealant | Smooth the bead | Blocks moisture |
| Clamps | Tighten evenly | Holds the sink securely |
Follow the manufacturer’s instructions for your sink’s clips or brackets. Install each fastener underneath the countertop, then tighten it gradually in a crisscross pattern.
Don’t overtighten; excessive force can distort the rim or damage the counter. Your Sealant application should form an unbroken barrier, while these securing techniques keep the basin stable.
Let the silicone cure for the time listed on its label before using the sink or exposing the seal to water. Inspect the perimeter once more after curing.
Reconnect the Drain and Water Lines
Now attach the drain assembly beneath the sink and tighten each connection securely. Then connect the hot and cold water supply lines to their matching valves. Turn on the water slowly, and check each connection for leaks.
Attach Drain Assembly
With the sink secured, reconnect the drain assembly beneath it, starting with the strainer and tailpiece. Apply plumber’s putty beneath the strainer flange, lower it into the opening, and tighten the locknut from below. Slide on the gasket and tailpiece, then hand-tighten the slip nut before securing it with pliers.
For reliable drain installation, follow these steps:
- Align the tailpiece vertically with the trap.
- Measure and cut extension tubing if needed.
- Add slip nuts and beveled washers in the correct direction.
- Tighten each joint firmly, but don’t overtighten.
Complete the pipe fitting by connecting the P-trap to the tailpiece and wall stub-out. Keep the trap’s curve facing downward, and adjust it for a smooth slope.
Run water through the basin, then inspect every connection for drips. Retighten only where necessary.
Connect Water Supply Lines
Once the drain connections pass a leak check, reconnect the hot and cold supply lines to the corresponding faucet valves. Match each flexible line to its labeled valve, then thread the connector onto the faucet fitting by hand.
Tighten it with an adjustable wrench, but don’t overtighten and damage the threads or gasket. Reattach the lines to the shutoff valves beneath the sink, keeping the hot line on the left and cold line on the right when applicable.
Use new compression nuts or washers if the old ones look worn. Keep the lines gently curved rather than kinked, and verify they don’t press against the cabinet or drain.
If you’re installing eco-friendly fixtures, follow their supplied connection instructions to support water conservation and reliable operation.
Check for Leaks
Before turning on the water, place a bucket beneath the sink and wrap a dry cloth around each drain and supply connection. Open both shutoff valves slowly, then run cold and hot water while checking every joint. Effective Leak detection starts with watching for drops and feeling the cloth for dampness.
- Inspect the faucet supply nuts and compression fittings.
- Examine the drain tailpiece, strainer, trap, and slip joints.
- Fill the basin, release the stopper, and watch beneath the sink.
- Run the garbage disposal, if installed, and check its connections.
Complete a careful Pipe inspection with a flashlight. If you find moisture, turn off the water, tighten the fitting slightly, and test again. Don’t overtighten plastic parts, which can crack.
Dry the area and recheck it after several minutes. Persistent leaks require a new washer, plumber’s tape, or replacement fitting.
Restore Water and Test for Leaks
Turn on the water supply valves slowly, then run both hot and cold water while checking every connection beneath the sink for drips. Open the faucet fully and let water flow through the supply lines, drain, and sprayer.
Watch the shutoff valves, faucet connections, strainer, tailpiece, and trap joints closely. Wipe each fitting with a dry tissue; even a small wet spot reveals a leak.
If you find moisture, turn off the valves, dry the area, and tighten the connection slightly with a wrench. Don’t overtighten, since you could damage threads or washers.
Run the faucet again and fill the basin, then release the water to test the drain under pressure. Check the cabinet floor and nearby supplies afterward.
Use Leak detection promptly to prevent cabinet damage and support Water conservation. Once everything stays dry, remove the aerator, flush debris from the lines, and reinstall it.
Clean up standing water and confirm both valves operate smoothly.
Frequently Asked Questions
How Much Does Professional Kitchen Sink Replacement Typically Cost?
You’ll typically pay $400–$1,000 for professional kitchen sink replacement, including labor and basic installation. Costs can rise to $1,500 or more if you need plumbing changes, countertop modifications, or premium fixtures.
Your location, sink type, cabinet access, and disposal connection also affect the total. For a useful cost comparison, request several itemized quotes.
DIY versus professional installation depends on your skills. Hiring a pro costs more, but reduces the risk of leaks and installation problems.
How Long Does Replacing a Kitchen Sink Usually Take?
You’ll usually spend 4–6 hours replacing a kitchen sink, while a professional may finish in 2–3 hours. Measure twice, cut once: that simple rhythm keeps your project moving.
Your timeline depends on plumbing access, countertop adjustments, sink type, and unexpected leaks or corrosion. Gather a tool checklist before starting, and follow practical DIY tips to avoid delays.
If you’re changing plumbing or modifying stone, hire a professional for safer, faster results.
Can I Replace a Sink Without Replacing the Countertop?
Yes, you can replace a sink without replacing the countertop if the new sink matches the existing opening and plumbing layout.
Check countertop compatibility carefully, including dimensions, shape, faucet holes, and support requirements. Your sink mounting options may include drop-in, undermount, or farmhouse styles, but each requires specific countertop edges and cabinet clearance.
Measure twice before buying, and inspect the countertop for damage. A professional can modify some openings safely if necessary.
Which Sink Materials Are Easiest to Clean and Maintain?
Stainless steel leads the parade of easy-care sink materials: you can scrub it quickly, rinse away residue, and hide minor scratches with its durable finish. Fireclay and porcelain resist stains, but you’ll need to prevent chips and clean spills promptly.
Composite granite handles grime well and masks water spots, though abrasive cleaners can dull it. Cleaning tips and a Material comparison help you choose wisely: prioritize nonporous surfaces, smooth corners, and simple daily rinsing.
When Should I Hire a Plumber for Sink Replacement?
Hire a plumber when your sink replacement involves rerouting pipes, replacing shutoff valves, repairing leaks, or modifying countertops. You should also call one if you lack DIY plumbing experience, uncover corroded connections, or can’t confidently test for watertight seals.
Simple sink installation may suit you when plumbing lines and dimensions match exactly. However, a professional can prevent water damage, guarantee proper drainage, and complete challenging work safely, efficiently, and according to local codes.
Conclusion
Replacing a kitchen sink can seem like a test of patience, but the process proves otherwise: with accurate measurements, careful disconnection, and a reliable seal, you can complete it confidently. Once you restore the water, test every connection, and find no leaks, you’ll know your work holds up.
If a drip appears, don’t ignore it—tighten or reseal the fitting before finishing. Your new sink should look polished, function smoothly, and withstand daily use for years. With these steps, replacing a kitchen sink can be a straightforward and rewarding project.