How to Plumb a Kitchen Sink in 7 Steps
Installing or repairing a kitchen sink can feel frustrating, especially when leaks, confusing fittings, or poor water flow get in the way. You’re not alone—many homeowners struggle to choose the right parts and connect everything correctly.
This guide to how to plumb a kitchen sink breaks the process into seven manageable steps.
To plumb a kitchen sink in seven steps, gather your tools and shut off the water. Install the drain with plumber’s putty, then attach and size the tailpiece.
Assemble the P-trap with washers, keeping its curve downward, and connect the trap arm to the wall drain.
Attach hot and cold supply lines to matching faucet inlets. Slowly restore water, run the faucet, and inspect every joint for leaks.
Continue for detailed tips that’ll help guarantee a reliable, leak-free installation.
Key Takeaways
- Gather tools, clear the cabinet, place a bucket underneath, and shut off hot and cold water supplies.
- Install the sink drain with plumber’s putty, gasket, friction ring, and mounting nut, ensuring the flange sits flat.
- Connect the tailpiece and P-trap using properly oriented slip-joint washers, then attach the trap arm to the wall drain.
- Connect hot and cold supply lines to the matching faucet inlets, keeping hoses aligned and free from sharp bends.
- Slowly restore water, run the faucet, flush the drain, and inspect every connection for leaks.
Gather Tools and Shut Off the Water
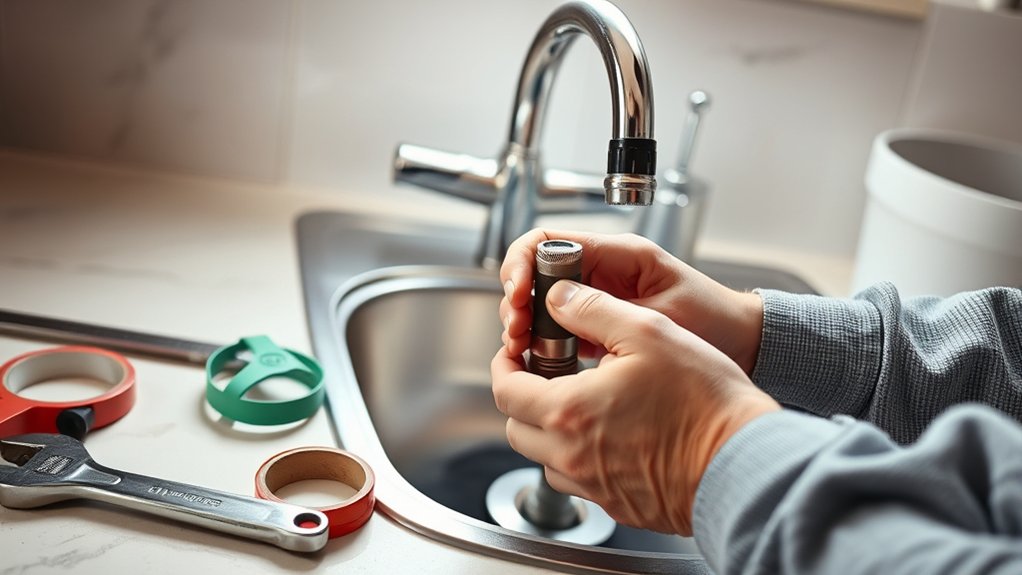
Before you begin, gather an adjustable wrench, basin wrench, plumber’s tape, a bucket, towels, and a screwdriver. Check your sink’s Pipe materials so you’ll choose compatible tools and protect delicate connections. Keep a flashlight nearby to inspect the cabinet and identify each shutoff valve.
Clear everything from beneath the sink, then place the bucket under the supply connections. Fold towels around the valves to catch residual water and protect the cabinet floor.
Turn both hot- and cold-water handles clockwise until they stop. Don’t force a stuck valve; arrange professional service if necessary.
Open the faucet briefly to release remaining Water pressure. Watch the flow until water stops, then close the faucet.
If your sink lacks local shutoff valves, locate the home’s main water valve and turn it off. Test the faucet again before loosening any connection.
Keep children away from the work area, and ensure you can reach the valves quickly if a leak occurs.
Install the Kitchen Sink Drain
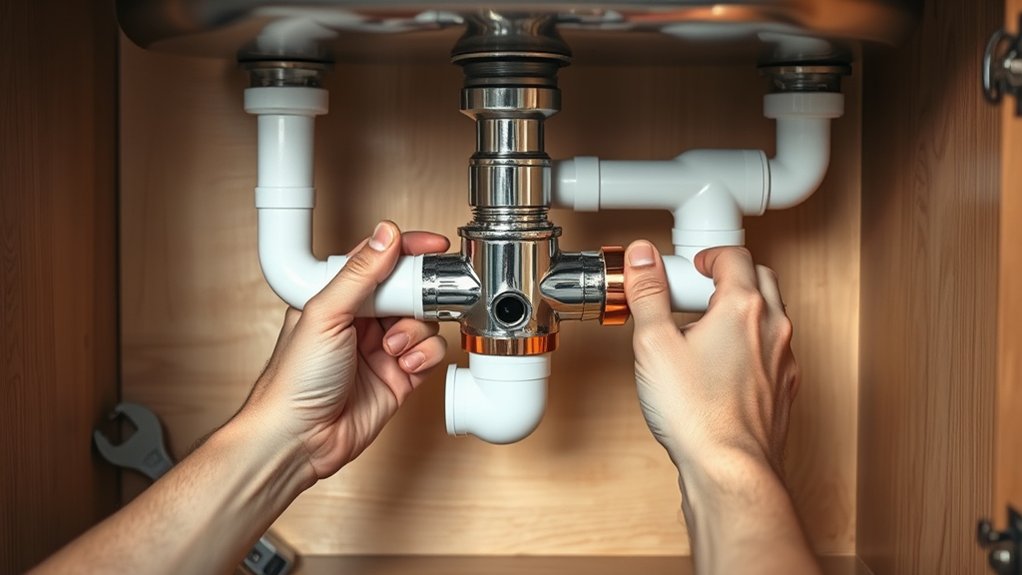
With the water shut off and the cabinet protected, you can install the sink drain. Place the rubber gasket on the underside of the drain flange, then apply a thin, even bead of plumber’s putty beneath the flange. Drop the flange through the sink opening, keeping it centered.
From below, slide on the second gasket, friction ring, and mounting nut. Tighten the nut by hand, then snug it with slip-joint pliers while holding the flange steady. Don’t overtighten, or you could crack the sink or squeeze out the sealant. Wipe away excess putty around the flange.
If you’re installing a Garbage disposal, use its included sink flange instead of the standard drain flange. Follow the manufacturer’s instructions for the mounting assembly and seal.
Keep the drain opening accessible while you check that the flange sits flat. Confirm your sink’s Drain venting plan before proceeding. Proper venting prevents slow drainage and gurgling.
Leave the drain outlet and mounting hardware ready for the next connection.
Connect the Tailpiece to the Sink Drain

Attach the tailpiece to the drain outlet using the slip-joint washer and nut. Confirm the washer’s beveled edge faces the drain outlet, then slide it onto the tailpiece. Thread the nut by hand, keeping the tailpiece centered and vertical. Don’t tighten it fully yet; you may need room for adjustment.
For reliable drain installation, measure the tailpiece against the sink cabinet and verify that its lower end points straight down. If it’s too long, mark the excess and cut it squarely with a fine-tooth saw.
Remove burrs with a file so the connection seats smoothly. If it’s too short, replace it with a properly sized tailpiece rather than forcing the fitting.
Complete your tailpiece adjustment by aligning the outlet and tightening the slip-joint nut with pliers. Use moderate pressure only; overtightening can distort the washer or damage the threads.
Wipe away debris, then run water briefly to check the joint for leaks. Retighten slightly if necessary.
Assemble the P-Trap
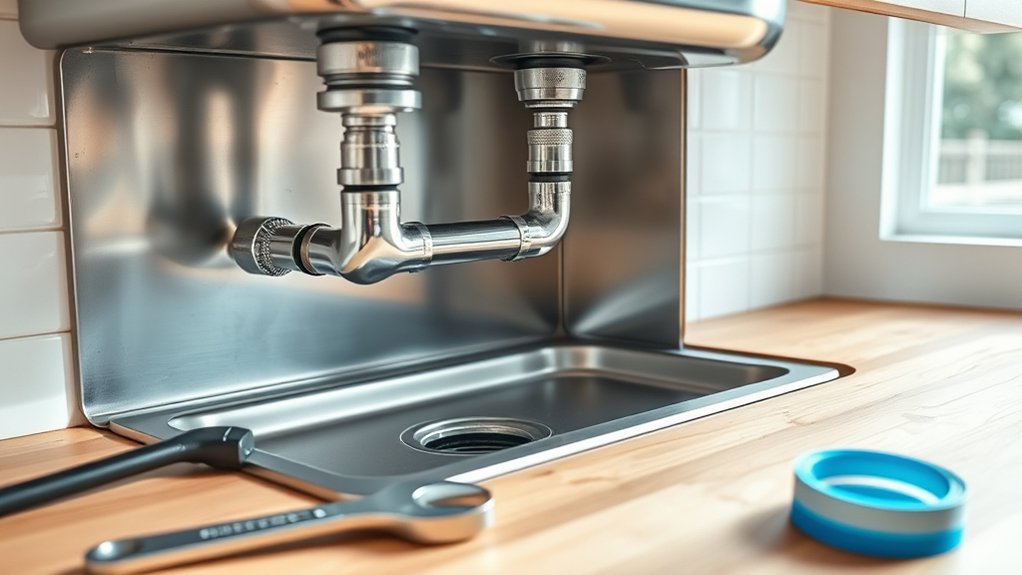
Assemble the P-trap by sliding a slip-joint nut and washer onto the tailpiece, then fitting the trap’s inlet over it. Keep the trap’s curved section facing downward so it can hold water and block sewer gases.
Hand-tighten the nut while keeping the washer centered, then snug it with slip-joint pliers without overtightening.
- Measure the tailpiece before cutting or adjusting anything.
- Keep every washer flat and properly seated.
- Align the trap without forcing or twisting its joints.
- Place a bucket underneath to catch residual water.
- Check each connection for drips after tightening.
Use these Trap installation tips to prevent cross-threading and leaks. If the trap includes a cleanout plug, position it where you can reach it easily for P trap maintenance.
Don’t use pipe tape on slip-joint threads; the washer creates the seal. Run water through the sink briefly, then inspect the trap and nuts with a dry tissue.
Retighten gently if moisture appears, but replace a damaged washer instead of compensating with excessive force. Keep the assembly accessible for future cleaning.
Connect the Trap Arm to the Wall Drain
Slide the trap arm into the wall drain’s opening, keeping its end aligned with the drain line and its slight slope directed toward the wall. Mark the insertion depth, then pull the arm out and lightly coat its beveled end with approved pipe-joint compound if required for your fitting.
Align the trap arm with the wall drain, mark its depth, and apply approved joint compound if required.
Slide a slip nut and washer onto the arm, insert it into the drain opening, and hand-tighten the nut against the wall adapter. Keep the P-trap level and avoid forcing the arm, which can stress fittings or disturb the trap’s seal.
Tighten the nut with slip-joint pliers, using firm pressure without crushing plastic. If the arm doesn’t reach, use a properly sized extension rather than stretching it.
Leave unions accessible for future troubleshooting clogs. Where the pipe passes through a cold cabinet or exterior wall, add pipe insulation to reduce condensation and protect the drain.
Run water briefly, check every joint for leaks, and retighten only as needed.
Attach the Hot and Cold Supply Lines
Next, locate the hot and cold supply lines beneath your sink. Connect each line to the matching faucet inlet, and tighten the fittings securely to prevent leaks.
Identify Hot and Cold Lines
Identify the hot and cold supply lines by tracing them from the shutoff valves beneath the sink: the hot line is usually on the left, and the cold line is on the right. Don’t rely on position alone; confirm each line before planning your valve installation.
Follow the tubing back toward the water heater to identify the hot route, while the cold line typically leads toward the main supply.
- Look for red or blue markings.
- Check labels on the shutoff valves.
- Touch pipes cautiously for temperature differences.
- Use a flashlight to inspect cramped areas.
- Mark each line with removable tape.
Accurate identification supports temperature regulation and prevents reversed faucet operation. If both pipes look identical, trace their paths rather than guessing.
Turn off the appropriate shutoff valves before handling fittings, and keep a towel nearby for residual water. Don’t disconnect anything yet.
Secure Supply Line Connections
With the shutoff valves closed, connect the hot and cold supply lines to their matching faucet stems. Tighten each compression nut securely by hand, then give it a slight additional turn with a wrench.
Don’t overtighten, or you could damage the fitting and cause a leak. Keep each line straight without sharp bends, and confirm hot connects to hot and cold to cold.
If the lines touch cabinet walls, add Pipe insulation to reduce vibration and protect them from abrasion. Open the valves slowly, then inspect every connection while monitoring Water pressure.
| Check | What to look for |
|---|---|
| Alignment | Lines sit straight |
| Tightness | Nuts stay secure |
| Testing | No drips appear |
Run the faucet for a minute, switch between temperatures, and dry the fittings with a tissue. Any moisture reveals a connection that needs gentle tightening.
Run Water and Check for Leaks
Turn on the faucet and let both hot and cold water run while you inspect every connection beneath the sink. Watch the supply valves, flexible hoses, faucet shanks, drain tailpiece, trap, and dishwasher inlet.
Run your fingers around each joint. Even a small wet spot signals a problem. Check water pressure by opening the faucet fully, then close it and observe whether dripping continues.
- Tighten a loose compression nut slightly with a wrench.
- Don’t overtighten plastic fittings, which can crack.
- Place a dry paper towel beneath joints to reveal slow leaks.
- Flush the drain and check the strainer for seepage.
- Recheck connections after several minutes of running water.
If you find a leak, shut off the appropriate valve, dry the fitting, and reseat or replace its washer, gasket, or connector. Restore flow gradually and test again.
Effective leak prevention includes firm hand-tightening followed by a small wrench turn, careful alignment, and fresh sealing components. Once everything stays dry, wipe away moisture and confirm the cabinet floor remains protected.
Frequently Asked Questions
Can I Plumb a Kitchen Sink Without Professional Experience?
Yes, you can plumb a kitchen sink without professional experience if you follow instructions carefully. Start by learning basic DIY plumbing and gathering adjustable wrenches, plumber’s tape, a bucket, and replacement washers.
Shut off the water before disconnecting anything, and take photos to guide reassembly. Use beginner tips from reliable sources, avoid overtightening fittings, and test slowly for leaks.
Call a licensed plumber if you encounter damaged pipes, complex connections, or persistent leaks.
How Much Does Kitchen Sink Plumbing Typically Cost?
Kitchen sink plumbing typically costs $200–$600 for professional installation, though complex repairs or new drain lines can push the price above $1,000.
Like choosing between a well-worn road and an untrodden path, your budget matters. DIY plumbing may cost only $50–$200 for basic parts, but mistakes can cause leaks and water damage.
You’ll save labor fees with DIY work, yet hiring a plumber gives you dependable results, proper connections, and peace of mind.
What Permits Are Required for Kitchen Sink Plumbing?
You’ll typically need a plumbing permit when you install, relocate, or alter kitchen sink supply lines, drains, or vents. Minor fixture replacements may not require one, but local rules differ.
Contact your city or county building department before starting, and ask about permit procedures, required drawings, inspections, and fees. Follow applicable plumbing codes, including requirements for drain slopes, venting, shutoff valves, and backflow protection.
A licensed plumber can confirm requirements and arrange inspections.
How Often Should Kitchen Sink Plumbing Be Replaced?
You typically won’t need to replace kitchen sink plumbing on a fixed schedule; quality supply lines and drain pipes can last 20–50 years. Imagine millions of gallons flowing through your pipes over decades.
Replace components sooner if you notice leaks, rust, slow drains, unpleasant odors, or reduced water pressure. Inspect annually for pipe corrosion, especially in older homes.
Don’t wait for a burst line. Hire a plumber when damage, repeated clogs, or persistent moisture appears.
What Should I Do if My Sink Drain Keeps Clogging?
If your sink drain keeps clogging, remove standing water and clear visible debris first. Pour boiling water down the drain, then add half a cup of Baking soda followed by vinegar. Wait 15 minutes and flush with hot water.
If the blockage remains, use a Drain snake to break it apart. Don’t pour chemical cleaners into connected pipes. Call a plumber if clogs return frequently, odors persist, or water backs up into another fixture.
Conclusion
If you’ve followed these seven steps, your kitchen sink should drain smoothly and deliver water without leaks. The theory that plumbing requires professional skills isn’t always true: with patience, the right tools, and careful connections, many homeowners can handle how to plumb a kitchen sink.
Still, don’t ignore persistent drips, poor drainage, or unfamiliar pipes. Turn off the water and call a licensed plumber when needed. Test everything once more, then enjoy a dependable sink you installed yourself.