How to Unclog a Kitchen Sink With a Garbage Disposal in 3 Steps
A clogged kitchen sink with a garbage disposal can quickly turn cooking and cleanup into a frustrating mess. You’re not alone—many homeowners struggle with standing water, unpleasant odors, and stubborn blockages.
Fortunately, the right tools and approach can make the job much easier. The steps below explain how to unclog a kitchen sink with a garbage disposal safely and effectively.
To unclog a kitchen sink with a garbage disposal, first turn off the switch, unplug the unit, and inspect for leaks or debris without reaching inside.
Next, stopper the other basin, add water, and plunge the disposal drain firmly 10–15 times.
Finally, place a bucket beneath the P-trap, remove and clean it, then reassemble, run hot water, and check for leaks.
Follow the detailed steps below to clear stubborn blockages safely.
Key Takeaways
- Turn off power to the garbage disposal, inspect for leaks, and remove visible debris with tongs. Never reach into the grinding chamber.
- Seal the second sink basin, place a cup plunger over the disposal drain, and pump firmly 10–15 times.
- If plunging fails, place a bucket beneath the P-trap, remove it, and clear grease or debris from the trap and pipe openings.
- Reassemble the P-trap securely, run hot water, and check every connection for leaks.
- Avoid chemical drain cleaners and maintain the disposal regularly to help prevent future blockages.
Shut Off Power and Inspect the Disposal Safely
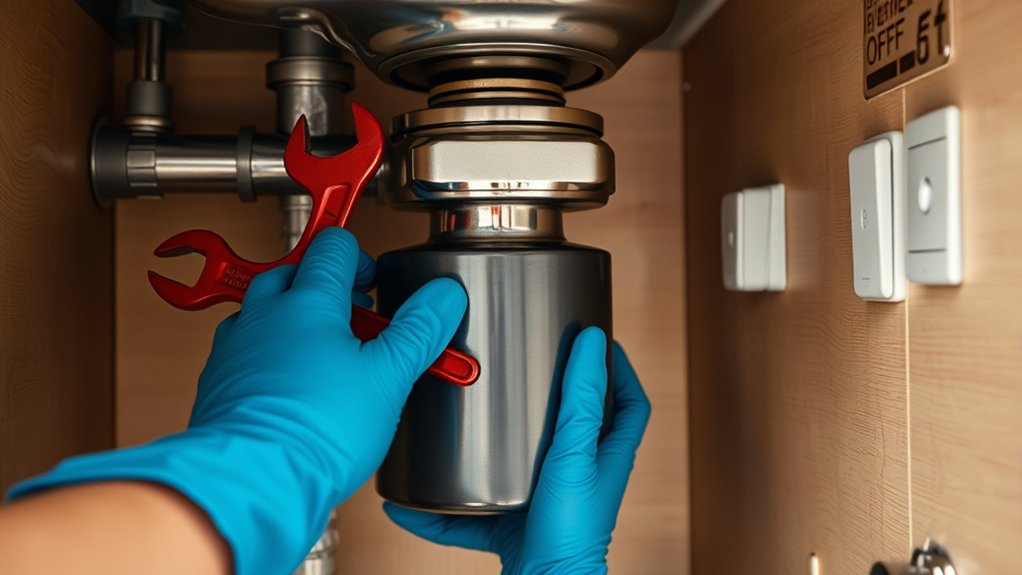
Before you inspect the garbage disposal, turn off its wall switch and unplug it beneath the sink; if it’s hardwired, switch off the circuit breaker. These safety precautions prevent accidental startup while you check the unit.
Open the cabinet and look for leaks, loose connections, or standing water around the disposal. Use a flashlight so you won’t place your hands near hidden blades or electrical components.
Never reach into the grinding chamber, even when the power is off. Instead, remove visible debris with long-handled pliers or tongs, keeping your fingers clear.
Check whether the reset button has tripped, but don’t press it yet if you see damaged wiring, scorch marks, or unusual moisture. Call a qualified electrician or plumber when those hazards appear.
You can also inspect the sink flange and drain opening for food buildup without pushing material farther inside. Regular disposal maintenance helps prevent future blockages, but safety comes first during every inspection.
Keep children and pets away while you work.
Plunge the Disposal-Side Drain
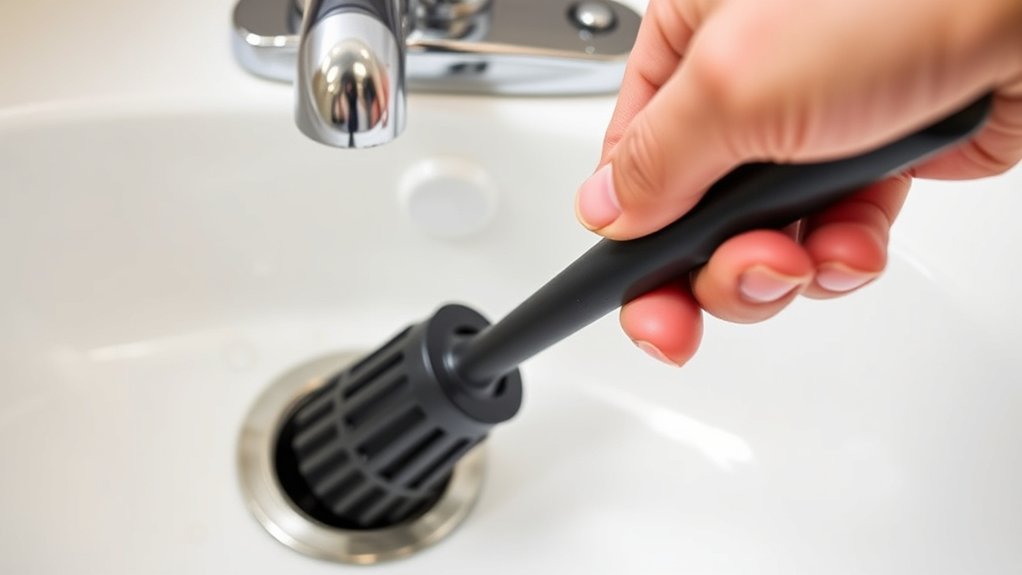
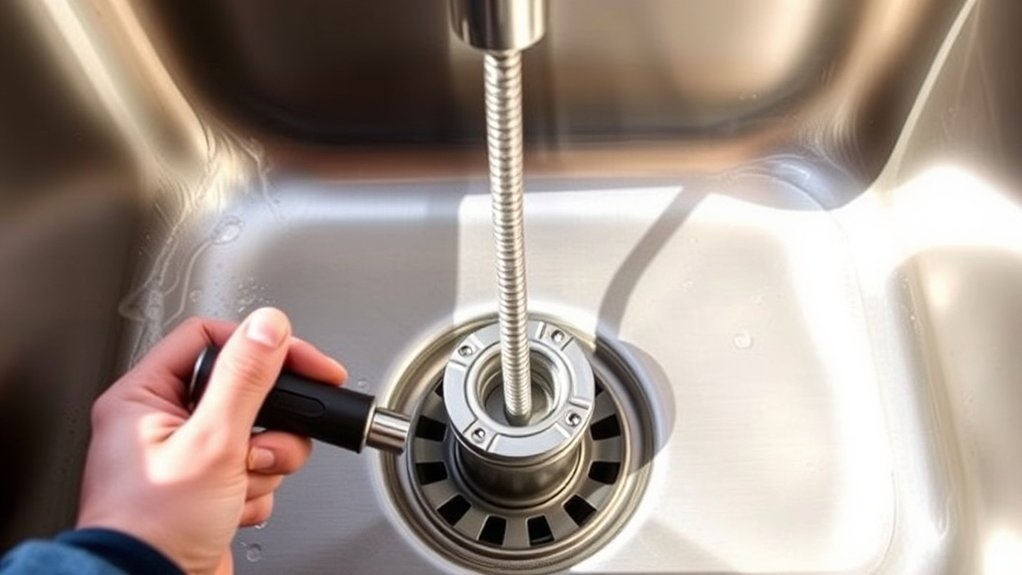
With the disposal still switched off, seal the second sink basin with a stopper or wet cloth, then place a cup plunger over the disposal-side drain. Add enough water to cover the plunger’s rim, creating an airtight seal.
Seal the second basin, position a cup plunger over the disposal drain, and add water to create an airtight seal.
Grip the handle firmly and pump straight up and down 10 to 15 times. Keep the cup centered so pressure travels into the clog rather than escaping around the edges.
Lift the plunger and watch for water movement. If the basin remains full, reseal the cup and repeat several rounds, using steady force instead of violent jabs.
Stop if water splashes toward electrical components, and don’t reach into the disposal. Once the water begins draining, run a brief stream of cold water while you plunge lightly to help carry loosened debris away.
This simple step supports disposal maintenance and keeps kitchen cleaning safer by avoiding harsh chemicals. Don’t turn on the disposal yet; continue only after the clog clears.
Clean the P-Trap and Test the Drain
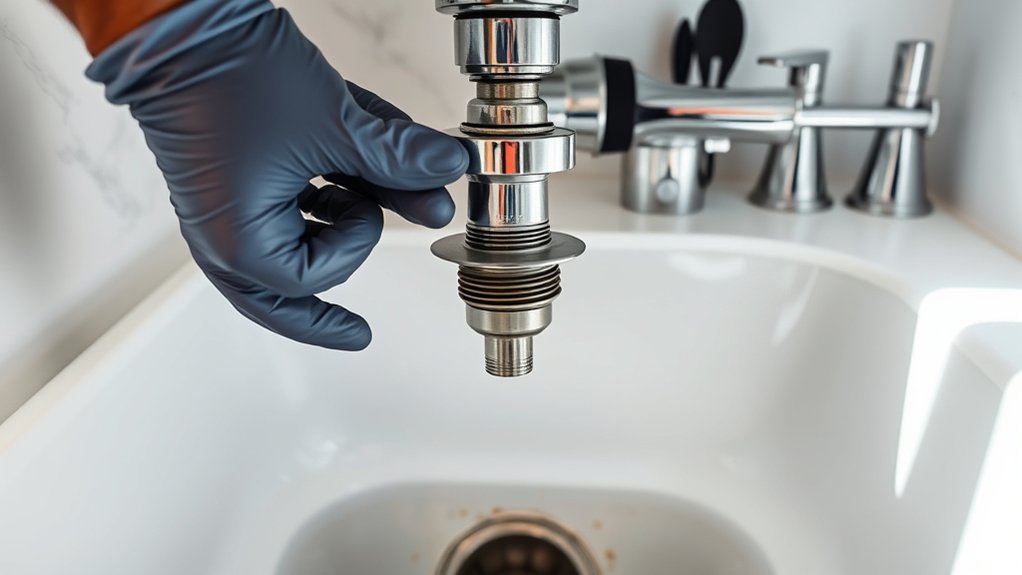
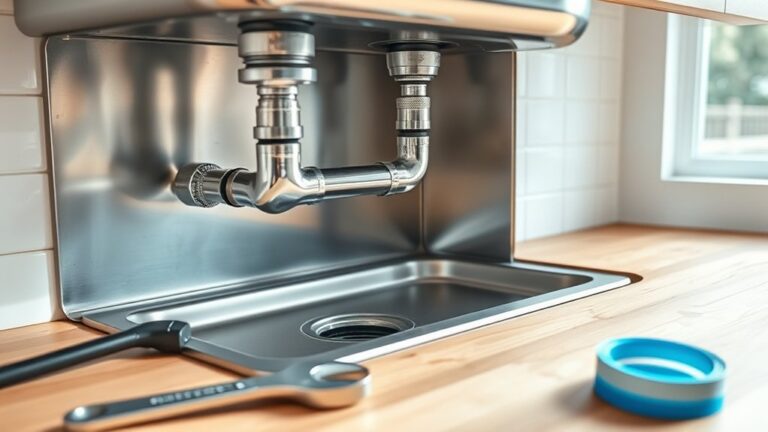
If plunging hasn’t cleared the sink, place a bucket beneath the P-trap and loosen its slip nuts by hand or with adjustable pliers. Remove the curved pipe carefully, keeping its washers in place.
This P trap removal lets you empty trapped water and debris into the bucket. Rinse the trap with hot water, then scrub away grease or buildup with a bottle brush.
Next, inspect the exposed pipe openings for food particles, sludge, or a lodged object. Use a flashlight for a thorough Drain inspection, and pull out debris with a flexible brush or straightened wire.
Don’t push anything deeper into the wall pipe. Check the washers for cracks and replace damaged ones before reinstalling the trap.
Hand-tighten each slip nut, then give it a slight turn with pliers. Overtightening can damage the fittings.
Remove the bucket, run hot water, and test the drain. Watch every connection for leaks and tighten slightly if needed.
Frequently Asked Questions
Can Baking Soda and Vinegar Safely Unclog a Garbage Disposal?
Yes, you can use baking soda and vinegar to freshen and sometimes loosen minor buildup in a garbage disposal, but they won’t reliably clear serious clogs. Their chemical reaction creates fizzing, not powerful drain-clearing pressure.
Follow safety precautions: turn off and unplug the disposal, never place your hands inside, and don’t mix vinegar with bleach or commercial cleaners.
Add baking soda, pour vinegar slowly, wait briefly, then flush with cold water.
When Should I Call a Professional Plumber for a Clogged Kitchen Sink?
Call a professional plumber when plunging and basic cleaning don’t clear the clog, water backs up repeatedly, or multiple drains run slowly. You should also seek help if you notice leaks, sewage odors, gurgling pipes, or standing water, since these signs may indicate a deeper blockage or damaged sewer line.
Schedule Plumbing inspections for recurring problems, and request Emergency repairs when flooding, sewage backup, or a burst pipe threatens your home’s safety.
How Can I Prevent Future Garbage Disposal Clogs?
You can prevent future garbage disposal clogs by practicing smart habits. About 20% of household plumbing problems involve clogged drains.
To prevent blockages, scrape plates thoroughly and avoid grease, coffee grounds, fibrous vegetables, eggshells, and starchy foods. Run cold water while operating the unit.
For disposal maintenance, flush it with water afterward, clean it regularly with ice and citrus peels, and never overload it. You’ll reduce odors, jams, and expensive repairs.
Can a Clogged Dishwasher Hose Cause Sink Drainage Problems?
Yes, a clogged dishwasher hose can cause sink drainage issues, especially if your dishwasher connects to the garbage disposal. Food debris or grease may block the hose, preventing wastewater from exiting properly and causing backups into your sink.
You can inspect the hose for kinks, remove visible buildup, and clean the disposal connection. If water still drains slowly, check the air gap or call a plumber to clear a deeper blockage safely.
What Should I Do if the Garbage Disposal Hums but Doesn’T Grind?
If your garbage disposal hums but doesn’t grind, switch it off and unplug it first. A stubborn little blockage may be hiding inside.
Never reach in with your hand; use tongs to remove any visible Blade obstruction.
Press the reset button, then check the underside for the manual-turn socket. Use an Allen wrench to free the Disposal motor gently.
Restore power and test briefly. Call a professional if humming continues.
Conclusion
You’ve cleared the clog—now keep your sink flowing by running cold water before using the disposal and avoiding grease, coffee grounds, and fibrous scraps. Nearly 50% of household kitchen clogs involve fats, oils, or grease, so small habits make a big difference.
If water still backs up after cleaning the P-trap, don’t force the disposal or use chemical drain cleaner. Restore power only after everything’s secure, and call a plumber when the blockage persists.
For lasting results, follow these precautions whenever you unclog a kitchen sink with a garbage disposal.