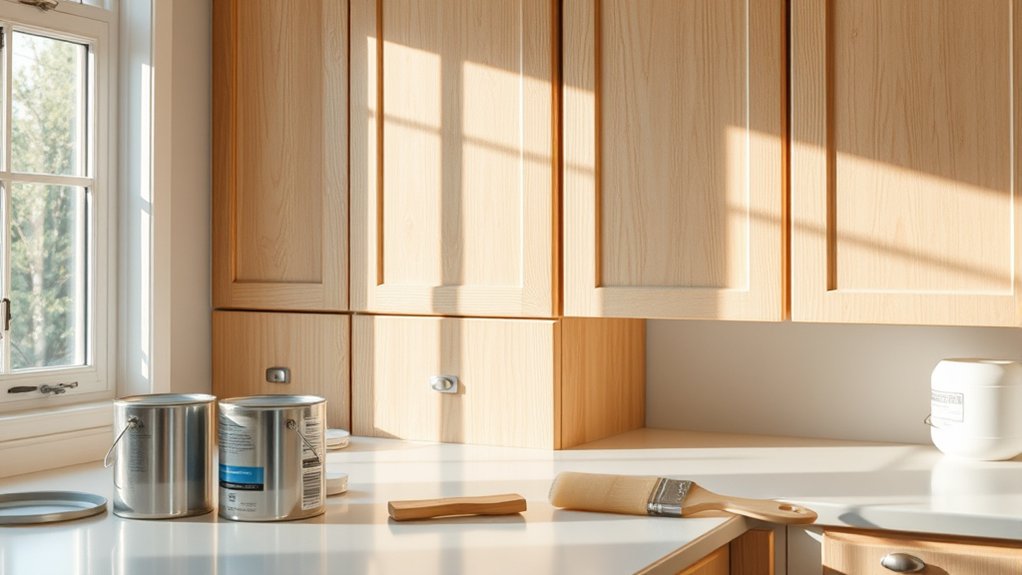
Can You Paint Kitchen Cabinets?
Updating a kitchen can feel expensive and overwhelming, especially when your cabinets look worn but replacing them isn’t in the budget. You’re not alone—many people wonder, can you paint kitchen cabinets and still achieve a durable, professional-looking finish?
Yes, you can paint most kitchen cabinets, including wood, MDF, laminate, veneer, metal, and previously painted surfaces. Clean them thoroughly, repair damage, lightly sand, and apply a bonding primer suited to the material.
Use quality cabinet paint in thin, even coats, allowing each layer to dry fully. Remove and label doors and hardware before starting, then let the finish cure completely before reassembly or heavy use.
The steps below explain how to achieve a durable, professional-looking result.
Key Takeaways
- Yes, most wood, laminate, MDF, veneer, metal, and previously painted kitchen cabinets can be painted with proper preparation.
- Clean surfaces thoroughly, repair damage, lightly sand, and use a bonding primer suited to the cabinet material.
- Apply two or three thin, even paint coats using quality brushes or foam rollers, allowing complete drying between coats.
- Label doors and hardware during removal, and photograph complex hinges to simplify accurate reassembly.
- Let the paint fully cure before reinstalling hardware or using cabinets, then clean gently and touch up as needed.
Which Kitchen Cabinets Can You Paint?
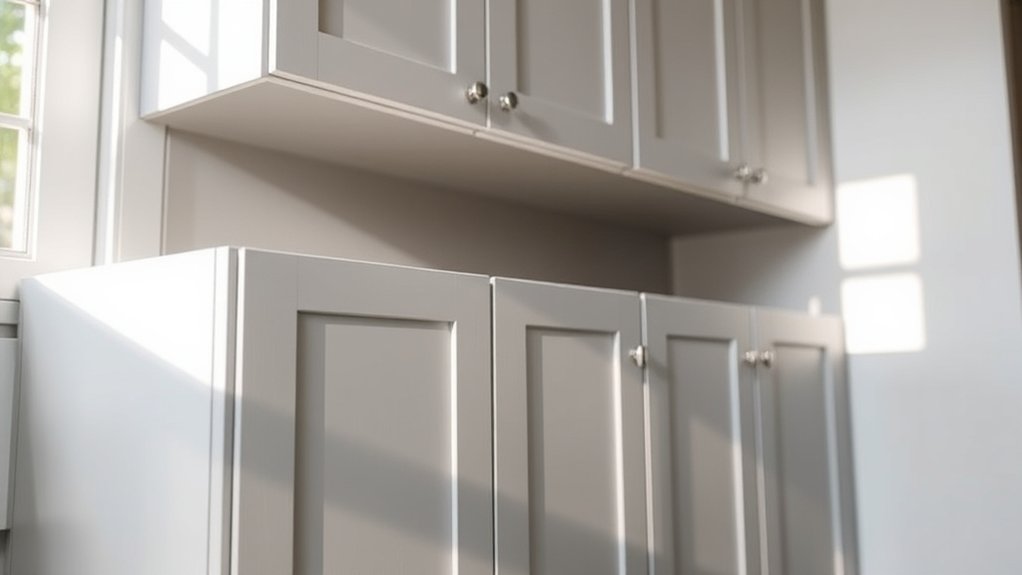
You can paint most kitchen cabinets, including wood, laminate, MDF, and previously painted surfaces, as long as they’re clean, sound, and properly prepared.
You can also refresh cabinets with flat, raised, or recessed panels, whether your kitchen has modern Shaker doors, traditional profiles, or ornate decorative cabinet styles.
Paint works especially well when you want to unify mismatched doors, update dated colors, or create a fresh look without replacing the entire kitchen.
You can paint factory-finished cabinets, stained cabinets, and cabinets with a clear protective coat, provided the existing finish remains firmly attached.
You can even repaint cabinets that feature historical cabinet finishes when you want to preserve their shape while changing their color.
However, painting won’t repair swollen edges, cracked doors, loose veneers, or badly warped components. Replace or repair those parts first for a durable result.
If your cabinets have intricate detailing, choose a finish that highlights their design without hiding important character or craftsmanship.
Check Your Cabinet Material
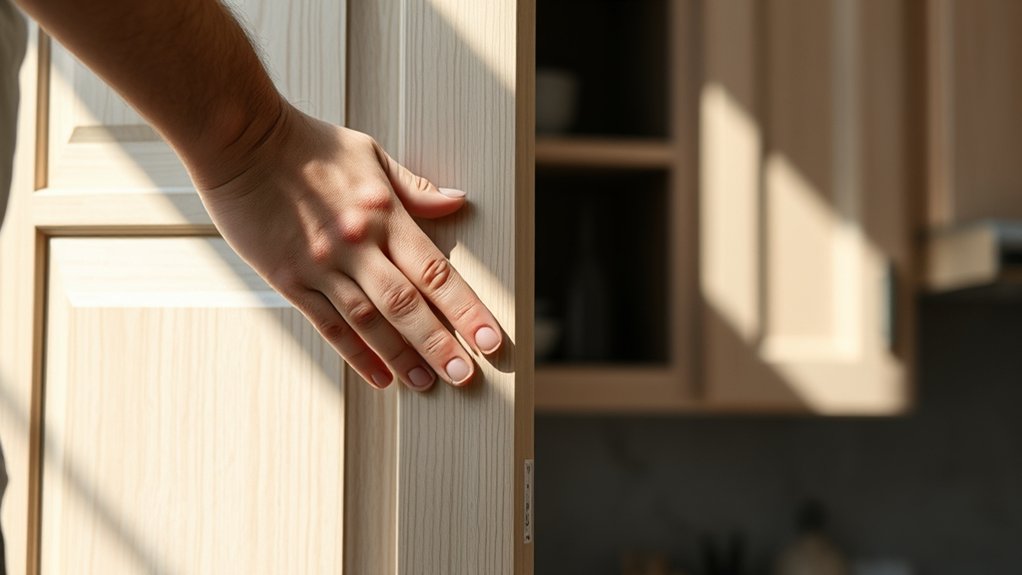
Before choosing paint and primer, identify what your cabinets are made of. Wood, laminate, MDF, and metal each require slightly different preparation. Check exposed edges, doors, and drawer fronts rather than relying on appearance alone.
Solid wood usually tolerates sanding and repairs well, though knots, grain, and old finishes can affect the final result. Veneer has a thin wood layer, so sand it lightly to avoid exposing the substrate.
Solid wood allows thorough sanding and repairs, while veneer requires a gentler touch to protect its thin surface.
Laminate has a slick, nonporous surface that may resist adhesion and needs careful cleaning. MDF has smooth faces but vulnerable edges that can swell if they get wet.
Metal cabinets can develop rust, especially around scratches, hinges, and seams, so inspect them closely. Assess surface durability, too, by looking for peeling finish, swelling, cracks, dents, grease buildup, or water damage.
If the substrate is unstable, painting won’t solve the problem. Repair or replace compromised parts before continuing, and test an inconspicuous area to verify how the surface responds.
Choose Cabinet Primer and Paint
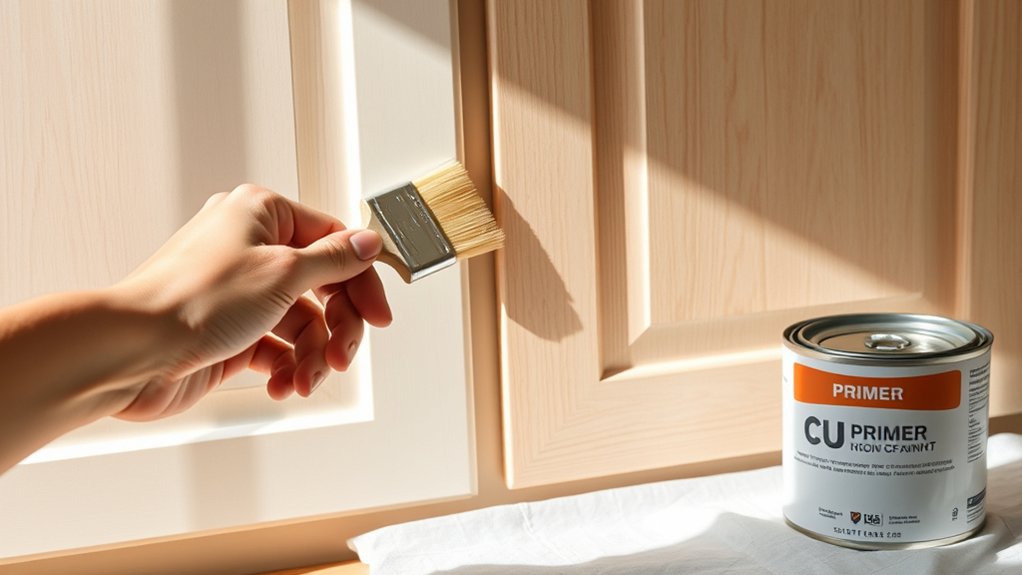
Choose a bonding primer made for your cabinet material and a durable cabinet or trim paint that can withstand frequent cleaning. Read the labels to confirm the products work together and suit your cabinet’s surface.
A quality primer helps paint adhere, blocks stains, and creates a uniform base.
Plan your Color selection around your kitchen’s lighting, counters, flooring, and backsplash. Test sample colors on cabinet doors, then view them throughout the day before committing.
Consider how the shade will look beside existing hardware and appliances.
Choose a paint finish that balances appearance with maintenance. Satin offers subtle sheen and hides minor imperfections, while semi-gloss provides greater washability and reflects more light.
Avoid flat paint, which can mark easily, and high-gloss paint if you don’t want surface flaws emphasized.
- Use a light shade to make a small kitchen feel more open.
- Choose deeper colors for contrast and visual warmth.
- Keep your palette consistent with nearby rooms.
Allow the primer and paint to cure fully according to their labels before reinstalling doors or using the cabinets.
Gather Cabinet-Painting Tools
Gather the essential painting tools, including brushes, rollers, trays, and drop cloths. Before you begin, prepare the surfaces with cleaner, sandpaper, tack cloths, and painter’s tape. And don’t forget your safety equipment, such as gloves, goggles, and a respirator.
Essential Painting Tools
A well-equipped workspace makes painting kitchen cabinets faster and cleaner, so have your tools ready before you begin. Choose equipment that suits your cabinet design, preferred color options, and selected paint finishes. A quality setup helps you apply smooth, even coats without slowing down.
- Use a two-inch angled brush for edges, corners, and detailed areas.
- Keep a small foam roller nearby for broad, flat cabinet surfaces.
- Pour paint into a tray, and use a sturdy stir stick to mix it thoroughly.
Add painter’s tape, drop cloths, and a clean container for organizing supplies as you work. Keep extra liners and disposable gloves available for quick changes.
A small work light can reveal missed spots while you paint. Don’t overload your brush or roller; light, controlled applications give you better coverage and reduce drips. Clean tools promptly after finishing.
Surface Preparation Supplies
Before painting, clean and smooth every cabinet surface so the new finish adheres properly. Gather a degreasing cleaner, microfiber cloths, sponges, and warm water to remove cooking residue and dust.
Use a scraper to lift stubborn buildup, then let each surface dry completely. Fill dents, chips, and old hardware holes with wood filler, and keep a putty knife nearby for smooth application.
Sand the doors, drawer fronts, and frames with medium-grit sandpaper, followed by fine-grit paper to create an even surface. A sanding block helps you reach edges and flat areas consistently.
Wipe away sanding dust with a tack cloth before priming. If you’re adding decorative finishes, inspect every panel under bright light.
Surface adhesion depends on removing grease, smoothing flaws, and leaving no loose residue behind.
Safety Equipment Checklist
Once the surfaces are clean and smooth, protect yourself while you work. Choose safety gear before you open a paint can, because sanding dust, fumes, and splashes can irritate your eyes, skin, and lungs.
Keep these essentials nearby:
- Wear safety glasses to block dust and paint droplets.
- Use a properly fitted respirator rated for paint vapors and sanding particles.
- Put on protective clothing, chemical-resistant gloves, and closed-toe shoes.
Work in a well-ventilated area, and position a fan to move fumes away from your breathing zone without blowing dust onto wet cabinets.
Remove jewelry and secure loose hair or sleeves before sanding or spraying. Keep a first-aid kit and clean water accessible for minor spills or eye contact.
Check every item for damage, and replace worn filters, torn gloves, or scratched lenses before starting your cabinet-painting project. Never eat or drink while handling coatings.
Remove and Label Cabinet Doors
Before removing each cabinet door, label it clearly so you can easily put everything back together later. Carefully remove the hardware, and keep the screws, hinges, and handles together. Staying organized will make it easier to reinstall each door correctly.
Label Each Door Clearly
Remove each cabinet door and label it clearly with a piece of painter’s tape and a matching number on the cabinet frame. Keep every label visible while you clean, sand, and prepare the surfaces.
Accurate identification helps you return each door to its original location, so gaps and alignment stay consistent after painting.
Use a simple numbering system that’s easy to follow:
- Number doors from left to right, starting at one.
- Write the number on the door’s tape and its matching frame label.
- Photograph the numbered layout for an extra reference.
Don’t rely on memory, especially in kitchens with similar-sized doors. Keep your notes nearby as you work through color mixing and paint finishing.
If a label loosens, replace it immediately with fresh painter’s tape so you won’t lose track of the door’s location.
Remove Hardware Carefully
With each door labeled, carefully remove its hinges, knobs, and pulls, placing the screws and matching hardware in a labeled bag or container. This simple hardware removal step prevents lost parts and makes reassembly much easier.
Use a screwdriver that fits each screw head to avoid stripping it, and apply gentle pressure as you turn. If a screw resists, don’t force it; a little penetrating oil can help loosen it.
Keep hinges together with their original doors whenever possible, since slight differences may affect alignment. Photograph complicated assemblies before taking them apart, especially soft-close hinges or unusual mounting plates.
Your labeling techniques should include door numbers, hardware type, and cabinet location. Store every container in one safe place, away from sanding dust, paint, and children.
Clean and Repair the Cabinets
A clean, sound surface gives paint a better chance to adhere and last. Begin cabinet cleaning by removing grease, food residue, and dust with a suitable degreaser and clean cloth.
Pay attention to corners, edges, and areas around handles, where grime collects. Rinse away cleaner residue, then let every surface dry completely.
Inspect doors, drawers, and frames for damage before continuing. Use practical repair techniques to correct problems rather than covering them with paint.
Tighten loose screws, replace missing hardware, and fill dents, chips, or small holes with appropriate wood filler. Repair loose veneer with adhesive, and remove swollen or badly damaged parts for replacement.
- Wipe away grease with a degreaser.
- Fill dents and holes with wood filler.
- Replace damaged veneer or components.
Check that doors and drawers open smoothly and sit properly. Clean spills immediately, and don’t rush repairs; neglected flaws will remain visible after painting.
Keep your workspace ventilated while cleaners and adhesives dry.
Sand and Prime the Cabinets
Once the cabinets are clean, sand all painted or finished surfaces lightly to dull the sheen and help the primer bond. Use 120- to 180-grit sandpaper, following the wood grain.
Remove dust with a vacuum and tack cloth. Don’t sand through veneer or create deep scratches.
Scuff hard-to-reach edges by hand, then inspect every panel for glossy spots.
| Surface condition | Your preparation |
|---|---|
| Sound, glossy finish | Lightly scuff-sand |
| Chipped paint | Feather edges smooth |
| Bare wood | Sand and remove dust |
| Grease or residue | Clean before sanding |
Choose a bonding primer made for cabinetry and your surface type. Apply an even coat to doors, drawer fronts, frames, and exposed sides.
Let the primer dry according to the label. Lightly sand away imperfections, then wipe off the residue before cabinet finishing.
Proper preparation improves paint durability, prevents peeling, and helps the finish adhere to laminate, wood, or previously painted surfaces.
Wear eye protection and a dust mask while sanding. Ventilate the room during priming.
Apply Thin Coats for a Smooth Finish
After the primer has dried and been lightly sanded, apply your cabinet paint in thin, even coats. Thin layers dry more evenly and create a smoother, more durable finish.
Begin with a quality brush or small foam roller, working in the direction of the wood grain.
Pay attention to paint consistency. It should flow easily without dripping or appearing watery.
Stir gently before and during application to keep the pigments evenly distributed. Use these brush techniques for clean coverage:
- Load the brush lightly, then remove excess paint against the container’s edge.
- Apply long, steady strokes, keeping a wet edge as you move across the surface.
- Let each coat dry fully before adding another layer.
Two or three thin coats usually provide better coverage than one thick coat. Lightly inspect the surface between coats, and follow the paint manufacturer’s recommended drying time.
Keep your strokes controlled, and avoid pressing hard. Gentle application helps prevent visible brush marks and preserves the smooth finish you’re creating.
Avoid Common Painting Mistakes
Avoiding common painting mistakes helps your cabinets look smoother and last longer. Start by cleaning every surface thoroughly; grease and dust can prevent primer and paint from adhering properly. Don’t skip sanding, even when you’re using a bonding primer. Lightly scuff the existing finish, then remove all sanding residue before painting.
Use the right tools for the job. A quality angled brush helps you reach corners, while a small foam roller minimizes visible texture on broad panels. Avoid overloading either tool, because excess paint can create drips, ridges, and uneven coverage. Maintain consistent direction as you work, and inspect each section under bright light.
Think carefully about Color matching before you begin. Test your chosen shade on a hidden area, since lighting can change its appearance. Also select durable paint finishes suited to kitchen use; satin or semigloss typically cleans more easily than flat paint. Finally, label doors and hardware, so reassembly stays simple and accurate.
Wait for the Paint to Cure
Let the paint dry completely before using your cabinets. Avoid opening, closing, or loading them too soon, since doing so can damage the finish. Once the surface feels fully hard, you can return to normal use.
Allow Full Drying Time
Give the painted cabinet doors and frames enough time to dry and cure before reinstalling hardware or using the cabinets. During the drying process, keep each piece in a clean, dry, well-ventilated area.
Follow the paint label’s curing time, since temperature, humidity, and coat thickness affect the schedule. Touch-dry doesn’t always mean the finish has hardened completely.
- Keep doors flat or supported evenly to prevent marks.
- Leave space between pieces so air can circulate.
- Check edges, corners, and recessed areas for soft or tacky paint.
Use a timer or calendar to track coats and drying intervals. If the surface still feels cool, soft, or slightly sticky, give it more time.
Patience helps the finish harden evenly, resist fingerprints, and maintain a smooth, durable appearance after you complete the project.
Avoid Premature Cabinet Use
Once the paint feels dry, don’t put the cabinet doors back into regular use right away. Surface dryness doesn’t mean the coating can handle daily opening, closing, spills, or cleaning.
Give the paint time to cure according to the product label, and keep doors, drawers, and hardware away from heavy use during this period.
Plan your kitchen routine around the curing schedule. Store frequently used items elsewhere, ask family members to handle doors gently, and place temporary labels on cabinets you should avoid.
Don’t stack items against freshly painted surfaces, and avoid hanging towels from new knobs or pulls. These precautions protect cabinet durability and help your Painting techniques deliver a smoother, longer-lasting result.
If you rush, pressure and friction can leave marks, dents, or sticky surfaces that require additional touch-ups.
Check for Complete Hardness
Check the cabinets for complete hardness before returning them to normal use. Cured paint should feel firm, smooth, and resistant to light pressure.
Don’t judge readiness by a dry appearance alone; the surface may still be strengthening beneath the top layer. Follow the paint manufacturer’s curing schedule, allowing extra time in cool or humid conditions.
Use this simple durability testing routine:
- Press a fingernail gently into an inconspicuous edge. A lasting mark means the finish needs more time.
- Rub the surface lightly with a clean, soft cloth. Stop if it feels tacky or shows residue.
- Open and close doors slowly, checking for sticking, scuffing, or transferred paint.
Wait until the surface hardness feels consistent across every door, drawer, and cabinet box. Patience now helps prevent dents, fingerprints, peeling, and premature refinishing later.
Frequently Asked Questions
How Much Does It Typically Cost to Paint Kitchen Cabinets?
You’ll typically pay $1,500–$4,500 to have kitchen cabinets professionally painted, while DIY materials may cost $200–$600. Your total depends on cabinet size, door count, surface condition, labor rates, and preparation needs.
You can reduce costs by removing doors and hardware yourself, but thorough cleaning, sanding, and priming improve paint durability. Color options usually don’t change pricing much, though specialty finishes, glazing, or intricate designs can increase the final estimate.
Should You Hire a Professional or Paint Kitchen Cabinets Yourself?
You should hire a professional if you want a faster, smoother, more durable finish and don’t have much painting experience. Professional benefits include proper surface preparation, specialized equipment, and fewer costly mistakes.
Choose DIY if you’re patient, comfortable removing doors, and willing to invest several weekends. Follow practical DIY tips: clean thoroughly, sand lightly, use bonding primer, apply thin coats, and allow adequate drying time.
Compare labor costs with materials before deciding.
How Long Does a Kitchen Cabinet Painting Project Usually Take?
You’ll usually finish a kitchen cabinet painting project in three to five days. Cabinet preparation takes the first day, including cleaning, sanding, repairs, and priming.
You’ll typically spend the next one or two days applying two paint coats, allowing adequate paint drying time between them.
Finally, you’ll need another day for curing, reassembly, and installation. Larger kitchens, intricate doors, humidity, and professional-quality finishes can extend the timeline to a week.
Can Painted Cabinets Be Repainted a Different Color Later?
Yes, you can repaint cabinets a different color later. About 80% of paint failures result from poor surface preparation, so clean, sand, and prime every door and frame before applying new color.
Check for color fading, especially near windows, and choose a durable coating for better paint durability. If the existing finish is glossy, scuff it thoroughly.
Repair chips, remove hardware, and allow each coat to cure fully before reassembly.
How Often Should Kitchen Cabinets Be Repainted?
You’ll typically repaint kitchen cabinets every 8–10 years, but inspect them annually for peeling, fading, stains, or worn edges. High-traffic kitchens may need touch-ups sooner, while quality materials and careful cleaning can extend cabinet durability.
Choose paint finish options that withstand moisture and scrubbing, such as satin or semi-gloss. When you repaint, clean, sand, and prime the surfaces first so your new color adheres smoothly and lasts longer.
Conclusion
Painting kitchen cabinets can transform your space without the cost of replacement. You’ll get the best results by confirming the cabinet material, choosing compatible primer and paint, labeling every door, and applying several thin coats.
Don’t rush the cure time, even when the finish feels dry. Since kitchen cabinets may be opened dozens of times daily, durable preparation matters more than speed.
With careful sanding, clean tools, and patience, you can create a professional-looking finish that lasts. Painting kitchen cabinets properly helps ensure a durable, polished result.