How to Make a Kitchen in Minecraft in 7 Steps
Designing a Minecraft kitchen can feel tricky when you want it to look stylish, functional, and easy to build. You’re not alone—many players struggle to turn a few blocks into a welcoming space.
This Minecraft kitchen guide breaks the process into seven simple steps, from choosing a layout to adding the finishing details.
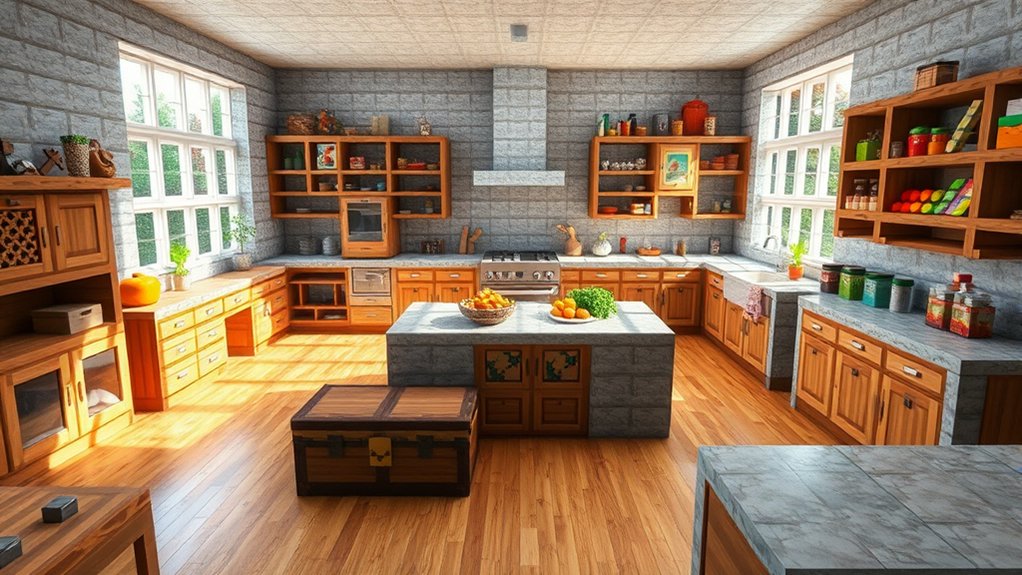
To make a Minecraft kitchen in seven steps, first choose a size and layout that leaves room to move. Gather quartz, stone, wood, barrels, trapdoors, lanterns, and glass. Build the floor and walls, then add counters, cabinets, and storage.
Create a sink with a cauldron, a stove with a furnace, and a range hood above it. Add shelves, a refrigerator, food, and utensils. Finish with layered lighting, plants, and decorative details.
You’ll find extra ideas for personalizing it below.
Key Takeaways
- Choose a kitchen layout, mark its footprint, and gather blocks matching your preferred modern or rustic style.
- Build the floor, walls, windows, ceiling, and layered lighting to establish the kitchen’s structure.
- Add countertops, lower cabinets, upper storage, shelves, barrels, chests, and trapdoors for practical organization.
- Create a sink, stove, oven, refrigerator, and range hood using cauldrons, furnaces, iron, quartz, and decorative details.
- Personalize the room with food displays, item frames, plants, utensils, contrasting textures, and balanced finishing touches.
Choose a Minecraft Kitchen Size and Layout
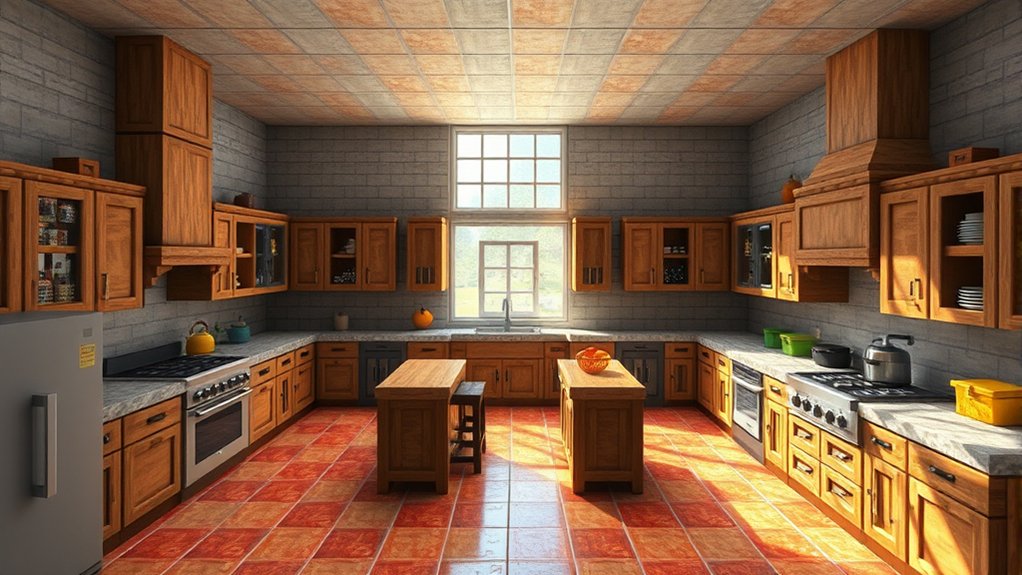
Start by deciding how much space your Minecraft kitchen needs and where it’ll fit in your build. Measure the available area and consider how it connects to nearby rooms, entrances, and storage spaces.
Plan your Minecraft kitchen’s size, placement, and connections to nearby rooms before building.
A compact kitchen can suit a small house, while a larger build may support separate cooking, dining, and pantry zones.
For effective kitchen design, choose a shape that matches your room. A straight counter works well along one wall, while an L-shaped arrangement uses corners efficiently.
If you have plenty of space, a U-shaped layout or central island can create a more detailed focal point. Leave enough room for movement so your character won’t feel boxed in.
During layout planning, mark each intended station before you finalize the room’s boundaries. Reserve areas for counters, furnaces, sinks, tables, and decorative appliances.
Keep frequently used features within easy reach, and align surfaces at consistent heights for a polished appearance. Your planned proportions will guide every later choice.
Gather Blocks for Your Kitchen Build
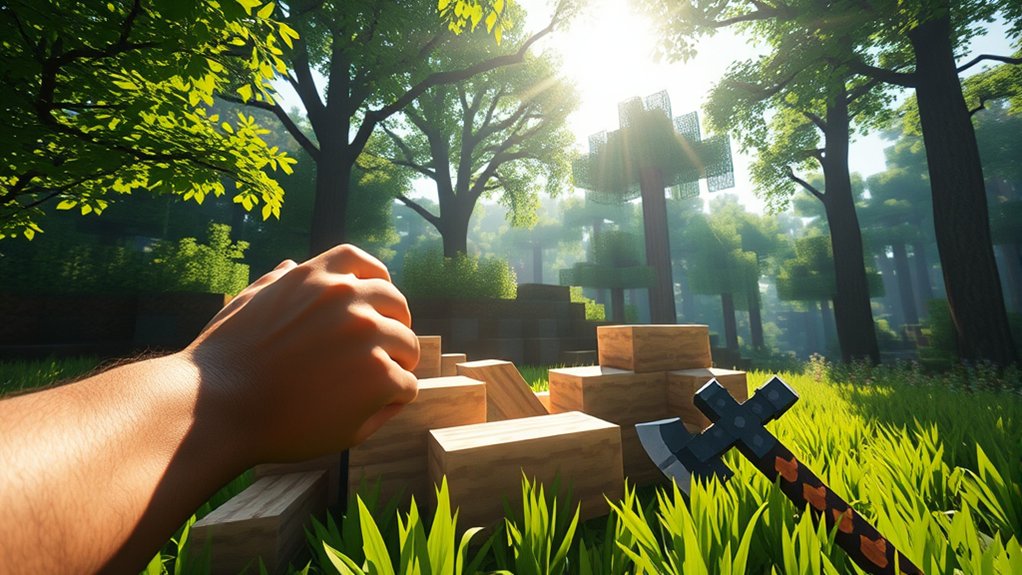
Gather blocks that match your planned kitchen’s style, including building materials for walls and floors, slabs or stairs for counters, and trapdoors or signs for cabinet details. Choose a practical palette before collecting resources, so every item supports your design rather than filling your inventory randomly.
For modern kitchens, gather quartz, smooth stone, concrete, glass, iron blocks, and polished diorite. If you prefer a rustic room, collect planks, stripped logs, cobblestone, bricks, barrels, and lanterns.
Consider Kitchen color schemes while selecting wool, terracotta, concrete, or glazed terracotta accents. Save decorative blocks such as flower pots, paintings, item frames, buttons, and cauldrons for appliances and finishing touches.
Include Decorative lighting, such as lanterns, glowstone, sea lanterns, or end rods, to brighten work areas later. Gather extra trapdoors, signs, buttons, pressure plates, and fences because small details often require replacements.
Keep materials sorted in labeled chests, and collect more than your estimate to cover adjustments, accents, and accidental placement mistakes. Bring tools, fuel, and a water bucket for efficient gathering.
Build the Kitchen Floor and Walls
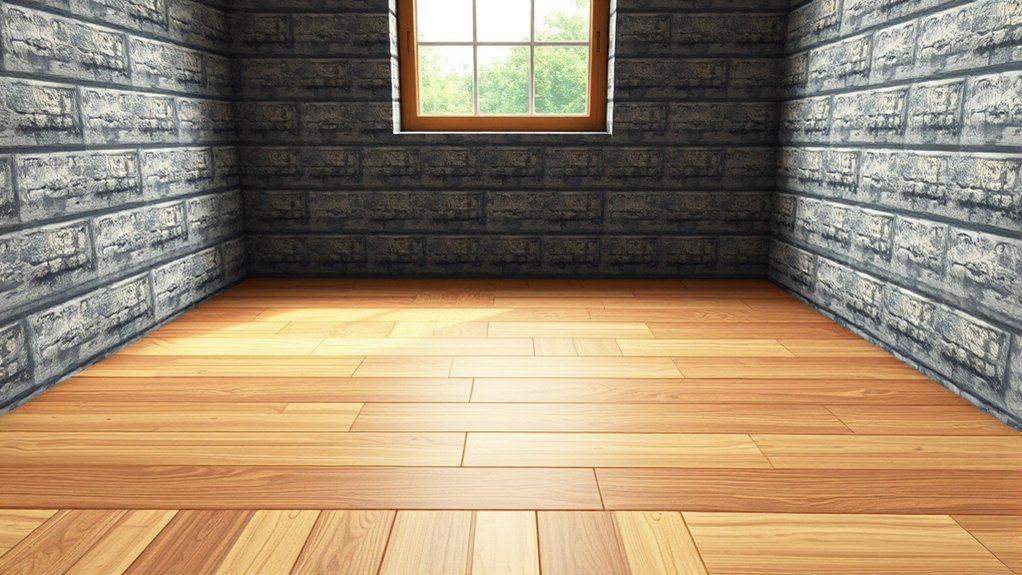
Mark the kitchen’s footprint with temporary blocks, then lay a level floor in your chosen material, such as quartz, planks, or polished stone. Keep the shape simple enough to move around comfortably, and remove the temporary markers when you’ve checked each edge.
Mark the kitchen’s footprint, lay a level floor, and keep the shape simple for comfortable movement.
Build the walls to your chosen height, leaving space for a doorway and any windows. Use a consistent block pattern, or combine two textures for contrast without making the room feel busy.
Plan your Kitchen color schemes before placing every wall. Light blocks can make a small kitchen appear larger, while darker accents create warmth.
Add a ceiling if the room sits outdoors, and seal gaps to protect the interior from weather and hostile mobs. Install windows with glass panes for daylight, but keep their placement balanced.
Finally, add Decorative lighting beneath the ceiling or along the walls. This will help you see clearly and establish the kitchen’s atmosphere before furnishing it.
Add Counters, Cabinets, and Storage
Build countertops with slabs or full blocks to create a practical work surface. Then, add cabinets above and below them using trapdoors, barrels, or chests. These storage options help keep your kitchen organized and functional.
Build Countertops
Start with a practical work surface by placing smooth quartz blocks, stone slabs, or another matching material along the kitchen walls. Choose countertop materials that complement your floor, walls, and appliances.
Full blocks create a sturdy, substantial surface, while slabs give your kitchen a slimmer, modern profile. Mix materials carefully to define separate preparation areas without making the room feel busy.
Next, shape the counter around corners and windows, leaving enough room for movement. Use stairs, slabs, or trapdoors to create beveled edges and varied countertop styles.
Add a raised section for a breakfast bar, or extend one side into an island if your kitchen has enough space. Keep the counter height consistent unless you’re intentionally creating a bar.
Check the layout from several angles, then replace mismatched blocks before adding decorative details.
Add Cabinets and Storage
With your countertops in place, add lower cabinets beneath them using barrels, chests, or stripped wood blocks. Choose materials that match your kitchen’s counters, then arrange cabinets in a continuous row for a polished appearance.
Trapdoors attached to cabinet fronts can suggest doors, while buttons work as handles. For practical Kitchen organization, assign each container a purpose:
- Store food, crops, and ingredients in barrels near your cooking area.
- Keep tools, fuel, and building materials in chests under the counters.
- Place decorative items, such as bowls or flowers, on open shelves.
Add upper cabinets with barrels, trapdoors, or wall-mounted chests if you need more space. Leave occasional gaps to prevent the room from looking crowded.
These Storage solutions keep supplies accessible while making your kitchen feel complete, functional, and inviting. Consider labeling containers with signs for quicker access.
Build a Sink, Stove, and Range Hood
Next, build a functional sink with a basin, faucet, and drain. Then, create a Minecraft stove using furnaces or smokers and add a range hood above it. These details will make your kitchen feel practical and complete.
Build a Functional Sink
Build a functional sink by placing a cauldron beneath a tripwire hook or lever as the faucet. Fill the cauldron from a water source, then add a trapdoor or stone slab around it to create a countertop. Use quartz, iron, or polished diorite for a clean, modern finish.
Position the sink against a wall and frame it with cabinets, barrels, or stairs.
- Add a button beside the faucet to suggest a control.
- Place a hopper beneath the cauldron to imitate a drain.
- Use signs or item frames as small soap dispensers.
Connect the design visually with nearby plumbing systems, such as iron bars or exposed pipes made from walls. You can also place a second cauldron beside the first for extra washing space.
Keep the basin accessible, and leave enough counter space for decorations.
Craft a Minecraft Stove
Create a Minecraft stove with a furnace, smoker, or blast furnace as the main cooking unit, then surround it with quartz blocks, stone slabs, or polished deepslate for a sturdy countertop.
Place iron trapdoors beside the appliance to suggest burners, and add buttons as controls. Use a campfire beneath a trapdoor only if you want a decorative cooktop; keep flammable blocks away from real fire.
Position a chest nearby for coal, food, and Cooking recipes ingredients, making your kitchen practical. Add polished blackstone, stone, or quartz flooring so Kitchen cleaning stays simple and your stove area looks polished.
Leave one block of space in front for easy access, then illuminate the counter with lanterns or hidden glowstone. Test the furnace before decorating around it, ensuring you can open and use it comfortably.
Add a Range Hood
With your stove in place, add a range hood above it to complete the cooking area. Build a compact hood with iron blocks, quartz, or polished stone, then attach it to the wall or ceiling. Center it over the burners so your kitchen looks practical and balanced.
For a convincing ventilation system, stack a short chimney behind the hood and extend it upward.
Choose details that match your kitchen’s style:
- Use trapdoors for front vents.
- Add buttons or stone slabs as controls.
- Place lanterns beneath the hood for lighting.
You can frame the hood with cabinets, stairs, or signs to make it feel integrated. Mix textures carefully, but don’t overcrowd the wall.
Finish with decorative accents, such as flower pots, item frames, or hanging chains. Your stove now has a polished focal point that makes the kitchen feel functional.
Add Shelves, Appliances, and Food Decor
Once the cabinets and counters are in place, add shelves, appliances, and food decor to make your Minecraft kitchen feel functional. Mount spruce or birch shelves above the counters, then place bowls, flower pots, and crafted barrels on them. Keep frequently used items near your stove and sink to improve kitchen organization.
| Item | Suggested Minecraft blocks |
|---|---|
| Refrigerator | Iron blocks and a door |
| Oven | Furnace, stone, and trapdoor |
| Sink | Cauldron with a tripwire hook |
| Shelves | Slabs, signs, and trapdoors |
Build a refrigerator beside the counters with iron blocks, an iron door, and buttons. Use furnaces or blast furnaces for ovens, surrounding them with stone or quartz.
Create a sink from a cauldron, then add a lever or tripwire hook as a faucet. Scatter bread, cakes, carrots, apples, and beetroot across counters using item frames or decorative blocks.
Add decorative accessories such as flower pots, jars, and hanging utensils to give the room character. Vary heights and materials so every surface looks intentionally arranged, not crowded. This combination makes your kitchen practical and inviting.
Light and Finish Your Minecraft Kitchen
Finish your Minecraft kitchen with layered lighting and a few carefully chosen details. Use bright ceiling fixtures, softer task lights, and warm accents to make the room feel practical and inviting. Lanterns, end rods, glowstone, and hidden sea lanterns offer flexible lighting ideas without crowding your counters.
- Hang lanterns above an island or dining table for a cozy focal point.
- Place trapdoors, buttons, or signs around appliances to add texture.
- Use flower pots, bowls, and item frames to display food and utensils.
Hide lighting beneath cabinets or behind slabs so you illuminate workspaces without exposing every light source. Check the kitchen at night, then adjust brightness until you can see clearly while preserving atmosphere.
Add a contrasting floor mat with carpets, frame windows with trapdoors, and place a plant near an empty corner. These finishing touches give your build personality and help separate functional areas.
Finally, remove stray blocks, match wood tones, and verify that doors, storage, and appliances remain accessible. A clean final pass will make your Minecraft kitchen feel complete, believable, and ready for everyday use.
Frequently Asked Questions
Can I Build a Functional Kitchen Using Minecraft Redstone Mechanisms?
Yes, you can build a functional kitchen using Minecraft redstone mechanisms. You can create working ovens with furnaces, hoppers, and item sorters that automatically move ingredients and cooked food.
Dispensers can simulate faucets, while trapdoors, slabs, and barrels support creative furniture design. Although redstone won’t prepare every recipe automatically, you can organize cooking recipes nearby with labeled storage.
Add buttons, levers, and lighting to make your kitchen interactive and practical.
Which Minecraft Mods Add Realistic Kitchen Appliances and Cooking Features?
Kitchen mods can turn your Minecraft world into a feast for the eyes. You’ll find realistic appliances and deeper cooking features in Farmer’s Delight, Create, Cooking for Blockheads, Pam’s HarvestCraft 2, and MrCrayfish’s Furniture Mod.
Farmer’s Delight expands cooking recipes, while Cooking for Blockheads organizes ingredients and appliances. Create adds mechanical ovens and mixers, and appliance upgrades from addon packs can make your kitchen feel like a well-oiled machine.
How Can I Protect My Kitchen From Mobs and Unwanted Player Access?
Protect your kitchen by building walls, lighting every corner, and installing an iron door with a button or key-based mod. Add fences, gates, and a perimeter moat to block mobs and discourage trespassers.
For farm security, connect your kitchen to a guarded compound with watchtowers and controlled entrances. Use a subtle trap design, such as hidden pressure plates triggering dispensers, but avoid dangerous mechanisms near storage or cooking areas.
Keep valuables behind locked chests.
Can Villagers Use or Interact With Kitchen Furniture and Appliances?
Villagers can’t truly use or interact with decorative kitchen furniture and appliances. Their villager behavior focuses on workstations, beds, doors, and trading, so counters, furnaces, barrels, and tables mostly serve you.
You can assign a villager a workstation, such as a smoker to create a butcher, but it won’t cook food independently. For kitchen trades, place the appropriate job block nearby and protect it from accidental access or replacement.
What Are Creative Ways to Connect My Kitchen to a Minecraft Dining Room?
Connect your kitchen to the dining room with a wide archway, serving counter, or sliding piston door. Add a breakfast bar with slabs and stairs, then place trapdoors as stools.
Create a pass-through window so you can “serve” meals quickly. Extend the space into outdoor seating through glass doors or a covered patio.
Use decorative lighting, such as lanterns, candles, and glowstone, to guide guests and define each area.
Conclusion
With these seven steps, you can turn any Minecraft space into a practical, stylish kitchen. Choose a layout that fits your home, combine functional blocks with decorative details, and finish with welcoming lighting.
You could even challenge yourself to recreate a real kitchen. Kitchens account for roughly 10% of a typical home’s floor area, so careful planning matters. Now gather your blocks, add your personal style, and start building a Minecraft kitchen you’ll enjoy using.