How to Clean Grease Off Kitchen Cabinets in 5 Steps
Greasy kitchen cabinets can make even a clean home feel messy, and you’re not alone if stubborn buildup keeps coming back. The right cleaner can make the job easier while protecting your cabinet finish.
To clean grease off kitchen cabinets, first test a mild, manufacturer-approved cleaner in a hidden spot. Next, wipe away dust and loose grease with a barely damp microfiber cloth.
Apply cleaner to the cloth, not the cabinet, and work in small sections. For stubborn buildup, let the solution sit briefly, then wipe gently without abrasives.
Finally, rinse with a clean damp cloth and dry every surface, seam, and edge. Keep going for extra tips to prevent grease from returning.
Key Takeaways
- Choose a finish-safe mild cleaner, test it on a hidden area, and never mix cleaning chemicals.
- Remove loose dust and grease with a barely damp microfiber cloth, working from the top downward.
- Apply diluted cleaner to the cloth, not the cabinet, and wipe small sections along the grain.
- Soften stubborn grease briefly, then gently wipe it away without abrasive sponges, steel wool, or harsh scrubbing.
- Rinse with a clean damp cloth and dry immediately, especially around seams, edges, handles, and corners.
Choose a Safe Cleaner and Test It First
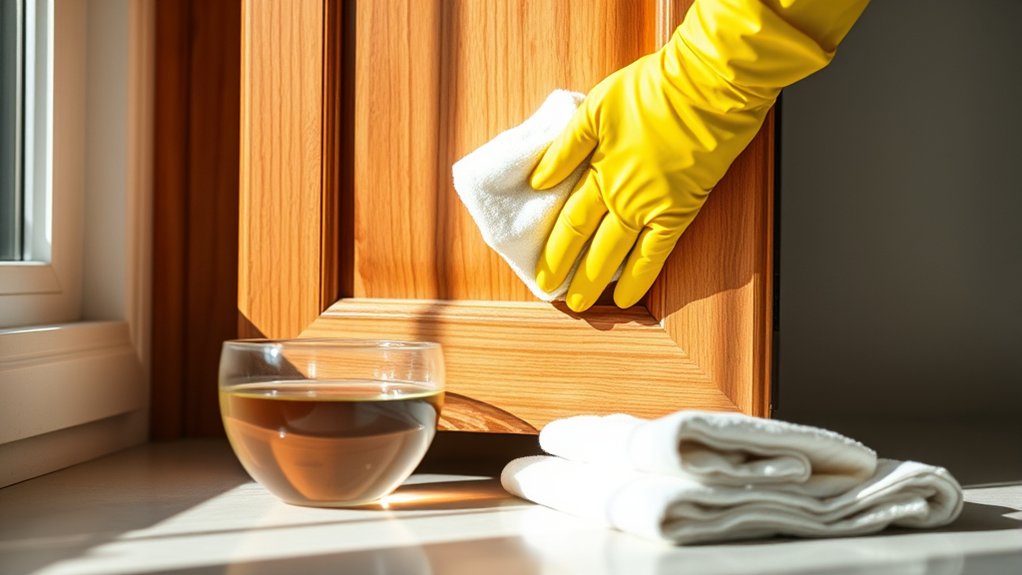
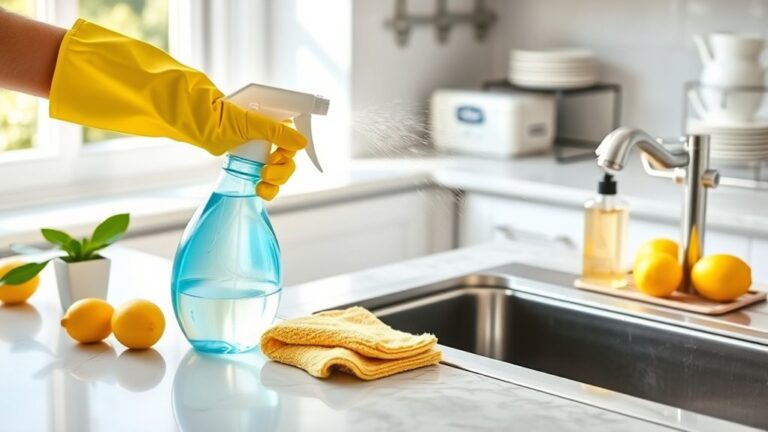
Before scrubbing, choose a mild cleaner that matches your cabinet’s finish, such as diluted dish soap or a manufacturer-approved degreaser. Check the care label or manufacturer’s website before using any product, especially on painted, stained, laminate, or wood cabinets.
Choose a mild cleaner suited to your cabinet’s finish, and check manufacturer care guidance before applying any product.
For chemical safety, never mix cleaners, particularly bleach, ammonia, vinegar, or products containing acids. Open a window, wear gloves, and keep children and pets away from the work area.
Gather suitable cleaning tools, including a soft microfiber cloth, a small bowl, and a cotton swab for tight edges. Avoid abrasive powders, steel wool, rough sponges, and concentrated solvents, which can dull finishes or remove paint.
Test your chosen solution in a hidden spot, such as the inside edge of a door. Apply a small amount, wait several minutes, then wipe and inspect the area.
If you notice fading, cloudiness, swelling, or tackiness, stop immediately and choose a gentler product.
Wipe Away Loose Grease and Dust

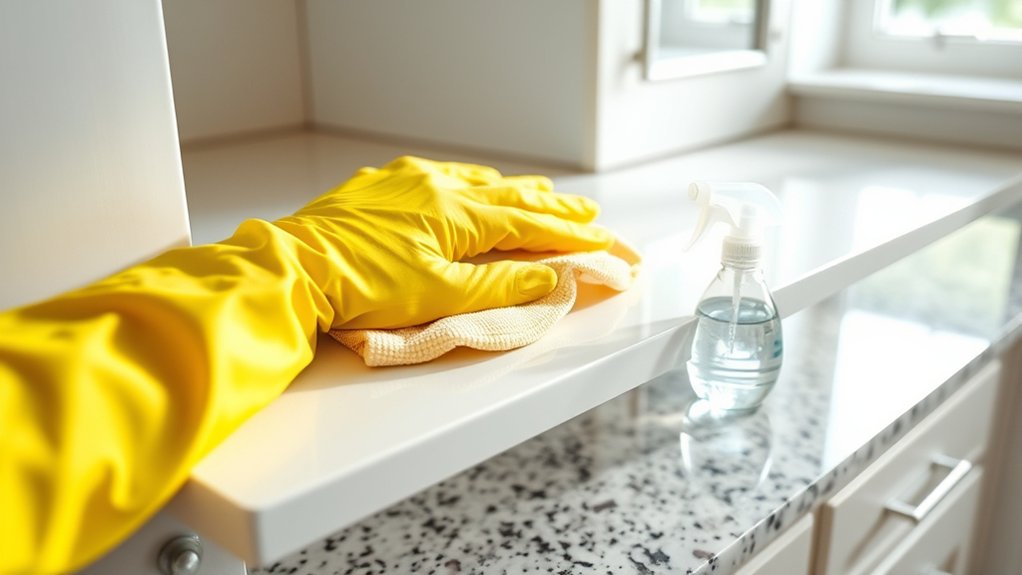
Once your cleaner passes the spot test, remove loose dust and surface grease with a dry or slightly damp microfiber cloth. Start at the top of each cabinet and work downward, so loosened particles don’t settle on areas you’ve already wiped.
Use gentle, overlapping strokes rather than vigorous scrubbing, which can spread grease or dull the finish.
Pay special attention to handles, corners, trim, and the edges around doors, where cooking fumes often leave a sticky film. Refold the cloth as it collects grime, or switch to a clean one to avoid redistributing residue.
For grooves and narrow seams, use a soft, dry brush or the corner of your microfiber cloth.
Check the cloth’s moisture level before touching the surface. It should feel barely damp, not wet, because excess water may seep into joints or damage sensitive cabinet materials.
Keep your pressure light, and let this initial pass remove loose buildup without forcing grime deeper into the finish.
Use a Mild Cleaner on Greasy Cabinets

Apply a mild degreasing solution with a clean microfiber cloth, using just enough moisture to lift the sticky residue without soaking the cabinet. Choose a cleaner labeled safe for your cabinet material, whether it’s painted wood, laminate, metal, or sealed hardwood. If you’re unsure, test a small, hidden area first and check for color changes or dullness.
Work in small sections, wiping with the grain when applicable. Turn the cloth often so you’re not spreading grease across the surface. For cabinet doors, clean the front, edges, and handles, where fingerprints and cooking oils collect. Don’t spray cleaner directly onto the cabinet; apply it to the cloth instead.
Your cleaning frequency depends on cooking habits. Wipe high-touch areas weekly and clean the entire cabinet surface monthly, or more often if grease builds quickly. Finish by wiping with a separate cloth lightly dampened with clean water, then dry each surface promptly to prevent moisture marks.
Remove Stubborn Grease Without Scratching
For stubborn grease, loosen the buildup with a soft microfiber cloth and a small amount of mild cleaner rather than scrubbing aggressively. Let the cleaner sit briefly, giving it time to soften the residue. Then wipe in small, gentle circles, turning the cloth often so you’re always using a clean section.
Choose scratching techniques carefully: don’t use steel wool, rough sponges, scouring powders, or sharp tools on cabinet doors. Even plastic scrapers can damage delicate finishes if you press too hard.
Avoid abrasive tools and sharp objects; even plastic scrapers can scratch or damage delicate cabinet finishes.
For hardened spots, wrap a damp cloth around your fingertip and apply steady, light pressure instead. Repeat the process gradually instead of forcing the grease away in one pass.
Prioritize surface protection by testing the cleaner on a hidden area first. Check painted, wood, laminate, and veneer cabinets for signs of dullness, discoloration, swelling, or lifted finish.
If the residue remains, use a fresh cloth and another brief application rather than increasing pressure. Avoid soaking seams, edges, and joints while working.
Rinse, Dry, and Prevent New Buildup
After the grease is gone, wipe the cabinets with a clean, slightly damp microfiber cloth to remove cleaner residue. Rinse the cloth often so you don’t spread grime across doors and drawers.
Follow with a dry microfiber cloth, paying special attention to seams, corners, handles, and edges where moisture can seep into the finish. Leave doors slightly open until everything feels completely dry.
| Task | Best practice |
|---|---|
| Rinsing | Use clean water and a well-wrung cloth |
| Drying | Buff immediately with a soft towel |
Prevent new buildup by wiping splatters promptly, especially around the range and cabinet pulls. Run your exhaust fan while cooking, and clean greasy handles weekly.
Avoid waxy sprays unless the manufacturer approves them. They can attract dust and leave streaks.
Cabinet polishing should match your cabinet material and finish, so test any product in an inconspicuous spot first.
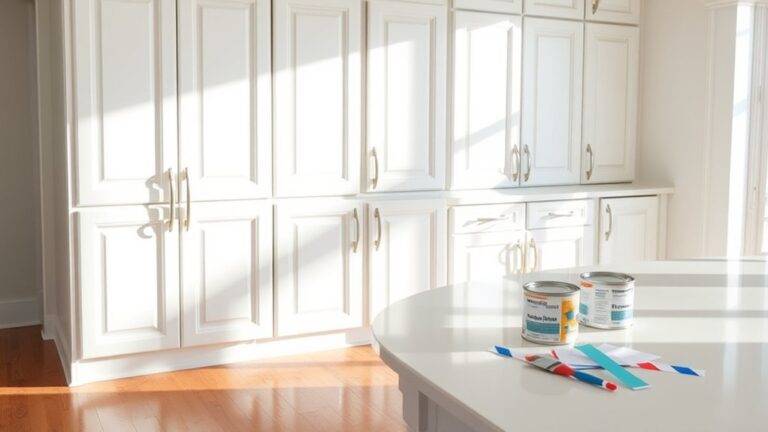
If cleaning reveals a small chip, let the surface dry fully before a careful Paint touch up. Never apply polish or paint over damp residue; the patch may look dull, peel, or trap moisture beneath its surface.
Frequently Asked Questions
How Often Should Kitchen Cabinets Be Deep-Cleaned?
Deep-clean your kitchen cabinets every three to six months, depending on cooking habits, household size, and visible buildup. If you fry foods often, cook daily, or notice sticky residue, clean them monthly.
Between deep cleans, wipe high-touch areas and splatters weekly to prevent grease accumulation. Your cleaning frequency should support regular kitchen maintenance without damaging finishes.
Always use a gentle cleaner, avoid excessive moisture, and dry cabinet surfaces thoroughly after cleaning to protect them.
Can Grease Damage Cabinet Hinges, Handles, or Drawer Slides?
Yes, grease can damage cabinet hinges, handles, and drawer slides by trapping grit, slowing movement, encouraging corrosion, and degrading lubricants. Even a thin film can collect dust quickly, making neglected hardware feel sticky within weeks.
For effective Cabinet hinge maintenance, wipe buildup regularly, dry metal thoroughly, and apply only manufacturer-approved lubricant. Follow these Handle cleaning tips: clean gently, avoid abrasive chemicals, and inspect loose screws or rust early so small problems don’t become costly repairs.
Should Painted Cabinets Receive a Protective Finish After Cleaning?
Usually, you don’t need a protective finish after cleaning painted cabinets. If the paint remains intact, let it dry completely and avoid adding products that could yellow, soften, or alter its sheen.
For high-use areas, you can apply a clear, compatible water-based polyurethane only after testing an inconspicuous spot and following the manufacturer’s directions.
Protective coatings may improve cleaning durability, but improper application can trap residue or make future touch-ups difficult.
When Should Heavily Damaged Cabinets Be Professionally Refinished?
You should seek professional cabinet refinishing when damage extends beyond surface grime or minor scratches. Schedule a damage assessment if you see peeling veneer, deep gouges, swollen MDF, cracked doors, water damage, or warped frames.
A professional can determine whether repairs, replacement parts, stripping, or complete refinishing makes sense. Don’t wait if hinges pull loose or cabinet boxes feel unstable. Prompt evaluation can prevent worsening damage and higher restoration costs later for you.
Are Different Cleaning Methods Needed for Laminate and Wood Cabinets?
Need different care for each cabinet material? Yes, you should adjust your method for laminate and wood surfaces. Use mild cleaning solutions and a soft cloth on laminate, avoiding abrasive scrubbers that can dull the finish.
For wood, apply a lightly damp cloth with diluted dish soap, then dry immediately to prevent swelling or damage. Test any product in a hidden spot first, and follow the manufacturer’s care instructions whenever possible.
Conclusion
With these five steps, you can lift grease from your kitchen cabinets without damaging their finish. Test your cleaner, wipe gently, tackle stubborn spots patiently, then rinse and dry thoroughly.
Regular cleaning also keeps grime from becoming harder to remove later. That matters because kitchen surfaces can harbor thousands of bacteria per square inch, especially when food residue builds up.
A few minutes of care today can help your cabinets look fresher, protect your investment, and make your kitchen feel healthier every day. Knowing how to clean grease off kitchen cabinets makes routine care easier.