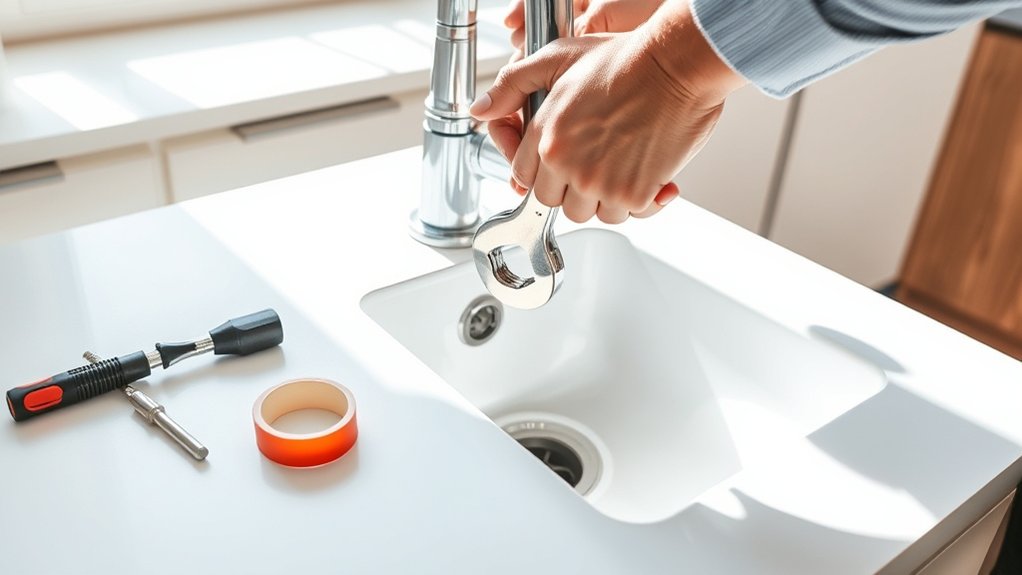
How to Replace a Kitchen Sink in 7 Steps
Replacing a kitchen sink can feel intimidating, especially when you’re dealing with leaks, outdated fixtures, or a countertop that no longer suits your space. You’re not alone—many homeowners struggle to know where to start.
This guide to how to replace a kitchen sink breaks the project into seven manageable steps.
To replace a kitchen sink in seven steps, gather tools and measure the opening. Shut off the water, disconnect supply lines, drain, and trap.
Cut the caulk, release clips, and remove the old sink.
Clean and inspect the countertop opening.
Apply sealant, lower in the new sink, and secure it.
Install the faucet, drain, and connections.
Restore water, check for leaks, seal edges, and clean up.
Follow the detailed steps below for a smoother installation.
Key Takeaways
- Measure the cabinet, countertop opening, and sink dimensions to confirm the replacement fits without modifications.
- Shut off water, disconnect supply lines, drainpipes, dishwasher hose, and mounting hardware, then remove the old sink.
- Clean and inspect the countertop opening, removing old caulk and repairing damage before installation.
- Apply sealant, position the new sink, secure mounting clips, and install the faucet and drain assembly.
- Reconnect plumbing, restore water, check for leaks, seal the rim, and clean up after the sealant cures.
Gather Tools and Measure for the New Kitchen Sink
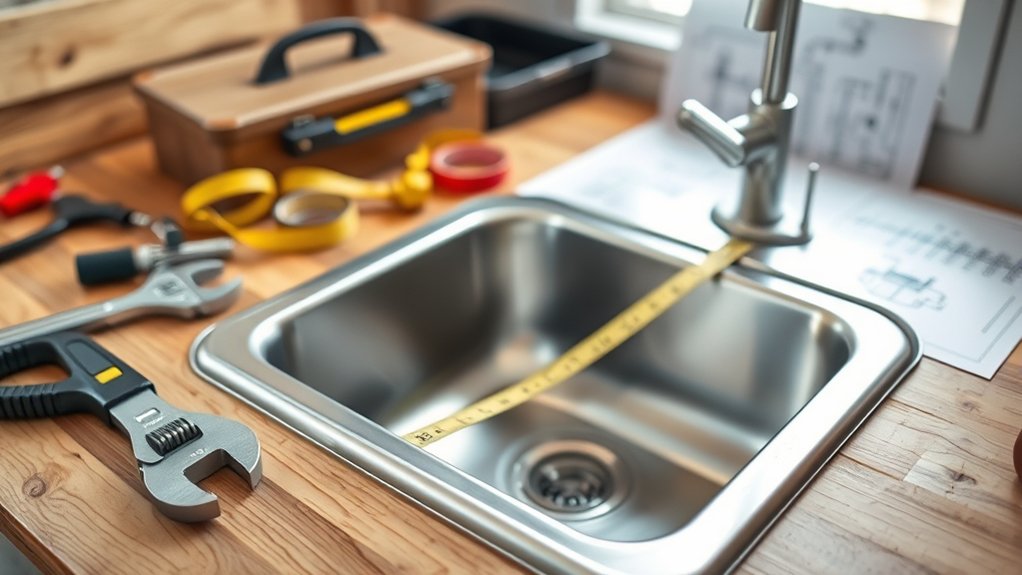
Before removing the old sink, gather an adjustable wrench, basin wrench, screwdrivers, plumber’s putty, silicone caulk, a bucket, towels, and a utility knife. You’ll also need a tape measure, straightedge, flashlight, and safety glasses.
Gather essential tools and safety gear before removing the old sink to ensure a smooth, prepared installation.
Measure the cabinet opening from side to side and front to back, then measure its height and the countertop’s thickness. Compare those dimensions with the replacement sink’s specifications, including its rim, basin depth, drain position, and required cutout.
If you’re installing an undermount or farmhouse model, confirm that your countertop and cabinet can support its installation method. Check material compatibility between the sink, faucet, drain assembly, countertop, sealants, and mounting hardware to prevent corrosion or bonding problems.
Consider aesthetic factors, such as bowl configuration, finish, faucet-hole spacing, and how the sink complements your counters. Record every measurement, and verify the manufacturer’s template before cutting anything.
Choose a sink that fits without forcing modifications to surrounding cabinetry.
Shut Off Water and Disconnect Supply Lines
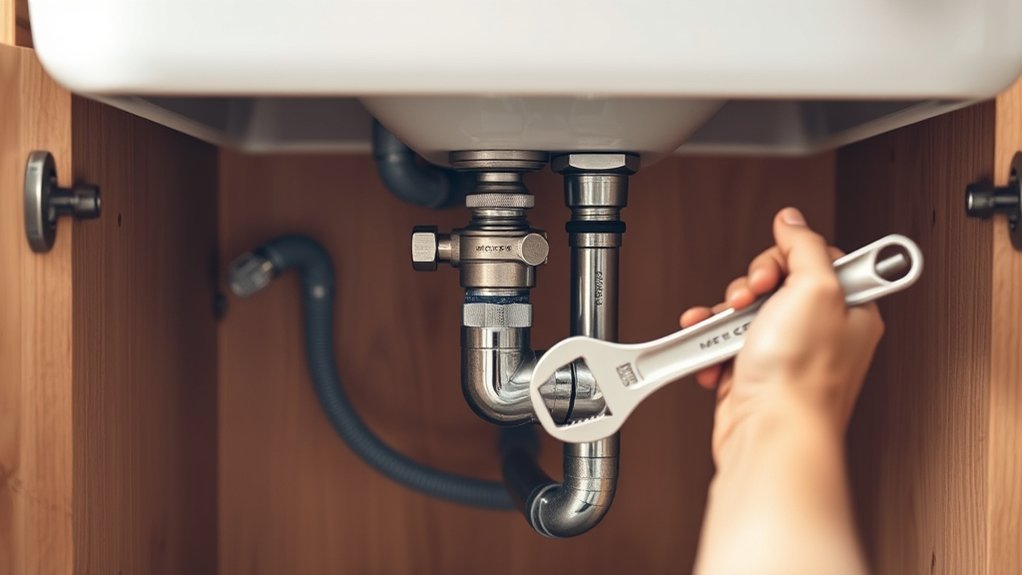
Turn off the shutoff valves beneath the sink before you begin. Then, use a wrench to disconnect the hot and cold water lines. Keep a bucket nearby to catch any water that spills.
Shut Off Valves
Shut off both hot- and cold-water valves beneath the sink by turning their handles clockwise, then open the faucet to relieve pressure. Watch the faucet until water stops flowing, confirming that the valves have closed completely.
If either handle spins freely, feels stuck, or continues allowing water through, don’t force it. Close your home’s main shutoff valve and arrange a repair.
Check the valve bodies and connections for moisture, corrosion, or mineral buildup. Wipe away surface moisture so you can identify a new leak quickly.
Good shut off valve maintenance keeps these controls dependable and improves water flow control during future repairs. Keep a towel and bucket nearby in case trapped water drains from the faucet.
Once the lines remain depressurized, leave the valves closed while you prepare the sink area for removal.
Disconnect Water Lines
With the valves closed and pressure released, place a bucket and towel beneath the connections. Loosen each hot- and cold-water supply line with an adjustable wrench.
Control remaining Water pressure by opening the faucet briefly, then close it again. Remove each line from the shutoff valve and faucet tailpiece, turning fittings counterclockwise.
If a connection resists, support the valve with another wrench to avoid twisting the stub-out. Identify Pipe materials before choosing tools; copper, braided stainless steel, and plastic connections require different handling.
Keep washers and nuts with their lines if you’ll reuse them.
- Disconnect the hot-water line.
- Disconnect the cold-water line.
- Remove the faucet connections.
Inspect threads and fittings for corrosion or damage. Replace questionable supply lines rather than forcing old parts onto your new sink.
Keep the disconnected lines clear of the cabinet workspace.
Prepare for Spills
Before loosening any connections, shut off the sink’s hot- and cold-water supply valves and open the faucet to release trapped pressure. Place a bucket beneath each valve and wrap towels around the fittings to catch residual water.
Keep a sponge, cloth, and shallow pan nearby for cleaning spills quickly. As you disconnect each supply line, loosen the nut with an adjustable wrench while holding the valve steady with another wrench.
Don’t force corroded connections. Apply penetrating oil and wait several minutes. Cap or plug the open lines temporarily to prevent drips and keep debris out.
Practice organizing the workspace by moving cleaners, dishes, and tools away from the cabinet. Label hot and cold lines if needed, then inspect the cabinet floor for moisture before removing the sink. Dispose of wastewater safely.
Remove the Old Kitchen Sink

Start by turning off the water supply valves beneath the sink, then open the faucet to relieve pressure. Place a bucket beneath the connections, and disconnect the hot and cold supply lines with an adjustable wrench. Loosen the drain connection and remove the trap, allowing remaining water to empty into the bucket.
- Disconnect the faucet supply tubes, sprayer hose, and dishwasher drain hose, if present.
- Cut through any caulk along the sink’s rim with a utility knife.
- Release the mounting clips underneath the basin, then lift the sink out carefully.
Ask someone to help with heavy cast-iron models. Set the old sink on cardboard to protect your floor, and keep removed hardware together in a container.
Remove the faucet and drain assembly if you’ll reuse them; otherwise, discard them responsibly. Check the sink for attached accessories, such as strainers or soap dispensers, and remove each one.
Handle sharp edges carefully, especially around decorative finishes, which can chip or cut you. Don’t force stuck connections. Apply penetrating oil and wait.
Check and Prepare the Countertop Opening
Check the countertop opening for damage, debris, or leftover caulk before installing the new sink. Use a flashlight to spot cracks, swollen wood, loose laminate, or gaps around the rim.
During your countertop inspection, scrape away old caulk and adhesive with a plastic putty knife. Avoid gouging stone, laminate, or wood surfaces.
Measure the opening’s length and width in several places, then compare those opening dimensions with the replacement sink’s specifications. Check the depth below the counter, too.
Confirm that cabinet walls, plumbing, and supports won’t restrict the sink basin. If the opening is too small, mark areas requiring careful enlargement. If it’s oversized, verify that the sink’s rim will cover the gap.
Clean the exposed countertop with an appropriate cleaner, then let it dry completely. Repair minor chips or swelling before continuing.
For major cracks, unstable material, or an incorrectly cut opening, consult a countertop professional before proceeding with the replacement.
Install the New Kitchen Sink
Apply a continuous bead of plumber’s putty or the manufacturer-approved sealant beneath the sink’s rim, then lower the sink carefully into the countertop opening. Press evenly around the rim to create a watertight seal, and confirm that the sink sits level with the counter.
Apply sealant beneath the rim, lower the sink into place, and press evenly to create a level, watertight seal.
From beneath the counter, install the supplied mounting clips or brackets. Tighten each fastener gradually in a crisscross pattern so you don’t shift the basin or crack the countertop. Wipe away squeezed-out sealant before it cures.
- Check the rim: Guarantee no gaps, raised edges, or movement remain around the sink.
- Secure the basin: Tighten clips firmly, but don’t overtighten and damage the material.
- Clean and inspect: Remove residue and verify the finished surface looks even.
Consider your sink material options when selecting compatible clips and sealant. Stainless steel, porcelain, composite, and fireclay may require different products.
Avoid adding decorative accessories until installation finishes. Let the sealant cure according to its label before using the sink or placing weight inside it.
Install the Faucet and Connect the Drain
With the sink secured, install the faucet through the predrilled hole or mounting plate, following the manufacturer’s instructions. From beneath the sink, slide on the gasket, washer, and mounting nut, then tighten the nut with a basin wrench.
Don’t overtighten it, or you could damage the sink or faucet. Attach the hot and cold supply lines to the matching faucet ports, and connect their other ends to the shutoff valves.
Use Custom fittings if the existing connections don’t match, and choose braided lines for flexible, reliable installation. Decorative fixtures, such as a soap dispenser or side sprayer, should go into their designated openings before you tighten their mounting hardware.
Next, assemble the drain. Place the strainer and plumber’s putty or the supplied gasket in the drain opening, then secure the locknut underneath.
Connect the tailpiece, slip-joint washer, and trap, aligning each connection with the waste pipe. Hand-tighten every nut, then give each a slight additional turn with pliers.
Check for Leaks and Seal the Edges
Turn on the shutoff valves slowly, then run both hot and cold water through the faucet. Watch every connection beneath the sink while water flows.
Check the supply lines, faucet base, drainpipe, and trap for drips. Use a dry paper towel for precise leak detection; even a small damp spot reveals trouble.
If you find a leak, close the valves, tighten the connection slightly, and test again. Don’t overtighten, because you could damage threads or washers.
- Fill the sink halfway, then release the water while inspecting the drain flange and trap.
- Wipe the cabinet floor dry and recheck it after several minutes.
- Look around the sink rim for gaps where water could seep beneath the countertop.
Complete the sealant application only after every surface is clean and dry. Apply a continuous bead of kitchen-and-bath silicone around the sink’s exposed edge.
Smooth it with a damp finger or finishing tool, then remove excess immediately. Let the sealant cure according to the manufacturer’s instructions before using the sink heavily.
Frequently Asked Questions
How Much Does Professional Kitchen Sink Replacement Typically Cost?
You’ll typically pay $400–$1,000 for professional kitchen sink replacement, including labor and basic installation. Complex projects, premium sinks, countertop modifications, plumbing repairs, or garbage-disposal changes can raise costs to $1,500 or more.
Request several written estimates for an accurate cost comparison, and confirm whether materials, disposal, permits, and plumbing adjustments are included.
DIY considerations include your skill level, available tools, and the risk of leaks or countertop damage, which could increase expenses.
How Long Does Replacing a Kitchen Sink Usually Take?
Replacing a kitchen sink usually takes two to four hours, depending on your experience, sink type, plumbing condition, and countertop modifications. You’ll finish faster when the replacement fits the existing opening and connections.
For DIY tips, shut off water, disconnect supply lines, and dry-fit everything before applying sealant. Your tool essentials include a basin wrench, adjustable wrench, screwdriver, plumber’s putty, silicone sealant, bucket, and towels.
Allow extra time for cleanup or unexpected leaks.
Can I Replace My Sink Without Replacing the Countertop?
Yes, you can often replace your sink without replacing the countertop, like swapping a watch battery without buying a new watch. Success depends on countertop compatibility, including the sink’s dimensions, mounting style, and existing cutout.
For reliable sink installation tips, measure carefully, match the replacement’s rim or clips, and inspect the counter for damage. Undermount swaps may require professional help, while drop-in models usually offer the simplest replacement with minimal disruption.
Which Sink Materials Are Most Durable and Easiest to Maintain?
Stainless steel offers excellent durability, easy cleaning, and resistance to heat, stains, and impact, making it a practical choice for most kitchens. Fireclay resists scratches and fading but can chip and weighs more.
Granite composite hides scratches and dampens noise, though you’ll need to avoid harsh cleaners. Cast iron with enamel cleans easily but may chip.
During sink installation, use this material comparison to match maintenance needs, budget, and countertop compatibility.
When Should I Hire a Professional Plumber for Sink Replacement?
Hire a professional plumber when your replacement involves moving pipes, modifying countertops, connecting a garbage disposal, or fixing leaks. Nearly 70% of water damage claims involve plumbing failures, so don’t gamble with hidden connections.
You can handle basic DIY plumbing if the new sink matches the old openings and you’re comfortable shutting off the water. Still, hire help if corrosion, tight spaces, gas lines, or local permits complicate the job.
Use sink installation tips, but prioritize safety.
Conclusion
Replacing a kitchen sink isn’t as intimidating as it first appears. With careful measuring, the right tools, and each connection checked, you can transform your workspace in an afternoon.
Take your time tightening fittings, testing water flow, and sealing the edges. Those small details help hold the project together.
Once everything’s dry and leak-free, clean up, admire your handiwork, and enjoy your fresher, more functional kitchen sink replacement.