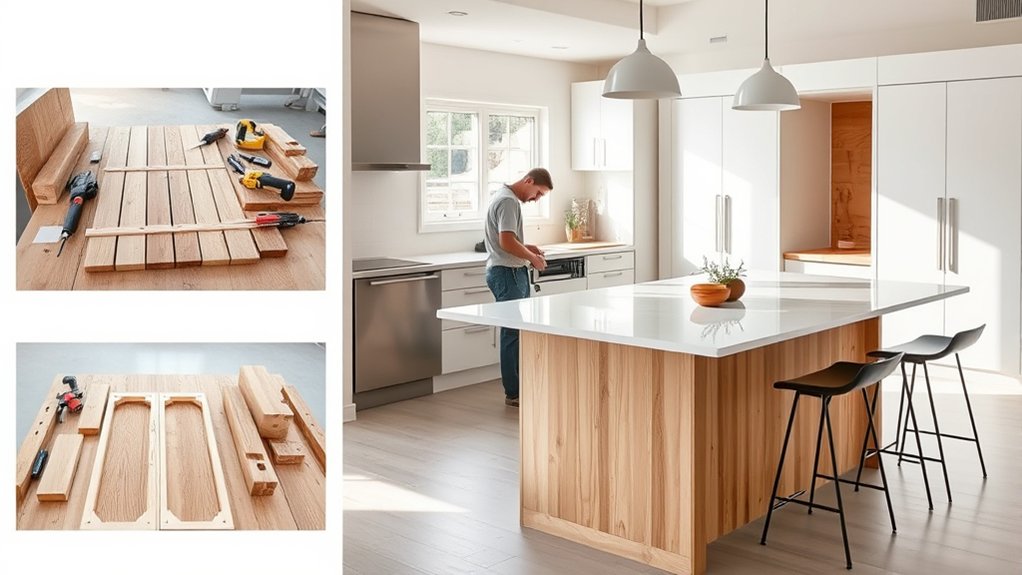
How to Make a Kitchen Island in 3 Steps
A cramped or awkward kitchen can make cooking, entertaining, and storage feel harder than they should. If you’re wondering how to make a kitchen island without overwhelming your space, you’re not alone—many homeowners struggle to balance function, comfort, and style.
To make a kitchen island in three steps, first measure your space and mark the footprint, leaving 36 inches of clearance—or 42 to 48 inches for multiple cooks.
Next, assemble, level, shim, and secure a sturdy cabinet base, checking plumbing and outlets.
Finally, attach a durable countertop, allowing at least a 12-inch overhang, and add seating with about 24 inches per person. Support heavy surfaces and confirm everything’s stable before enjoying the finished island with confidence.
Key Takeaways
- Measure the kitchen, mark the island footprint, and maintain 36–48 inches of clearance around it.
- Build or assemble a sturdy, level cabinet base, then secure it firmly to the floor.
- Install the countertop with at least a 12-inch overhang, using appropriate adhesive, screws, and support brackets.
- Plan seating with approximately 24 inches per person, and confirm comfortable knee room and accessibility.
- Check stability, levelness, lighting, walkways, outlets, plumbing, and overall design before using the island.
Measure Clearances and Plan Your Kitchen Island
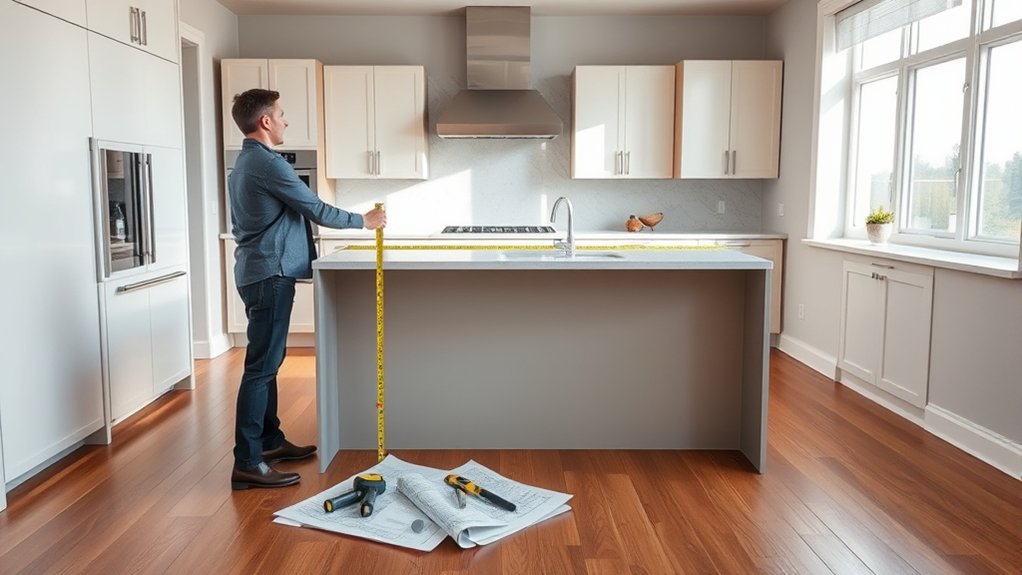
Before you choose materials, measure the available floor space and mark the island’s footprint with painter’s tape. Leave at least 36 inches between the island and surrounding cabinets or appliances so you can open doors and move comfortably.
Measure your kitchen and tape out the island footprint, leaving enough clearance for comfortable movement and fully opening doors.
Increase that clearance to 42–48 inches if two people will cook there regularly. Check walkways, door swings, windows, and vents before finalizing the position.
Decide how you’ll use the island. Measure the space needed for seating, food preparation, storage, or appliances, and note where outlets or plumbing may need access later.
Keep the design proportional to your kitchen. An oversized island can restrict traffic and make the room feel cramped.
Sketch the layout on graph paper or use a planning app to compare dimensions. Consider color schemes that complement your cabinets, counters, and flooring.
Review lighting options, including pendants or recessed fixtures, so your plan supports safe, comfortable work without obstructing sightlines or walkways.
Build and Secure the Island Base
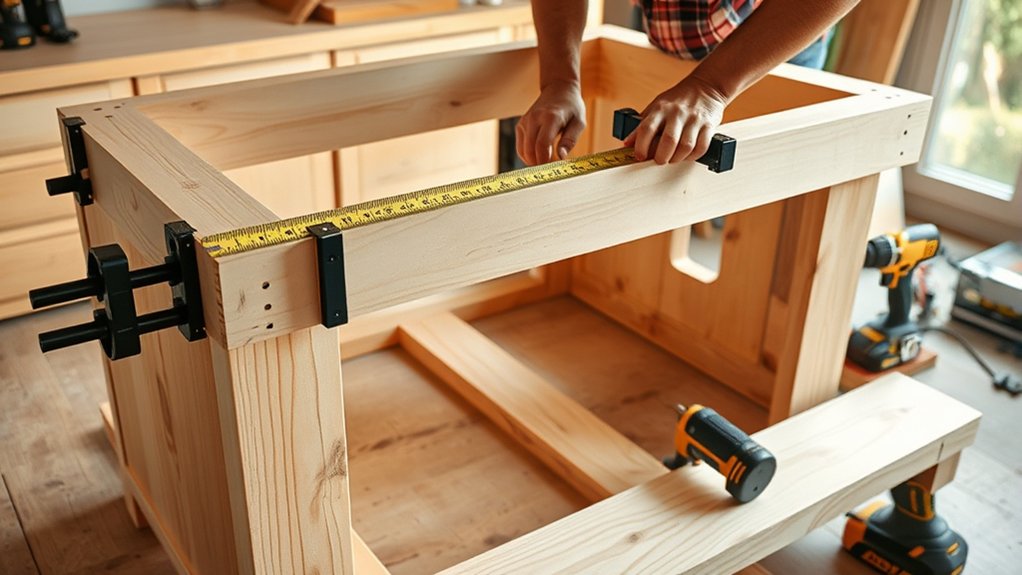
Once your layout is marked, assemble the island’s base from sturdy cabinet boxes or a straight, level frame. Check each component for square corners, then clamp adjoining boxes together.
Drive cabinet screws through their side panels, keeping faces flush and aligned. If you’re building a frame, cut rails and stiles accurately, join them securely, and verify every corner with a carpenter’s square.
Before anchoring anything, review plumbing considerations for a sink, dishwasher, or nearby supply lines. Leave planned openings and confirm that pipes won’t conflict with supports, drawers, or appliances.
For custom cabinetry, follow the manufacturer’s installation requirements and use the specified fasteners.
Position the assembled base on your layout lines. Shim low spots until it sits level in every direction, then recheck its position against surrounding clearances.
Locate studs or use appropriate anchors for your floor type. Secure the base through its bottom rails or mounting cleats, tightening screws firmly without distorting the cabinets.
Test for movement, and add blocking wherever the structure feels unstable.
Install the Countertop and Add Seating
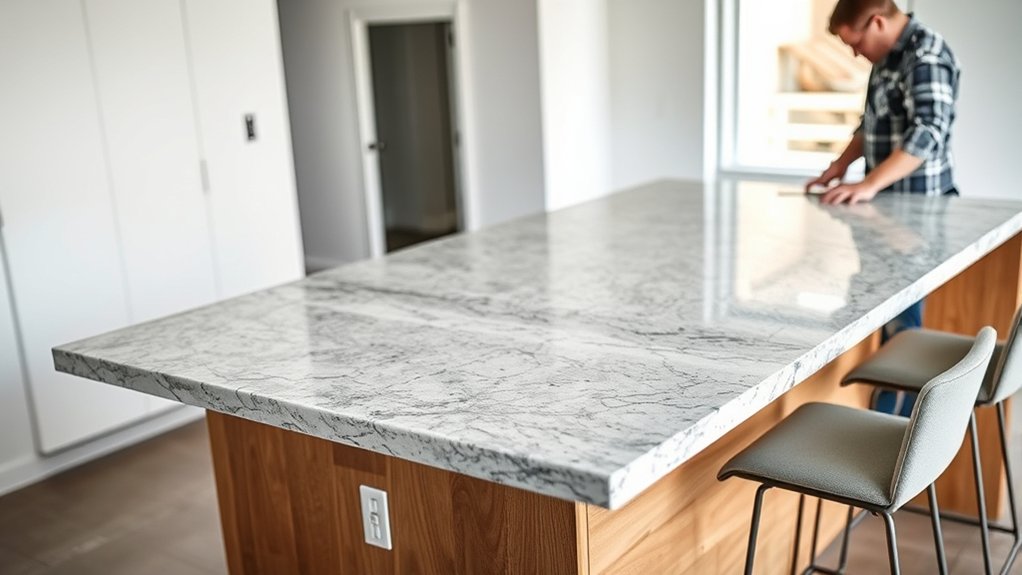
With the base level and firmly secured, install the countertop and create a comfortable seating overhang. Measure the island carefully, then mark the countertop’s position, allowing at least 12 inches of overhang for comfortable legroom.
Choose durable countertop materials that suit your kitchen’s style, such as butcher block, quartz, granite, or laminate. Apply construction adhesive to the cabinet tops, carefully lower the countertop into place, and check that it’s centered and level.
Secure it from underneath with screws, making sure they don’t penetrate the surface.
Next, plan your seating arrangements. Position stools along the overhang, leaving about 24 inches of width per person.
For extra support, install corbels or concealed brackets beneath the overhang, especially with heavy stone surfaces. Check every edge for sharp corners, then sand or finish exposed wood as needed.
Finally, test the countertop for movement and confirm that each seat offers enough knee room before using your new island.
Frequently Asked Questions
What Tools Are Needed to Build a Kitchen Island?
You’ll need a tape measure, pencil, level, circular or table saw, drill, screwdrivers, clamps, hammer, stud finder, utility knife, and sanding block. Add a miter saw for precise cuts and a jigsaw for sink or appliance openings.
Keep safety glasses, hearing protection, gloves, and a dust mask nearby. Choose tools that match your materials and design.
For decorative finishes and storage options, you may also need a paintbrush, roller, hinges, and drawer-slide jig.
How Much Does It Typically Cost to Make a Kitchen Island?
You’ll typically spend $500–$5,000 to make a kitchen island, depending on size, materials, features, and labor. A basic DIY island may cost $500–$1,500, while a custom built-in version can exceed $5,000.
Your cost breakdown should include cabinets, countertop, hardware, paint, plumbing, electrical work, and installation. Material pricing varies widely: laminate costs less than butcher block, quartz, or granite.
You’ll save money by choosing stock cabinets and handling assembly yourself.
Can I Add Plumbing or Electrical Connections to My Kitchen Island?
Yes, you can add plumbing or electrical connections to your kitchen island, but you’ll need careful planning and professional help. Think of your island as the heart of your kitchen, with hidden veins carrying water and power.
A plumber can handle plumbing installation for sinks or dishwashers, while an electrician can install electrical wiring for outlets, appliances, or lighting.
Check local codes, permits, ventilation needs, and floor access before construction begins to avoid costly changes later.
Which Materials Are Best for a Durable Kitchen Island?
For durable kitchen island materials, choose a solid hardwood, stainless steel, or stone surface that fits your budget and maintenance preferences. Your countertop options include quartz, granite, butcher block, and stainless steel.
Quartz resists stains and scratches, while granite tolerates heat. Butcher block adds warmth but needs sealing.
In the wood vs. metal comparison, wood feels inviting, whereas metal offers exceptional durability, moisture resistance, and easy cleaning. Pair sturdy cabinetry with moisture-resistant finishes for lasting performance.
How Do I Maintain and Clean My Kitchen Island?
You can maintain and clean your kitchen island by wiping spills immediately with a soft cloth and mild soap. Follow consistent cleaning routines: sanitize food-preparation surfaces after use, sweep crumbs daily, and deep-clean weekly.
Use cutting boards and trivets to prevent scratches, stains, and heat damage. Avoid abrasive cleaners and excess water, especially on wood.
Refresh decorative accents regularly, keeping them away from moisture and cooking splatters. Inspect hardware and reseal surfaces as needed.
Conclusion
With your island measured, built, and topped, you’ve created a practical centerpiece for your kitchen. Secure every connection, check that doors and drawers open freely, and confirm the countertop sits level.
Why settle for a cramped workspace when a well-planned kitchen island can improve cooking, storage, and conversation? Add stools, organize your essentials, and enjoy the extra functionality you’ve created.
With careful finishing touches, your new kitchen island will serve you beautifully for years to come.