How to Pack a Kitchen in 3 Simple Steps
Packing a kitchen can feel overwhelming, especially when fragile dishes, bulky appliances, and expired pantry items all need attention at once. You’re not alone—many people struggle to pack efficiently without damaging their belongings or losing track of essentials.
Pack your kitchen in three simple steps. First, gather sturdy boxes, packing paper, bubble wrap, tape, labels, and markers. Then organize supplies by room and priority.
Next, wrap dishes individually, stack them vertically, cushion cookware and appliances, secure knife blades, and fill empty spaces to prevent shifting.
Finally, check pantry dates, discard or donate unwanted food, pack similar items together, and prepare an accessible essentials box. The detailed steps below will help you protect everything efficiently.
Key Takeaways
- Declutter your kitchen by discarding expired food and donating unopened items you no longer need.
- Gather sturdy boxes, packing paper, bubble wrap, tape, labels, markers, and resealable bags.
- Pack heavy cookware and appliances in small boxes, cushioning items and securing detachable parts.
- Wrap dishes individually, stack them vertically, and fill empty spaces to prevent shifting.
- Label every box by room, contents, priority, and number, keeping essentials accessible for moving day.
Gather Supplies for Kitchen Packing
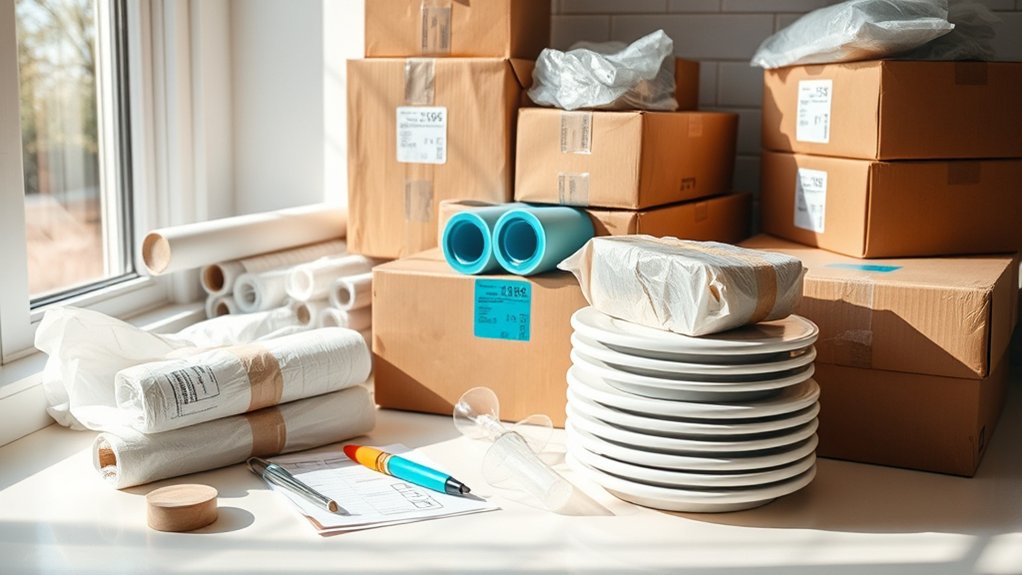
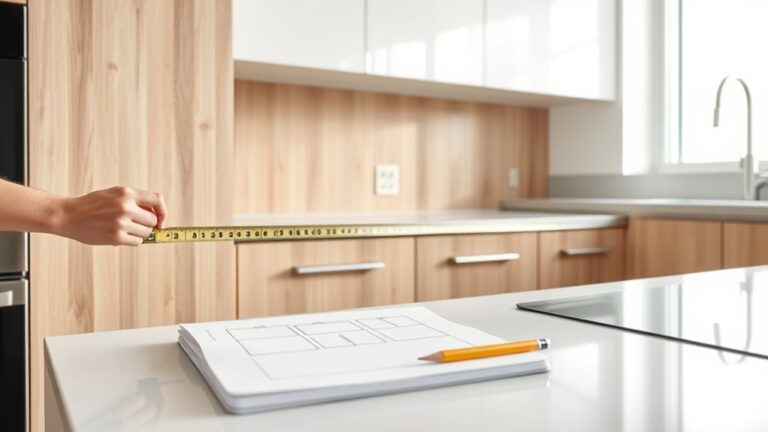
Before you begin packing, gather sturdy boxes in several sizes, packing paper, bubble wrap, packing tape, labels, markers, and resealable bags. Add scissors, a measuring tape, and a permanent marker so you won’t need to search for tools later.
Choose small boxes for heavy items and larger boxes for lightweight kitchen supplies. Collect storage containers for loose accessories, utensils, recipes, and items you’ll use together after the move.
Use resealable bags to keep small parts organized, then label each bag clearly.
Plan your labeling techniques before you start. Mark every box with its room, general contents, and priority, such as “Kitchen, Open First.”
Number boxes if you want to track them on a simple inventory sheet. Keep colored labels or tape handy to identify categories quickly.
Set aside a separate container for packing materials, and replenish supplies before they run low. A well-organized supply station helps you work efficiently and prevents avoidable interruptions.
Protect and Pack Dishes, Cookware, and Appliances
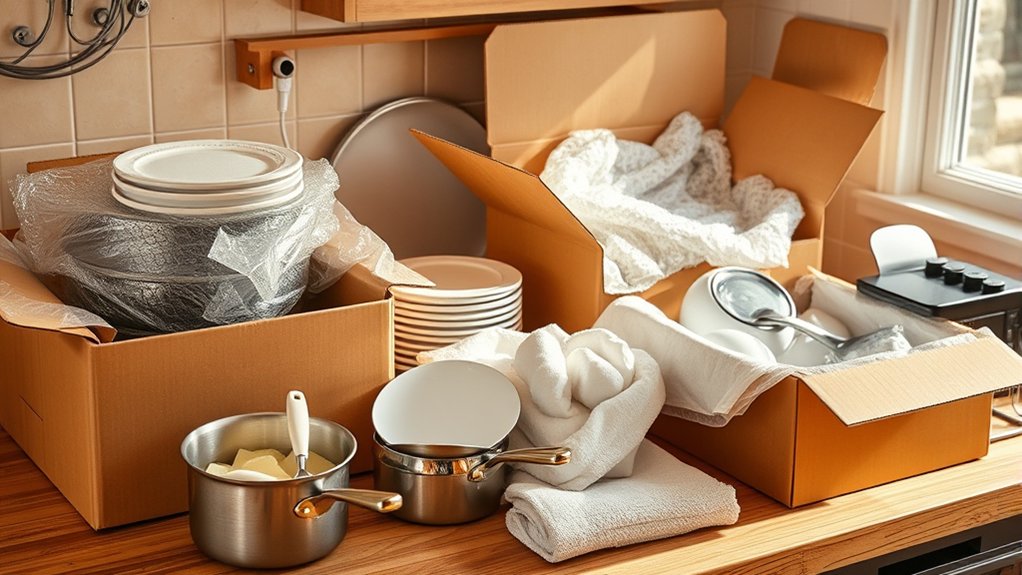
Start with the heaviest kitchen items, such as cast-iron cookware and small appliances, and place them in small, sturdy boxes. Wrap each appliance’s cord, remove detachable parts, and cushion everything with towels or packing paper. Fill empty spaces so items can’t shift during transport.
For dishes, use dish wrapping techniques that prevent cracks. Wrap each plate individually, then stack them vertically rather than flat. Add padding between bowls, glasses, and mugs, and wrap handles and stems carefully.
Line boxes with crumpled paper, place heavier pieces below lighter ones, and avoid overloading. Cushion lids separately from pots and pans to prevent chips and scratches.
Seal every box securely, but don’t use excessive tape that could damage contents. Mark boxes with fragile labeling on multiple sides, and note which direction is upright.
Keep sharp knives sheathed or wrapped securely, then place them in a firm container. Test each packed box by gently shifting it; add cushioning if you hear movement.
Pack Pantry Items and Set Aside Moving-Day Essentials
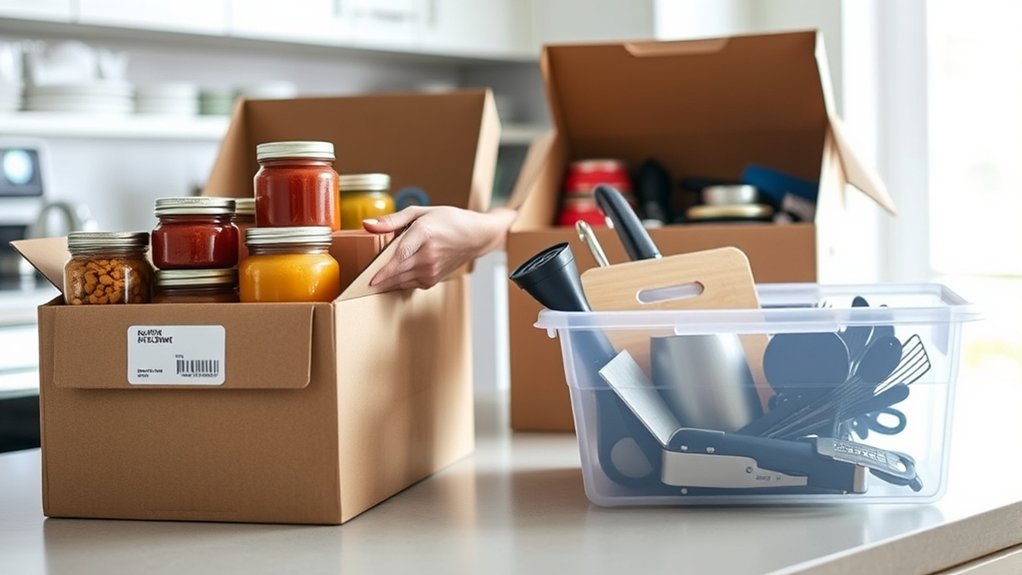
With dishes, cookware, and appliances safely packed, turn to pantry items and set aside what you’ll need on moving day. Check expiration dates, discard stale goods, and donate unopened items you won’t use.
Prepare your pantry for moving day by checking expiration dates, discarding stale items, and donating unopened goods you won’t use.
Pack canned food, spices, baking supplies, and dry goods in sturdy, small boxes to prevent overloading. Seal opened packages in bags or containers so they won’t spill.
Use organizational strategies that keep similar items together, such as grouping breakfast foods, snacks, and cooking staples. Apply clear labeling techniques: write the room, contents, and handling instructions on each box.
Mark boxes containing liquids or glass jars, and keep them upright.
Create a moving-day essentials box with coffee, tea, snacks, bottled water, paper plates, cups, utensils, napkins, trash bags, and a can opener. Add dish soap, hand towels, and basic cleaning supplies.
Keep this box accessible, along with pet food, medications, and important documents, rather than loading it onto the moving truck.
Frequently Asked Questions
How Far in Advance Should I Start Packing My Kitchen?
Start packing your kitchen two to three weeks before moving day. Begin with rarely used appliances, serving dishes, specialty cookware, and pantry items you won’t need soon.
Follow a Moving timeline so you can pack gradually instead of rushing. Keep everyday essentials until the final few days, then box them separately for easy access.
Use a Packing checklist to track supplies, label boxes clearly, and guarantee nothing gets overlooked before departure day arrives.
What Should I Do With Kitchen Items I No Longer Want?
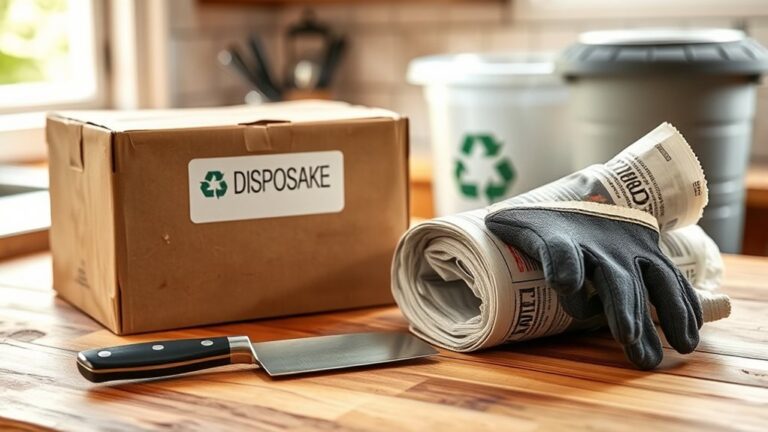
Decide what you no longer want, then sort it into keep, donate, sell, recycle, or discard piles. Research local donation options for clean, usable cookware, appliances, dishes, and utensils.
Sell valuable items through online marketplaces or a garage sale. Use appropriate disposal methods for broken, hazardous, or nonrecyclable products, and check local guidelines before throwing anything away.
Don’t donate damaged goods. Responsibly recycle electronics, metal, glass, and packaging whenever possible.
How Can I Label Kitchen Boxes for Easy Unpacking?
Label each kitchen box before you seal it, or you’ll face a frustrating mystery later. Write the room, contents, and priority clearly on at least two sides.
Use labeling techniques such as listing specific items, marking “FRAGILE,” and noting “OPEN FIRST” when needed.
Try color coding by assigning each category a color: blue for dishes, red for cookware, and green for pantry goods. Add numbers to track every box.
Should I Hire Professional Movers to Pack Fragile Kitchen Items?
You should hire professional movers for professional packing if you’re handling valuable or easily damaged fragile items, such as glassware, china, and appliances. Trained packers use specialized materials, sturdy boxes, and proven techniques to reduce breakage.
Consider your budget, moving distance, and the items’ replacement costs before deciding. If you have time and confidence, you can pack less delicate pieces yourself, then let professionals handle your most vulnerable kitchen belongings safely.
How Do I Safely Transport Valuable or Sentimental Kitchenware?
Treat your heirloom teacup like royalty, because apparently one crack can trigger a family constitutional crisis. Wrap each piece individually with protective wrapping, such as bubble wrap, foam, or soft towels, and cushion hollow spaces.
Place heavier items below lighter ones in sturdy boxes, then use secure placement to prevent shifting. Fill gaps completely and label boxes clearly.
Transport valuables yourself when possible. Keep them with you rather than trusting chaos in a moving truck.
Conclusion
Once you’ve packed your dishes, cookware, appliances, and pantry items, you’re almost ready for the big move. Keep your moving-day essentials within reach, because the final surprise is waiting: a kitchen that arrives organized instead of chaotic.
As you seal the last box, label it clearly and take one final look around. You’ve protected what matters, simplified unpacking, and set yourself up for a smoother first meal in your new home.
With these kitchen packing tips, you’re ready to begin your move with confidence. Now, let the adventure begin!