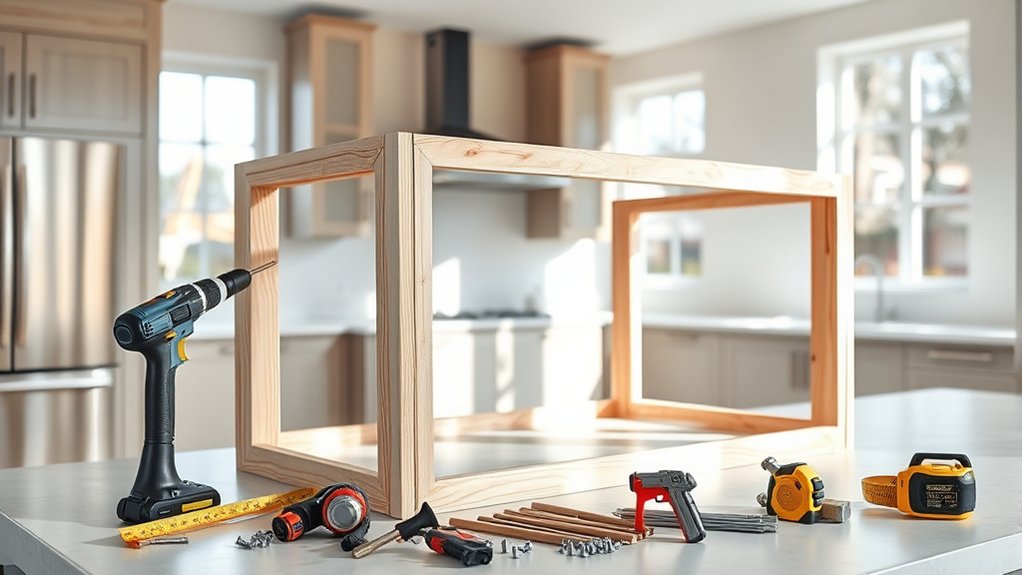
How to Build a Kitchen Island in 10 Steps
Building a kitchen island can feel overwhelming, especially when you’re trying to balance storage, seating, and enough room to move comfortably. You’re not alone—many homeowners struggle to choose the right layout, materials, and finishing touches.
This guide to how to build a kitchen island in 10 steps simplifies the process, from planning the footprint to installing the countertop, hardware, and fixtures.
To build a kitchen island in 10 steps, measure and mark its footprint, confirm 36–48 inches of clearance, and plan storage, seating, plumbing, and electrical needs. Gather cabinets, tools, fasteners, and finishing materials.
Inspect and level the floor, assemble and anchor the base, then join cabinets and add reinforcement. Dry-fit and secure the countertop, install panels, trim, hardware, and fixtures, and inspect stability, clearances, leaks, and operation.
The detailed steps follow.
Key Takeaways
- Measure the kitchen, mark the island footprint, and maintain 36–48 inches of clearance around all sides.
- Inspect and level the floor, then plan storage, seating, electrical, plumbing, and gas requirements.
- Assemble the cabinet base, position it accurately, and secure it to floor joists with appropriate fasteners.
- Attach adjoining cabinets, fillers, panels, and reinforcement, keeping everything level, square, and securely joined.
- Install and fasten the countertop, then add trim, hardware, fixtures, utility connections, and final finish touches.
Choose Your Kitchen Island Size and Location
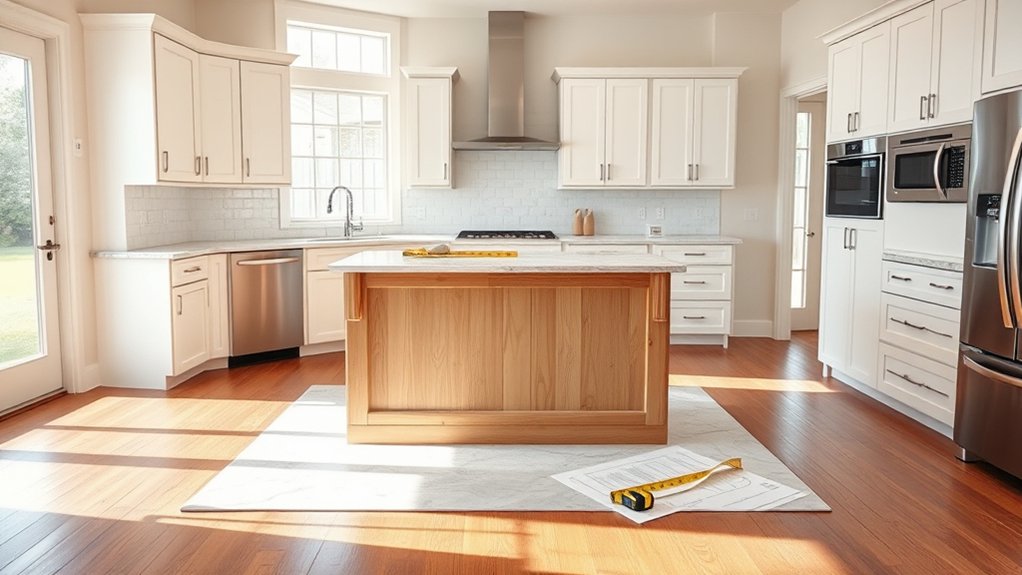
Start by measuring your kitchen to determine how much space you can dedicate to an island without blocking traffic. Mark the proposed footprint with painter’s tape, then study how it relates to doors, windows, appliances, and work zones.
Measure your kitchen carefully and mark the proposed island footprint to ensure it supports smooth traffic flow and surrounding work zones.
Choose a length and width that support your needs without overwhelming the room. A compact island might provide prep space and storage, while a larger design could include seating or a sink.
Consider the island’s purpose before choosing its location. Position it near the refrigerator and cooking area for convenient meal preparation, or center it as the kitchen’s visual anchor.
Plan where cabinets, drawers, shelves, and appliances will go so the layout feels balanced.
Next, compare Material options that suit your budget, maintenance preferences, and existing finishes. Wood, painted cabinetry, laminate, and stone each create a different effect.
Coordinate color schemes with your counters, floors, and walls, or use a contrasting island to add definition. Confirm your measurements before ordering materials.
Check Clearances Around the Island
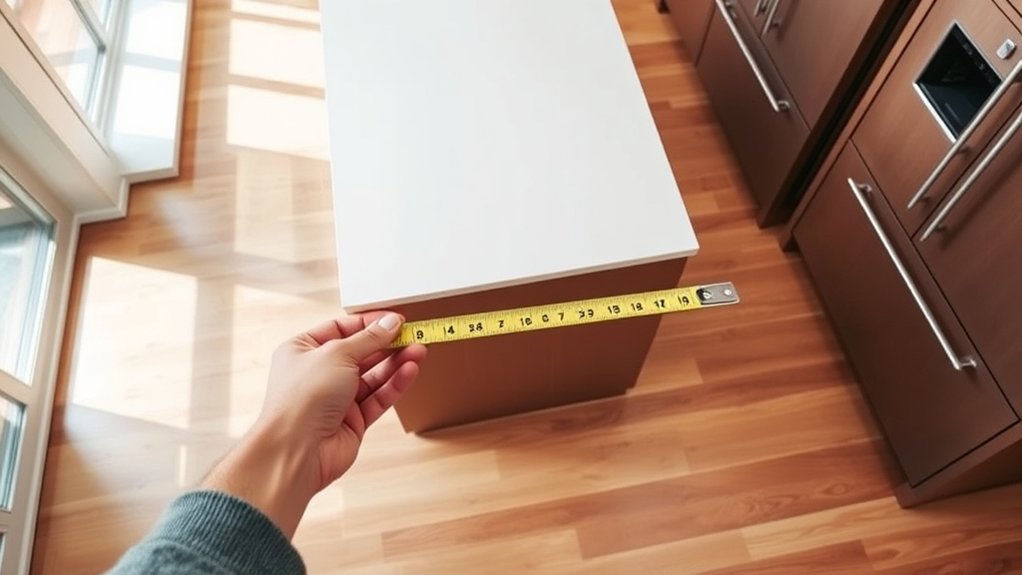
Once you’ve chosen the island’s size and location, verify that people can move comfortably around it. Measure the gaps between the island and surrounding cabinets, walls, and appliances.
Aim for at least 36 inches of open walkway space, which lets one person pass and allows doors to open. Increase that distance to about 42 inches in active work areas, or up to 48 inches where two people regularly cook.
These clearance measurements help prevent collisions and keep traffic flowing.
Mark the island’s footprint on the floor with painter’s tape, then walk through typical tasks. Open nearby appliance doors, pull out drawers, and check whether you can stand and turn without blocking another route.
Maintain clear safety zones around cooking equipment, especially where handles, heat, or splatter could affect passersby. Account for flooring transitions and protruding trim, too.
If any path feels tight during your test, adjust the island’s position or reduce its size before construction begins.
Plan Storage, Seating, and Utilities
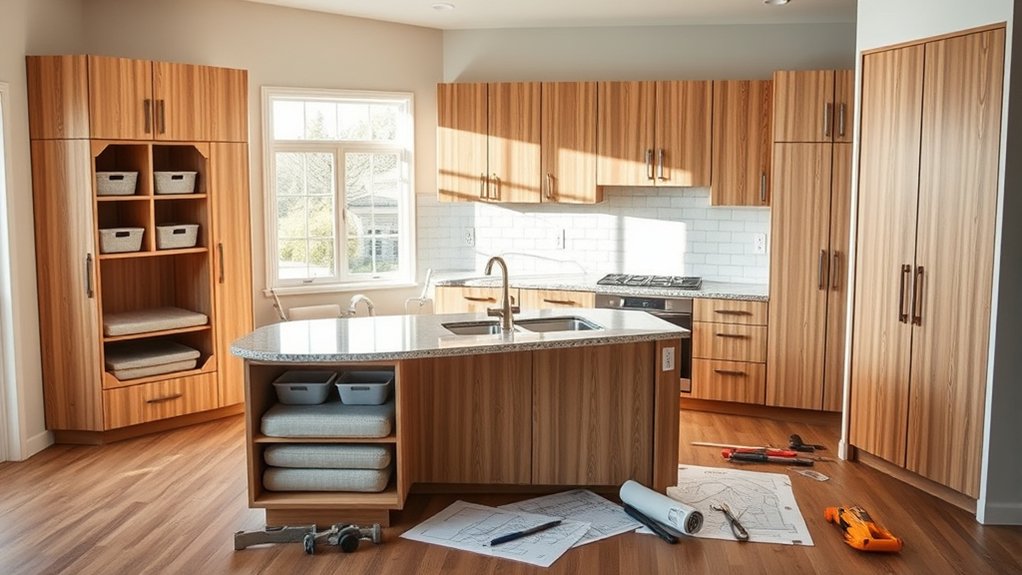
Plan storage so frequently used items are easy to reach and fit naturally into your kitchen workflow. If you’re adding seating, leave enough knee space for everyone to sit comfortably. Before construction begins, plan your utilities, including electrical outlets, lighting, and plumbing.
Design Storage Solutions
Design your island storage around how you use the kitchen, keeping frequently used items within easy reach and reserving deeper cabinets for less-used cookware. Choose storage that supports your routines without making the island feel crowded.
- Use drawers: Install wide, soft-close drawers for utensils, cookware, and food-preparation tools.
- Add adjustable shelves: Customize cabinet interiors for appliances, mixing bowls, and serving pieces.
- Include specialty storage: Add a pullout for spices, baking sheets, or cutting boards to eliminate awkward stacking.
- Balance function and style: Use open shelving for attractive dishes, cookbooks, or decorative accents, while closed doors hide clutter.
Before finalizing cabinet heights, review lighting considerations so shelves and handles won’t create unwanted shadows. Select durable finishes that complement surrounding cabinetry, and measure every item you plan to store.
This approach keeps your island organized, accessible, and visually cohesive.
Plan Seating and Utilities
Account for seating and utilities before finalizing the island’s layout, ensuring there’s enough knee room for stools and convenient access to electrical outlets, plumbing, or gas lines.
Consider your seating arrangements: Allow about 24 inches of width per person and provide adequate clearance behind stools for walking. Choose counter height or bar height based on your preferred seating and countertop design.
For utility planning, map outlet locations, appliance connections, and lighting before construction begins. You’ll need dedicated circuits for appliances such as dishwashers, microwaves, or induction cooktops.
If you’re adding a sink, coordinate water supply and drain lines with your existing plumbing. Plan gas routing with a licensed professional, and follow local codes for ventilation, outlets, and clearances.
Confirm every connection’s position before cabinets and countertops arrive to prevent expensive changes.
Gather Cabinets, Tools, and Materials
Before you begin, gather the cabinets, tools, and materials you’ll need so the project stays organized and moves smoothly. Confirm your island’s dimensions and choose matching or complementary Cabinet styles, such as stock, semi-custom, or repurposed units.
Compare Material options for the countertop, panels, trim, fasteners, and finish.
- Cabinets: Collect base cabinets, filler strips, end panels, toe-kick pieces, and hardware. Verify every component matches your plan.
- Tools: Prepare a tape measure, pencil, level, drill, driver bits, clamps, circular saw, stud finder, and safety glasses.
- Fasteners: Buy cabinet screws, wood screws, construction adhesive, shims, brackets, and finishing nails suited to your materials.
- Finishing supplies: Set aside countertop adhesive, caulk, sandpaper, primer, paint, stain, and touch-up supplies.
Keep small parts in labeled containers, and place tools within easy reach. Read manufacturer instructions before cutting or assembling anything.
If you’re adding electrical or plumbing features, gather approved boxes, fittings, and protective components, and follow local code requirements. Store materials flat and protect finished surfaces from damage.
Inspect and Level the Kitchen Floor
With your cabinets, tools, and materials ready, inspect the kitchen floor before positioning the island. Remove rugs, sweep away debris, and examine the surface for cracks, moisture, loose tiles, or soft spots.
Check floor stability by walking across the planned area and listening for squeaks or movement. Address damaged sections before continuing, since an uneven or weak surface can affect the island’s fit and performance.
Place a long level across the floor in several directions, including diagonally. Note where the bubble shifts, and mark high or low areas with painter’s tape.
Measure significant differences with a straightedge and feeler gauge so you know how much correction the surface needs. Use suitable leveling techniques for your flooring, such as floor patch, self-leveling compound, or carefully placed shims beneath low areas.
Follow the product’s instructions, allow repairs to cure fully, and recheck the surface. Don’t proceed until the area feels solid and reads acceptably level.
Build and Anchor the Island Base
You’ll assemble the cabinet base, making sure each section lines up securely. Then, place the island on the leveled floor and check its position. Once everything is aligned correctly, anchor the island securely to the floor.
Assemble the Cabinet Base
Start by positioning the assembled cabinet boxes on the marked layout lines, then clamp them together and fasten them through their adjoining side panels. Use screws sized for your cabinet materials, and predrill to prevent splitting. Keep every face frame flush as you tighten each connection.
- Check corners with a square before securing the boxes.
- Add a solid, level base beneath the cabinets, using shims where needed.
- Install a plywood back or cleats to tie the cabinet run together.
- Drive screws into studs or blocking through the base, keeping heads accessible.
Apply practical assembly techniques as you work, and confirm doors and drawers open freely. Don’t overtighten screws, which can distort panels. Once the boxes form a rigid, square unit, attach end panels and any required support pieces.
Leave countertop installation and final placement for the next steps.
Position the Island
Once the cabinet base is square and rigid, move it into position over the layout lines and check the clearances on all sides. Walk around the island to confirm comfortable passageways, appliance-door swings, and access to drawers.
Use a tape measure to verify consistent spacing, then adjust the base until it sits exactly where you want it. Check that the island aligns with nearby cabinets, lighting, and the room’s main sightlines.
If the floor slopes, use shims beneath low corners to eliminate rocking and keep the top level. Recheck the layout after every adjustment.
Consider how decorative accents, such as end panels or trim, will affect the footprint. Confirm color coordination with surrounding cabinetry before finalizing the placement.
Don’t rush this step. Accurate positioning makes later installation cleaner.
Secure It Permanently
With the island positioned, anchor the base to the floor so it can’t shift during use or countertop installation. Check that it’s square, level, and aligned with your layout lines before marking attachment points.
Use these security measures and anchoring techniques:
- Locate floor joists when possible, then mark them inside the cabinet base.
- Drill pilot holes through the base’s cleats, avoiding plumbing, electrical lines, and radiant-heating components.
- Drive construction screws or lag screws with washers into the joists. If joists don’t align, install blocking beneath the floor or use appropriate masonry anchors on concrete.
- Recheck the island’s level and stability, adding shims beneath low spots before tightening every fastener.
Don’t rely on adhesive alone; it won’t provide dependable resistance to movement. Cover exposed fastener heads, remove shims that protrude, and confirm doors and drawers still operate smoothly before installing the countertop.
Install Cabinets and Add Support
Position the cabinets on the assembled base, keeping their fronts flush and checking that each unit is level and square. Use shims beneath low corners, then recheck every cabinet with a level.
> Set cabinets on the base with flush fronts, shim low corners, and verify each unit is level and square.
Align adjoining faces and clamp the boxes together before driving screws through their side panels into the base or neighboring cabinets. Predrill holes to prevent splitting, and choose screws long enough to hold securely without piercing the cabinet interiors.
Plan cabinet customization now if you need fillers, end panels, open shelving, or modified doors. Mark each cut carefully, remove hardware, and make adjustments with the appropriate saw.
Keep finished edges facing outward, and seal exposed cut edges against moisture.
Add support reinforcement wherever the island needs extra strength, especially beneath seams, wide overhang areas, or heavy appliance sections. Install solid cleats or blocking between base members, fastening them firmly to the structure.
Confirm that doors and drawers open freely, then tighten every connection and remove temporary shims.
Attach and Secure the Countertop
After the cabinets are level, square, and firmly connected, dry-fit the countertop to check its overhangs, seams, and alignment with the island base. Mark any adjustments, then remove the top and prepare the supports.
- Review countertop materials. For stone or quartz, use manufacturer-approved brackets and silicone; don’t drill without guidance. For wood or laminate, plan screws through corner blocks or support rails.
- Apply a thin bead of silicone or construction adhesive along the cabinet edges. Keep adhesive away from visible seams and allow room for seasonal wood movement.
- Set the countertop carefully, using shims to maintain even overhangs. Press it into place, then verify level and alignment from every side.
- Use suitable fastening techniques. Drive screws upward through support blocks, choosing lengths that won’t penetrate the surface. Tighten gently, especially with brittle materials.
Wipe away excess adhesive immediately. If the countertop has a seam, pull the sections together with seam clamps and follow the adhesive’s curing time. Don’t load or use the island until the bond has fully set.
Add Panels, Trim, and Hardware
Once the countertop adhesive has cured, install the island’s decorative panels, trim, and hardware. Measure each exposed side, then cut panels to fit without covering doors or drawers.
Secure them with construction adhesive and finishing nails, keeping edges flush. Your panel customization might include beadboard, plywood, or matching cabinet doors.
Add base molding and corner trim to hide gaps and create a finished profile. Cope or miter joints carefully, and fill nail holes before sanding.
| Element | Material | Finish |
|---|---|---|
| Side panels | Plywood | Paint or stain |
| End panels | Beadboard | Cabinet color |
| Base trim | Hardwood | Matching finish |
| Corner trim | Wood molding | Clear coat |
Next, mark hardware locations with a template. Consistent spacing improves the look, while hardware selection should complement your faucet, lighting, and cabinet style.
Drill pilot holes to prevent splitting, then attach pulls, knobs, and brackets with the supplied screws. Wipe away adhesive, sand lightly, and apply touch-up paint where needed.
Install Fixtures and Check Safety
With the panels and hardware in place, install the island’s fixtures, such as an outlet, sink, faucet, or lighting, according to the manufacturer’s instructions and local codes. Plan each connection carefully before cutting or drilling.
- Hire a licensed electrician for new circuits, outlets, or lighting fixtures. Use GFCI protection near water, and keep wiring enclosed in approved boxes.
- Set the sink firmly, then connect the supply lines and drain. Check all plumbing connections for leaks while the water runs.
- Anchor appliances and fixtures securely so they won’t shift during use. Seal around the sink and faucet to prevent moisture from reaching the cabinet.
- Inspect the island’s stability, sharp edges, fasteners, and clearances. Confirm that doors and drawers open freely, walkways remain accessible, and heat-producing appliances have proper ventilation.
Turn off power and water before working, and test every fixture afterward. If a task exceeds your experience, stop and call a qualified professional.
Turn off power and water before installation, then test each fixture and call a qualified professional when needed.
Finish by cleaning up debris and storing the manuals for future maintenance.
Frequently Asked Questions
How Much Does It Typically Cost to Build a Kitchen Island?
You’ll typically spend $1,500–$5,000 to build a kitchen island, though a simple DIY version may cost $500, while a custom island with plumbing, electrical work, or premium finishes can exceed $10,000. Your total depends on size, labor, cabinetry, countertops, and appliances.
During budget planning, compare quotes and reserve 10–20% for surprises. Careful material selection helps you control costs without sacrificing durability, appearance, or useful storage space.
Can a Kitchen Island Be Built Without Professional Carpentry Experience?
Yes, you can build a kitchen island without professional carpentry experience if you choose a simple design and follow instructions carefully. Expect DIY challenges, including measuring accurately, cutting materials, leveling cabinets, and securing the structure.
Take safety precautions by wearing eye protection, using tools correctly, and asking for help with heavy components. Consider prefabricated cabinets or a ready-to-assemble kit to simplify construction.
Hire a professional for electrical, plumbing, or complex structural work when needed.
How Long Does Constructing a Kitchen Island Usually Take?
You’ll usually need two to five days to construct a kitchen island, depending on its size, design, and your experience. Simple DIY assembly using prefabricated cabinets may take a weekend, while custom builds can require one to two weeks.
Plan extra time for material selection, measuring, cutting, countertop installation, and finishing. If plumbing, electrical work, or complicated features are involved, schedule licensed professionals and expect the project timeline to increase.
What Design Styles Work Best for Different Kitchen Aesthetics?
Choose a design style that complements your kitchen’s existing character. For a modern space, you’ll appreciate sleek lines, flat-front cabinets, and minimal hardware.
Farmhouse kitchens benefit from turned legs, warm wood, and open shelving. Traditional rooms pair well with raised-panel doors, decorative moldings, and classic countertops.
If you prefer an urban look, select industrial finishes, metal accents, and reclaimed timber. Transitional designs balance contemporary simplicity with timeless details, giving you flexibility as your tastes evolve.
How Should a Kitchen Island Be Maintained and Cleaned Over Time?
Keep your island gleaming like a calm, polished centerpiece by establishing simple Cleaning routines. Wipe spills immediately with a soft cloth and mild soap, then dry the surface to prevent stains and swelling. Use separate cleaners suited to wood, stone, or laminate, and avoid abrasive pads.
For lasting beauty, follow these Maintenance tips: reseal porous countertops as recommended, tighten loose hardware, inspect seams, and repair chips or scratches promptly.
Conclusion
Once you’ve chosen the island’s size, checked clearances, leveled the floor, secured the cabinets, and installed the countertop, you’re nearly finished. Add panels, trim, hardware, and any planned fixtures, then test every door, drawer, outlet, and water connection.
For example, imagine rolling out cookie dough while your children sit safely across the island, with utensils stored within reach. A careful final inspection guarantees your new kitchen island looks polished, functions smoothly, and stays safe for years.