How to Refinish a Wooden Kitchen Table in 7 Steps
A worn, scratched kitchen table can make your whole dining space feel tired, even when the rest of your home looks great. If you’re wondering how to refinish a wooden kitchen table, you’re not alone—many people struggle with peeling finishes, stubborn stains, and surface damage.
Refinish a wooden kitchen table in seven steps: prepare a ventilated workspace, protect the floor, and remove hardware. Clean the table and identify its existing finish. Strip old coating, then sand with progressively finer grits. Repair scratches, dents, cracks, and loose joints. Apply a compatible, table-safe stain after testing the color. Seal it with thin, even coats of polyurethane. Let the finish cure fully, then use coasters and clean spills promptly. Follow along for helpful details on each step.
Key Takeaways
- Prepare a ventilated workspace, protect the floor, stabilize the table, and remove hardware or detachable parts.
- Inspect the existing finish and repair scratches, dents, cracks, loose joints, and other structural damage.
- Strip the old coating if necessary, then sand progressively with the grain from coarse to fine grits.
- Remove all dust, test your chosen stain, and apply thin, even coats according to the product instructions.
- Seal with compatible polyurethane, allow complete curing, and protect the refinished table with routine maintenance.
Prepare Your Wooden Kitchen Table and Workspace
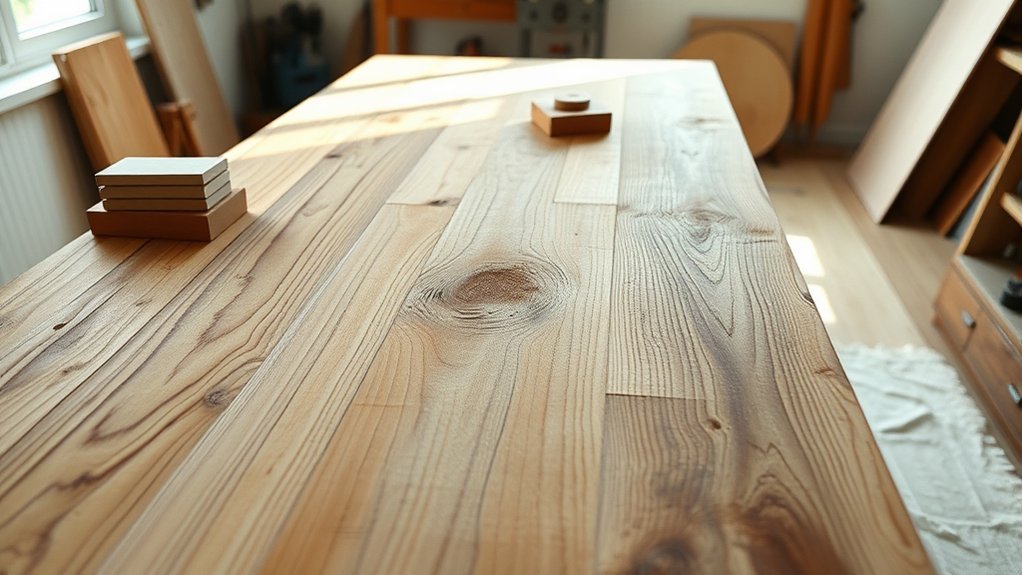
Before refinishing your wooden kitchen table, clear the area and move the table to a well-ventilated workspace, such as a garage or covered patio. Leave enough room to walk around every side, open doors, and handle tools comfortably.
Protect the floor with a heavy-duty drop cloth, securing its edges so they won’t create tripping hazards. Use workspace organization to keep tools, supplies, and hardware within reach without crowding your work surface.
Remove chairs, decorations, and nearby items that could collect dust or interfere with your movement. Support the table at a comfortable height with sturdy sawhorses or a stable workbench, and check that it won’t wobble.
Good woodworking safety starts with proper lighting, fresh airflow, and a clear exit path. Wear safety glasses, closed-toe shoes, and work gloves when appropriate.
Keep children and pets away, and store solvents or other flammable products in approved containers away from heat, sparks, and flames. Keep a fire extinguisher nearby.
Clean the Table and Assess Its Old Finish
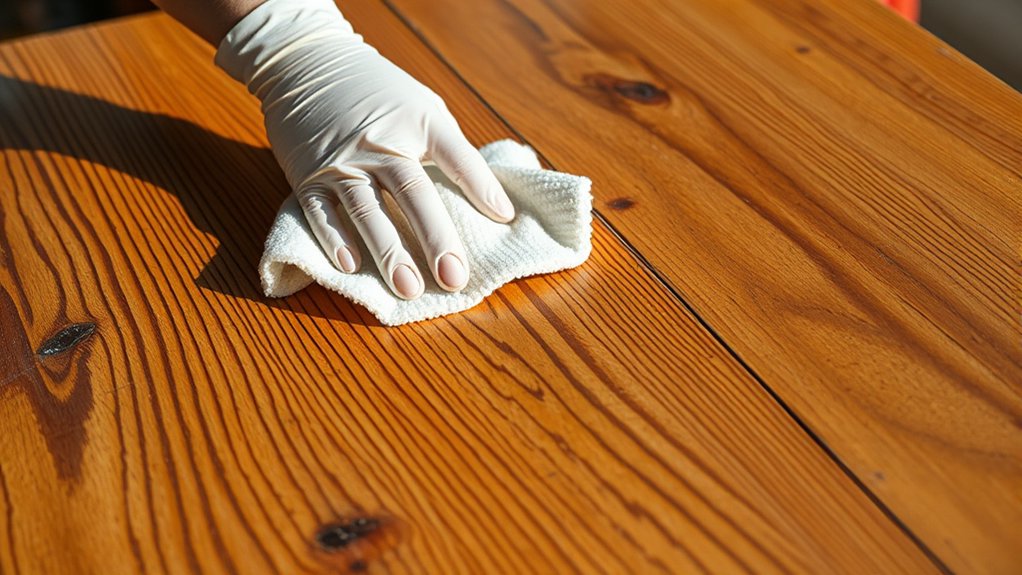
Start by wiping away dirt and grease so you can get a clear look at the tabletop. Then identify the existing finish—such as varnish, paint, or oil—before choosing a refinishing method. Finally, check for scratches, stains, cracks, or loose joints that may need repair.
Remove Dirt and Grease
How can you refinish a table properly if you cannot see its true condition? Start by removing everything from the surface, then vacuum or brush away crumbs and loose dust.
Mix warm water with a few drops of mild dish soap, and choose gentle Cleaning solutions that won’t leave an oily film. Dampen a microfiber cloth, don’t soak it, and wipe the tabletop, edges, legs, and underside.
For stubborn cooking residue, apply the soapy mixture directly to the cloth and use steady strokes for effective grease removal. Never flood the wood, since trapped moisture can cause swelling or damage.
Rinse the cloth, wipe away soap, and dry every area immediately with a clean towel. Let the table air-dry completely before you continue with your refinishing work.
Identify Existing Finish
Once the table is clean and completely dry, inspect the surface in bright, angled light to identify its existing finish. Look across the wood grain for clues about how the coating reflects light.
A glossy, glasslike finish often indicates varnish, polyurethane, or lacquer. A softer finish sheen may suggest shellac, wax, or oil.
Touch an inconspicuous area lightly. A smooth, hard surface usually has a film finish, while a natural, slightly textured feel may indicate penetrating oil.
Check whether the color appears to sit on top of the wood or soak into it. You can also dab denatured alcohol on a hidden spot with a cotton swab. Shellac softens quickly, while lacquer responds to lacquer thinner.
Test cautiously, and don’t mix solvents. Record your observations before choosing a compatible refinishing method.
Check for Damage
Check the table for damage before choosing a refinishing method. Remove dishes, hardware, and crumbs, then wipe the surface with a mild soap solution. Dry it completely so hidden problems become easier to spot.
Run your hand across the tabletop to find scratches, dents, raised grain, or loose veneer. Inspect the edges, legs, and underside for cracks, water stains, insect holes, and missing pieces.
Pay special attention to joints: gently wiggle each leg and look for movement or gaps. This evaluation reveals the table’s structural integrity and helps you plan repairs before sanding.
Don’t sand deeply over warped boards, split areas, or severe wood damage. Tighten loose screws, reglue separated joints, and replace unstable parts first.
If the table has serious rot or instability, consult a professional before refinishing it.
Strip and Sand the Wood Smooth
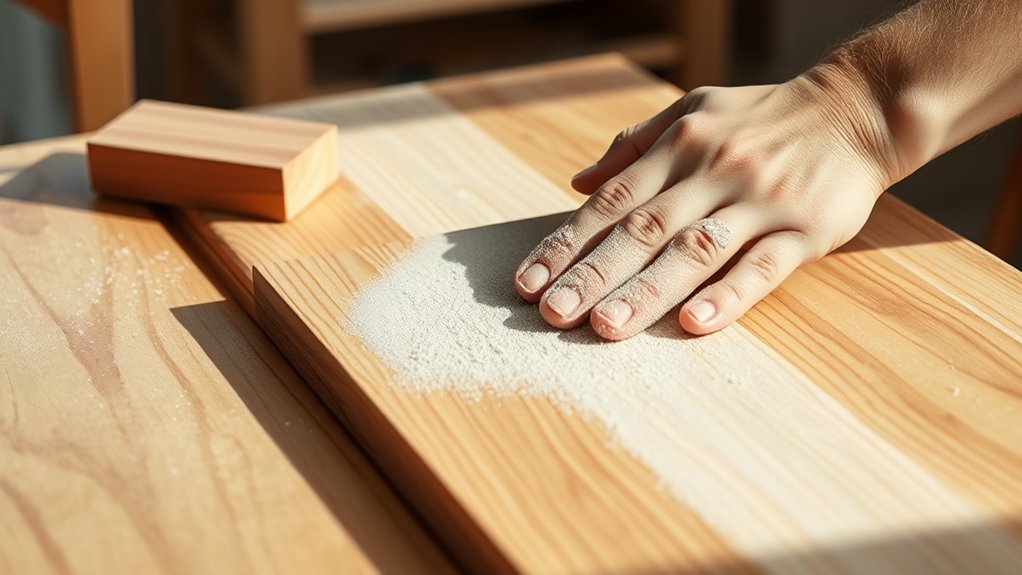
Apply wood stripper to loosen the old finish, and follow the product’s safety directions. Then sand the surface with progressively finer grits until it feels smooth. Finally, remove all dust before refinishing.
Apply Wood Stripper
How do you remove the old finish without damaging the wood? Start by protecting your workspace with a drop cloth, opening windows, and wearing chemical-resistant gloves, safety glasses, and a respirator if the label requires one. Test the wood stripper on an inconspicuous spot to confirm it won’t discolor the table.
Brush a thick, even coat over a small section, following the product’s directions. Don’t let the stripper dry. Give it the recommended dwell time, then gently lift the softened finish with a plastic scraper.
Work with the grain, and avoid gouging the surface or using excessive pressure. Use a nylon pad and suitable solvent to clear stubborn residue, as directed.
Keep removed finish and rags in a sealed container for safe disposal. Wipe the surface clean and let it dry completely.
Sand With Progressively Finer Grits
Once the stripped wood is completely dry, sand it with the grain, starting with 80- or 100-grit paper to remove residue and level the surface. Use a sanding block or random-orbit sander, keeping it flat so you don’t create dips.
Follow the wood grain, and move steadily without pressing hard. Inspect the tabletop frequently; stop when the finish and scratches look even.
Switch to 120-grit paper, then 150-grit, using the same controlled sanding techniques at each stage. Each finer grit should erase marks from the previous one, not remove deep flaws through excessive pressure.
Finish with 180- or 220-grit paper for a smooth surface ready for stain or finish. Lightly round sharp edges if desired, but preserve the table’s shape.
Don’t linger in one spot, or you’ll create uneven areas.
Remove Dust Thoroughly
After sanding, remove every trace of dust before applying stain or finish. Start with thorough dust removal so particles don’t mar the surface or create bumps beneath your coating.
Vacuum the tabletop, edges, legs, and nearby floor using a soft brush attachment. Avoid pressing hard, which can grind grit into the wood.
Next, wipe the table with a clean, dry microfiber cloth, folding it often to expose a fresh section. Use a slightly damp cloth only if your finish manufacturer permits it, then let the wood dry completely.
Don’t use oily cleaners, household sprays, or compressed air, which may leave residue or scatter dust elsewhere. Inspect the table under bright, angled light, and repeat the process until you see no remaining particles.
Keep your cleaning tools clean, too, because dirty cloths can recontaminate the surface.
Repair Scratches, Dents, and Cracks
Before applying a new finish, repair the table’s scratches, dents, and cracks so they won’t remain visible beneath it. Start your scratches repair by sanding shallow marks with fine-grit sandpaper, following the wood grain.
Work gradually, and stop as soon as the surface feels smooth. For deeper scratches, press matching wood filler into the grooves with a putty knife. Let it dry, then sand the area level.
For a dents fix, place a damp cloth over the compressed wood and briefly touch it with a warm iron. The moisture and heat can swell the fibers back into place.
Don’t leave the iron stationary, or you could scorch the tabletop. Sand away any raised grain after the wood dries.
Fill narrow cracks with wood filler, pushing it deeply into each opening. For wider cracks, use a matching wood sliver and adhesive, then trim and sand it flush.
Vacuum the repairs and wipe them clean before continuing.
Choose and Apply a Table-Safe Stain
With the repairs smooth and clean, choose a stain labeled safe for indoor furniture and compatible with your table’s wood. Check the label for coverage, drying time, and cleanup instructions.
For color matching, compare samples on an unfinished underside or scrap from the table, since wood grain and lighting can change the result. Let each sample dry before choosing your favorite shade.
Before stain application, remove dust with a vacuum and lint-free cloth. Stir the stain slowly rather than shaking it, which can create bubbles.
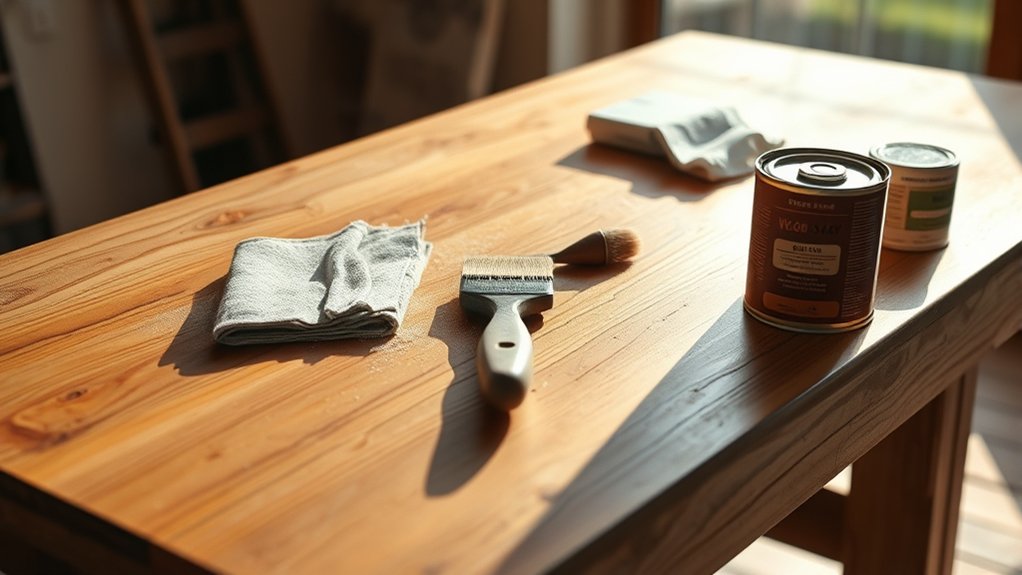
Put on gloves, open windows for ventilation, and protect your work area. Brush or wipe a thin, even coat in the direction of the grain.
Work in manageable sections, then blend overlaps while the stain remains wet. After the recommended penetration time, wipe away excess with a clean cloth, following the grain.
Inspect the color from several angles, and apply another coat only if you want a deeper, richer tone. Allow the stained surface to dry completely according to the product directions.
Seal the Refinished Kitchen Table
Once the stain has dried completely, protect the table with a clear finish labeled for indoor furniture and compatible with your stain. Choose water-based polyurethane for low odor and quick application, or oil-based polyurethane for a warmer tone and added durability. Read the label, and don’t mix products unless the manufacturer approves them.
Before sealing, remove dust with a vacuum and tack cloth. If you’re refinishing over an old coating, complete Varnish removal first; leftover residue can cause peeling, cloudiness, or uneven sheen. Stir the finish gently instead of shaking it, which creates bubbles.
Use a clean, high-quality brush or foam applicator. Apply a thin, even coat with the wood grain, keeping a wet edge as you work. Don’t overbrush areas that have started to set.
Let the surface dry according to the product directions, then lightly smooth raised grain with fine-grit sandpaper and remove dust. Repeat Finish sealing for the recommended number of coats.
Let the Finish Cure and Maintain the Table
Let the final coat cure fully before using the table, following the product’s label for drying and curing times. Don’t place dishes, decorations, or heavy objects on the surface until it has hardened completely. Good airflow and moderate temperatures help the finish cure evenly, but avoid direct sunlight and dust.
After curing, protect your work with simple habits:
- Use coasters, placemats, and trivets to prevent rings, scratches, and heat damage.
- Wipe spills promptly with a soft, damp cloth, then dry the surface.
- Clean regularly with mild soap. Never use abrasive pads, wax buildup, or harsh chemicals.
- Inspect edges, legs, and joints monthly. Touch up worn spots before moisture enters.
During future repairs, match your Finish color selection carefully, testing it in a hidden area first. Include Table leg restoration in your maintenance plan by tightening loose hardware, lightly sanding damaged areas, and recoating them without flooding the joints. Keep the table away from radiators and strong sunlight, which can dry wood and fade the finish.
Frequently Asked Questions
Can I Refinish a Wooden Table Without Removing It From the Kitchen?
Yes, you can refinish a wooden table in your kitchen, but you’ll need careful preparation. Move nearby furniture, cover cabinets and floors with plastic, and open windows for ventilation.
Complete table cleaning before sanding, then remove dust thoroughly. Consider finish selection based on durability, appearance, and drying time.
Work in thin, even coats, allowing each coat to cure fully. Avoid cooking nearby until the finish has completely dried and hardened.
How Long Does Refinishing a Kitchen Table Typically Take?
Refinishing a kitchen table typically takes two to five days, including drying and curing time. You’ll spend a few hours sanding, cleaning, and applying each coat, but finishes often need 12–24 hours between coats.
Your timeline depends on the table’s size, damage, and chosen finish. Consider Cost considerations, since materials add up.
DIY versus professional choices also matter: you’ll save money doing it yourself, while a professional may finish faster and more consistently.
Can I Refinish a Table Made From Veneer or Laminate?
Yes, you can refinish veneer, but you’ll need to work gently. Lightly sand it with fine-grit paper, repair chips or lifting edges, and apply thin coats of stain or paint.
These veneer repairs can restore damaged areas without sanding through the thin wood layer. Laminate restoration requires different preparation: clean thoroughly, scuff the surface, use bonding primer, and apply durable cabinet paint.
Don’t strip laminate aggressively, because you may damage its printed surface or base.
What Safety Equipment Should I Wear While Refinishing the Table?
Safety first: your lungs, eyes, and skin deserve a shield. Wear protective gear, including safety goggles, a properly fitted organic-vapor respirator, chemical-resistant gloves, long sleeves, and closed-toe shoes.
Use ventilation tips: open windows and doors, position a fan to exhaust fumes outdoors, and avoid directing airflow toward others. Keep finishes away from flames, dispose of oily rags in a water-filled metal container, and follow every product label carefully.
Should I Hire a Professional to Refinish an Antique Wooden Kitchen Table?
Consider hiring professional services if your antique table has significant value, intricate veneer, structural damage, or a rare finish. You could use DIY tips for a sturdy, replaceable piece, but refinishing can permanently reduce an antique’s worth.
A professional can identify the wood, preserve original features, and match historically appropriate finishes. Before deciding, get an appraisal and restoration estimate.
If costs outweigh the table’s value, choose gentle cleaning and protective waxing instead.
Conclusion
With the old finish gone and every scratch repaired, your wooden kitchen table can shine like new. Apply a table-safe stain, seal it carefully, and give the surface plenty of time to cure before putting it back to work.
You’ve not only refreshed the wood—you’ve created a welcoming centerpiece for everyday meals and memorable gatherings. Maintain it with gentle cleaning, quick spill removal, and occasional protection, and your refinished table will serve you beautifully for years.