How to Pack Your Kitchen for Moving
Moving your kitchen can feel overwhelming, especially when fragile dishes, bulky appliances, and countless small items all need careful packing. You’re not alone—many people struggle to protect their kitchen essentials while keeping the process organized. The right supplies and packing strategy can make everything easier.
To pack your kitchen for moving, gather sturdy boxes, packing paper, bubble wrap, tape, markers, and labels. Declutter first, donating duplicates and unused gadgets.
Pack dishes, glasses, cookware, appliances, pantry goods, and sharp tools separately, wrapping fragile items individually and cushioning every gap. Use small boxes for heavy items, label each box clearly, and mark essentials for first use.
Load heavy boxes below lighter ones, secure everything, and unpack carefully. The steps below will help you protect every kitchen item.
Key Takeaways
- Gather sturdy boxes, packing paper, bubble wrap, tape, labels, dividers, and towels before beginning.
- Declutter cabinets and drawers, donating or discarding duplicates, damaged items, and unused kitchen gadgets.
- Wrap dishes, glasses, cookware, and appliances individually, cushioning gaps and placing heavier items beneath lighter ones.
- Secure knives and other sharp tools with blade guards, cardboard, or thick wrapping before boxing them safely.
- Label boxes with contents, room, handling instructions, and “first use” priorities for easier unloading and unpacking.
Gather Kitchen Packing Supplies
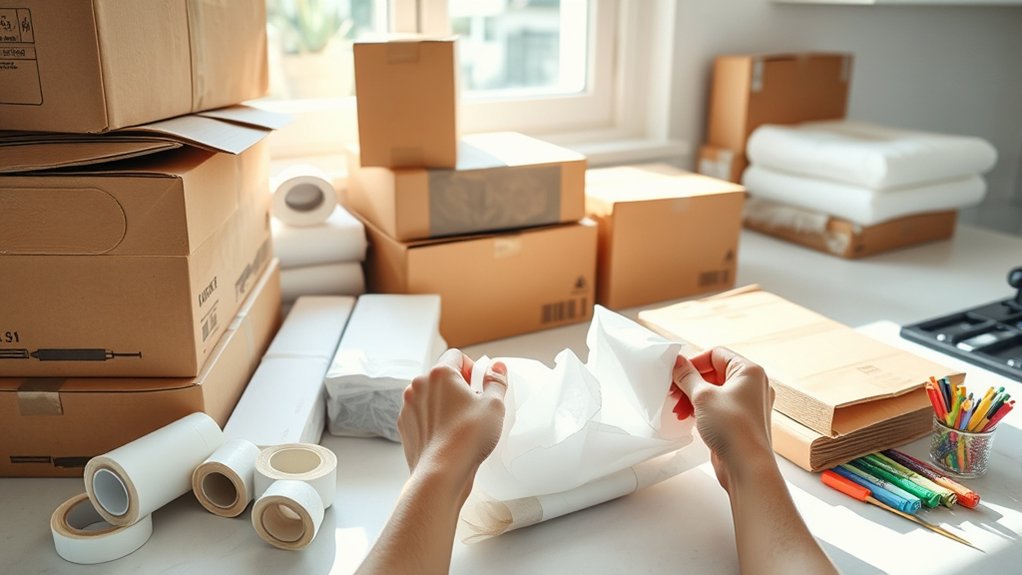
Before you begin packing, gather sturdy boxes, packing paper, bubble wrap, tape, markers, and resealable bags. Choose small boxes for canned goods and heavier items so you can lift them safely. Reserve medium boxes for cookware, dishes, and appliances, but don’t overfill them.
Gather sturdy boxes and packing materials, using small boxes for heavy items and medium boxes for cookware, dishes, and appliances.
Add dish dividers or cell kits if you’re packing plates and glasses. Use clean towels, oven mitts, or linens as extra padding when needed.
Keep a permanent marker nearby to label each box with its contents, room, and handling instructions. Color-coded tape can support kitchen organization and help you identify boxes quickly at your new home.
Include zip-top bags for appliance cords, screws, and small parts, then label each bag clearly. Your Moving checklist should also include stretch wrap, scissors, labels, and a measuring tape.
Set all supplies in one accessible location before you start. Replenish materials as you work so you won’t need last-minute store trips.
Declutter Before You Start Packing
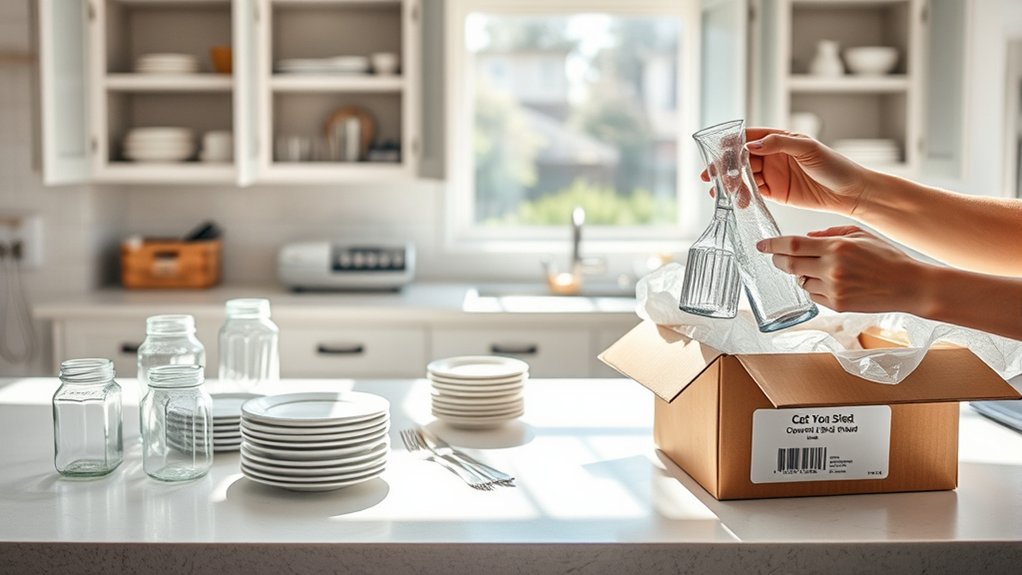
With your supplies ready, sort through the kitchen and decide what’s worth moving. Decluttering now reduces costs, saves space, and makes unpacking easier.
Work one cabinet, drawer, or shelf at a time, and create clear zones for decisions.
| Keep | Let go |
|---|---|
| Daily-use essentials | Duplicates |
| Sentimental items | Chipped dishes |
| Reliable appliances | Unused gadgets |
Use simple organizational techniques: set a timer, handle each item once, and avoid creating a “maybe” pile unless you set a firm review deadline.
Ask yourself whether you’ve used the item recently, would replace it today, or can easily find it after moving.
Donate clean, functional pieces, recycle suitable materials, and discard anything unsafe. Check local rules before disposing of appliances or chemicals.
Keep sentimental items that genuinely matter, but limit space for objects you’re saving from guilt.
Photograph bulky keepsakes if you’re unsure, then release them when the image preserves the memory.
Finish by measuring remaining storage needs and noting anything you must replace later. Don’t pack until every item has a clear decision.
Pack Kitchen Items by Category
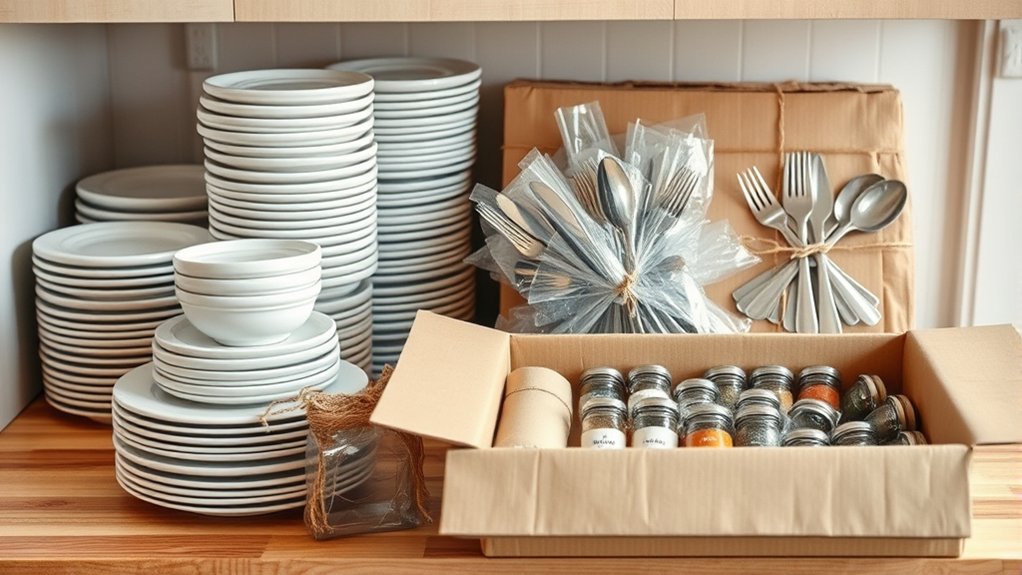
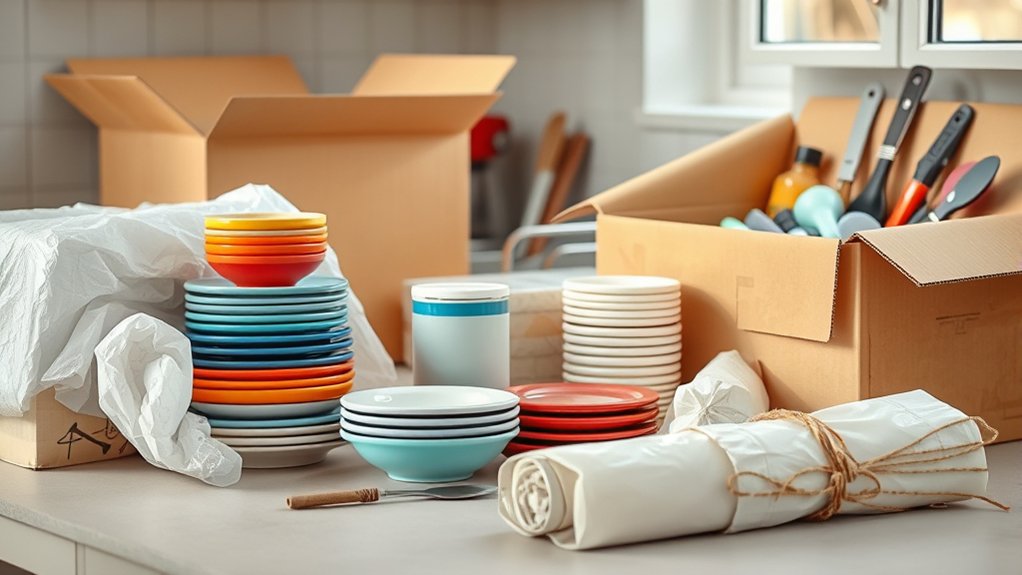
Group similar kitchen items together so you can choose the right packing materials and find essentials easily after the move. Pack plates, bowls, and mugs in small, sturdy boxes, placing heavier pieces below lighter ones. Wrap each item with paper or bubble wrap, then fill empty spaces to prevent shifting.
Keep pots, pans, baking dishes, and cooking utensils in separate boxes so you can unpack them efficiently. Use dividers or towels to protect glassware, and label every box on multiple sides with its category and room.
Place knives in blade guards or wrap them securely before packing them with other utensils. Gather small appliances, such as your toaster, blender, and mixer, together. Remove detachable parts and cushion each machine.
Pack kitchen decor separately, protecting fragile pieces with paper. Put cleaning supplies in a clearly labeled box, keeping them away from dishes and cookware.
Don’t overfill boxes, and note which packages you’ll need first.
Sort Food, Spices, and Liquids
Sort your pantry items by type, and discard anything expired or any opened food you don’t plan to move. Keep spices together in a sealed box, and pack liquids upright in leakproof bags. Add padding so bottles don’t shift or break during transport.
Organize Pantry Items
Before packing, check expiration dates and separate pantry items into keep, donate, and discard piles. Group the items you’ll keep by type, placing canned goods, grains, baking supplies, snacks, and spices together.
Pantry organization becomes easier when you reduce duplicates and choose only what suits your new space. Set aside opened packages that need quick use, and combine identical unopened items only if their labels remain clear.
Create a simple inventory as you sort, noting quantities and any dietary requirements. Use shelf labeling to mark categories, making unpacking and restocking faster.
Arrange items by size, keeping frequently used foods accessible and heavier containers lower. Place delicate boxes of crackers or cereal where they won’t get crushed.
Check every label for allergens, unclear dates, or damage, and discard anything questionable. Keep donated food separate so it doesn’t get packed accidentally.
Pack Liquids Securely
Secure liquids such as cooking oils, vinegar, sauces, and syrups by checking each container for leaks and tightening its cap. Wipe bottles clean, then place each one inside a resealable plastic bag.
Wrap glass containers in bubble wrap or dish towels, and leave room between bottles to prevent contact. For reliable liquid storage, choose a sturdy box with a flat bottom and line it with a plastic liner or garbage bag.
Keep heavier bottles at the bottom and lighter ones on top. Don’t pack liquids with dry foods, since one leak could ruin everything.
Add crumpled paper around each container to limit movement. Label the box “Liquids: This Side Up” and mark it “Fragile” if it contains glass.
Carry the box upright, and inspect it promptly after arrival for spill prevention.
Wrap Dishes and Glassware Safely
Choose sturdy boxes, quality packing paper, bubble wrap, and strong tape. Wrap each dish and glass individually, then cushion everything securely with crumpled paper or other padding.
Choose Proper Packing Materials
The right packing materials keep dishes and glassware from shifting, scratching, and breaking in transit. Start by selecting durable, double-wall boxes sized for kitchenware.
Small or medium boxes work best because they’re easier to lift and less likely to collapse under weight. Add sturdy dividers for plates, bowls, and glasses, but don’t choose boxes that leave excessive empty space.
Choosing eco friendly packing paper or corrugated inserts lets you protect your items while reducing waste. Avoid newspaper because ink can transfer onto surfaces.
Consider using specialized dish boxes with built-in compartments when you’re moving valuable or delicate pieces. Add cushioning materials, such as bubble wrap, foam sheets, or air pillows, to fill gaps.
Keep opting lightweight materials that provide protection without making each box unnecessarily heavy. Check every box for tears, moisture, or weak seams before packing.
Wrap Items Individually
Before placing dishes or glassware in a box, wrap each piece individually to prevent scratches, chips, and breakage. Start with a sheet of packing paper, place the item near one corner, and roll it tightly while folding the sides inward.
Use extra paper around handles, rims, and delicate edges. For plates, wrap them flat, then add a second layer for fragile or valuable pieces.
Stack wrapped plates vertically rather than horizontally to reduce pressure. Slip glasses into paper sleeves or wrap them with two layers, paying special attention to stems and bases.
Bubble wrap provides excellent shock absorption and added protection against impacts, but don’t rely on it alone for thin glass. Label unusual shapes and secure every bundle with tape, without sticking tape directly to your cookware.
These wrapping techniques keep surfaces protected throughout handling.
Cushion Boxes Securely
Cushion each box with a thick layer of crumpled packing paper before adding wrapped dishes or glassware. Place heavier items on the bottom and lighter pieces above them.
Leave no empty spaces; fill gaps with paper, towels, or air pillows so nothing shifts during transit. Keep plates on their edges rather than stacking them flat, which reduces breakage risk.
Add another thick layer of padding over the top before sealing the box. To cushion boxes securely, gently shake each one. If you hear movement, add more filler.
Don’t overpack, because excessive weight can crush fragile contents and strain the box. Use sturdy, small cartons for glassware, and reinforce fragile packaging with packing tape along every seam.
Label each carton “Fragile” and “This Side Up,” then load it carefully between stable boxes.
Protect Pots, Pans, and Cookware
Protect pots, pans, and cookware by wrapping each piece in packing paper or a clean towel. Pay extra attention to handles, edges, and nonstick surfaces.
Place a paper layer between stacked skillets, saucepans, and lids to prevent scratches. Don’t nest heavy pieces inside delicate ones, and keep cast iron separate from lighter cookware to avoid crushing damage.
Line each box with crumpled paper, then position your heaviest items at the bottom. Fill gaps around handles and corners so nothing shifts during transport.
Wrap glass lids individually and stand them upright between padded layers rather than laying them flat under weight. Label the box “Kitchen: Cookware” and mark which side should face up.
Before packing, group pieces according to your cooking techniques and kitchen design. This will help you quickly find everyday essentials after moving.
Avoid overloading boxes; smaller containers make heavy cookware safer to lift. Seal each box securely, but don’t use excessive tape that could damage surfaces when you unpack.
Pack Small Kitchen Appliances
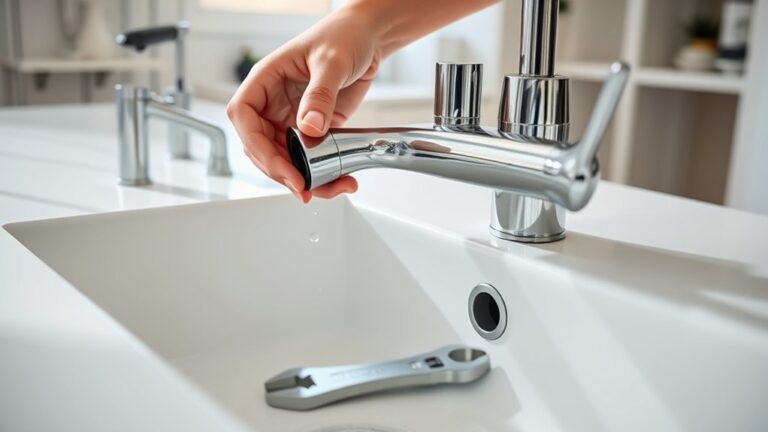
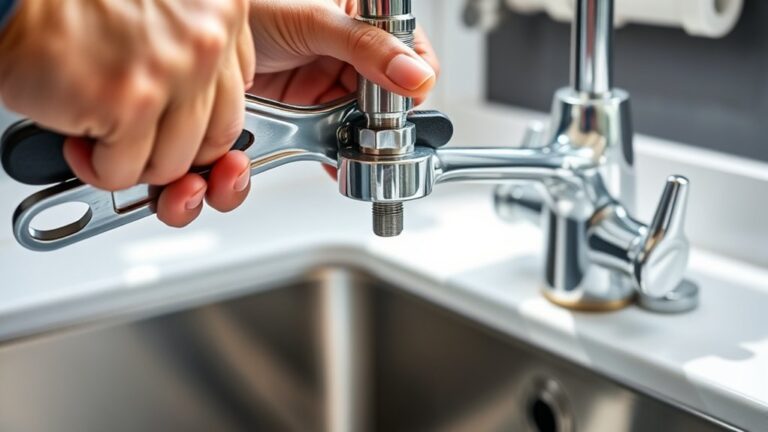
After securing your cookware, turn to small appliances such as blenders, toasters, coffee makers, and mixers. Unplug each item, let it cool completely, and remove detachable parts.
Wash and dry removable components, but avoid packing anything damp. Follow appliance maintenance habits by checking cords, plugs, and seals for damage before boxing them.
Clean and dry removable parts, then inspect cords, plugs, and seals for damage before packing each appliance.
Use original boxes when available; otherwise, choose sturdy cartons that fit each appliance with minimal extra space. Wrap appliances in clean towels or bubble wrap, then cushion them with crumpled paper.
Keep heavier machines on the bottom and lighter ones above. Place accessories, manuals, and cords in labeled bags, and tape those bags inside the matching boxes.
Don’t force lids or jam parts into the carton. Label every box with its contents and “This Side Up.”
If you’re storing appliances temporarily, protect them from moisture and extreme temperatures. Consider kitchen design trends when deciding what deserves priority.
Pack frequently used items last, so you can access them easily after arrival. Keep appliances upright when their manuals recommend it.
Wrap Knives and Sharp Tools Safely
Before packing knives and other sharp tools, wrap each blade individually in thick paper, a towel, or a blade guard, securing the covering with tape. Keep the sharp edge pointed away from your hands as you work, and don’t leave exposed tips where they can cause injury.
For extra knife safety, place wrapped knives inside a sturdy box, knife roll, or thick plastic container that won’t bend under pressure. Add cardboard between blades to prevent contact, then cushion the bundle with dish towels or bubble wrap.
Wrap scissors, peelers, graters, and other pointed tools separately, covering handles and tips when possible. Don’t overload the container; excessive weight can tear the packaging or make the box difficult to lift.
Check every item for exposed metal before closing the container. For reliable tool protection, secure the contents tightly enough that nothing shifts, but avoid forcing sharp objects together.
Handle the finished package carefully, keeping it away from children and pets during the move.
Label Kitchen Boxes Clearly
Clear labels will help you find kitchen essentials quickly and handle each box appropriately. After sealing each carton, write its contents on at least two sides, using specific descriptions such as “everyday plates” or “baking supplies” instead of “kitchen items.”
Note whether the box contains glassware, appliances, pantry goods, or utensils, so you’ll recognize what’s inside at a glance.
For effective labeling, list the room, major contents, and a brief handling note. You can also number boxes and keep a matching inventory on your phone or in a notebook.
Record important details, such as missing parts or an appliance’s accessories, before you close the carton.
Try color coding labels to organize categories: use blue for dishes, green for pantry items, and red for tools. Add a “first use” mark to boxes containing coffee supplies, cooking basics, or frequently needed utensils.
Use waterproof markers or adhesive labels, and make every word large enough to read easily.
Load and Unpack Kitchen Boxes Safely
Load kitchen boxes with heavier items on the bottom and lighter ones on top, keeping glassware and fragile appliances upright and cushioned. During loading, use safe handling practices: lift with your legs, keep boxes close, and ask for help with oversized or awkward loads. Don’t stack boxes higher than you can safely reach, and place fragile cartons where they won’t shift or get crushed. Secure everything with straps before driving, leaving space for ventilation around appliances.
At your new home, carry boxes through clear pathways and set them on stable surfaces. Open one carton at a time, cutting tape away from your hands and removing packing materials carefully. Check glassware, cords, and appliance parts for damage before use. Keep children and pets away from unpacking areas, and don’t plug in appliances until they’re dry and properly positioned. Recycle cardboard and paper, while practicing proper disposal for batteries, chemicals, broken glass, and outdated cleaning products according to local guidelines.
Frequently Asked Questions
How Early Should I Start Packing My Kitchen Before Moving Day?
Start packing your kitchen two to three weeks before moving day. Follow this packing timeline: begin with rarely used appliances, specialty cookware, serving dishes, and pantry items, then handle everyday essentials during the final week.
Use these moving prep tips: declutter as you pack, label every box clearly, protect breakables with padding, and keep one small box for daily necessities. Pack your refrigerator and freezer contents last, following safe storage guidelines.
Should I Notify Utility Providers Before Moving Out of My Kitchen?
Yes, you should notify utility providers before moving out, even if you’re only leaving the kitchen temporarily. Contact electricity, gas, water, internet, and waste services several weeks ahead.
Request a Utility transfer if you’re moving locally, or schedule a Service cancellation for your departure date. Confirm final meter readings, settle outstanding balances, and provide your forwarding address.
Keep confirmation numbers so you can resolve billing issues quickly after moving.
Can Professional Movers Pack My Kitchen for Me?
Professional movers can pack your kitchen for you. They’ll supply boxes, protect fragile dishes, wrap appliances, and organize everything efficiently.
Before they arrive, remove valuables, discard expired food, and identify items you’ll transport personally. Provide clear instructions for specialty cookware or delicate equipment.
Ask movers to use packing labels, and track each box on your moving checklist. Confirm insurance coverage, pricing, and whether unpacking services are included before you sign the agreement.
How Can I Keep Essential Kitchen Items Accessible During the Move?
Keep essential kitchen items accessible by packing them separately in a clearly labeled essentials box. Include plates, cups, utensils, a pan, coffee or tea supplies, snacks, dish soap, towels, and basic tools.
Load this box last so you can reach it first. Keep important medications and appliances, such as your kettle, with you.
These Kitchen organization and Packing tips will help you prepare meals and clean up immediately after arriving.
What Should I Do if Kitchen Items Are Damaged During the Move?
If kitchen items arrive damaged, photograph each item and its packaging immediately. Don’t discard anything until you’ve contacted the moving company or insurer and reviewed your coverage.
List every damaged piece, including fragile items, and note visible problems clearly. Keep receipts, estimates, and communication records.
If you packed yourself, explain which packing materials you used. Request repair, replacement, or reimbursement, and follow the claim deadline exactly to protect your eligibility.
Conclusion
Packing your kitchen doesn’t have to be overwhelming. Once you’ve decluttered, sorted items by category, wrapped fragile pieces, and labeled every box, you’ll be ready for a smoother move.
Handle food, liquids, appliances, and sharp tools carefully, and load heavier boxes below lighter ones. When you arrive, unpack essentials first so you can settle in quickly.
Remember, “a stitch in time saves nine.” A little organization now prevents stress later and makes packing your kitchen for moving much easier.