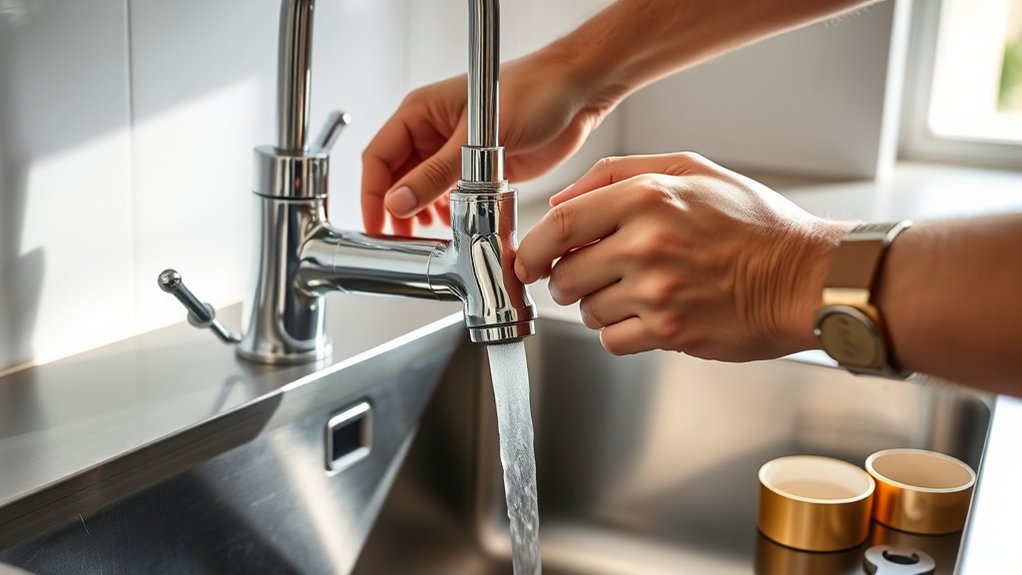
How to Install a Kitchen Faucet in 3 Steps
Installing a kitchen faucet can feel more complicated than it should, especially when you’re unsure which tools or steps you need. You’re not alone—many people struggle with removing the old fixture, securing the new one, and avoiding leaks. This guide makes the process simple.
To install a kitchen faucet in three steps, gather your tools, verify the faucet fits your sink, and shut off both water valves. Remove the old faucet, clean the sink surface, position the new gasket and faucet, then secure it from below without overtightening.
Reconnect the hot, cold, and sprayer lines, slowly restore water, and run the faucet. Check every connection with a dry towel for leaks. The steps below explain each part in more detail.
Key Takeaways
- Gather tools, verify faucet compatibility and parts, then shut off hot and cold water supplies.
- Remove the old faucet, clean the sink surface, and install the new faucet with its gasket or mounting plate.
- Secure the faucet underneath, align the spout, and tighten the mounting nut without overtightening.
- Connect hot and cold supply lines, attach the sprayer hose, and slowly reopen the shutoff valves.
- Run the faucet, inspect every connection for leaks with a dry towel, and tighten fittings slightly if necessary.
Gather Tools, Check Fit, and Shut Off Water
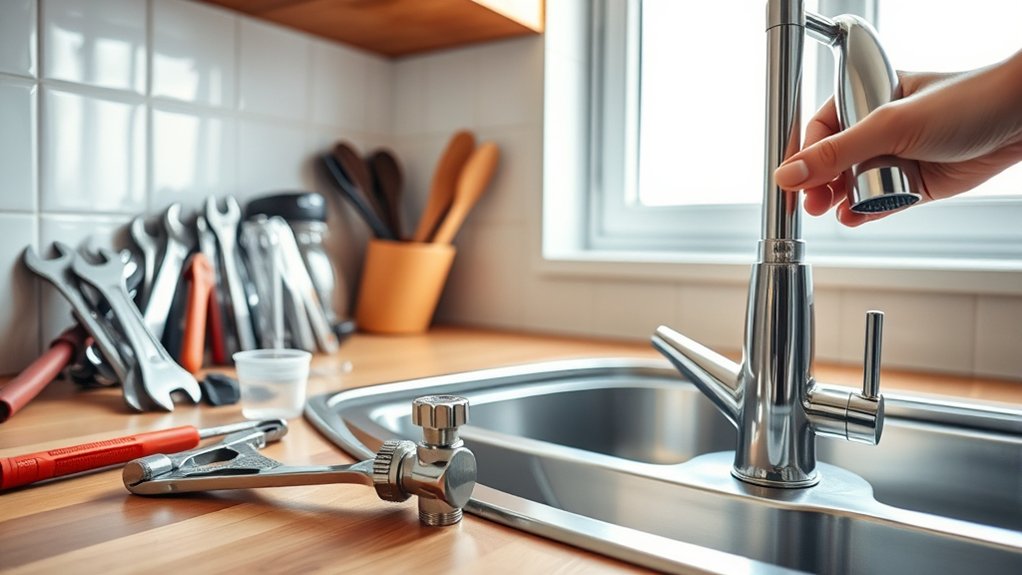
Before you begin, gather an adjustable wrench, basin wrench, screwdriver, bucket, towels, plumber’s tape, and the faucet’s installation instructions. Review the instructions to confirm the required tools, mounting method, and supply-line connections.
Check that the faucet fits your sink’s number and spacing of holes, and verify that its spout will reach the basin without striking the backsplash. Compare the included parts with the packing list before starting.
Practice tool safety by wearing eye protection, keeping the cabinet area well lit, and placing a bucket beneath the connections. Clear stored items from under the sink so you can work comfortably.
Locate the hot- and cold-water shutoff valves, then turn both clockwise until they stop. Open the existing faucet to release pressure and confirm that water no longer flows.
If either valve drips or won’t close, shut off the home’s main supply and arrange professional service. Protect the cabinet floor with towels, and keep the instructions nearby for reference.
Good preparation supports reliable faucet maintenance and prevents avoidable leaks.
Remove the Old Faucet and Secure the New One
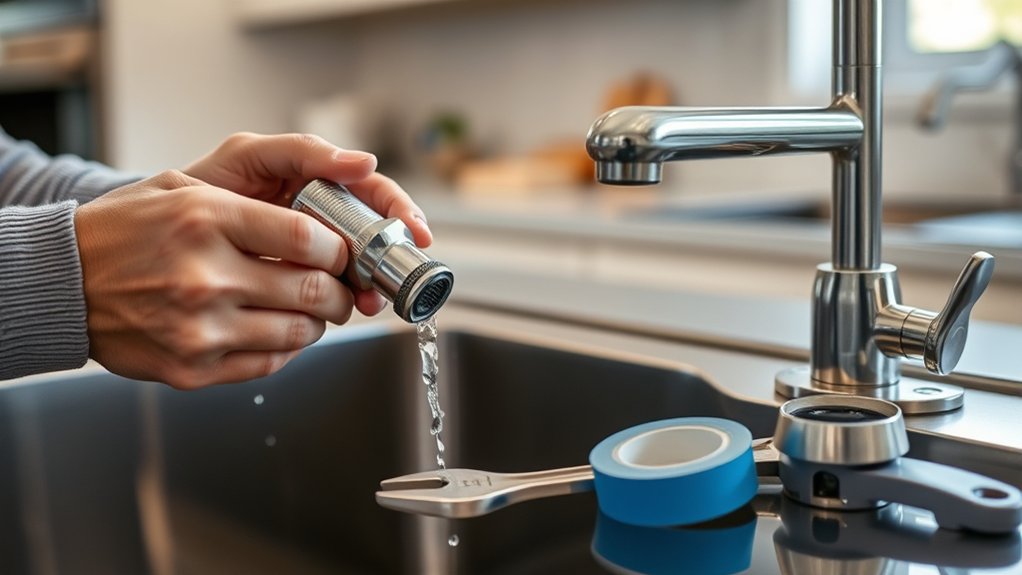
With the water off, disconnect the hot- and cold-water supply lines using an adjustable wrench, keeping a bucket underneath to catch residual water. Loosen the mounting nuts beneath the sink with a basin wrench or pliers.
If corrosion has seized them, apply penetrating oil and wait several minutes. Remove the old faucet by lifting it from the sink, then scrape away old putty or grime around the openings.
Wipe the surface clean so the replacement sits flat. Check the manufacturer’s instructions to identify the faucet mounting gasket, plate, or seal.
Place the gasket over the faucet shank, guide the assembly through the sink opening, and center the spout. From below, thread the mounting washer and nut onto the shank.
Tighten the nut until the faucet feels secure, but don’t overtighten and damage the sink or seal. Confirm that the handle moves freely and that the spout points correctly.
Keep the supply valves closed until the next step. Releasing water pressure prematurely can cause splashing.
Reconnect Supply Lines and Test for Leaks
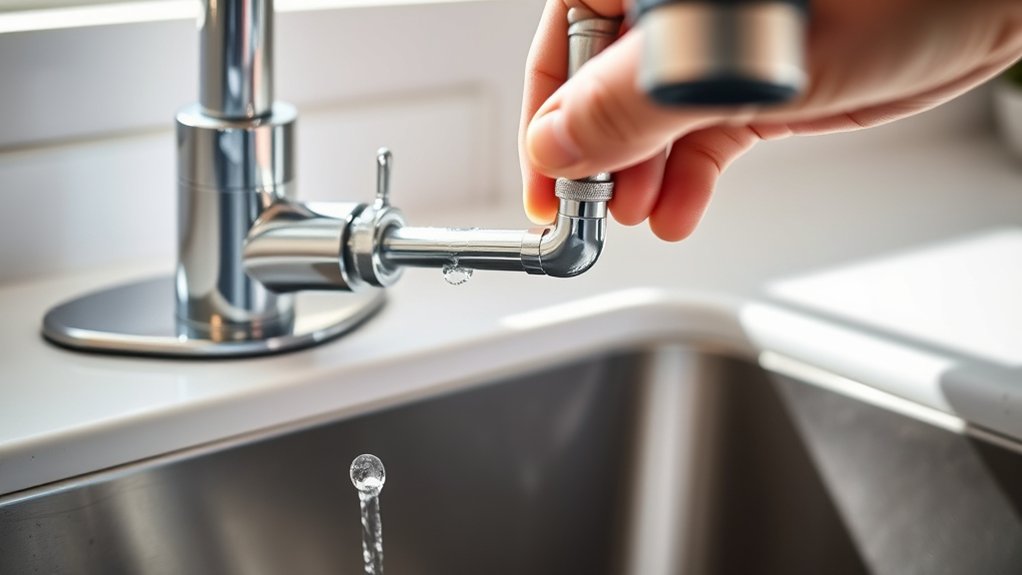
Once the faucet is secure, reconnect the hot- and cold-water supply lines to the corresponding faucet shanks, tightening the fittings by hand before giving them a slight turn with an adjustable wrench. Don’t overtighten, because excessive force can damage threads or crush washers.
Reconnect hot and cold supply lines by hand, then tighten slightly with a wrench—avoid overtightening to protect threads and washers.
If your faucet uses quick disconnects, push each connector onto its matching port until it clicks firmly into place. Reconnect the sprayer hose, if included, and confirm that it hangs freely beneath the sink.
Turn both shutoff valves slowly counterclockwise to restore water pressure. Open the faucet, allowing air and debris to clear from the lines.
Check every connection with a dry paper towel, including the valve stems, supply fittings, and sprayer connection. If you find moisture, shut off the water, tighten the fitting slightly, and test again.
Let the faucet run for a minute, then inspect underneath the sink once more. Wipe away residual water so you can spot any new leak immediately.
Frequently Asked Questions
How Often Should a Kitchen Faucet Be Replaced?
You should typically replace a kitchen faucet every 10 to 15 years, though its lifespan depends on quality, water conditions, usage, and maintenance. Replace it sooner if you notice persistent leaks, corrosion, poor water flow, loose handles, or repeated repairs.
Your replacement frequency may increase with hard water or heavy daily use. If repairs cost nearly as much as a new fixture, upgrading usually makes better financial sense and improves reliability.
Which Faucet Styles Work Best With Farmhouse Kitchen Sinks?
The best faucet styles for farmhouse sinks blend vintage aesthetics with modern functionality. You’ll usually find bridge faucets, gooseneck pull-down models, and single-handle designs especially effective.
Bridge faucets complement apron-front basins beautifully, while tall goosenecks give you space to wash large pots. Choose a finish that suits your décor, such as aged brass or matte black.
As the saying goes, beauty is in the eye of the beholder. Select what works best for you.
Can I Install a Water Filter Alongside My Kitchen Faucet?
Yes, you can install a water filter alongside your kitchen faucet, provided your sink has enough space and the plumbing supports it. Check faucet compatibility before choosing an under-sink system, countertop unit, or separate filtered-water tap.
During water filter installation, shut off the supply, connect the filter to the cold-water line, and secure every fitting. You’ll also need to replace cartridges regularly and follow the manufacturer’s instructions to prevent leaks and contamination.
How Do I Clean Mineral Buildup From My Faucet Aerator?
Start aerator cleaning by treating mineral buildup like tiny rocks clogging your faucet’s throat. Unscrew the aerator by hand or with pliers wrapped in a cloth. Soak it in white vinegar for 30–60 minutes, then scrub the screen with an old toothbrush.
Rinse every opening thoroughly and reassemble the parts. For stubborn deposits, repeat the soak or use a commercial descaler. Run water briefly to flush loosened debris.
What Faucet Features Help Conserve Water and Reduce Utility Bills?
Choose faucets with WaterSense certification, which limits flow to 1.5 gallons per minute without sacrificing everyday performance. Aerated or laminar-flow spouts maintain useful pressure while using less water.
Add touchless sensors or automatic shutoff features to prevent waste when you leave the tap running. These Eco friendly fixtures support practical Water saving tips, helping you lower hot-water demand, reduce energy use, and shrink utility bills.
Repair leaks promptly to preserve savings.
Conclusion
With your new kitchen faucet installed, you’ve completed a practical upgrade in just three steps. Turn on the water slowly, check every connection, and tighten anything that drips.
Wipe away moisture and keep your tools handy for a final adjustment. Don’t forget: “A stitch in time saves nine.”
By catching small leaks now, you’ll prevent costly cabinet damage later. Enjoy your refreshed sink and the confidence that comes from installing your kitchen faucet yourself.