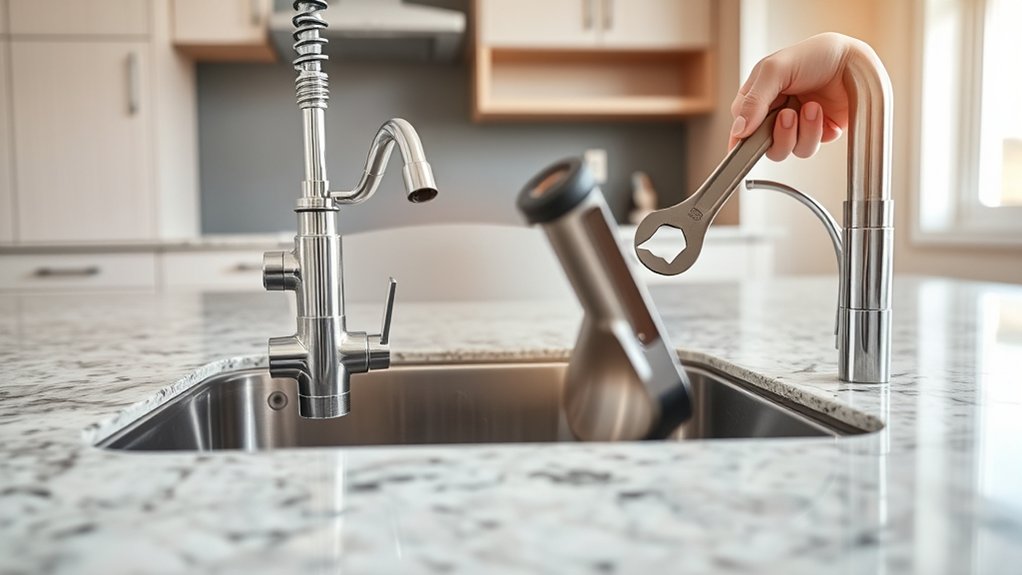
How to Remove a Kitchen Sink in 5 Steps
Removing a kitchen sink can feel intimidating, especially when hidden clips, plumbing connections, and stubborn caulk slow you down. You’re not alone—many people struggle with knowing where to start. The right tools and a clear process can make the job much easier.
To remove a kitchen sink, first shut off the hot and cold water, then open the faucet to release pressure. Place a bucket underneath and disconnect the supply lines, P-trap, drain, and dishwasher hose.
Support the sink while loosening clips or brackets. Cut through the caulk around its edges with a utility knife. Once everything’s detached, lift the sink straight up and set it on a protected surface.
Follow the detailed steps below for safer, easier removal.
Key Takeaways
- Shut off hot and cold water supplies, open the faucet to release pressure, and place a bucket beneath the sink.
- Disconnect supply lines, the P-trap, drain tailpiece, and dishwasher hose, then cap or cover open connections.
- Support the sink from below while gradually removing clips, brackets, rails, or other mounting hardware.
- Carefully cut through the caulk bead around the sink using a utility knife, protecting the countertop surface.
- Lift the sink straight upward, check for remaining caulk or fasteners, and place it gently on a protected surface.
Check the Sink Type and Shut Off Water
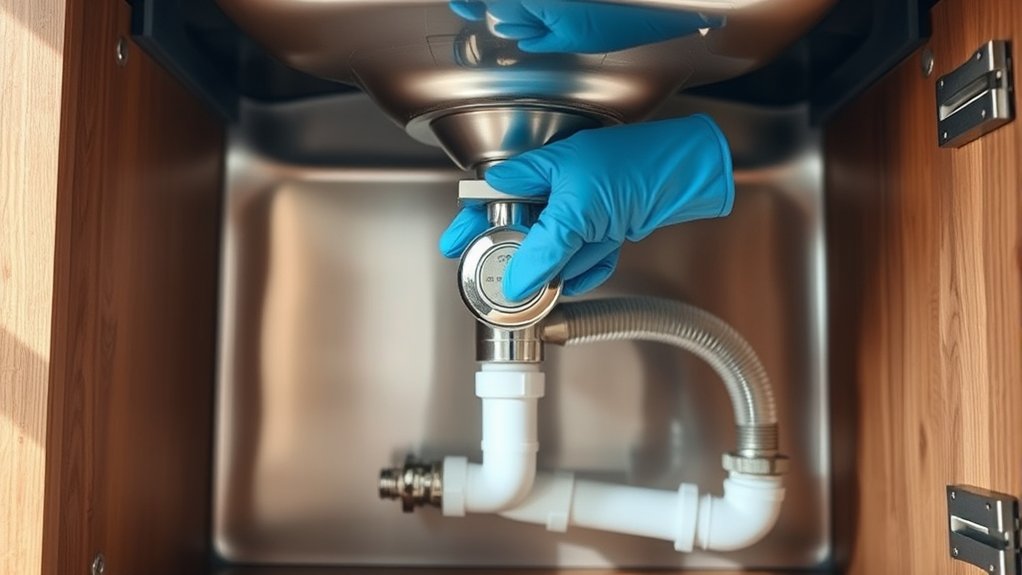
Before you begin, identify whether your kitchen sink is top-mount, undermount, or integrated, since each type attaches differently to the countertop. Check the countertop edges and cabinet interior to confirm the installation style. A top-mount sink rests on the counter, while an undermount sink sits beneath it. An integrated sink forms one continuous surface with the countertop, so removal may require professional help.
Next, locate the shutoff valves beneath the sink. Turn both the hot and cold valves clockwise until they stop. Open the faucet briefly to release pressure, then verify that no water flows. If a valve feels stuck, don’t force it; shut off the home’s main water supply instead.
Plan related work before removal. Drain cleaning may require access to the drain opening, while Faucet replacement may require extra clearance around the mounting area. Protect the cabinet floor with towels, keep tools nearby, and label the shutoff valves so you can restore service confidently.
Disconnect the Kitchen Sink Plumbing
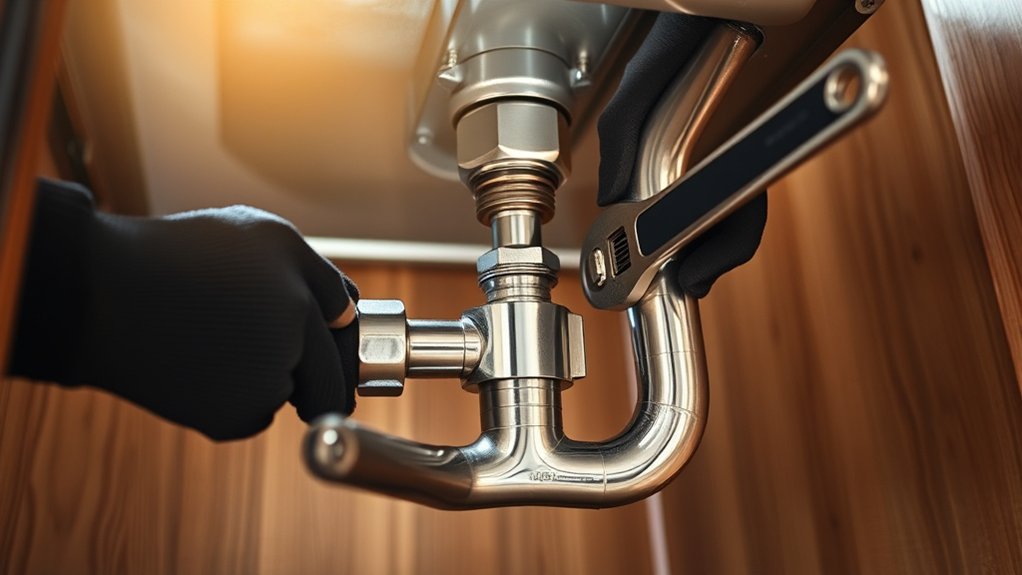
Place a bucket beneath the sink, then loosen the slip nuts connecting the P-trap to the drain tailpiece and wall pipe. Let trapped water drain completely, and empty the bucket as needed. Remove the P-trap, keeping its openings upright to limit spills. If the connections resist, use tongue-and-groove pliers, but don’t crush plastic fittings.
- Unscrew the drain tailpiece from the strainer basket, then lower it carefully.
- Disconnect the dishwasher hose from the disposer inlet or branch tailpiece, and plug the hose temporarily to prevent drips.
- Loosen the faucet supply-line nuts at the shutoff valves, then cap or cover the open valves.
Keep a flashlight nearby so you can inspect each connection. Photograph the plumbing before removal; the reference helps during appliance installation.
Check for clogs, corrosion, or worn washers while you work. This inspection supports future drainage troubleshooting.
Wipe moisture from the cabinet floor, label hoses if necessary, and confirm every plumbing line is free before proceeding. Don’t remove sink supports yet.
Remove Clips, Brackets, or Sink Supports
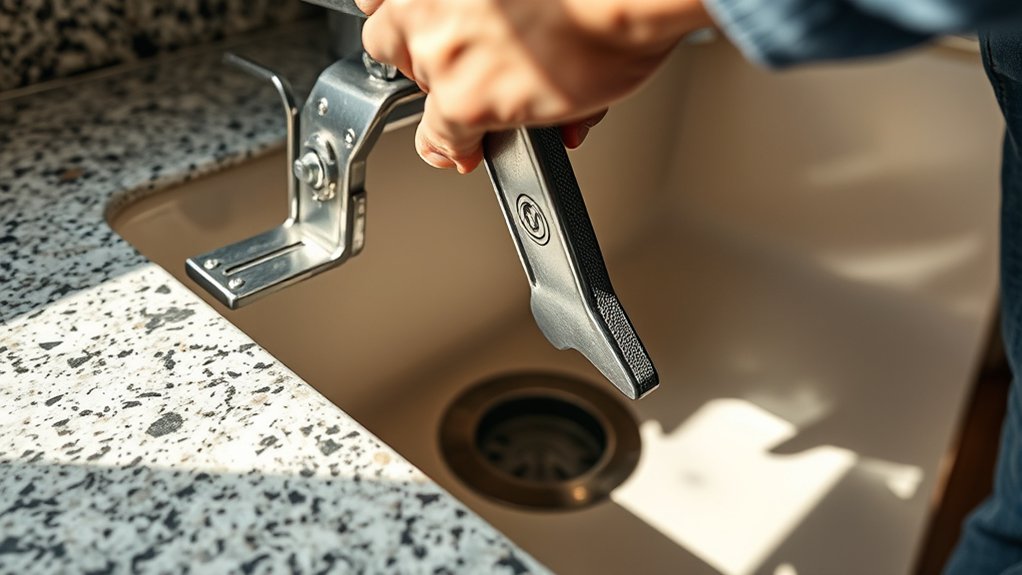
With the plumbing disconnected, locate the sink’s clips, brackets, or support rails beneath the countertop. Use a flashlight to inspect every attachment point, then identify the fastener type. Sink mounting hardware may include screws, nuts, clamps, or metal rails, so choose the matching screwdriver, wrench, or socket.
Inspect the sink’s clips, brackets, and support rails, then choose the correct tool for each fastener.
Support the basin from below before loosening anything. An undermount sink can drop suddenly when its supports release, while a top-mount sink may shift inside the opening. Ask someone to hold it steady if it feels heavy.
Loosen each fastener gradually, working around the sink instead of removing one side completely first. For under-sink brackets, turn the nuts counterclockwise and slide the brackets away from the rim. Place removed hardware in a container so you won’t lose it.
If a fastener spins, hold its matching nut or bolt head with pliers. Don’t pry against the countertop or force corroded hardware, because you could damage the cabinet or sink.
Cut the Caulk Around the Kitchen Sink
Once the mounting hardware is loose, cut through the caulk sealing the sink to the countertop. Wear gloves and protect your eyes before beginning sealant removal. Choose a sharp utility knife or specialized caulk tools, then keep the blade nearly flat against the counter to avoid scratches. Work slowly around the entire perimeter, applying steady, controlled pressure.
- Score the front edge first, slicing through the visible bead without digging into laminate, stone, or wood.
- Repeat along the back and sides, changing your angle carefully at corners where caulk often stays thick.
- Run a plastic scraper beneath the cut bead to separate stubborn sections and expose any missed spots.
If the sealant feels rubbery, make a second shallow pass rather than forcing the blade. Remove loose caulk with tweezers or a scraper, and wipe residue with an appropriate cleaner.
Check the full rim for uncut patches, but don’t pry or shift the sink yet. Keep the work area dry and clear for the next removal step.
Lift the Sink Out Without Damage
After confirming the caulk and mounting hardware are fully detached, support the sink from below and lift it straight up with both hands. Keep your back straight, bend your knees, and ask someone to help if the sink feels heavy.
Wear gloves and safety glasses as essential safety precautions, since sharp edges, adhesive residue, or hidden clips may cause injuries. Don’t twist or rock the basin aggressively; that movement can damage the countertop, plumbing connections, or surrounding cabinets.
If the sink sticks, stop lifting and inspect the rim for remaining caulk or fasteners. Use a plastic putty knife, scraper, or other suitable sink removal tools to release stubborn sections without gouging the counter.
Once the basin clears the opening, carry it to a protected surface and set it down gently. Cover the countertop edge with cardboard or a towel while you work to prevent chips, scratches, and accidental impact damage during removal.
Keep disconnected drain parts clear beneath the cabinet.
Frequently Asked Questions
Can I Reuse My Kitchen Sink After Removing It?
Yes, you can usually reuse your kitchen sink after removing it, provided it isn’t cracked, badly corroded, or warped. Inspect the basin, rim, mounting clips, and drain openings, then clean and disinfect every surface.
You may need new seals, clips, or a faucet before reinstalling it. Consider sink refurbishment if it looks worn.
If reuse isn’t practical, investigate recycling options through a metal recycler or local waste facility for responsible disposal.
What Tools Are Needed to Remove a Kitchen Sink?
Like Odysseus preparing for a careful voyage, you’ll need the right tools before removing a kitchen sink: an adjustable wrench, basin wrench, channel-lock pliers, screwdrivers, utility knife, bucket, towels, flashlight, and penetrating oil.
For plumbing disconnection, keep a pipe cutter and plumber’s tape nearby. Sink support removal may require a putty knife, caulk remover, pry bar, and drill.
Wear gloves and eye protection, and label disconnected lines before lifting.
How Much Does Professional Kitchen Sink Removal Typically Cost?
You’ll typically pay $150–$500 for professional kitchen sink removal, depending on your location, sink type, accessibility, and whether plumbing disconnection requires extra work.
For an accurate estimate, request quotes from several service providers. Ask whether labor, disposal, permits, and repairs are included.
A straightforward removal may cost less, while built-in, farmhouse, or heavily sealed sinks can increase the price. Confirm the total before scheduling the job.
How Should I Dispose of an Old Kitchen Sink?
You should check local recycling rules before arranging sink disposal. First, complete the plumbing disconnection, then remove faucets, drains, clips, and attached hardware.
Clean the sink and separate recyclable metal, such as stainless steel or cast iron, from nonrecyclable materials. Contact your municipality, metal recycler, or transfer station for drop-off instructions.
If the sink remains usable, donate it instead. Don’t place heavy fixtures in regular curbside trash unless your provider approves.
Can Removing a Sink Damage My Countertop?
Yes, removing a sink can damage your countertop, especially if old adhesive, clips, or caulk bonds tightly. About 70% of countertop damage during sink replacement comes from rushed removal or inadequate support.
Prevent countertop damage by cutting through sealant carefully, loosening fasteners gradually, and supporting the sink underneath.
If chips or cracks appear, repair strategies include color-matched epoxy, professional resurfacing, or replacement of the affected section. Never pry forcefully against stone surfaces.
Conclusion
Removing a kitchen sink is straightforward when you work methodically. First, identify the sink type and shut off the water. Then disconnect the plumbing, remove the clips or supports, and carefully cut through the caulk.
With the connections and seal released, lift the sink out without damaging the countertop. Take your time, protect the surrounding surfaces, and keep a towel nearby for spills.
Follow these steps, and you’ll have the job of removing a kitchen sink in the bag.