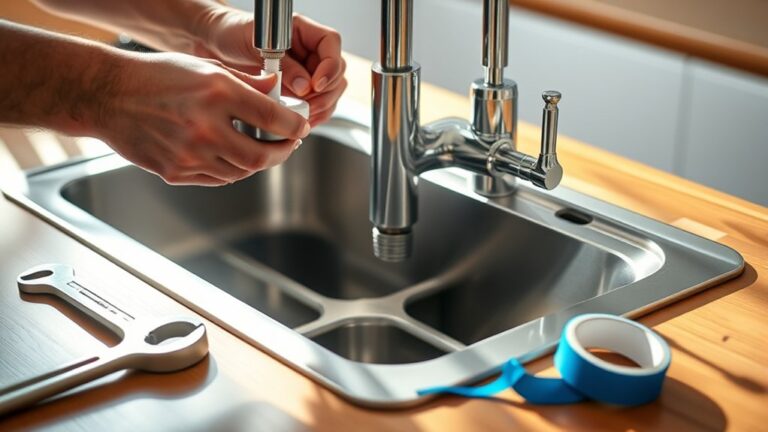
How to Remove a Kitchen Faucet in 7 Steps
Removing a kitchen faucet can feel intimidating, especially when tight spaces and stubborn mounting nuts get in the way. You’re not alone—many people struggle with this messy project, but the right tools and steps make it much easier.
This guide walks you through how to remove a kitchen faucet safely before choosing and installing a replacement.
Gather a wrench, basin wrench, bucket, towels, screwdriver, and flashlight, then clear the cabinet and protect it with a towel. Turn off both shutoff valves and open the faucet to release pressure.
Disconnect the supply lines while supporting the valves. Remove the mounting nuts, washers, and brackets, then lift the old faucet straight up.
Scrape away sealant and debris, then clean and inspect the opening for damage. Continue for helpful details before installing your replacement faucet.
Key Takeaways
- Clear the cabinet, place a bucket and towels underneath, and gather a wrench, basin wrench, screwdriver, and flashlight.
- Shut off both water-supply valves, open the faucet to release pressure, and turn off the main supply if necessary.
- Disconnect the hot- and cold-water supply lines while supporting the shutoff valves to prevent twisting.
- Loosen and remove the faucet’s mounting nuts, washers, retaining plates, clips, and connected hoses.
- Lift out the faucet, then clean and inspect the sink opening for sealant, buildup, cracks, or damage.
Gather Tools and Clear the Space
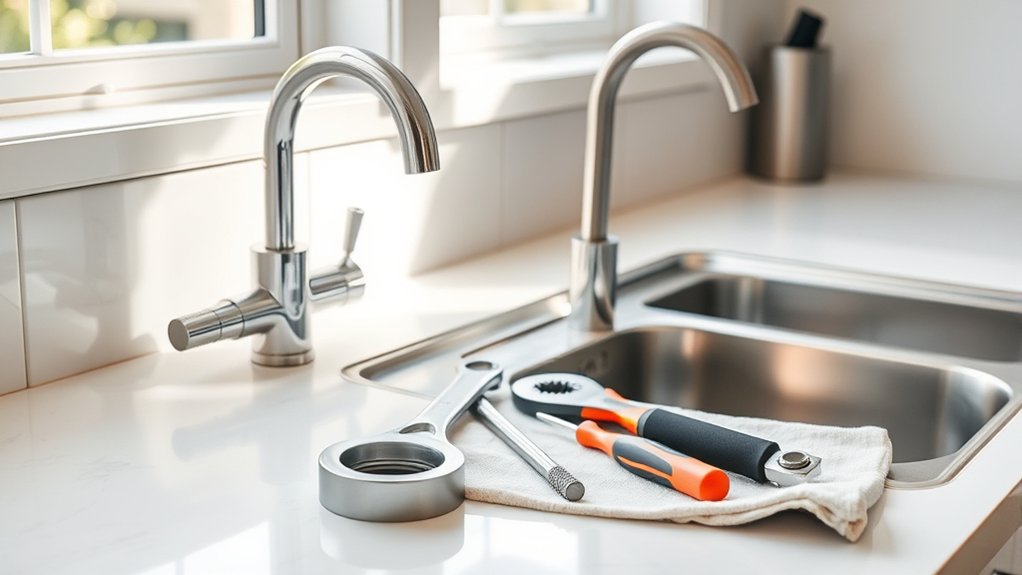
Before you begin, gather an adjustable wrench, basin wrench, bucket, towels, screwdriver, and penetrating oil. These are the essential Tools needed for a smooth faucet removal. Add a flashlight so you can see connections beneath the sink, and keep a small container nearby for loose nuts, washers, and clips.
Create a Workspace cleared of cleaning supplies, dishes, stored items, and anything else beneath the cabinet. Remove drawers if they block access, and place their contents somewhere secure.
Spread a towel across the cabinet floor to protect the surface and give you a cleaner place to work. Set the bucket beneath the faucet connections to catch residual water during later steps.
Position your tools within easy reach, but leave enough room to kneel or lie comfortably while accessing the mounting hardware. Wear gloves if sharp edges or accumulated grime concern you.
Finally, turn on the cabinet light or use your flashlight to inspect the area before you start.
Shut Off the Faucet’s Water Supply
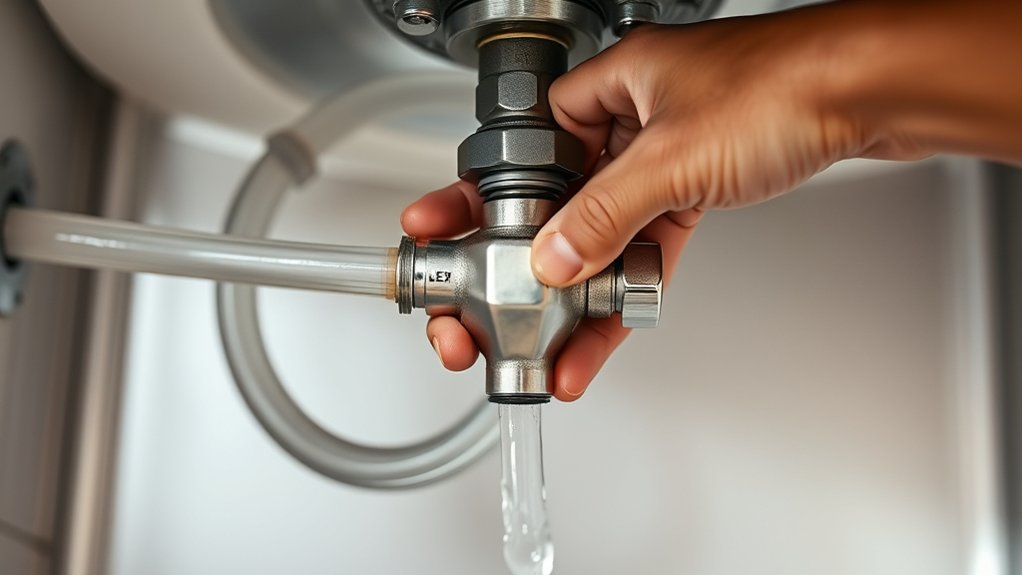
Turn off the hot- and cold-water shutoff valves beneath the sink by turning each handle clockwise until it stops. If you find lever-style valves, rotate each lever a quarter-turn until it sits perpendicular to the pipe. Don’t force a stuck valve; use a cloth for grip and stop if the fitting or pipe begins to twist.
> Shut off both sink valves, turning handles clockwise or levers perpendicular to the pipes; never force a stuck fitting.
Open the faucet’s hot and cold handles afterward to release remaining Water pressure. Let the water run until the flow stops, then close the handles.
Check beneath the sink for drips around both shutoff valves and the faucet base. If water continues flowing, shut off the home’s main supply before proceeding.
Take a moment to inspect the valves for corrosion or damage, since you may need replacements during reinstallation. If your Faucet warranty includes professional removal or plumbing service, review its terms before doing further work.
Keep a bucket and towel nearby for residual water, but don’t disconnect any supply lines yet.
Disconnect the Kitchen Faucet Supply Lines
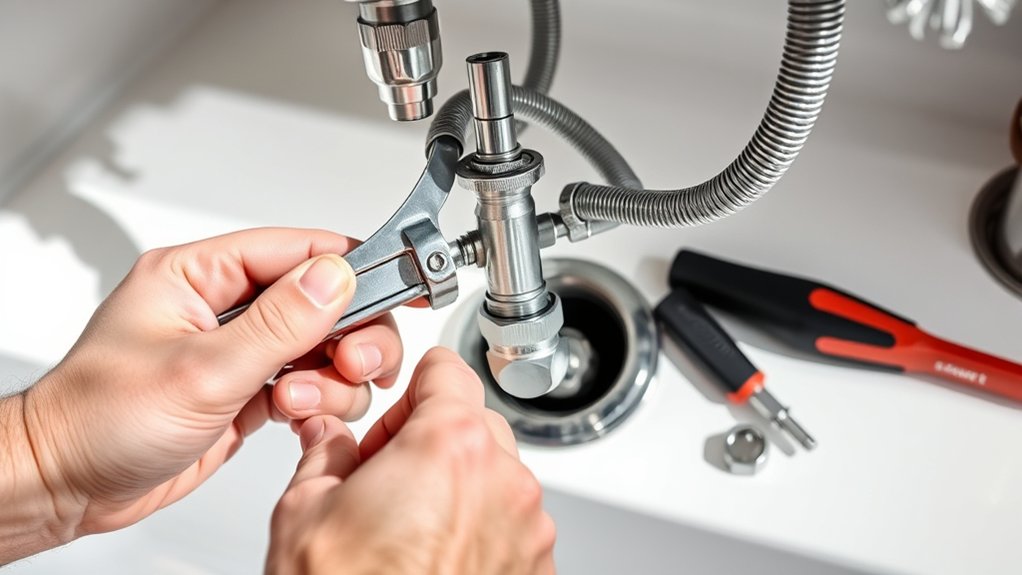
With the water supply off, place a bucket beneath the connections and loosen each faucet supply line where it attaches to the shutoff valve, turning the nut counterclockwise with an adjustable wrench. Support the valve with your other hand so you don’t twist the plumbing inside the wall.
Once the nut releases, finish removing it by hand, then guide the line into the bucket. Repeat the process for the second supply line.
If a connection sticks, apply penetrating oil and wait several minutes before trying again. Don’t force a corroded valve, because you could damage it or cause a leak.
Use a cloth to wipe away water and inspect each line for cracks, kinks, or corrosion. Replace questionable lines during reinstallation, choosing a compatible length and faucet material.
These installation tips help prevent leaks: keep the bucket in place, protect cabinet surfaces, and cap open shutoff valves temporarily to keep debris out while you continue.
Remove the Faucet Mounting Nuts
Once the supply lines are disconnected, reach beneath the sink and locate the nuts securing the faucet to the countertop. You’ll usually find one or two threaded mounting studs with metal or plastic nuts.
Locate the mounting nuts beneath the sink that secure the faucet to the countertop.
Shine a flashlight underneath so you can see the hardware clearly.
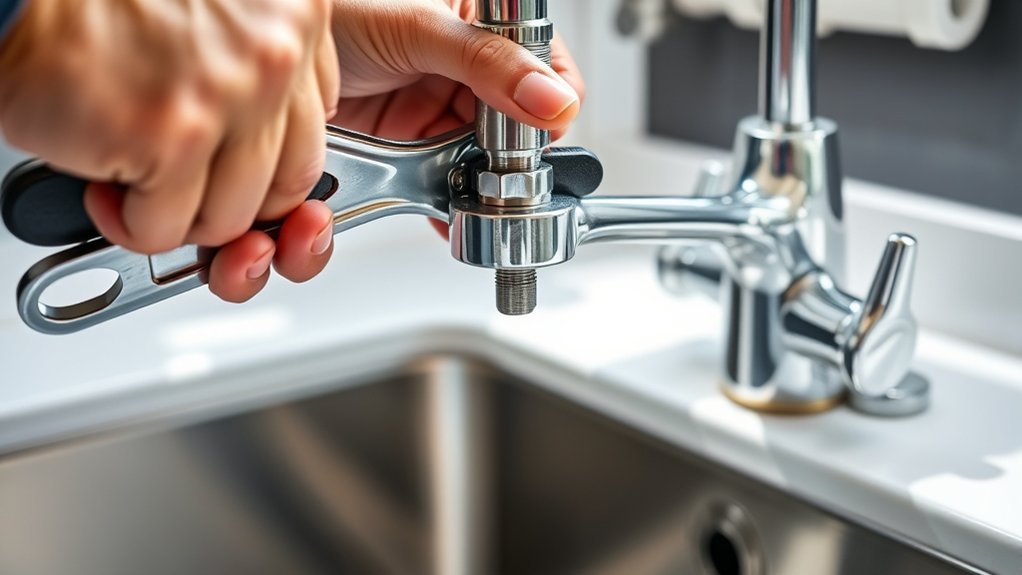
For reliable faucet mounting, loosen each nut counterclockwise with a basin wrench, adjustable wrench, or deep socket. Hold the faucet studs steady if they turn with the nuts.
Apply penetrating oil to corroded threads, then wait several minutes before trying again. Protect your eyes from falling rust and debris.
- Support your wrist against the cabinet for better leverage.
- Place a small container below the work area for washers and nuts.
- Label parts or keep them together if you’ll reuse the sink hardware.
Continue the nut removal process until every fastener spins freely by hand. Remove the nuts, washers, and retaining plates carefully, keeping the pieces organized.
Don’t force stuck hardware, since excessive pressure can damage the countertop or sink.
Lift Out the Old Kitchen Faucet
After removing all mounting hardware, pull the faucet straight up through the sink or countertop opening. Support the faucet assembly with both hands so its weight doesn’t strain the connected supply lines or sprayer hose.
If it feels stuck, don’t force it. Check underneath for a missed clip, bracket, retaining plate, or hose connection.
Before lifting, confirm that both shutoff valves remain closed. Briefly open the faucet handle to release any trapped water pressure, then close it again.
Keep a shallow pan or towel beneath the connections to catch residual water as you disconnect the lines. Guide each hose and tube through the opening carefully, avoiding sharp bends that could snag on the countertop or sink edge.
Once the faucet clears the opening, set it in a bucket or on a towel. Cap or secure the loose supply lines temporarily to prevent drips.
Carry the old unit away without scraping the surrounding surface or dropping attached hardware. Keep small parts together for disposal or recycling.
Clean and Inspect the Sink Opening
Inspect the exposed sink or countertop opening for old plumber’s putty, sealant, mineral buildup, and debris. Use a plastic scraper to loosen residue without scratching stainless steel, porcelain, or stone.
Wipe the area with a damp cloth, then dry it completely so you can see its condition clearly.
Check the rim for cracks, chips, corrosion, or warped surfaces that could have contributed to leaks. Don’t force stubborn buildup with a metal tool; apply a manufacturer-approved cleaner and follow its directions.
Keep removed debris out of the drain by covering it temporarily.
- Scrape gently around the entire opening.
- Wipe away residue with a clean cloth.
- Inspect the underside edge with a flashlight.
Measure the sink hole size with a tape measure or caliper, recording the diameter for reference when evaluating the removed faucet.
Also examine the faucet base and mounting hardware for hardened deposits. You can note where faucet lubrication may be needed later, but don’t begin installation preparation yet.
Dispose of old sealant according to local guidelines.
Check the Sink and Prepare for Installation
Before you prepare for installation, confirm that the sink opening is clean, dry, and free of cracks, chips, corrosion, or warping. Wipe away mineral deposits, old plumber’s putty, and grime with a nonabrasive cleaner.
Before installing, ensure the sink opening is clean, dry, and free of cracks, chips, corrosion, and warping.
If you find damage, repair or replace the sink before installing another faucet.
Next, check the number and spacing of the mounting holes. Compare those measurements with the new faucet’s specifications to verify faucet compatibility.
A single-hole faucet won’t fit a spread sink without the proper adapter plate, while a three-hole model may require an escutcheon on a single-hole sink.
Confirm that the faucet’s supply lines can reach your shutoff valves and that the spout clears the backsplash and basin.
Protect decorative finishes by placing a towel over the sink while you work. Gather the mounting hardware, adjustable wrench, basin wrench, plumber’s putty or sealant, and a flashlight.
Keep the instructions nearby, and don’t force any connection during installation.
Frequently Asked Questions
How Long Does It Typically Take to Remove a Kitchen Faucet?
You’ll typically need 30 minutes to two hours for faucet removal. If you’ve got easy access beneath the sink, basic tools, and no corrosion, you can often finish within an hour.
Older fixtures, tight connections, rust, or unexpected leaks may extend the job. Before starting, shut off the water and clear the cabinet.
If you’re inexperienced with DIY plumbing, allow extra time or consider hiring a professional.
Can I Remove a Kitchen Faucet Without Professional Plumbing Experience?
Yes, you can remove a kitchen faucet without professional plumbing experience if you work carefully and follow basic safety steps. Shut off the water supply, open the faucet to release pressure, and place a bucket beneath the connections.
Use adjustable wrenches to loosen the nuts, then lift the faucet out. DIY plumbing becomes easier when you label parts and check faucet compatibility before installing a replacement. Stop if connections resist or leak.
What Should I Do if the Faucet Is Stuck or Corroded?
Treat the stuck faucet like a rusted gate: apply penetrating oil to corroded threads and let it soak before turning anything. Protect nearby surfaces, then use an adjustable wrench with steady pressure; don’t force it, or you may damage the supply lines.
For stuck handle removal, warm the area gently and use a handle puller if needed. Practice corrosion prevention by cleaning buildup, drying connections, and applying plumber’s grease during reassembly.
Should I Replace the Faucet Hoses When Removing the Old Faucet?
Yes, you should usually replace the faucet hoses when removing the old faucet, especially if they’re cracked, stiff, corroded, leaking, or more than several years old. Fresh supply lines reduce leak risks and make installation more reliable.
During faucet hose replacement, choose correctly sized, certified lines with matching connectors. Complete a plumbing parts inspection, checking shutoff valves, washers, and adapters. Don’t reuse damaged components, and tighten connections firmly without overtightening them.
How Can I Dispose of an Old Kitchen Faucet Responsibly?
When it’s time to dispose of an old kitchen faucet, remember: waste not, want not. First, check local Recycling options, such as a scrap-metal facility or municipal recycling program.
Remove attached hoses, clean the faucet, and separate plastic components if your local rules allow. For other Disposal methods, donate a usable faucet to a reuse center or list it online.
Never leave it beside regular trash unless your waste provider permits bulky metal items.
Conclusion
With the water off, the lines disconnected, and the mounting nuts removed, you can lift out your old kitchen faucet with confidence. Clear the opening, clean the sink, and check for damage before installing anything new.
By following each step carefully—shutting off, disconnecting, loosening, lifting, cleaning, and inspecting—you’ll make the replacement easier and prevent avoidable leaks. Take your time, keep your tools organized, and you’ll be ready to install your new faucet safely and securely. Removing a kitchen faucet properly helps ensure a smooth, leak-free installation.