How to Refinish Kitchen Cabinets in 3 Steps
Tired of outdated cabinets making your kitchen feel less inviting? You’re not alone—many homeowners struggle to refresh their space without the cost and disruption of a full remodel. Learning how to refinish kitchen cabinets can help you achieve a professional-looking update with less time and expense.
Refinish kitchen cabinets in three steps. First, remove the doors, drawers, and hardware, label each piece, then degrease, repair, and sand every surface smooth.
Second, apply a high-adhesion primer and lightly sand rough spots after it dries.
Third, paint thin, even coats, sanding lightly between coats, and let everything cure fully. Reinstall the doors, drawers, and hardware, then inspect for drips or missed areas.
The detailed process below will help you achieve a durable, professional-looking finish.
Key Takeaways
- Remove hardware, clean cabinets thoroughly, and let every surface dry completely.
- Repair damage, then sand smooth and remove all dust before priming.
- Apply a high-adhesion primer evenly to create a durable base.
- Paint thin, even coats, lightly sanding between coats and allowing proper drying time.
- Let the finish cure fully before reinstalling doors, drawers, shelves, and hardware.
How to Refinish Kitchen Cabinets: Clean and Prepare

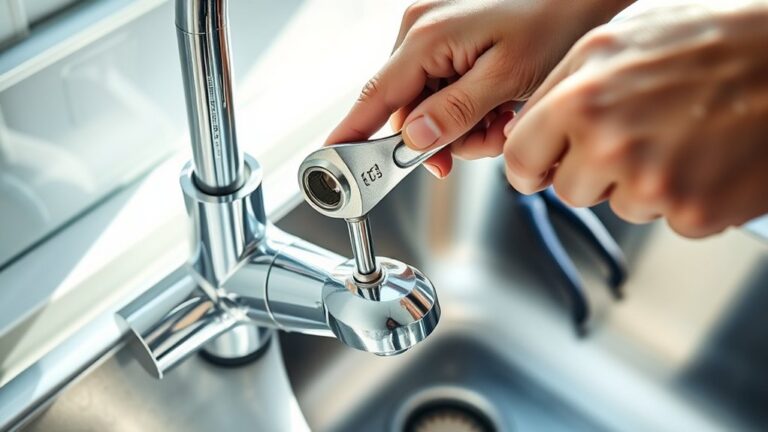
Before refinishing your kitchen cabinets, remove the doors, drawers, and hardware, labeling each piece so reassembly is simple. Place screws and hinges in separate bags, and photograph their locations for reference.
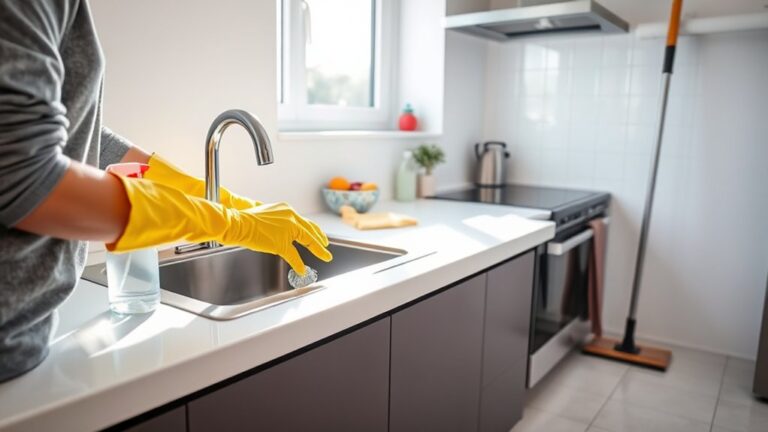
Inspect every cabinet component, then wipe away grease, cooking residue, and dust with a degreasing cleaner and a clean cloth. Pay special attention to edges, corners, and areas around handles, where buildup often collects.
Inspect each cabinet component and remove grease, residue, and dust, paying close attention to edges, corners, and handle areas.
Rinse surfaces lightly if the cleaner requires it, then let everything dry completely. Clean the cabinet hardware separately, or replace it if you want a refreshed look.
Protect countertops, floors, appliances, and nearby walls with drop cloths and painter’s tape. Before you begin the finish, consider your paint color choices alongside your kitchen’s lighting, flooring, and existing fixtures.
Test small swatches near the cabinets at different times of day. Keep doors and drawers organized throughout preparation, so you’ll return each piece to its original position efficiently.
Repair, Sand, and Prime Cabinet Surfaces

Once the cabinets are clean and fully dry, repair dents, chips, cracks, and loose veneer with the appropriate wood filler or adhesive. Let each repair cure according to the product instructions, then scrape away excess material with a putty knife.
Check doors, drawers, and frames for remaining damage before sanding.
Remove cabinet hardware, or mask anything you’re leaving in place. Sand every surface with medium-grit sandpaper to smooth repairs and remove the old finish.
Follow with fine-grit paper, working in the direction of the wood grain. Use a sanding sponge for profiles, corners, and detailed edges. Don’t round over sharp corners or gouge the wood.
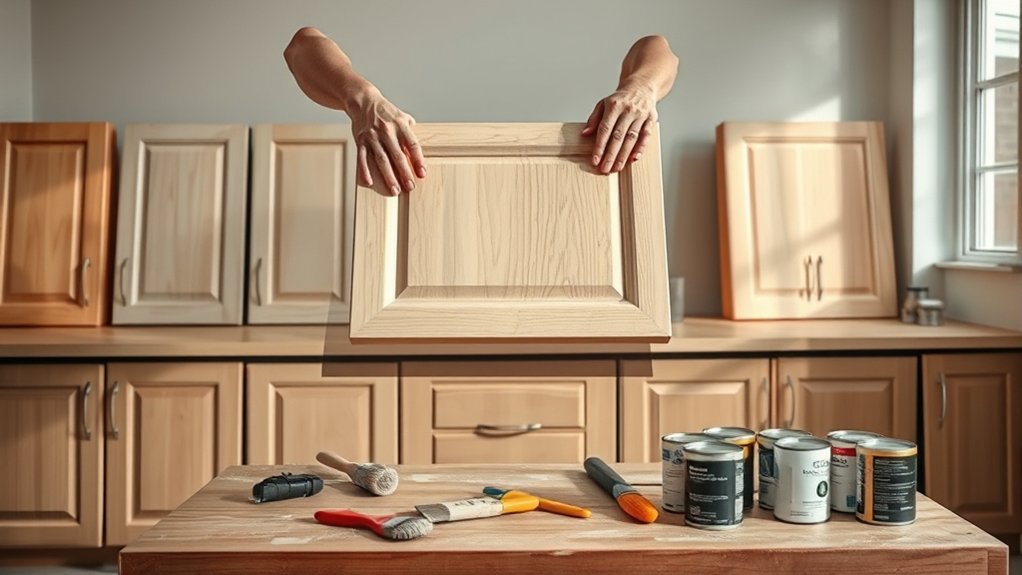
Vacuum thoroughly, then wipe surfaces with a tack cloth to remove dust. Apply a high-adhesion primer suited to your cabinet material, using a quality brush or small roller.
Cover edges and recessed areas evenly, but avoid heavy buildup. Your primer creates a uniform base and helps your chosen paint colors adhere consistently. Allow it to dry fully before lightly sanding rough spots.
Paint, Cure, and Reassemble the Cabinets
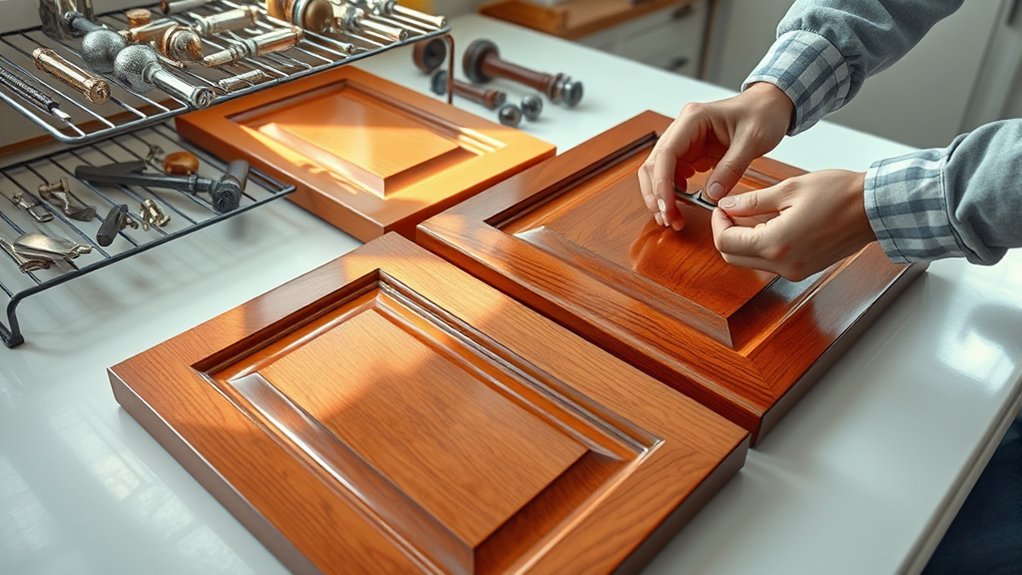
After the primer has dried, apply a thin, even coat of cabinet paint with a quality brush or small foam roller. Your color selection should complement the counters, backsplash, and flooring. Work in smooth strokes, avoid overloading the tool, and let each coat dry according to the manufacturer’s directions.
Lightly sand between coats if the finish feels rough, then remove dust before applying the next coat.
- Paint doors, drawer fronts, and cabinet boxes separately for cleaner coverage.
- Keep the doors flat while they dry, and use painter’s pyramids to prevent sticking.
- Allow the final coat to cure fully. Don’t reinstall parts while the surface still feels soft.
- Complete hardware replacement after curing, using new knobs, pulls, or hinges as needed.
Mark each door and hinge position before reassembly so everything returns to its original location. Tighten screws gently to avoid stripping them.
Finally, reinstall drawers, doors, and shelves. Then inspect the finish under bright light for missed spots or drips.
Frequently Asked Questions
How Much Does It Cost to Refinish Kitchen Cabinets Professionally?
You’ll typically pay $1,500–$6,000 to have kitchen cabinets professionally refinished, depending on cabinet size, materials, labor rates, and your location. Small projects may cost less, while extensive work can exceed $8,000.
Cost comparison helps you weigh refinishing against replacement, which often costs substantially more. For smart budget considerations, request several detailed quotes, confirm whether preparation and hardware are included, and ask about warranties, timelines, and unexpected repair charges before choosing a contractor.
Can I Refinish Cabinets Without Removing the Doors?
Yes, you can refinish cabinets without removing the doors, but you’ll trade convenience for precision. Cabinet painting becomes a tightrope walk: you’ll need to protect hinges, hardware, counters, and surrounding surfaces from drips and dust.
Clean, sand, and prime every exposed area, then apply thin coats with careful brushwork. However, door removal usually delivers smoother edges and better access.
If you skip it, keep doors open until the finish cures fully.
How Long Does Cabinet Refinishing Typically Take?
Cabinet refinishing typically takes three to five days, though your timeline depends on cabinet size, condition, drying time, and chosen refinishing techniques.
You’ll spend one day cleaning, sanding, and repairing surfaces; another applying primer and paint or stain; then additional time allowing each coat to cure.
Rushing can reduce cabinet durability, so give doors and drawers adequate drying time before reinstalling hardware and resuming normal kitchen use.
Should I Replace Cabinet Hardware Before or After Refinishing?
Replace your cabinet hardware after refinishing, once the paint or stain has fully cured. This approach keeps knobs and pulls clean, prevents accidental scratches, and lets you align each piece accurately over the refreshed surfaces.
Your hardware upgrade can also include updated screws or backplates if existing holes need coverage. For best results, account for timing considerations: wait several days, follow the finish manufacturer’s guidance, and avoid tightening hardware too aggressively during installation.
Can Laminate or Thermofoil Cabinets Be Refinished Successfully?
Yes, you can refinish laminate or thermofoil cabinets, but success depends on their condition and preparation. Clean and lightly sand the surfaces, repair peeling edges, and apply a bonding primer before painting.
Laminate durability helps when the surface remains firmly attached, while damaged areas may continue peeling. Thermofoil options include painting or replacing doors, though heat can cause future lifting.
Use cabinet-grade paint, avoid rushing coats, and handle doors gently while they cure.
Conclusion
Refinishing kitchen cabinets takes patience, but the results are worth the effort. Once you’ve cleaned, repaired, sanded, primed, and painted each surface, let everything cure fully before reassembling the doors and hardware.
Don’t rush the final step—slow and steady wins the race. With careful preparation and a consistent finish, you’ll give your kitchen a fresh, updated look without replacing the cabinets.
Step back, admire your work, and enjoy the transformation you created. With these steps for how to refinish kitchen cabinets, your kitchen can look refreshed and beautifully updated.