How to Unclog a Kitchen Sink Drain in 5 Steps
A clogged kitchen sink can bring your whole routine to a stop, especially when water backs up while you’re cooking or cleaning. You’re not alone—many people struggle with stubborn kitchen sink drain clogs, but the right steps can often clear the problem quickly.
To unclog a kitchen sink drain in five steps, stop using the sink and gather gloves, towels, a bucket, and a plunger. Remove the stopper, clear visible debris, and scoop out standing water.
Plunge firmly while covering the overflow opening.
If the clog remains, remove and clean the P-trap, then reassemble it securely. Flush the drain with hot water and check for leaks.
Keep going for practical prevention tips that’ll help stop future clogs.
Key Takeaways
- Gather gloves, a bucket, towels, a plunger, and basic tools; avoid using chemical drain cleaners.
- Remove the stopper, clear visible debris, and scoop out standing water without pushing debris deeper.
- Cover the drain with a cup plunger and pump firmly 10–15 times, covering the overflow opening.
- If needed, remove the P-trap, empty its contents, clean it thoroughly, and reinstall it securely.
- Flush with hot water, check for leaks and drainage, and prevent future clogs by removing food debris.
Gather Tools and Stop Using the Sink
Before you begin, stop using the sink so more water and debris don’t enter the drain. Tell everyone in your household not to run the faucet, operate the garbage disposal, or load the dishwasher if it shares the same drain line.
> Stop using the sink and alert household members to avoid shared fixtures until the blockage is resolved.
Limiting sink usage helps prevent additional backup while you work.
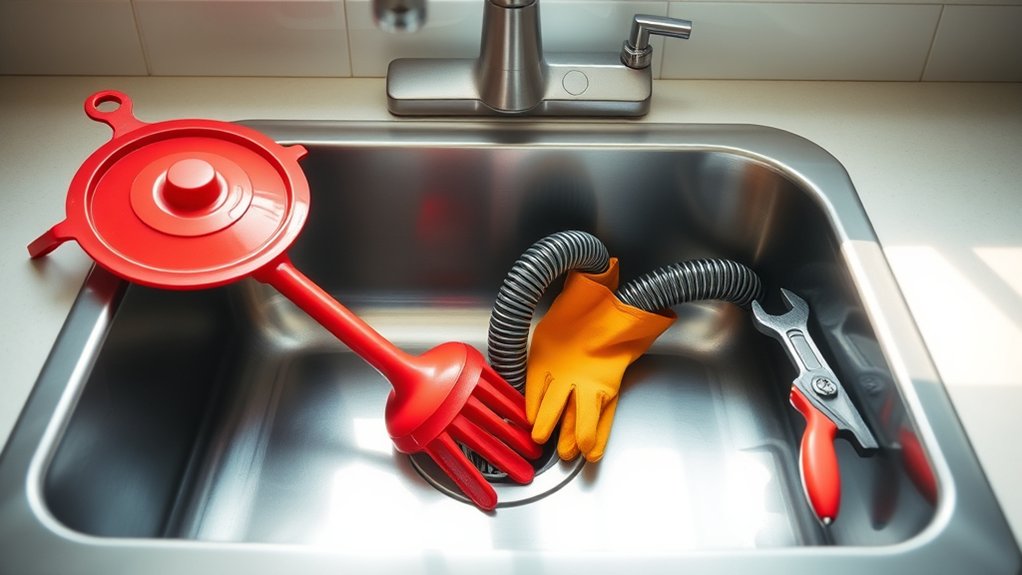
Prepare a tools checklist before you start. Gather rubber gloves, a bucket, old towels, a flashlight, and a sink plunger.
Keep an adjustable wrench and slip-joint pliers nearby in case you need to loosen a connection later. You may also want a drain strainer or stopper, depending on your sink design.
Choose tools that fit securely and inspect them for damage.
Place the bucket and towels within reach, but don’t remove any drain parts yet. Put on gloves to protect your hands from dirty water and sharp debris.
Once you’ve assembled everything, keep the workspace clear and make sure you have enough light to work safely. Avoid chemical drain cleaners, which can create hazardous splashes during repairs.
Clear the Drain Opening and Standing Water
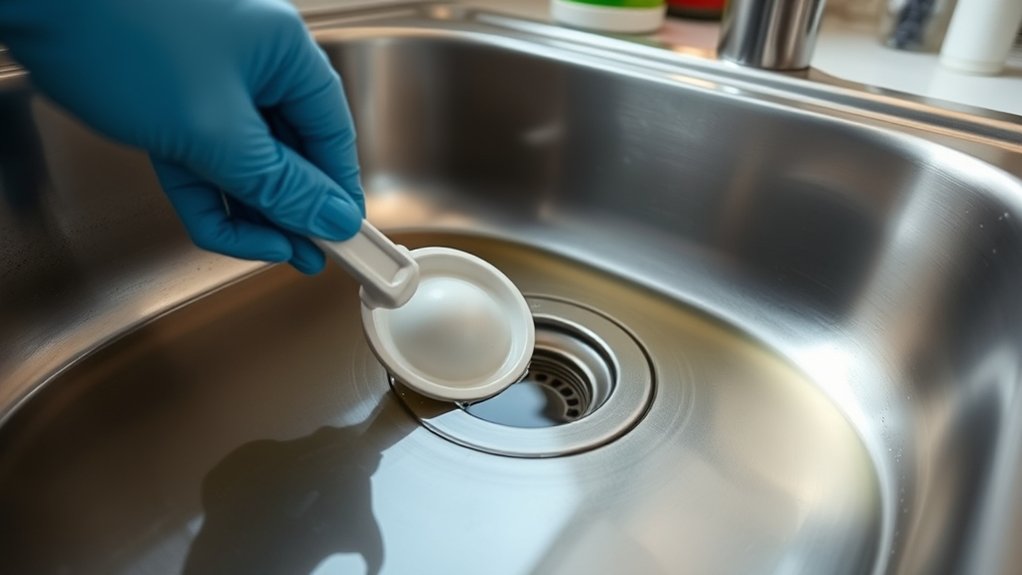
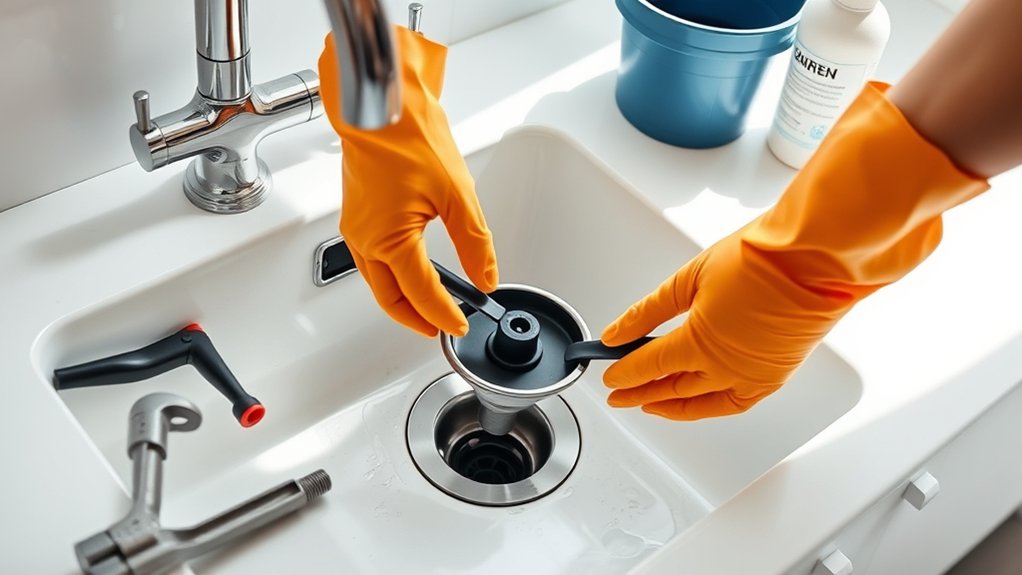
Remove the stopper or drain strainer, then clear away visible food, grease, and debris with a gloved hand or paper towel. Place the debris in the trash rather than washing it farther into the pipes. If the stopper has buildup, scrub it with hot water and dish soap, then rinse it before setting it aside.
Scoop standing water from the basin with a cup or small container, and pour it into a bucket. Leave only a shallow layer if needed for later Drain cleaning steps.
Wipe the drain opening and surrounding sink surface to remove slippery residue, but don’t push debris into the pipe. Check the opening with a flashlight for objects you can safely lift out.
Avoid using chemical cleaner, which can damage plumbing or create hazardous fumes during subsequent work. Once the opening is clear and excess water is removed, confirm that you can access the drain comfortably.
This preparation improves Water flow and keeps the next step cleaner and safer.
Plunge the Kitchen Sink Drain
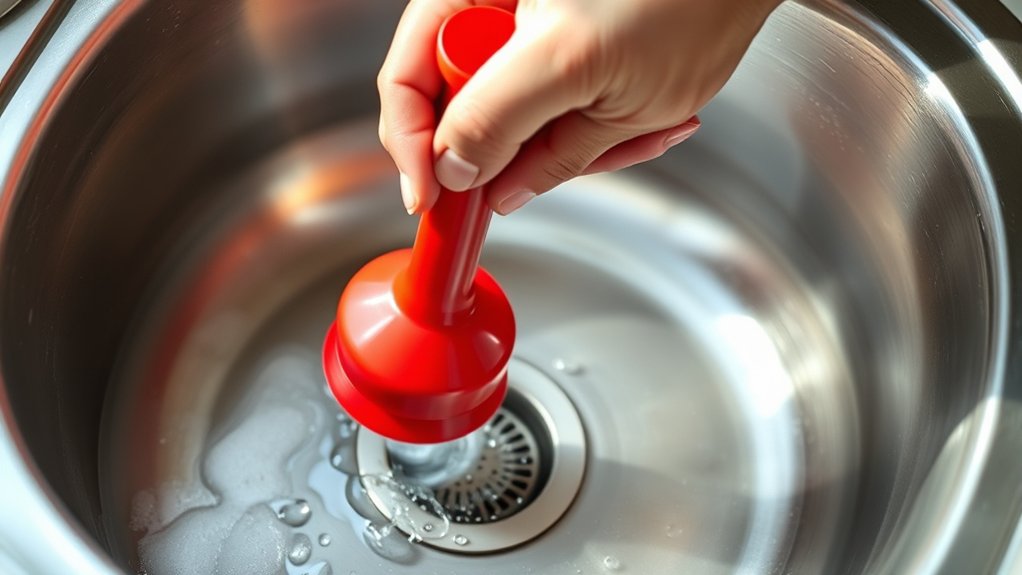
With the drain opening clear and most standing water removed, place a cup-style plunger over it to create a tight seal. Add enough water to cover the plunger’s rim if needed. Hold the handle upright, then pump firmly 10–15 times without breaking the seal. Finish with a quick upward pull to release the clog.
- Run the faucet briefly and watch whether water drains steadily.
- Repeat several plunging cycles if the flow remains slow.
- Cover the sink’s overflow opening with a damp cloth to improve pressure.
- Stop if you hear unusual cracking, see leaks, or feel no resistance.
Rinse the drain with hot tap water after the water begins moving freely. Don’t use boiling water if your plumbing contains vulnerable plastic components.
A persistent drain odor, gurgling, or recurring backup suggests deeper buildup. At that point, pause rather than forcing the blockage farther into the line.
Arrange a professional pipe inspection if plunging doesn’t restore normal drainage, especially when nearby fixtures drain slowly too.
Remove and Clean the P-Trap
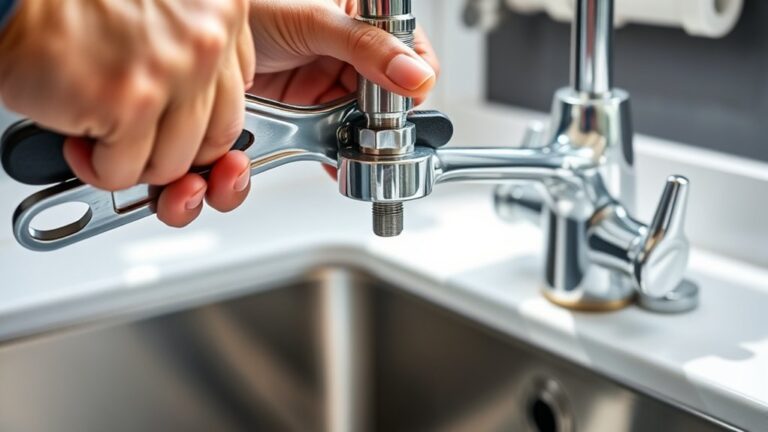
If plunging hasn’t cleared the blockage, place a bucket beneath the P-trap, the curved pipe beneath the sink. Loosen its slip nuts by hand or with adjustable pliers.
Remove the nuts, washers, and trap carefully, keeping them together for reassembly. Let trapped water and debris drain into the bucket.
Remove the P-trap carefully, keeping its parts together while allowing trapped water and debris to drain into the bucket.
Examine the trap for grease, food particles, or other buildup. Use a bottle brush or an old toothbrush to scrub its inside, then rinse it with warm water.
During your P trap inspection, check the washers and threads for cracks, warping, or corrosion. Wipe the tailpiece and the exposed drainpipe, removing debris you can reach without pushing it farther inside.
Reattach the trap, ensuring each washer sits correctly and the connections align without force. Tighten the slip nuts by hand, then give them a slight turn with pliers.
If you find a damaged trap or washer, complete the necessary pipe replacement before testing the connection for leaks.
Flush the Drain and Prevent Clogs
Once the P-trap is secure, run hot water down the drain for several minutes to flush away loosened grease and residue. Check for leaks beneath the sink, then fill the basin halfway and release the water.
A strong, steady flow confirms the blockage is gone. If drainage remains slow, repeat plunging rather than reaching immediately for chemical drain cleaners, which can damage pipes and create hazardous fumes.
Keep your kitchen sink clear with these simple habits:
- Scrape food scraps into the trash or compost before washing dishes.
- Wipe greasy pans with a paper towel, then wash them with dish soap.
- Run hot water for 30 seconds after each use to carry away residue.
- Use enzyme treatments monthly to break down organic buildup safely.
Don’t pour coffee grounds, flour, eggshells, or fibrous peels into the drain. Clean the stopper and strainer weekly, too.
These steps reduce buildup, protect your plumbing, and help your sink drain freely.
Frequently Asked Questions
Can Chemical Drain Cleaners Damage Kitchen Sink Pipes or Plumbing Fixtures?
Yes, chemical drain cleaners can damage your kitchen sink’s pipes and plumbing fixtures. Their corrosive ingredients may weaken older metal pipes, soften certain plastic components, and harm seals, finishes, or garbage-disposal parts.
For chemical safety, follow the label, wear protection, and never mix products, especially with bleach or acids. To prevent pipe damage, try a plunger or drain snake first.
If the blockage persists, call a licensed plumber for safer treatment.
How Do I Unclog a Garbage Disposal When the Sink Drain Is Blocked?
Turn off and unplug the garbage disposal before you work. Never put your hand inside it. Use tongs to remove visible debris, then insert the disposal’s hex key underneath and turn it back and forth to free the blades.
Press the reset button, restore power, and run cold water briefly. If the sink blockage remains, plunge the drain while sealing the other basin. Call a plumber if leaks or grinding continue.
When Should I Call a Professional Plumber for a Stubborn Kitchen Sink Clog?
Call a professional plumber when your kitchen sink remains blocked after plunging, careful trap cleaning, and safe disposal checks. Don’t keep forcing tools or chemical drain cleaners; you could damage pipes or create dangerous fumes.
Request Pipe inspections if the clog returns, multiple drains empty slowly, sewage odors appear, or water backs up.
Seek Emergency repairs for flooding, leaks, contaminated water, or a completely unusable sink before your problem becomes a medieval plumbing crisis.
Why Does My Kitchen Sink Keep Clogging After I Clear the Drain?
Your kitchen sink keeps clogging because grease, food particles, coffee grounds, or soap residue may remain inside the pipe after you clear the visible blockage. A partially collapsed, misaligned, or damaged drain line can also trap debris repeatedly.
Don’t pour grease down the sink, and use a strainer to catch solids. Regular plumbing maintenance and drain prevention, including occasional flushing with hot water, can reduce buildup.
Call a plumber if clogs return frequently.
Can Tree Roots Cause Recurring Kitchen Sink Drainage Problems?
Yes, tree roots can cause recurring kitchen sink drainage problems. Nearly 25% of sewer line failures involve root intrusion, so you shouldn’t dismiss repeated backups.
Tree roots enter tiny cracks in underground pipes, expand, and trap grease, paper, and debris.
If your sink keeps draining slowly after cleaning, you’ll need a professional camera inspection.
A plumber can locate damaged sections, clear the roots, and recommend repairs or replacement before wastewater backs up into your kitchen.
Conclusion
With these five steps, you can get your kitchen sink flowing again without calling a plumber. Stop using the sink, clear away standing water, plunge firmly, and clean the P-trap if needed.
Then flush the drain with hot water and keep grease, coffee grounds, and food scraps out. A little prevention goes a long way by helping stop future blockages.
If the kitchen sink drain remains clogged, contact a professional before the problem worsens.