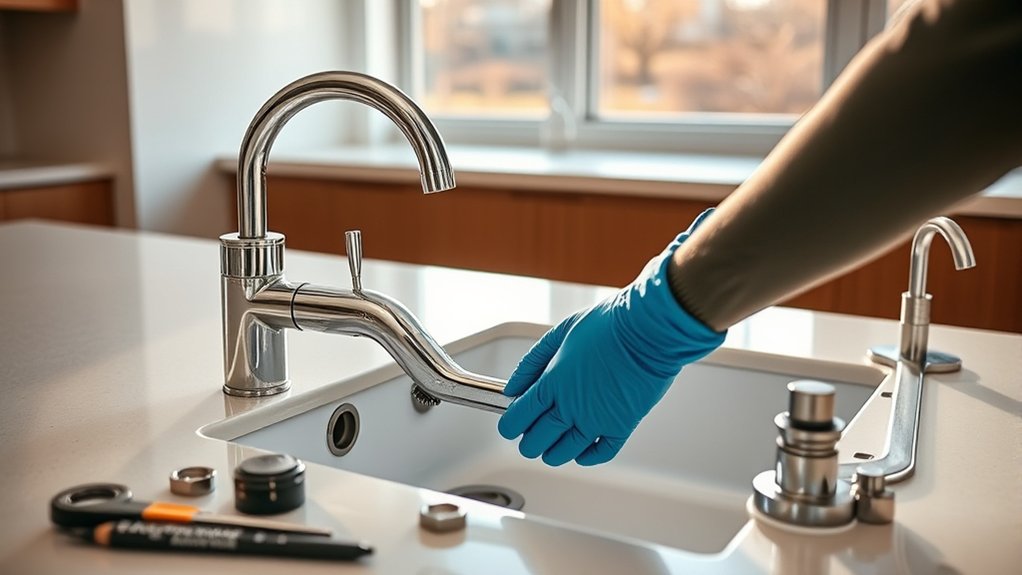
How to Change a Kitchen Faucet in 5 Steps
Struggling with a loose, leaky, or outdated kitchen faucet? You’re not alone—many homeowners find faucet replacement more difficult than expected, especially when working in a cramped cabinet. The right kitchen faucet can improve both your sink’s functionality and your kitchen’s appearance.
To change a kitchen faucet, gather a wrench, basin wrench, bucket, towels, plumber’s tape, and the new faucet. Shut off hot and cold water, then disconnect the supply lines and mounting nuts to remove the old faucet.
Clean the sink, check the opening and holes, and confirm the new faucet fits.
Install its gasket, washer, and mounting nut, then connect the water lines. Open the valves slowly, flush the faucet, and check every joint for leaks. Follow the steps below for helpful details.
Key Takeaways
- Gather tools, confirm the new faucet includes the required hardware, and shut off the hot and cold water supplies.
- Disconnect the supply lines and mounting nuts. Then remove the old faucet and sprayer hose, if present.
- Clean and dry the sink, inspect the opening, and confirm the new faucet fits the holes and sink thickness.
- Install the gasket and faucet, secure them underneath, and connect the hot and cold supply lines without kinks.
- Slowly reopen the valves, flush the faucet, and inspect every connection for leaks.
Gather Tools and Shut Off the Water
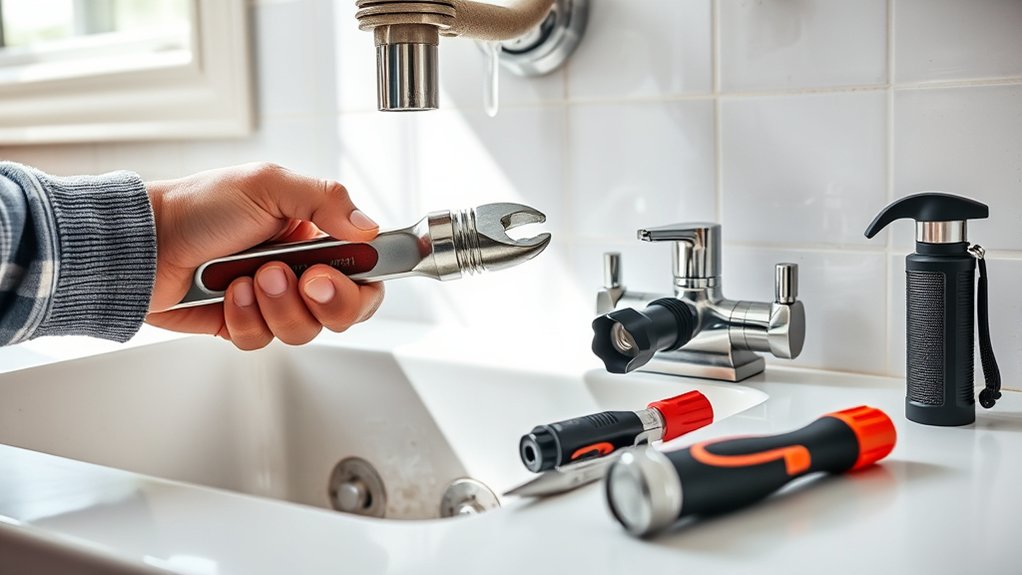
Before you begin, gather an adjustable wrench, basin wrench, bucket, towels, plumber’s tape, and the new faucet. Confirm that the faucet package includes every required gasket, washer, nut, and supply line.
Check the instructions because faucet types can require different tools or connection sizes. Clear the cabinet beneath the sink so you can reach the shutoff valves safely, and place a towel inside to protect the base from moisture.
Turn off both hot and cold supply valves by rotating each handle clockwise until it stops. If your sink has no individual valves, shut off the home’s main water supply.
Open the existing faucet handles and let the lines drain into the basin. This releases residual water pressure and helps prevent unexpected spray. Keep a bucket beneath the connections to catch remaining water.
Close the faucet afterward, then verify that no water flows before you proceed with the next step. Don’t force stuck valves; call a plumber if necessary.
Remove the Old Kitchen Faucet

Start by disconnecting the hot and cold supply lines from the faucet using an adjustable wrench, and keep a bucket underneath to catch trapped water. Loosen each connection carefully, then remove the mounting nuts beneath the sink. If corrosion resists, apply penetrating oil and wait several minutes.
Disconnect supply lines, catch residual water, and remove mounting nuts carefully, using penetrating oil if corrosion makes loosening difficult.
- Support the faucet from above as you loosen the final nut.
- Use a basin wrench where ordinary tools won’t reach.
- Disconnect the sprayer hose, if your faucet has one.
- Photograph connections before removing unfamiliar components.
- Wear gloves to protect your hands from sharp threads.
Once the hardware is loose, lift the old faucet and attached hoses through the sink opening. Work slowly so you don’t damage the countertop or plumbing.
Note the faucet material, such as stainless steel, brass, or plastic, for proper disposal or recycling. Also observe the faucet’s installation height and configuration; this information can help you select a compatible replacement.
Keep removed nuts and washers together in case you need to identify matching parts later.
Clean the Sink and Check Faucet Fit

With the old faucet removed, clean the sink surface and inspect the opening for buildup, rust, or damage. Use warm, soapy water and a nonabrasive sponge to remove grease and residue.
For stubborn mineral deposits, apply white vinegar briefly, then wipe and rinse thoroughly. Follow suitable sink stain removal methods for your sink’s material, and avoid steel wool or harsh cleaners that could scratch the finish.
Dry the area completely with a clean cloth. Examine the faucet opening for sharp edges, cracks, corrosion, or leftover plumber’s putty.
If damage surrounds the hole, repair or replace the sink before continuing. Measure the opening’s diameter and count the number of mounting holes.
Compare those details with the new faucet’s specifications to confirm faucet compatibility. Check whether the faucet requires one hole, three holes, or an adapter plate.
Also, verify that the sink’s thickness falls within the faucet’s stated range. Keep the manufacturer’s instructions nearby for any additional measurements or requirements.
Mount the Faucet and Connect Water Lines
Once the faucet fits the sink opening, place the gasket or plumber’s putty as directed around its base, then lower the faucet into position. From beneath the sink, slide on the mounting washer and nut.
Secure the faucet with the gasket, mounting washer, and nut, then center and tighten it firmly from beneath the sink.
Center the faucet, then tighten the nut firmly with a basin wrench. Don’t overtighten, or you could damage the sink or fittings. This step anchors your faucet installation securely.
For a reliable water line connection:
- Match each supply hose to the corresponding hot or cold valve.
- Thread the hose onto the faucet shank by hand first.
- Tighten the connection with an adjustable wrench.
- Attach the opposite end to its shutoff valve.
- Keep the hoses gently curved, without kinks or sharp bends.
Use new supply lines if the existing ones look worn, corroded, or too short. Hold each valve steady while tightening its connector so you don’t twist the plumbing.
Confirm every threaded connection feels snug and aligned. Leave the shutoff valves closed until the next step.
Turn On the Water and Check for Leaks
How can you safely restore water flow? First, confirm that every connection feels snug and that the faucet handles are closed. Slowly open each shutoff valve counterclockwise.
Gradual flow limits sudden water pressure and gives you time to spot trouble. Run cold and hot water briefly, then inspect beneath the sink with a flashlight.
Feel each joint with a dry tissue; moisture reveals small leaks. Continue careful leak detection around supply lines, compression nuts, and the faucet base.
If you see dripping, shut the valve, tighten the connection slightly, and test again. Don’t overtighten, because you could damage the fitting.
Let water run for two minutes to flush debris, then check the cabinet floor and surrounding countertop. Wipe everything dry and recheck after several minutes.
| Check | What to do |
|---|---|
| Valves | Open slowly |
| Joints | Feel with tissue |
| Faucet base | Watch for drips |
| Cabinet floor | Keep it dry |
If leaks persist, close both valves and replace the faulty seal or connector.
Frequently Asked Questions
Can I Replace a Kitchen Faucet Without Hiring a Plumber?
Yes, you can replace a kitchen faucet without hiring a plumber if you’re comfortable with basic DIY plumbing.
First, shut off the water supply and confirm the new faucet’s compatibility with your sink’s mounting holes and connections.
Disconnect the old supply lines, remove the mounting hardware, and install the replacement according to its instructions.
Tighten fittings carefully, restore the water, and check for leaks. If complications arise, call a professional.
How Long Does a Kitchen Faucet Typically Last?
You can expect a kitchen faucet to last about 15 years, though quality, water conditions, and use affect its faucet lifespan. Around one in three faucets needs a repair before reaching that age, so watch for leaks, loose handles, or reduced flow.
Follow simple maintenance tips: clean the aerator, avoid harsh chemicals, tighten connections gently, and replace worn cartridges promptly. With regular care, you’ll often extend your faucet’s service life by several years.
What Faucet Style Works Best With My Kitchen Sink?
A pull-down faucet usually works best with most kitchen sinks because you can direct water easily and fill tall pots. Choose a single-handle design if you want simple temperature control, or a two-handle model for a classic look.
Match the faucet’s Mounting types to your sink—deck-mount, wall-mount, or countertop. Consider Faucet finishes, too; stainless steel resists fingerprints, while brushed nickel and matte black offer distinctive style and durability for your kitchen.
How Do I Choose the Correct Replacement Faucet Size?
Measure twice, buy once: you’ll choose the correct replacement faucet size by counting your sink’s mounting holes and measuring the distance between them. Check the faucet’s base width, spout reach, and height against your sink and backsplash.
For a one-hole sink, select a compatible single-handle model. For three holes, choose a widespread or centerset faucet, or use a deck plate. Also compare faucet material and water flow rate before purchasing.
Can I Install a Water Filter Faucet Alongside My Kitchen Faucet?
Yes, you can install a water filter faucet alongside your kitchen faucet if your sink has an unused mounting hole. If it doesn’t, you’ll need to drill a suitable hole or use a countertop location.
Before starting the installation process, confirm the filter faucet fits the surface thickness and connect its tubing to the filtration system. Shut off the water supply, follow the manufacturer’s instructions, and check every connection for leaks.
Conclusion
With your new faucet in place, you’ve given your kitchen a welcome little upgrade. Turn on the water slowly, check every connection, and watch for any tiny surprises. Those drips are easier to address now than later.
If everything stays dry and the water flows smoothly, you’re all set. Clean up your tools, admire your handiwork, and enjoy your new kitchen faucet for years to come.