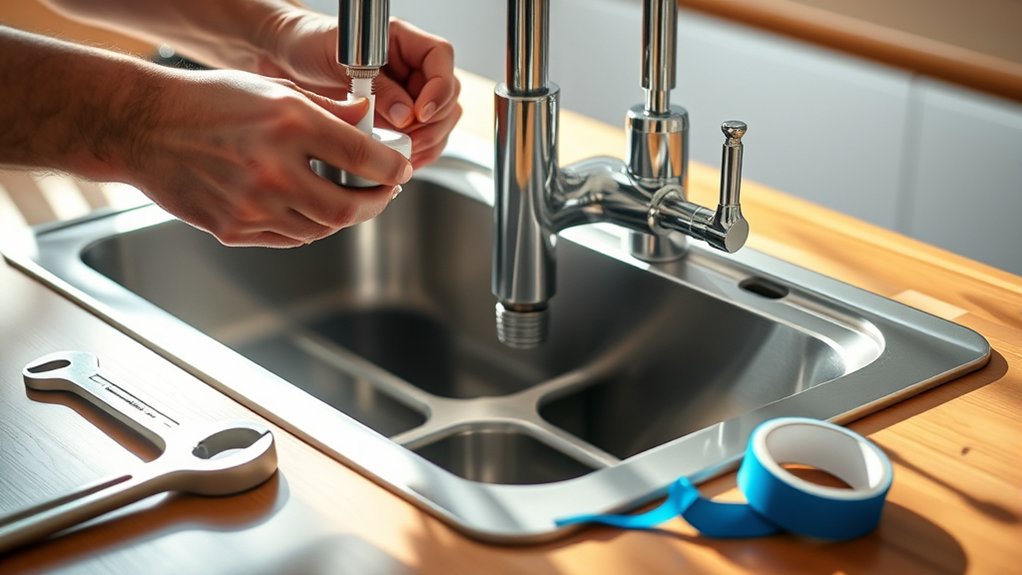
How to Install a Kitchen Faucet in 5 Steps
A leaky or outdated kitchen faucet can make everyday tasks frustrating, and choosing the right replacement isn’t always easy. You’re not alone—many homeowners struggle with finding a compatible model and installing it correctly.
This guide to how to install a kitchen faucet walks you through the process in five simple steps.
To install a kitchen faucet in five steps, first choose a compatible model and gather a wrench, basin wrench, bucket, towels, and plumber’s tape.
Next, shut off the water, disconnect the supply lines, remove the old faucet, and clean the sink.
Position and secure the new faucet, then connect the hot and cold lines without overtightening.
Finally, open the valves slowly, run the faucet, and check every connection for leaks.
The steps below can help you finish confidently.
Key Takeaways
- Gather a compatible faucet, adjustable and basin wrenches, plumber’s tape, a bucket, towels, and a screwdriver.
- Shut off the hot and cold valves, release pressure, disconnect the supply lines, remove the mounting nuts, and lift out the old faucet.
- Clean the sink, position the new faucet, install its gasket and mounting hardware, then center and tighten it securely.
- Connect the hot and cold supply lines to the matching shutoff valves. Tighten the fittings firmly without kinking or overtightening.
- Slowly reopen the valves, test the faucet and sprayer, and inspect every connection for leaks.
Choose a Compatible Faucet and Gather Tools

Choose a faucet that matches your sink’s number and spacing of mounting holes, as well as your water-supply connections. Measure the hole spacing before you shop, and confirm the faucet’s reach, height, and compatibility with your countertop or backsplash.
Match the faucet to your sink’s mounting holes, plumbing connections, available space, reach, and height before purchasing.
Select a configuration that suits your needs, such as a single-handle, double-handle, pull-down, or pull-out model. Consider faucet material carefully: stainless steel resists corrosion, while brass offers durability. Finishes such as chrome, matte black, or brushed nickel affect maintenance and appearance.
Review the available design options, including a side sprayer, soap dispenser, and touchless activation. Then verify that each accessory fits your sink.
Gather an adjustable wrench, basin wrench, plumber’s tape, bucket, flashlight, towels, and a screwdriver. Keep the manufacturer’s instructions nearby, and check that the package includes mounting hardware, supply lines, washers, and a gasket.
Organize every tool and part so installation proceeds smoothly once you’re ready.
Shut Off Water and Remove the Old Faucet
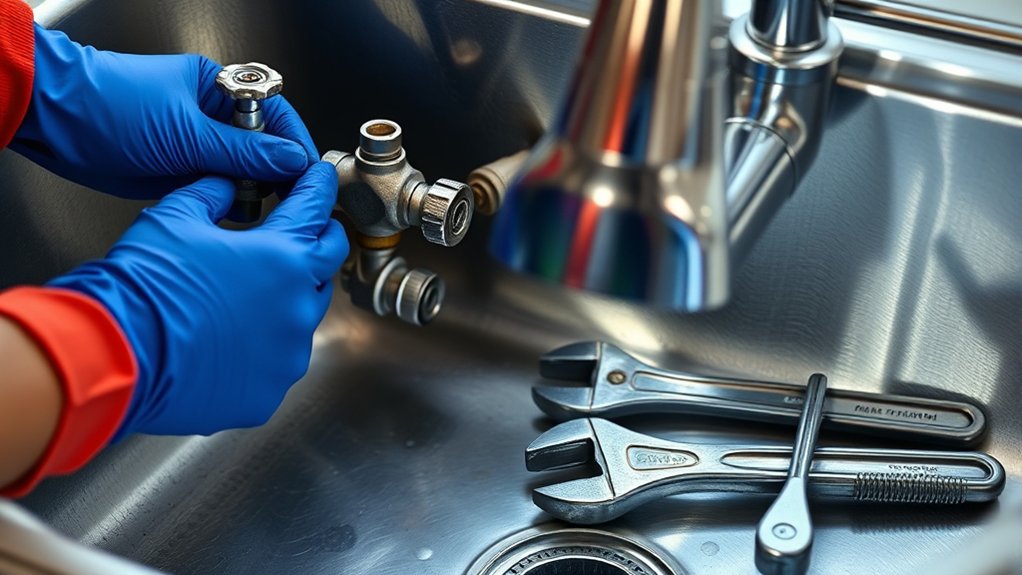
Before you disconnect anything, shut off both water-supply valves beneath the sink by turning them clockwise. Open the faucet handles to release trapped water pressure, then close them.
Place a bucket and towels beneath the connections to catch residual water. Use an adjustable wrench to loosen the hot- and cold-water supply lines where they connect to the faucet. If the valves or hoses look corroded, work carefully to avoid damaging the plumbing.
Next, locate the nuts securing the faucet underneath the sink. Spray penetrating oil on stubborn threads, wait several minutes, and loosen each nut with a basin wrench or suitable pliers.
Support the faucet above the sink while you remove the final nut, then lift the old fixture and its hoses through the mounting holes. Scrape away old caulk or plumber’s putty from the sink surface, and wipe the area clean.
Inspect the faucet mounting holes and supply valves for damage before installing replacement components.
Secure the New Faucet to the Sink
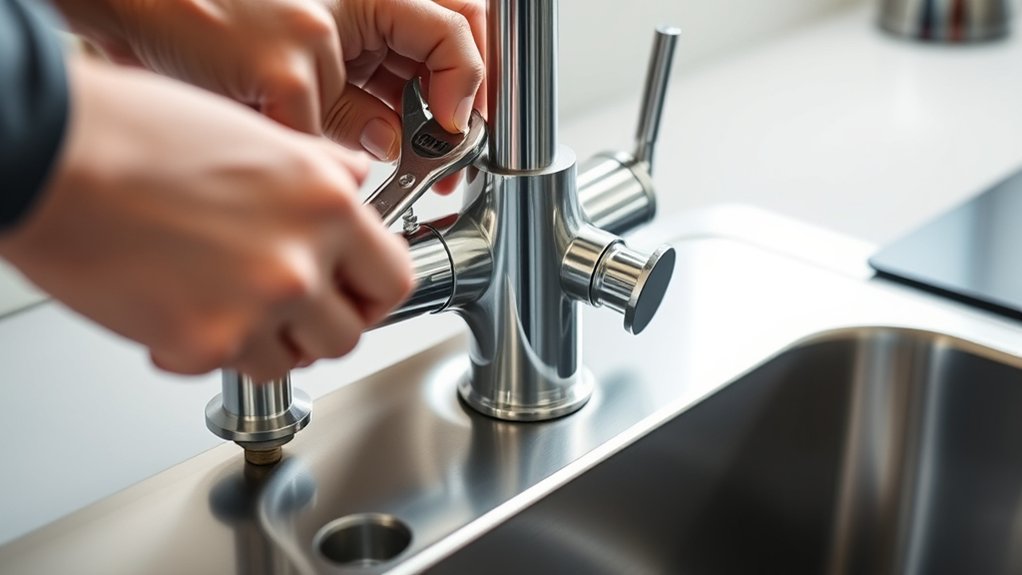
With the sink surface clean and the mounting holes inspected, position the new faucet over the holes according to the manufacturer’s instructions.
From beneath the sink, slide the gasket and mounting plate onto the faucet shank. Thread the mounting nut on by hand, then tighten it with a basin wrench or the supplied tool.
Keep the faucet centered and facing forward as you tighten. Don’t overtighten, or you could damage the sink or base.
| Check | What to confirm | Why it matters |
|---|---|---|
| Alignment | Spout faces the basin | Prevents awkward use |
| Stability | Base doesn’t wobble | Protects the seal |
| Finish | Faucet color suits the sink | Completes the look |
Have someone hold the faucet above while you secure the nut underneath.
Wipe away excess sealant if your model uses it, then verify that the handle moves freely.
A firm mount helps prevent leaks and keeps operation smooth, but it won’t increase water pressure.
Leave the supply connections for the next step.
Connect the Hot and Cold Supply Lines
Connect the hot and cold supply lines to the matching faucet hoses, then hand-tighten each connection before securing it with an adjustable wrench. Match the red-marked hose to the hot shutoff valve and the blue-marked hose to the cold valve.
Connect matching hot and cold lines, hand-tighten first, then secure with a wrench without overtightening.
If the labels aren’t clear, trace each hose before attaching it. Keep the lines aligned so you don’t twist or kink them beneath the sink.
- Remove any old thread sealant or debris from the valve outlets.
- Slide a compression nut and ferrule onto each supply line, if required by your faucet’s design.
- Tighten the nuts firmly, but don’t overtighten, which can crush the fitting or damage the threads.
Check that the hoses have enough slack for future maintenance, while keeping them away from sharp cabinet edges. Consider your home’s Water pressure when choosing reinforced lines; high pressure may require a regulator.
Finally, protect the Faucet finishes by placing a cloth over visible surfaces while you work with tools.
Check for Leaks and Test the Faucet
Once the supply lines are secure, slowly open both shutoff valves and turn on the faucet. Let cold and hot water run for a minute, then switch between temperatures.
Watch the connections, valve stems, and faucet base for drips. Use a dry paper towel for reliable leak detection; even a small wet spot signals a loose connection or damaged washer.
| Check | What to do | If you notice a problem |
|---|---|---|
| Supply lines | Feel each connection | Tighten gently with a wrench |
| Faucet base | Wipe and inspect underneath | Reseat the faucet or tighten hardware |
| Sprayer hose | Pull it through its full range | Check for kinks or worn seals |
Continue faucet testing by moving the handle smoothly and checking water flow. Operate the sprayer, if included, and confirm its diverter switches correctly.
Run water into the drain while inspecting the strainer and trap for leaks. Shut off the faucet, wait several minutes, and recheck every connection.
Don’t overtighten fittings, which can damage threads or seals.
Frequently Asked Questions
Can I Install a Kitchen Faucet Without Professional Plumbing Experience?
Yes, you can install a kitchen faucet without professional plumbing experience if you follow instructions carefully. You’ll need basic plumbing tools, including an adjustable wrench, basin wrench, plumber’s tape, and a bucket.
Expect DIY challenges, such as tight connections, awkward cabinet access, or leaks. Shut off the water first, connect each supply line securely, and test gradually.
If connections won’t loosen or leaks persist, call a professional to prevent water damage.
How Long Does a Typical Kitchen Faucet Installation Take?
A typical kitchen faucet installation takes about one to two hours if you have basic tools and accessible connections. You’ll spend most of your time removing the old fixture, completing faucet mounting, and connecting the water supply lines.
Complications, such as corroded fittings, tight cabinet space, or missing parts, can extend the project to several hours. If you encounter a stubborn connection or leak, consider calling a professional for help.
Should I Install a Water Filter or Soap Dispenser Simultaneously?
Yes, you should install a water filter or soap dispenser simultaneously if your sink has available mounting holes and cabinet space.
Adding water filtration during the project saves time, reduces repeated plumbing work, and keeps your setup organized. Soap dispensers offer convenient access without cluttering the counter.
Check your faucet’s compatibility, shut off the water, and follow each manufacturer’s instructions. If space or plumbing seems limited, install only the accessory you’ll use most.
How Often Should a Kitchen Faucet Be Cleaned and Maintained?
Clean your kitchen faucet weekly, and perform deeper maintenance every three to six months. Wipe the spout, handles, and base with mild dish soap and a soft cloth to prevent buildup.
Remove and soak the aerator monthly, then rinse it thoroughly. Your cleaning schedule should include checking for leaks, loose connections, and mineral deposits.
Follow these maintenance tips: avoid abrasive cleaners, dry surfaces after use, and replace worn washers or seals promptly.
When Should I Replace Rather Than Repair My Kitchen Faucet?
Replace your kitchen faucet when leaks persist after new cartridges, O-rings, or seals, or when corrosion, cracking, poor water flow, or outdated features indicate serious wear. If repair costs approach half the price of a comparable new faucet, replacement usually makes sense.
Consider faucet longevity too: a well-maintained model may last 15 years, but frequent breakdowns signal decline. Curiously, your faucet may fail just when parts become harder to find, making replacement the smarter choice.
Conclusion
Once you’ve installed your kitchen faucet, turn on the water and test both temperature settings and the sprayer. Check every connection for drips, tightening fittings gently if needed.
Clean away debris, then enjoy your upgraded sink. With the right tools and careful steps, you’ve completed the job as smoothly as a well-oiled hinge.
If a leak persists or the plumbing seems damaged, shut off the water and call a professional before using the faucet again. With these steps, you’ve completed your kitchen faucet installation safely and successfully.